Love this? Save it for later!
Share the inspiration with your friends
Introduction
“I wasn’t planning on making fudge that Sunday afternoon, honestly. I was halfway through reorganizing my spice rack when my phone buzzed with a text from my friend Mike, who’s notoriously sweet-toothed but also incredibly impatient in the kitchen. He asked if I had a quick dessert recipe he could whip up before his guests arrived in an hour. I racked my brain, then remembered this easy 3-ingredient microwave peanut butter fudge I’d stumbled upon last winter during a late-night craving episode—yes, at 11:37 PM, to be exact.
The crazy part? Mike didn’t even have to leave the couch to make it. I talked him through melting peanut butter, chocolate chips, and sweetened condensed milk in the microwave. The whole thing took less than five minutes, and the fudge set perfectly by the time his doorbell rang. Maybe you’ve been there—needing a sweet fix, but no time or energy for a fuss. This recipe felt like a tiny kitchen miracle, turning a desperate snack moment into a rich, creamy treat. It’s kept me coming back ever since, especially when I want something simple, satisfying, and downright delicious without the mess or the wait.”
Why You’ll Love This Recipe
Let me tell you, this easy 3-ingredient microwave peanut butter fudge has become a go-to in my kitchen for several reasons. After testing it multiple times (and yes, sometimes forgetting a step or two), I’m confident this recipe balances simplicity with indulgence like few others.
- Quick & Easy: Ready in under 10 minutes, perfect for those busy weeknights or surprise guests.
- Simple Ingredients: No obscure items here—just pantry staples like peanut butter, chocolate chips, and sweetened condensed milk.
- Perfect for Casual Gatherings: Whether it’s a potluck, movie night, or just a quiet evening, this fudge fits right in.
- Crowd-Pleaser: The creamy, rich texture and peanut chocolate combo always gets rave reviews from kids and adults alike.
- Unbelievably Delicious: The fudge melts in your mouth without being overly sweet or greasy—trust me, it’s a rare find.
What sets this fudge apart from others is the microwave method, which keeps things hassle-free and mess to a minimum. Plus, the sweetened condensed milk adds just the right creaminess without needing butter or heavy cream. Honestly, it’s the kind of recipe that makes you look like a pro, even if you’re barely in the kitchen. If you’re curious about quick peanut buttery desserts, you might also enjoy my no-bake peanut butter bars that bring similar flavors with a crunchy twist.
What Ingredients You Will Need
This recipe uses simple, wholesome ingredients to deliver bold flavor and satisfying texture without the fuss. You probably already have them in your pantry, which makes this fudge a perfect last-minute treat.
- Peanut Butter – 1 cup (smooth or crunchy, depending on your texture preference; I usually go for creamy Skippy for the best melt)
- Chocolate Chips – 1 cup (semi-sweet or milk chocolate works well; Ghirardelli chips melt smoothly without seizing)
- Sweetened Condensed Milk – 1 can (14 oz / 396 g; this adds the perfect sweetness and creaminess without extra butter)
Optional: A pinch of sea salt on top to balance the sweetness, or a splash of vanilla extract if you want a subtle flavor boost. In summer, you could even swap peanut butter for almond butter for a different twist.
Equipment Needed
- Microwave-Safe Bowl: A medium-sized glass or ceramic bowl is ideal to melt the ingredients evenly. I once tried plastic and it warped—so glass is your safest bet.
- Spatula or Spoon: For stirring the fudge mixture smoothly.
- 8×8-inch Baking Dish or Pan: To pour the fudge into for setting. Line it with parchment paper for easy removal.
- Measuring Cups: Accurate measurements make a big difference here—you don’t want your fudge too runny.
If you don’t have a microwave, a double boiler works as a substitute to melt the ingredients gently, but be ready for a bit more cleanup. For budget-friendly options, any glass mixing bowl from thrift stores works wonders.
Preparation Method
- Prepare Your Pan (5 minutes): Line an 8×8-inch pan with parchment paper, leaving an overhang on the sides to lift the fudge out easily later. This saves you from a sticky mess and speeds up cleanup.
- Combine Ingredients (2 minutes): In your microwave-safe bowl, add 1 cup peanut butter, 1 cup chocolate chips, and the entire can (14 oz / 396 g) of sweetened condensed milk. Use a spatula to roughly mix them together so they start to meld.
- Microwave in Intervals (4-5 minutes total): Microwave on high for 1 minute, then stir vigorously. Repeat this step in 30-second bursts, stirring after each, until the mixture is smooth and glossy. Be careful not to overheat — if it starts to bubble aggressively, let it rest for a few seconds before continuing.
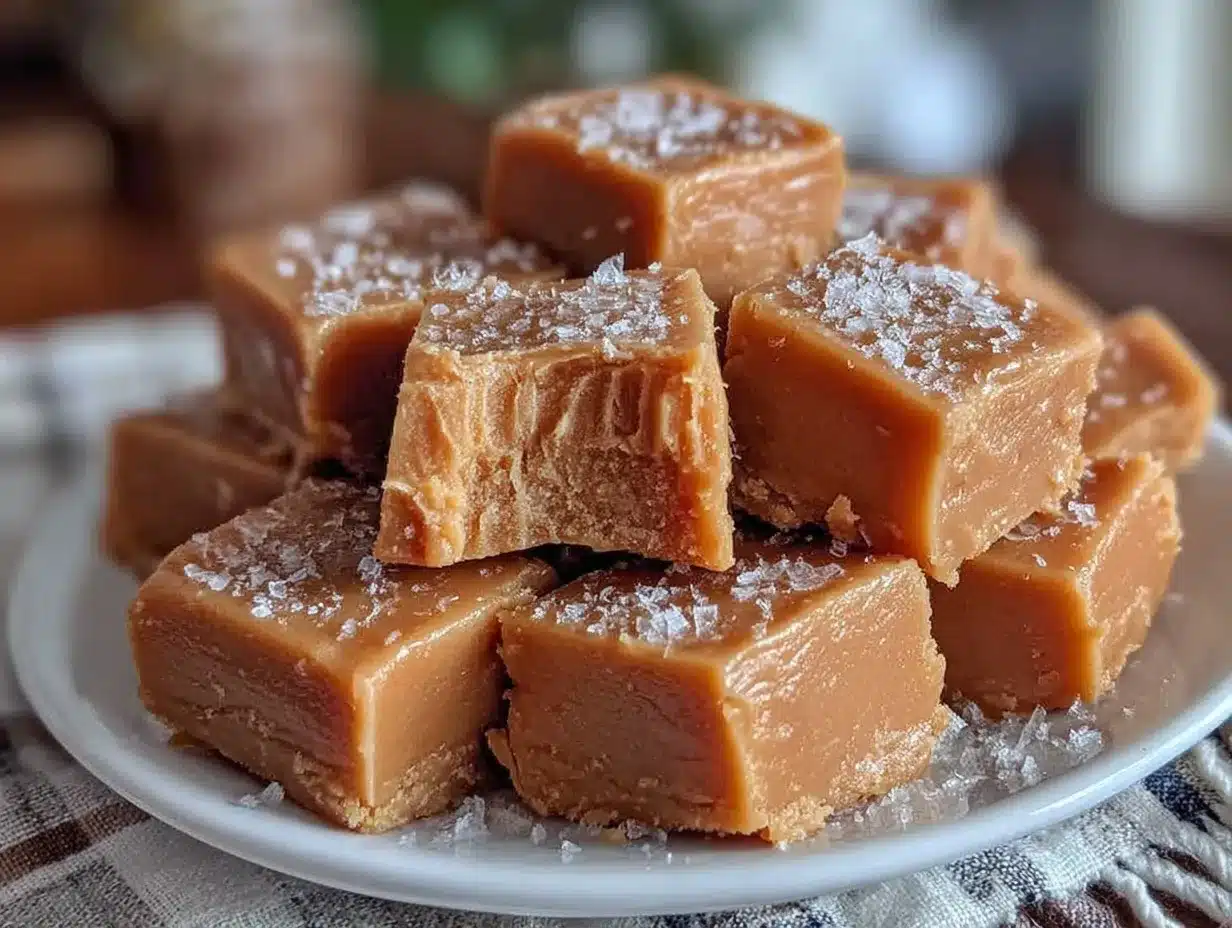
- Pour and Level (2 minutes): Pour the melted fudge mixture into your prepared pan, spreading it evenly with the spatula. If you want, sprinkle a pinch of sea salt or chopped peanuts on top for a crunchy finish.
- Set the Fudge (At least 2 hours): Place the pan in the refrigerator to set completely. It should firm up nicely but remain soft enough to cut without cracking.
- Slice and Serve: Use the parchment paper to lift the fudge out of the pan, then cut into small squares. Store leftovers in an airtight container in the fridge.
Pro Tip: If your fudge seems a bit grainy after melting, a quick stir with a splash of milk can smooth it out. Also, don’t rush the setting process—patience makes all the difference!
Cooking Tips & Techniques
Microwave fudge might sound too easy to be good, but there’s a little finesse involved. First, stirring well between each heating interval is key to avoid burning or uneven melting. I’ve learned the hard way that skipping this step can leave you with burnt chocolate bits that ruin the whole batch.
Use good quality peanut butter with a creamy texture for that silky finish. Natural peanut butter with oil separation can make the fudge oily, so give it a good stir before measuring. Also, sweetened condensed milk is the magic ingredient here; it’s what gives the fudge that melt-in-your-mouth creaminess without any butter.
When pouring the fudge into the pan, tap it gently on the counter to release any air bubbles. This creates a smooth surface and makes cutting easier later. Finally, don’t skip chilling time—even if it’s tempting to dig in early, the fudge needs a couple of hours to set properly.
Variations & Adaptations
- Chocolate Swirl: Melt half the chocolate chips separately and swirl them through the peanut butter mixture before setting for a marbled effect.
- Nut-Free Version: Replace peanut butter with sunflower seed butter to accommodate allergies without losing creaminess.
- Spicy Kick: Add a pinch of cayenne pepper or chili flakes for a surprising, warm heat that pairs beautifully with the chocolate and peanut butter.
- Vegan Option: Use dairy-free chocolate chips and coconut condensed milk to make this fudge plant-based and still luscious.
Once, I tried adding crushed pretzels on top for crunch—definitely a keeper if you like salty-sweet combos. Also, if you want to bake this fudge, pour it into a lined pan and bake at 325°F (160°C) for about 15 minutes for a slightly firmer texture.
Serving & Storage Suggestions
This fudge tastes best chilled but can be enjoyed at room temperature too. Serve it as bite-sized squares alongside a cup of coffee or tea for a cozy afternoon treat. For a party, arrange the fudge pieces on a decorative plate with fresh berries or nuts.
Store your fudge in an airtight container in the refrigerator for up to two weeks. It freezes well too—just wrap the fudge tightly and thaw overnight in the fridge before serving. When reheating, avoid the microwave; let it come to room temperature naturally to maintain texture.
Over time, the flavors meld and deepen, making the fudge even more addictive after a day or two. It’s honestly one of those recipes that gets better with patience.
Nutritional Information & Benefits
Per serving (based on 16 pieces): approximately 150 calories, 8g fat, 18g carbohydrates, and 3g protein.
Peanut butter provides heart-healthy fats and protein, while the chocolate chips contribute antioxidants. Sweetened condensed milk adds sweetness but also calories, so moderation is key.
This fudge is gluten-free by default and can be adapted for vegan diets with suitable ingredient swaps. It’s a treat that brings comfort without complicated ingredients or long prep times, perfect for those who want something satisfying yet simple.
Conclusion
So, if you’re after a quick, fuss-free treat that tastes like it took hours, this easy 3-ingredient microwave peanut butter fudge is your new best friend. It’s ridiculously simple, needs minimal ingredients, and honestly, it’s hard not to fall in love with the creamy, peanutty chocolate goodness.
Feel free to tweak it to your taste—add a pinch of salt, swirl in extra chocolate, or try a nut-free version. I keep coming back to this recipe because it’s proof that sometimes the simplest things bring the biggest smiles. Give it a try, and let me know how your fudge adventure turns out. Recipes like this deserve to be shared and celebrated!
Frequently Asked Questions
Can I use natural peanut butter instead of creamy?
You can, but natural peanut butter tends to separate and may make the fudge a bit oily. Stir it well before measuring, or stick to creamy for best texture.
How long does the fudge need to set in the fridge?
At least 2 hours, but overnight is ideal for a firm, sliceable texture.
Can I substitute chocolate chips with cocoa powder?
Cocoa powder won’t melt the same way and will change the texture. It’s best to stick with chocolate chips for smoothness.
Is this fudge suitable for kids?
Absolutely! It’s sweet, creamy, and safe for kids, just watch portions because it’s rich.
What’s the best way to store leftover fudge?
Keep leftovers in an airtight container in the fridge for up to two weeks or freeze for longer storage.
Pin This Recipe!
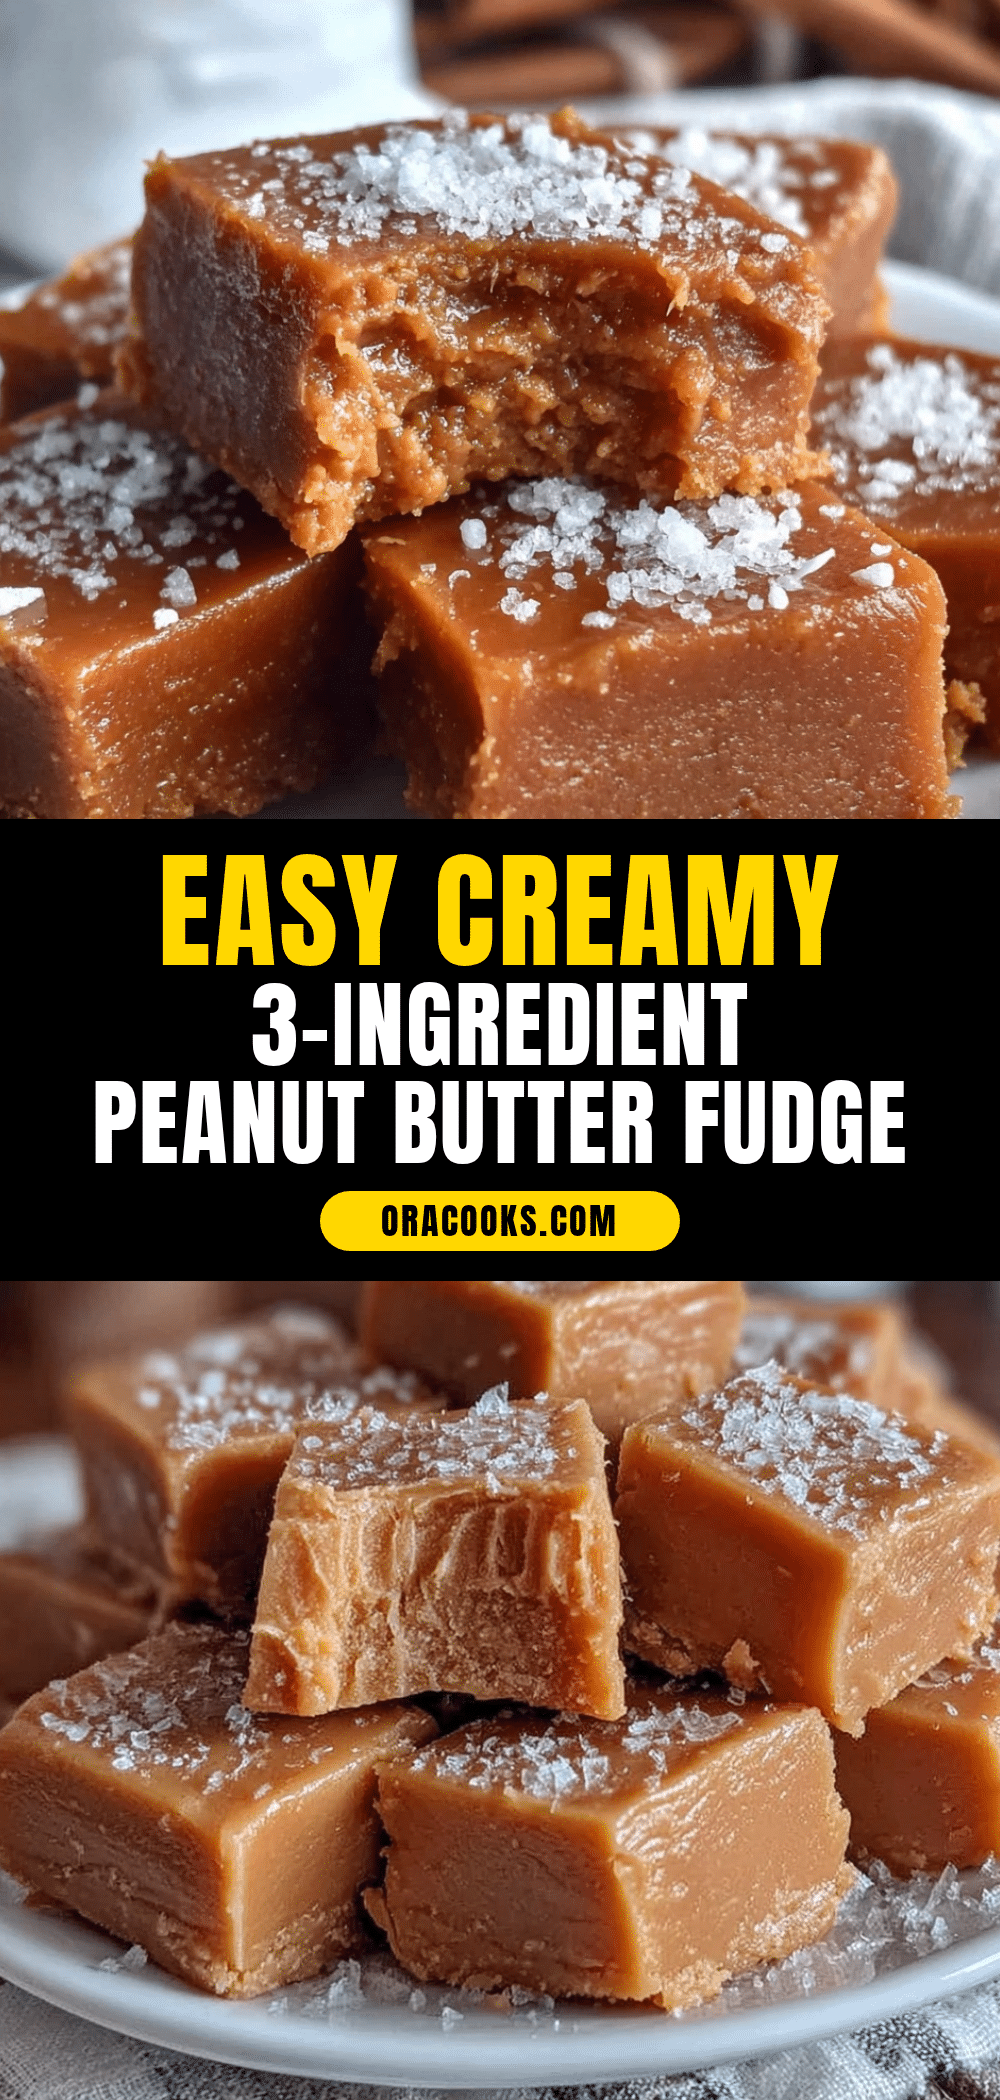
Easy 3-Ingredient Microwave Peanut Butter Fudge
A quick and simple microwave fudge recipe using just peanut butter, chocolate chips, and sweetened condensed milk. Perfect for a rich, creamy treat ready in under 10 minutes.
- Prep Time: 7 minutes
- Cook Time: 5 minutes
- Total Time: 2 hours 12 minutes
- Yield: 16 servings 1x
- Category: Dessert
- Cuisine: American
Ingredients
- 1 cup peanut butter (smooth or crunchy)
- 1 cup chocolate chips (semi-sweet or milk chocolate)
- 1 can (14 oz / 396 g) sweetened condensed milk
- Optional: pinch of sea salt
- Optional: splash of vanilla extract
Instructions
- Line an 8×8-inch pan with parchment paper, leaving an overhang for easy removal.
- In a microwave-safe bowl, combine peanut butter, chocolate chips, and sweetened condensed milk. Stir roughly to mix.
- Microwave on high for 1 minute, then stir vigorously. Continue microwaving in 30-second intervals, stirring after each, until smooth and glossy. Avoid overheating.
- Pour the mixture into the prepared pan and spread evenly. Optionally sprinkle sea salt or chopped peanuts on top.
- Refrigerate for at least 2 hours until set but still soft enough to cut.
- Lift fudge out using parchment paper and cut into small squares. Store leftovers in an airtight container in the fridge.
Notes
Stir well between microwave intervals to avoid burning. Use creamy peanut butter for best texture. Let fudge set fully in fridge for at least 2 hours. Optional add-ins include sea salt, vanilla extract, or chopped peanuts. For vegan version, use dairy-free chocolate chips and coconut condensed milk.
Nutrition
- Serving Size: 1 piece (1/16 of rec
- Calories: 150
- Fat: 8
- Carbohydrates: 18
- Protein: 3
Keywords: peanut butter fudge, microwave fudge, quick dessert, 3-ingredient fudge, easy fudge recipe, peanut butter chocolate fudge