Love this? Save it for later!
Share the inspiration with your friends
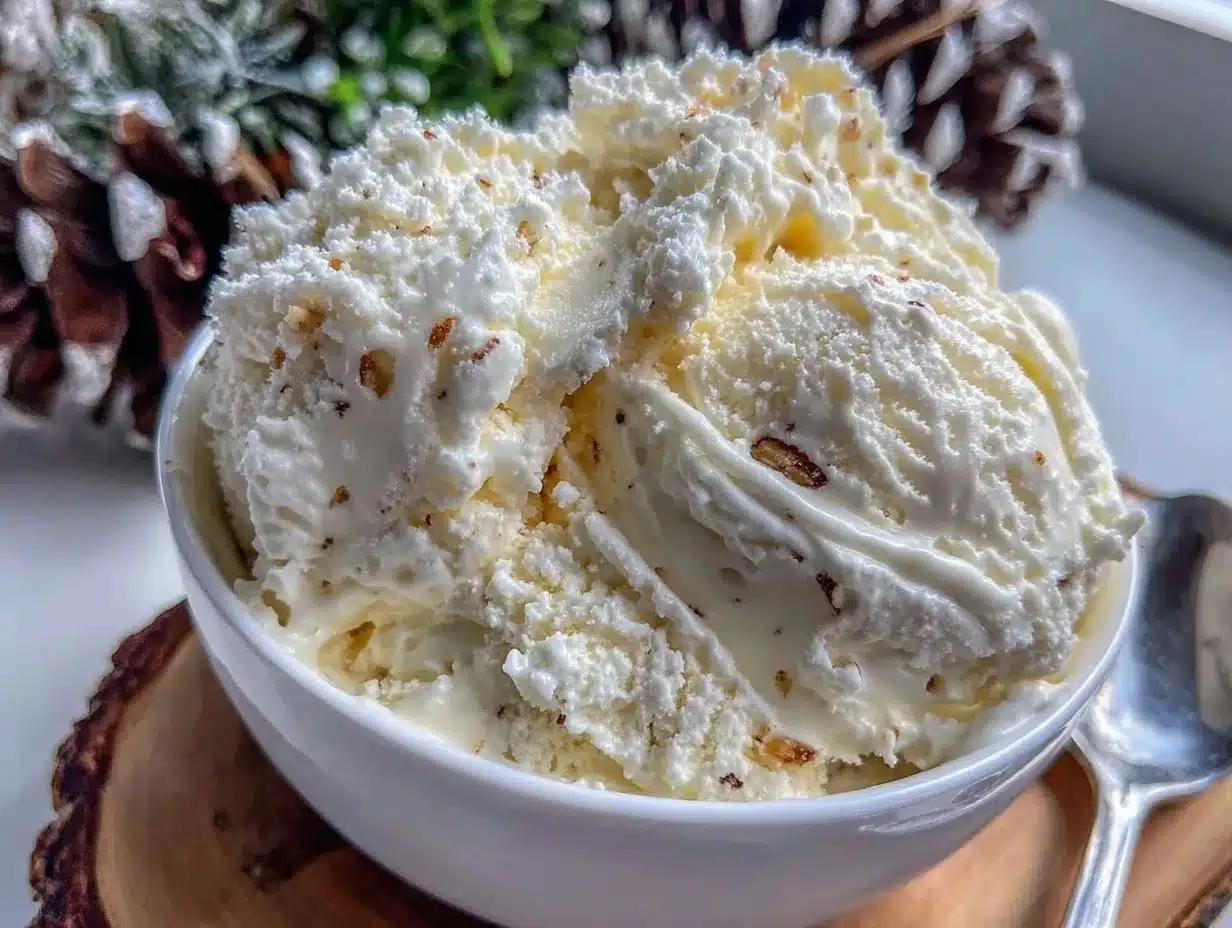
My roommate had insisted for years that homemade ice cream was a royal pain, something only worth the effort if you owned a fancy machine. For nearly three summers, she refused to entertain the idea of making anything but store-bought flavors. Then one hectic Friday night, I whipped up this creamy no-churn vanilla bean ice cream base “just as a quick experiment,” and caught her sneaking spoonfuls straight from the freezer container well before dinner. Honestly, I wasn’t expecting much — whipping cream and sweetened condensed milk sounded too simple to be that good. But that moment? It cracked the whole “homemade is complicated” myth wide open.
Maybe you’ve been there: craving that rich, velvety vanilla ice cream but dreading the fuss of churning or hunting down obscure ingredients. This recipe sidesteps all that with a humble, elegant base that’s all about creamy, real vanilla bean flavor and effortless prep. I mean, it’s the kind of ice cream that makes you pause mid-spoon, savoring that perfect balance of sweet and fragrant vanilla, with a texture so smooth it feels like a tiny luxury. And the best part? It’s so forgiving — no machine, no special skills, just a bowl, a whisk, and a freezer.
That cracked bowl from the night I first made it still sits in the kitchen, a quiet reminder that sometimes the simplest recipes can turn skeptics into believers. This creamy no-churn vanilla bean ice cream base has stuck around my rotation ever since, because it’s honestly one of those easy homemade desserts that feels like a treat without the stress. Let me tell you, once you try this, you might just find yourself catching others in the act of spooning it straight from the container, too.
Why You’ll Love This Recipe
From my messy first attempt to the dozens of times I’ve made it since, this creamy no-churn vanilla bean ice cream base has proven itself as a kitchen superstar. Here’s why it’s quickly become a favorite:
- Quick & Easy: Ready in under 15 minutes, it’s perfect for those last-minute dessert emergencies or casual weekend treats.
- Simple Ingredients: No need for fancy gadgets or exotic items—just pantry staples like sweetened condensed milk, heavy cream, and real vanilla bean.
- Perfect for Any Occasion: Whether it’s a casual family dinner or a backyard barbecue, this ice cream base works like a charm.
- Crowd-Pleaser: Kids and adults alike keep coming back for seconds — the smooth texture and rich vanilla flavor win everyone over.
- Unbelievably Delicious: The fresh vanilla bean specks give it a gourmet touch that makes this base stand apart from typical no-churn recipes.
What really sets this recipe apart is the use of fresh vanilla bean — not just vanilla extract — which brings a depth and aroma that feels indulgent but honest. Plus, the balance of sweetened condensed milk and whipped cream creates a luscious, melt-in-your-mouth texture without any ice crystals. I’ve tried other no-churn recipes before, but this one consistently gets rave reviews, and I swear it’s because of that simple little tweak. Honestly, it’s become my go-to when I want a fuss-free, homemade dessert that still feels special.
What Ingredients You Will Need
This recipe uses simple, wholesome ingredients to deliver bold flavor and a satisfying texture without the fuss. All these are easy to find at your local grocery store or maybe even in your pantry already.
- Heavy Whipping Cream (1 ½ cups / 360 ml): The backbone of the creaminess, it whips up light and airy.
- Sweetened Condensed Milk (1 can, 14 oz / 396 g): Adds natural sweetness and helps prevent ice crystals from forming.
- Vanilla Bean (1 whole bean): The star ingredient, split and scraped to extract those tiny flavorful seeds. If unavailable, high-quality vanilla extract (1 ½ tsp) works too, but fresh bean makes all the difference.
- Pure Vanilla Extract (optional, ½ tsp): To boost the vanilla flavor even more, especially if your bean is small or less aromatic.
- Pinch of Salt: Just a tiny bit to balance the sweetness and enhance flavor complexity.
I personally recommend using a good brand of sweetened condensed milk like Eagle Brand for best texture and taste. For the vanilla bean, look for plump, moist pods with a rich aroma—those little black seeds are what bring the magic.
If you’re looking for a dairy-free twist, swap the heavy cream with coconut cream (well chilled) and use a dairy-free sweetened condensed milk alternative, though the texture will differ slightly. Also, in summer, I like to fold in fresh berries or stone fruit after freezing for a fruity burst.
Equipment Needed
- Mixing Bowl: A large bowl for whipping the cream. Glass or metal works best for whipping cream properly.
- Electric Hand Mixer or Stand Mixer: Essential for whipping cream to stiff peaks quickly. You can try whisking by hand, but it takes patience.
- Rubber Spatula: For gently folding the whipped cream into the condensed milk mixture without deflating it.
- Freezer-Safe Container: A shallow, airtight container or loaf pan works well to freeze the ice cream evenly.
- Vanilla Bean Knife or Sharp Paring Knife: For splitting the vanilla bean pod cleanly and scraping out the seeds.
If you don’t have a mixer, a sturdy whisk can work but be prepared for a workout! I’ve found that a silicone spatula makes folding less messy and helps keep the texture light. For freezing, a metal loaf pan chills faster than plastic, helping the ice cream set better.
Preparation Method
- Prep the Vanilla Bean (5 minutes): Use a sharp knife to split the vanilla bean lengthwise. Scrape out the tiny black seeds with the back of the knife. Set both seeds and pod aside. The pod can be steeped in warm milk later if desired for extra flavor (optional).
- Whip the Cream (5-7 minutes): In a chilled mixing bowl, beat the heavy cream with an electric mixer on medium-high speed until soft peaks form. Watch closely — overwhipping can turn it into butter, so stop once you see the peaks hold but the surface still looks creamy.
- Combine Condensed Milk and Vanilla (2 minutes): In another bowl, stir together the sweetened condensed milk, scraped vanilla bean seeds, vanilla extract (if using), and a pinch of salt until evenly mixed.
- Fold Cream into Condensed Milk (2-3 minutes): Carefully fold about one-third of the whipped cream into the condensed milk mixture to lighten it, then gently fold in the remaining whipped cream. Use a rubber spatula and slow, deliberate strokes to keep the mixture airy and smooth.
- Transfer and Freeze (6+ hours): Pour the mixture into a freezer-safe container, smoothing the top with your spatula. Cover tightly with a lid or plastic wrap. Freeze for at least 6 hours, ideally overnight, until firm but scoopable.
- Serving: Before scooping, let the ice cream sit at room temperature for 5-10 minutes to soften slightly for perfect scoopability.
If you want to infuse extra vanilla, gently warm the cream with the used vanilla bean pod before whipping, then chill thoroughly before continuing. Also, if you notice any ice crystals after freezing, a quick re-whip before serving can revive the texture.
Cooking Tips & Techniques
There’s a bit of an art to making this no-churn vanilla bean ice cream base just right. Here are some tips I’ve learned the hard way:
- Chill Your Tools: Cooling your bowl and beaters in the fridge before whipping cream helps achieve fluffy peaks faster and more reliably.
- Don’t Overbeat the Cream: Stiff peaks are the goal, but going past that turns cream grainy and buttery. Stop as soon as peaks hold their shape but still look smooth.
- Fold Gently: When combining whipped cream with the condensed milk mixture, fold carefully to keep the airiness. Vigorous stirring will deflate the mixture and affect creaminess.
- Use Real Vanilla Bean: The tiny seeds add flavor and visual appeal. If you’re stuck with extract, use good-quality pure vanilla extract, but fresh bean is worth the effort.
- Freeze Properly: Use a shallow container for faster freezing and even texture. Cover tightly to prevent freezer burn and ice crystals.
- Scoop with Warm Spoons: Running your ice cream scoop or spoon under hot water before scooping makes serving much easier and prettier.
Honestly, I once forgot to chill my bowl and ended up with a lumpy mess. Lesson learned! Also, timing is key — whip the cream just before folding to keep it fresh and light. Multitasking while waiting for freezing? Try prepping mix-ins or toppings so you’re ready to enjoy immediately when it’s done.
Variations & Adaptations
This creamy no-churn vanilla bean ice cream base is like a blank canvas—ready to be customized:
- Chocolate Swirl: Fold in softened chocolate ganache or cocoa powder before freezing for a rich twist.
- Fruit-Filled: Add chopped fresh strawberries, blueberries, or mango chunks after folding in the whipped cream for a fruity burst.
- Nutty Crunch: Mix in toasted pecans, almonds, or crushed cookies right before freezing for texture contrast.
- Dairy-Free Option: Use chilled coconut cream and a dairy-free sweetened condensed milk alternative. The flavor will be coconut-forward but still creamy.
- Spiced Version: Add a pinch of cinnamon, cardamom, or nutmeg to the condensed milk mixture for warm undertones.
One of my favorite personal twists is folding in homemade salted caramel sauce right before freezing—because who doesn’t want a little salty-sweet magic? For a fancy touch, you can serve this ice cream with warm berry compote or alongside a slice of rich chocolate bundt cake to impress guests effortlessly.
Serving & Storage Suggestions
This ice cream is best enjoyed slightly softened, about 5 to 10 minutes at room temperature. A quick tip: scoop it onto chilled bowls to keep it from melting too fast. Feel free to dress it up with fresh fruit, a drizzle of honey, or even a sprinkle of flaky sea salt for a grown-up touch.
Store leftovers in an airtight container in the freezer for up to two weeks. Over longer storage, the texture may become slightly icy, so I recommend stirring gently halfway through freezing if possible. To re-soften, leave it on the counter for a few minutes or microwave briefly (5-7 seconds) in a microwave-safe bowl.
Flavors often deepen after a day or two in the freezer, making this ice cream perfect for making ahead of time. It pairs beautifully with warm desserts like crisp fruit cobblers or a slice of classic apple pie for a cozy treat.
Nutritional Information & Benefits
This no-churn vanilla bean ice cream base is rich and indulgent but made with simple ingredients. Per serving (about ½ cup / 125 ml), it contains approximately:
| Nutrient | Amount |
|---|---|
| Calories | 220 |
| Fat | 14g |
| Saturated Fat | 9g |
| Sugar | 20g |
| Protein | 3g |
The heavy cream provides a source of calcium and fat-soluble vitamins, while the vanilla bean adds antioxidants. Keep in mind, this recipe contains dairy and is not suitable for those with lactose intolerance or milk allergies unless adapted. For a lower-sugar option, you could experiment with reduced-sugar condensed milk alternatives, but texture and sweetness will vary.
From a wellness perspective, I appreciate how this recipe lets you control what goes in—no hidden preservatives or artificial flavors here. It’s a treat that feels honest, and that counts for a lot in my book.
Conclusion
This creamy no-churn vanilla bean ice cream base is a perfect example of how simple ingredients and minimal effort can create something truly special. If you’ve ever hesitated to make homemade ice cream, this recipe is your gentle nudge to try—because it really is that easy and rewarding.
Feel free to make it your own by adding mix-ins or adjusting the sweetness to your taste. I love this recipe because it reminds me that homemade doesn’t have to be complicated to be delicious, and sometimes, the best desserts are the ones you can pull together on a whim.
If you give it a go, I’d love to hear how it turns out or what fun twists you tried. Don’t be shy—share your thoughts and adaptations below, and let’s celebrate simple homemade desserts together!
Frequently Asked Questions
Can I use vanilla extract instead of a vanilla bean?
Yes, you can swap one whole vanilla bean for about 1 ½ teaspoons of pure vanilla extract. The flavor won’t be quite as intense or speckled, but it’s still delicious.
Do I need an ice cream maker for this recipe?
Nope! That’s the beauty of this no-churn recipe. It uses whipped cream and sweetened condensed milk to get that creamy texture without any special equipment.
How long does the ice cream need to freeze?
Freeze for at least 6 hours or overnight. This helps it firm up properly and develop a smooth texture.
Can I add mix-ins like chocolate chips or nuts?
Absolutely! Fold in your favorite mix-ins just before freezing to keep them evenly distributed.
What’s the best way to store leftover ice cream?
Keep it in an airtight container in the freezer for up to two weeks. Let it soften a bit before scooping for best results.
Pin This Recipe!
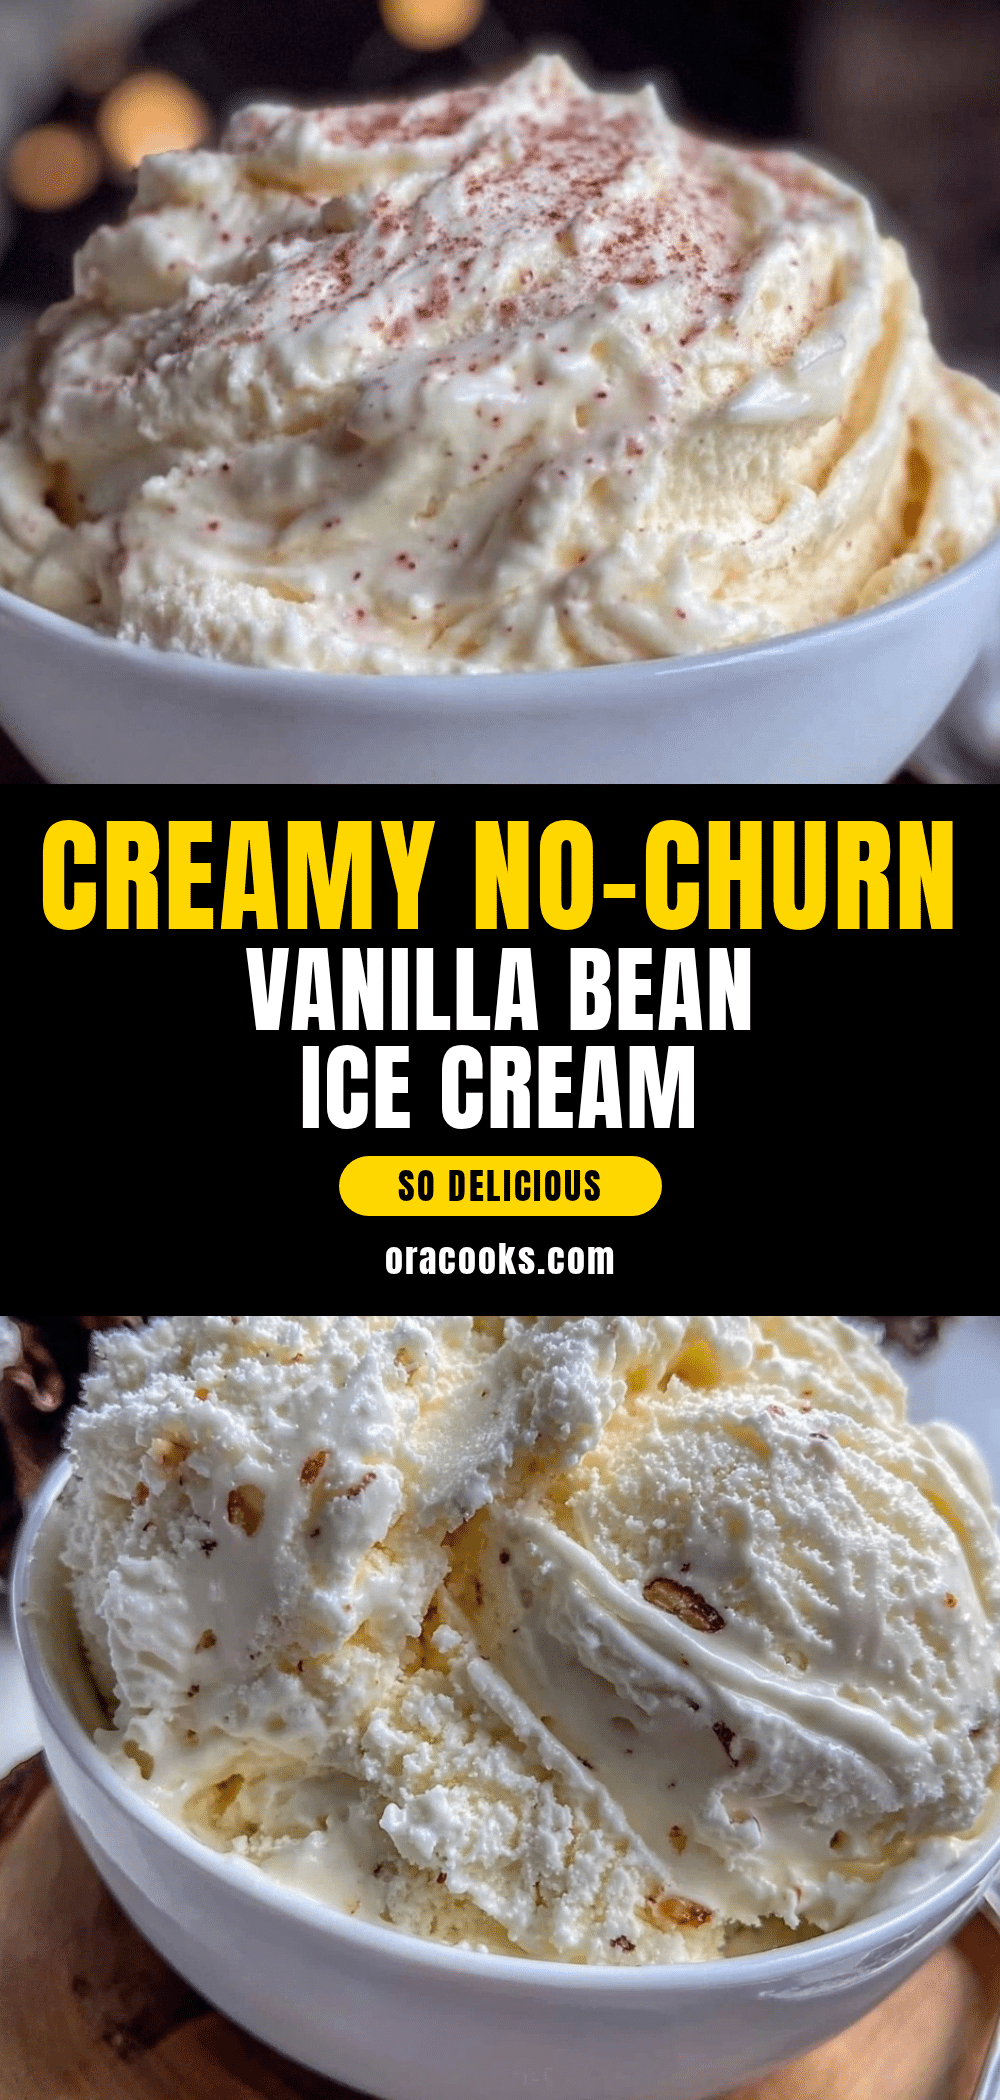
Creamy No-Churn Vanilla Bean Ice Cream Base Recipe

An easy homemade no-churn vanilla bean ice cream base that is creamy, rich, and requires no special equipment. Perfect for quick desserts with a smooth texture and real vanilla flavor.
- Prep Time: 15 minutes
- Cook Time: 0 minutes
- Total Time: 6 hours 15 minutes
- Yield: 8 servings 1x
- Category: Dessert
- Cuisine: American
Ingredients
- 1 ½ cups (360 ml) heavy whipping cream
- 1 can (14 oz / 396 g) sweetened condensed milk
- 1 whole vanilla bean, split and scraped
- ½ tsp pure vanilla extract (optional)
- Pinch of salt
Instructions
- Prep the vanilla bean: Use a sharp knife to split the vanilla bean lengthwise. Scrape out the tiny black seeds with the back of the knife. Set both seeds and pod aside.
- Whip the cream: In a chilled mixing bowl, beat the heavy cream with an electric mixer on medium-high speed until soft peaks form. Stop once peaks hold but the surface still looks creamy.
- Combine condensed milk and vanilla: In another bowl, stir together the sweetened condensed milk, scraped vanilla bean seeds, vanilla extract (if using), and a pinch of salt until evenly mixed.
- Fold cream into condensed milk: Carefully fold about one-third of the whipped cream into the condensed milk mixture to lighten it, then gently fold in the remaining whipped cream using a rubber spatula with slow, deliberate strokes.
- Transfer and freeze: Pour the mixture into a freezer-safe container, smoothing the top. Cover tightly and freeze for at least 6 hours or overnight until firm but scoopable.
- Serving: Let the ice cream sit at room temperature for 5-10 minutes before scooping for perfect softness.
Notes
Chill your bowl and beaters before whipping cream for better results. Do not overbeat the cream to avoid turning it into butter. Fold whipped cream gently to keep the mixture airy. Use a shallow container for faster freezing and even texture. Run your scoop under warm water before scooping to ease serving. For dairy-free version, substitute heavy cream with chilled coconut cream and use dairy-free sweetened condensed milk alternative.
Nutrition
- Serving Size: ½ cup (125 ml)
- Calories: 220
- Sugar: 20
- Fat: 14
- Saturated Fat: 9
- Carbohydrates: 20
- Protein: 3
Keywords: no-churn ice cream, vanilla bean ice cream, homemade ice cream, easy dessert, no machine ice cream, creamy ice cream base