Love this? Save it for later!
Share the inspiration with your friends
I was standing in the frozen foods aisle last October, staring at a bag of pre-made pigs in a blanket, when a cold draft from the freezer case hit my neck — and suddenly I was seven years old at my Aunt Rose’s kitchen table, the smell of butter and hot dogs filling her tiny apartment. She’d lean over my shoulder, flour dusting her apron, and say, “Watch the eyes, sweetheart. They need to look like they’re trying to escape.” I remember the way her hands moved, quick and sure, wrapping dough around each little frank like she was tucking someone into bed. That was the last Halloween she was around to make them with me. And honestly? I’ve been chasing that exact feeling ever since — that mix of silly and satisfying, the kind of snack that makes adults forget they’re supposed to be sophisticated. Maybe you’ve been there too, standing in a grocery store, trying to remember what made a simple dish feel so special. For me, it was those mummy hot dog bites, the ones where the mustard eyes always seemed to look a little panicked. I’ve made them every year since, tweaking and testing, and this version right here? This is the one that finally made me close my eyes after the first bite and feel like I was back at that table.
Why You’ll Love This Recipe
Let’s be real — Halloween hosting can get stressful fast. Between decorating, costume emergencies, and figuring out what to serve that isn’t just candy, you need a recipe that delivers without the drama. These mummy hot dog bites are that recipe. I’ve tested them at three different parties now, and they disappear faster than the candy bowl every single time.
- Ready in Under 30 Minutes : From fridge to table in about 25 minutes flat. You can prep them while the kids are still arguing over costumes.
- Simple Ingredients : Hot dogs, crescent roll dough, and mustard. That’s it. No fancy grocery trips, no obscure spices you’ll never use again.
- Perfect for Halloween Gatherings : Whether it’s a spooky dinner party, a potluck, or just the chaos before trick-or-treating, these fit right in.
- Crowd-Pleaser : Kids love the mummy look, adults love the buttery, salty goodness. I’ve yet to see anyone eat just one.
- Unbelievably Fun : The texture — crispy dough wrapped around a juicy hot dog — is pure comfort food magic.
What makes these different from every other hot dog snack out there? It’s the technique. Most recipes just wrap the dough once and call it a day. But I’ve learned that leaving a tiny gap for the “face” and using just a dab of mustard for the eyes makes them look genuinely adorable — and genuinely spooky. Plus, the crescent roll dough bakes up flakier than traditional puff pastry, giving you that golden, buttery crunch that makes people close their eyes after the first bite. Perfect for impressing guests without breaking a sweat, or turning a simple snack into something memorable.
What Ingredients You Will Need
This recipe uses simple, pantry-friendly ingredients to deliver big flavor and maximum fun. Most of these are things you probably already have in your kitchen — and if not, they’re easy to grab on your next store run.
- 1 can (8 oz) refrigerated crescent roll dough (I prefer Pillsbury for consistent flakiness — the sheets version works even better if you can find it)
- 8 cocktail sausages or mini hot dogs (look for brands like Hebrew National or Applegate for better texture; regular hot dogs cut into thirds work too)
- Mustard for eyes (yellow mustard gives the best color contrast, but Dijon works if that’s what you have — just be careful, it’s stronger)
- 1 tablespoon melted butter (optional but recommended — it gives that golden, glossy finish)
- Salt and pepper to taste (a light sprinkle before baking adds depth)
For the dough, I’ve tested this with both the original crescent rolls and the seamless sheets. The sheets are easier to cut into even strips, but the perforated rolls work fine — just press the seams together before cutting. If you’re using cocktail sausages, look for the ones that are about 2 inches long; they’re the perfect size for one bite. For mini hot dogs, regular-sized ones cut into thirds work beautifully. Just make sure they’re fully cooked before wrapping, since you’re only baking until the dough is golden.
Substitution guidance: For a gluten-free version, use gluten-free crescent roll dough (I’ve had good luck with the brand Against the Grain). For dairy-free, skip the butter wash or use a plant-based alternative. And if you’re feeding a crowd, double the recipe — trust me, they’ll go fast.
Equipment Needed
You don’t need much for these, which is part of the beauty. Here’s what I use every time:
- Baking sheet — a standard half-sheet pan works perfectly. Line it with parchment paper for easy cleanup.
- Parchment paper — non-negotiable if you want the bottoms to release cleanly. I learned this the hard way after scraping dough off a pan for twenty minutes.
- Sharp knife or pizza cutter — for cutting the dough into even strips. A pizza cutter makes this way faster.
- Pastry brush — for the butter wash. If you don’t have one, just use a paper towel dipped in melted butter.
- Small bowl — for the melted butter.
- Toothpicks — optional, but helpful if you want to secure the dough ends before baking.
If you don’t have a pizza cutter, a sharp knife works just fine. Just make sure your strips are roughly the same width — about 1/2 inch — so they bake evenly. And honestly, I’ve used a butter knife in a pinch, and the mummies still turned out adorable. Don’t overthink the equipment.
Preparation Method
Let’s get into the actual making part. I’ve broken this down step by step so you don’t miss anything. Trust me — I’ve made every mistake possible so you don’t have to.
- Preheat your oven to 375°F (190°C) . Line a baking sheet with parchment paper. This is the temperature that gives you golden, flaky dough without burning the bottoms. I’ve tried 400°F, and the dough browned too fast before the inside cooked through.
- Unroll the crescent roll dough onto a clean cutting board. If you’re using the perforated version, press the seams together gently with your fingers. You want a smooth sheet of dough. If you’re using the seamless sheets, you’re already ahead of the game.
- Cut the dough into strips about 1/2 inch wide. A pizza cutter makes this ridiculously easy — just run it straight across the dough. You should get about 8 to 10 strips per sheet. Don’t worry if they’re not perfectly even; the mummies will still look cute.
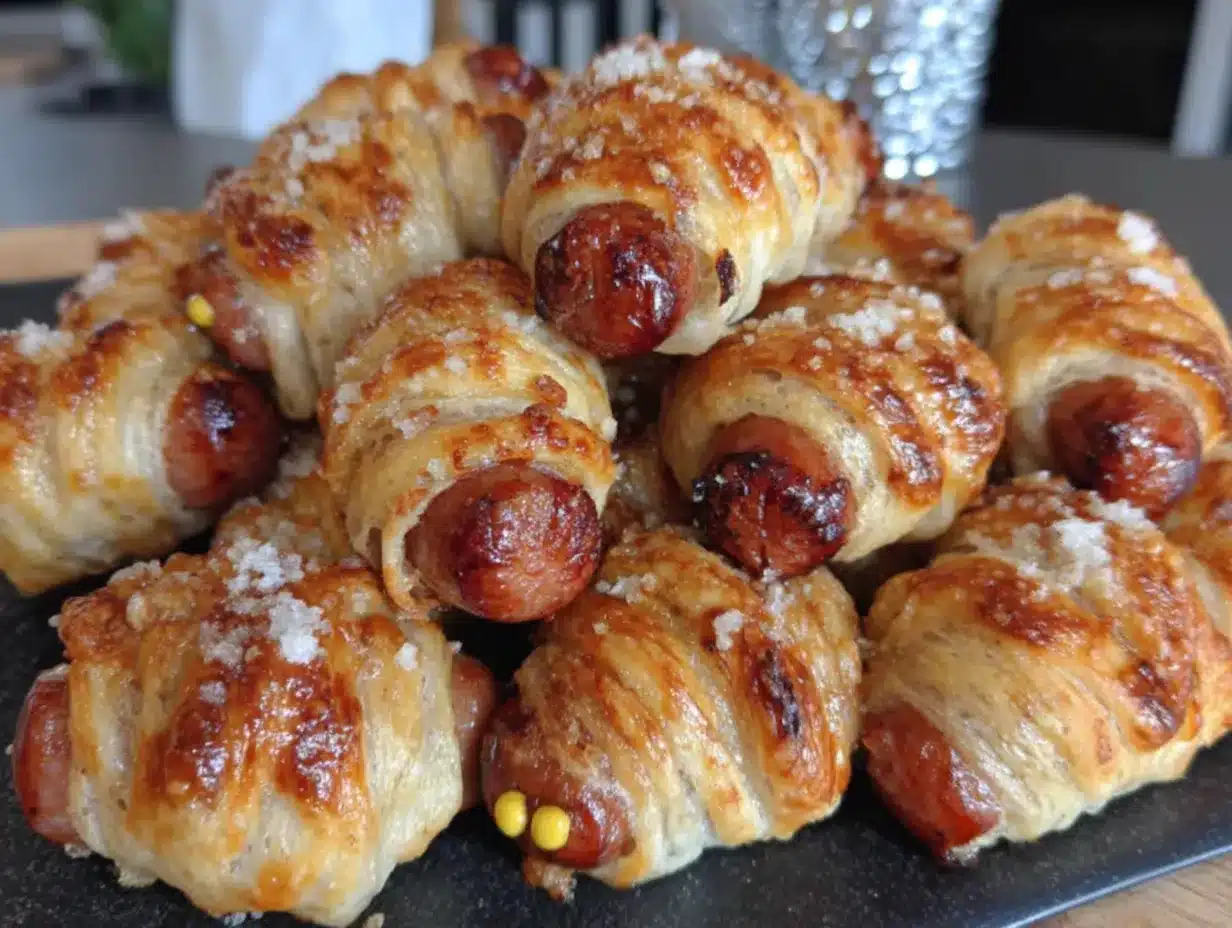
- Take one cocktail sausage or mini hot dog and place it at one end of a dough strip. Start wrapping the strip around the sausage, leaving a small gap near the top for the “face.” The dough should overlap slightly as you go, like you’re wrapping a tiny bandage. Press the end of the dough gently to seal it.
- Place the wrapped mummy on the prepared baking sheet, seam side down. Repeat with the remaining sausages and dough strips. Space them about 1 inch apart — they’ll puff up a little as they bake.
- Brush each mummy with melted butter using your pastry brush. This step is optional, but it makes the dough turn that gorgeous golden brown. If you’re skipping the butter, you can spray them lightly with cooking spray instead.
- Bake for 12 to 15 minutes, or until the dough is golden brown and the sausages are heated through. Keep an eye on them after the 12-minute mark — ovens vary, and you don’t want burnt mummies. The dough should look puffed and lightly browned.
- Let them cool for 2 to 3 minutes on the baking sheet. This is important — the dough is fragile right out of the oven, and moving them too soon can cause them to fall apart. After they’ve cooled slightly, transfer them to a serving plate.
- Add the mustard eyes using a toothpick or the tip of a knife. Dip the toothpick in yellow mustard and dot two small eyes on the exposed sausage at the top of each mummy. Don’t make them too big — you want them to look a little panicked, not cartoonish.
One thing I learned the hard way: don’t over-wrap the dough. Two or three wraps around the sausage is plenty. If you wrap too tightly, the dough will tear as it bakes, and you’ll end up with a sad, naked hot dog. Also, make sure the dough ends are tucked under the mummy so they don’t unroll during baking. I lost three mummies my first time because I forgot to seal the ends.
Cooking Tips & Techniques
After making these about a dozen times, I’ve picked up a few tricks that make the process smoother and the results better. Here’s what I wish someone had told me:
Don’t skip the parchment paper. I know it seems like an extra step, but trust me — the dough sticks to the pan like glue without it. I learned this lesson when I had to chisel mummies off a baking sheet with a spatula. Not pretty.
Work quickly with the dough. Crescent roll dough gets sticky and hard to handle if it sits out too long. If you’re making a big batch, keep the unused dough in the fridge until you’re ready for it. I’ve had dough turn into a gooey mess because I was too slow.
Use the right mustard. Yellow mustard gives the best color contrast against the golden dough and the pink sausage. Dijon works in a pinch, but it’s paler and doesn’t pop as much. I’ve also tried ketchup for the eyes, and it just looks messy — stick with mustard.
Make-ahead tip: You can assemble the mummies up to 4 hours in advance and keep them on the baking sheet in the fridge. Just add the mustard eyes after baking — the mustard bleeds into the dough if you add it before. I prep these before guests arrive, then pop them in the oven when people start looking hungry.
My biggest failure? The time I forgot to press the dough seams together. The strips separated during baking, and I ended up with a tray of hot dogs wearing broken bandages. Still edible, but not exactly Instagram-worthy. Now I always double-check the seams.
Variations & Adaptations
One of the best things about this recipe is how easy it is to customize. Here are some variations I’ve tried and loved:
Spicy Mummies : Swap the cocktail sausages for spicy smoked sausages or add a dash of cayenne pepper to the melted butter. I did this for a Halloween party last year, and they were a hit with the adults.
Cheesy Mummies : Before wrapping the dough, tuck a thin strip of cheddar or mozzarella cheese alongside the sausage. The cheese melts and oozes out a little, making them extra indulgent. Just be careful — the cheese can get hot and burn your mouth if you bite in too fast.
Veggie Mummies : Use vegetarian hot dogs or even carrot sticks (blanched first) for a meatless version. The dough wrapping works the same way, and the mustard eyes still look adorable. I’ve made these for a friend who doesn’t eat meat, and she said they were the best part of the party.
Breakfast Mummies : Swap the hot dogs for breakfast sausages and use pancake batter instead of crescent roll dough. Cook them in a skillet like pancakes, wrapping the batter around the sausage as it cooks. This is a fun twist for a Halloween morning breakfast.
Sweet Mummies : For a dessert version, use refrigerated sugar cookie dough and wrap it around chocolate-covered pretzel sticks. Bake according to the cookie dough instructions, then add icing eyes. This is a great option if you’re serving kids who don’t like savory snacks.
Serving & Storage Suggestions
These mummy hot dog bites are best served warm, right out of the oven. The dough is at its flakiest and the sausage is perfectly juicy. Arrange them on a platter with a small bowl of extra mustard for dipping — honey mustard or spicy brown mustard works great for adults who want a little kick.
For presentation, I like to scatter a few pretzel sticks around the platter to look like “bones” and add a small sign that says “Mummy Bites.” It’s a small touch, but guests always comment on it. If you’re serving them at a party, consider pairing them with a spooky Halloween punch or a creamy pumpkin dip with apple slices for a balanced spread.
For storage, let any leftovers cool completely, then place them in an airtight container. They’ll keep in the refrigerator for up to 3 days. The dough will soften slightly, but they’re still tasty. To reheat, pop them in a 350°F oven for 5 to 7 minutes — this brings back some of the crispiness. Avoid the microwave, which turns the dough into a sad, soggy mess. I learned that one the hard way.
If you want to freeze them, assemble the mummies without the mustard eyes and freeze them on a baking sheet until solid. Transfer to a freezer bag and store for up to 2 months. When you’re ready to bake, add a few extra minutes to the cooking time and add the mustard eyes after baking.
One thing I’ve noticed: the flavors actually develop a little overnight. The mustard seeps into the sausage slightly, giving it a tangy kick. So if you have leftovers, they’re still delicious the next day — just don’t expect the same crispy texture.
Nutritional Information & Benefits
Let’s be honest — these are a treat, not a health food. But here’s the breakdown if you’re curious. Per serving (about 2 mummy bites):
- Calories : Approximately 180-220
- Protein : 6-8 grams
- Carbohydrates : 14-18 grams
- Fat : 10-14 grams
- Sodium : 450-550 mg
The hot dogs provide a decent amount of protein, which helps balance out the carbs from the dough. If you’re watching your sodium intake, look for low-sodium hot dogs or turkey dogs. The crescent roll dough is higher in saturated fat, but swapping to a whole-wheat version can add a bit of fiber.
For dietary considerations, these are not gluten-free unless you use a gluten-free dough. They’re also not suitable for vegans as written, but the veggie version I mentioned earlier works well. If you have mustard allergies, use a dab of ketchup or even a tiny piece of black olive for the eyes instead.
From a wellness perspective, I think of these as a fun, occasional treat — perfect for Halloween parties or game day snacks. They’re not meant to be an everyday thing, and that’s okay. Sometimes food is about joy, not just nutrition.
Conclusion
These mummy hot dog bites have become a non-negotiable part of my Halloween hosting routine. They’re ridiculous, they’re adorable, and they make people smile — which is exactly what a good party snack should do. Every time I pull a tray of these out of the oven, I think of Aunt Rose and her flour-dusted apron, and I feel like I’m passing along a little bit of that magic.
I hope you give these a try, whether you’re hosting a spooky dinner party or just looking for something fun to make with the kids. Don’t be afraid to customize them — swap the hot dogs for something else, play with the mustard colors, or add your own twist. That’s what makes cooking fun.
If you make these, I’d love to hear about it. Drop a comment below and let me know how they turned out, or share your own variation. And if you’re looking for more Halloween snack ideas, check out my spider web dip or these ghost banana pops. Happy Halloween, and happy snacking!
Frequently Asked Questions
Can I use puff pastry instead of crescent roll dough?
Absolutely! Puff pastry works great, though it’s a bit richer and takes a few extra minutes to bake. Just roll it out slightly thinner than usual and cut into strips the same way.
How do I keep the dough from unrolling during baking?
Make sure the end of the dough strip is tucked under the mummy, seam side down on the baking sheet. You can also use a toothpick to secure it — just remember to remove the toothpick before serving.
Can I make these ahead of time for a party?
Yes! Assemble them up to 4 hours in advance and keep them on the baking sheet in the fridge. Add the mustard eyes after baking for the best look. You can also freeze them unbaked for up to 2 months.
What can I use instead of mustard for the eyes?
If you don’t have mustard or don’t like it, try using a tiny dab of ketchup, a small piece of black olive, or even a dot of melted chocolate. Just keep in mind that ketchup can be a bit runny.
How do I reheat leftovers without them getting soggy?
The best method is to reheat them in a 350°F oven for 5 to 7 minutes. This brings back some of the crispiness. Avoid the microwave, which makes the dough soft and chewy.
Pin This Recipe!
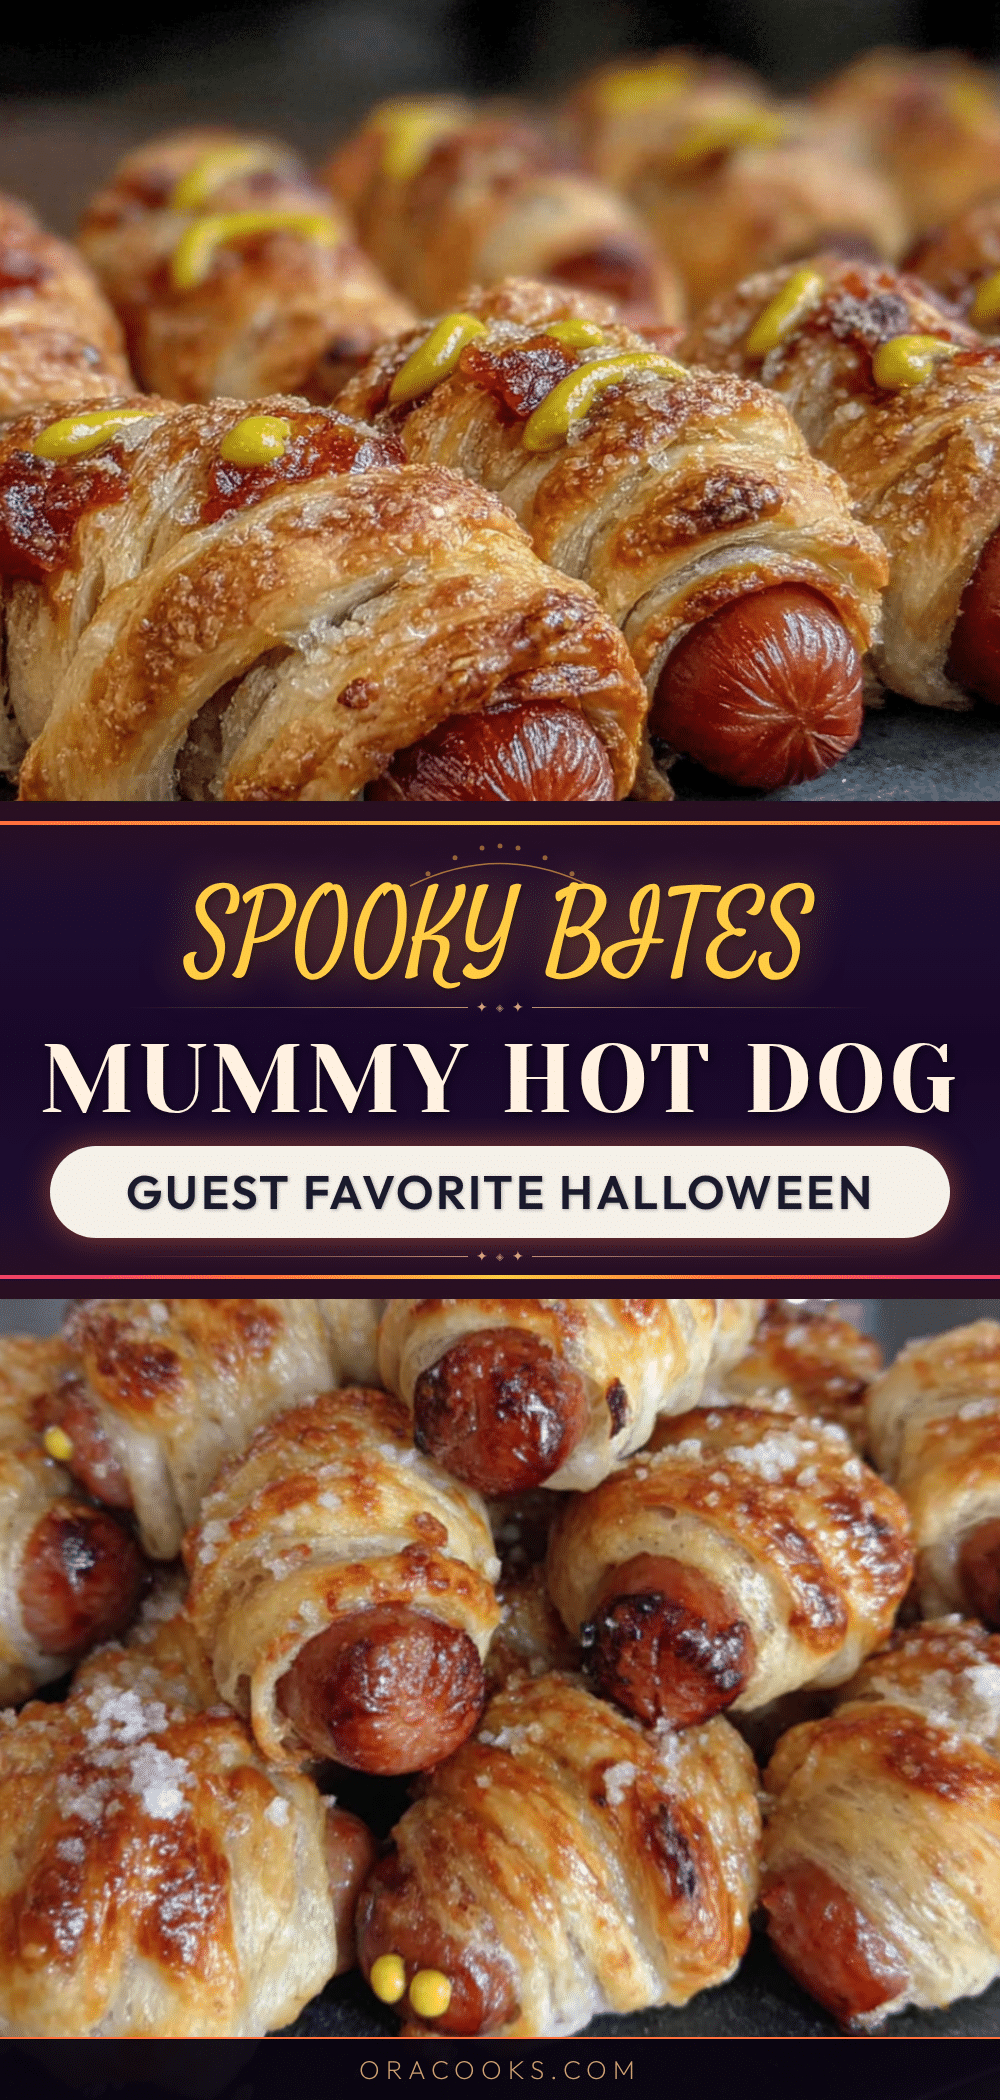
Guest-Favorite Mummy Hot Dog Bites for Halloween

These adorable mummy hot dog bites are a Halloween party favorite, featuring flaky crescent roll dough wrapped around juicy cocktail sausages with mustard eyes. Ready in under 30 minutes, they’re a fun and delicious snack that both kids and adults will love.
- Prep Time: 10 minutes
- Cook Time: 15 minutes
- Total Time: 25 minutes
- Yield: 4 servings (2 mummy bites per serving) 1x
- Category: Appetizer
- Cuisine: American
Ingredients
- 1 can (8 oz) refrigerated crescent roll dough (Pillsbury recommended)
- 8 cocktail sausages or mini hot dogs (or 3 regular hot dogs, cut into thirds)
- Mustard for eyes (yellow mustard preferred)
- 1 tablespoon melted butter (optional, for brushing)
- Salt and pepper to taste
Instructions
- Preheat your oven to 375°F (190°C). Line a baking sheet with parchment paper.
- Unroll the crescent roll dough onto a clean cutting board. If using perforated dough, press the seams together gently with your fingers to create a smooth sheet.
- Cut the dough into strips about 1/2 inch wide using a pizza cutter or sharp knife. You should get about 8 to 10 strips per sheet.
- Take one cocktail sausage or mini hot dog and place it at one end of a dough strip. Start wrapping the strip around the sausage, leaving a small gap near the top for the ‘face.’ Overlap the dough slightly as you wrap, then press the end gently to seal.
- Place the wrapped mummy on the prepared baking sheet, seam side down. Repeat with the remaining sausages and dough strips, spacing them about 1 inch apart.
- Brush each mummy with melted butter using a pastry brush (optional, for golden color).
- Bake for 12 to 15 minutes, or until the dough is golden brown and the sausages are heated through.
- Let them cool for 2 to 3 minutes on the baking sheet before transferring to a serving plate.
- Add the mustard eyes using a toothpick or the tip of a knife. Dip the toothpick in yellow mustard and dot two small eyes on the exposed sausage at the top of each mummy.
Notes
Work quickly with the dough as it can get sticky. For best results, don’t over-wrap the dough—2 to 3 wraps around the sausage is plenty. Make sure the dough ends are tucked under the mummy to prevent unrolling. Add mustard eyes after baking to prevent bleeding. Can be assembled up to 4 hours in advance and refrigerated. For freezing, assemble without mustard eyes and freeze for up to 2 months.
Nutrition
- Serving Size: 2 mummy bites
- Calories: 200
- Sugar: 3
- Sodium: 500
- Fat: 12
- Saturated Fat: 4
- Carbohydrates: 16
- Protein: 7
Keywords: mummy hot dog bites, Halloween appetizer, pigs in a blanket, crescent roll hot dogs, spooky snacks, Halloween party food, easy Halloween recipe