Love this? Save it for later!
Share the inspiration with your friends
Introduction
“You know, I never thought a blooming onion could cause such a commotion,” my friend Jake said one humid Saturday afternoon as we gathered around the backyard grill. It was one of those moments where the sound of sizzling oil and the chatter of close friends combined to create a perfect summer memory.
The blooming onion — that iconic appetizer from Outback Steakhouse — has always been a crowd-pleaser, but honestly, getting it right at home felt like chasing a mirage. One evening, after a failed attempt that left me with soggy onion petals and a kitchen disaster, I almost gave up. The batter was too thin, the oil too cool, and the onion just wouldn’t “bloom” right. But, after tweaking the batter and perfecting the frying technique (and yes, burning a few onions along the way), I finally nailed that crispy, golden masterpiece.
Maybe you’ve been there too — craving that perfect crunchy onion but not wanting to trek to the restaurant or pay a small fortune. Let me tell you, this homemade version has become a staple in my kitchen, especially for casual get-togethers and game nights. It’s messy, a little wild, and honestly, a ton of fun to make. Plus, it pairs beautifully with everything from grilled steaks to cold beers on a lazy Sunday.
This recipe stayed with me because it’s not just about the crispy onion itself — it’s about those moments around the table, the laughter, and the joy of sharing food that feels special but is surprisingly simple to recreate. So, if you’re ready to make your own unforgettable blooming onion at home, let’s get started!
Why You’ll Love This Recipe
After countless kitchen trials and taste tests, I can confidently say this crispy Outback Steakhouse blooming onion recipe is a keeper. Here’s why it stands out:
- Quick & Easy: From prep to plate in under 45 minutes — perfect for busy nights or unexpected guests.
- Simple Ingredients: No need for exotic items; most are pantry staples you probably already have.
- Perfect for Entertaining: Whether it’s a casual party or family dinner, it’s a guaranteed crowd-pleaser.
- Crispy & Flavorful: The batter is seasoned just right for that irresistible crunch and zing.
- Customizable: Play with the dipping sauces or spice levels to make it your own.
This isn’t just another blooming onion recipe — it’s the one I trust to deliver that restaurant-quality crunch without the hassle. The secret lies in the batter’s texture and the oil temperature, which I’ve tweaked after way too many “oops” moments (like that time I forgot to slice the onion properly and ended up with a clump of petals). Honestly, the balance of seasoning and crispiness will have you closing your eyes after the first bite — that’s how good it is.
Plus, it’s the kind of recipe that makes you feel like a pro in the kitchen, impressing guests without breaking a sweat. So, if you love the idea of crispy, golden, flavorful onion petals paired with a tangy dipping sauce, this guide is right up your alley.
What Ingredients You Will Need
This recipe uses straightforward ingredients to build bold flavor and a satisfying crunch without fuss. You’ll find these in most kitchens, and a few tips on choosing the best versions:
- 1 large sweet onion (Vidalia or Walla Walla are perfect for their mild sweetness)
- 2 ½ cups all-purpose flour (I prefer King Arthur for consistency)
- 1 tablespoon paprika (smoked paprika adds a nice depth if you have it)
- 1 teaspoon cayenne pepper (adjust to taste for heat)
- 1 teaspoon garlic powder
- 1 teaspoon onion powder
- ½ teaspoon dried oregano
- ½ teaspoon dried thyme
- 1 teaspoon salt
- ½ teaspoon black pepper, freshly ground
- 1 cup buttermilk (or whole milk with 1 tablespoon vinegar as a substitute)
- 2 large eggs
- Vegetable oil for frying (about 4 cups, enough for deep frying; peanut oil works well for its high smoke point)
- Dipping sauce:
- ½ cup mayonnaise
- 2 tablespoons ketchup
- 1 tablespoon horseradish (prepared, for your zing)
- 1 teaspoon smoked paprika
- ½ teaspoon garlic powder
- Salt and pepper to taste
Feel free to swap the all-purpose flour for gluten-free flour blends if needed. For the dipping sauce, I’ve found that balancing the creaminess of mayo with a bit of horseradish kick is what brings it close to the restaurant’s version. Plus, homemade sauces always beat store-bought in my book.
Equipment Needed
- Sharp chef’s knife: Essential for slicing the onion evenly; a serrated knife can be helpful but not required.
- Cutting board: A sturdy one with enough space to work comfortably.
- Deep frying pan or Dutch oven: At least 3-4 quarts to hold enough oil for deep frying without overcrowding.
- Cooking thermometer: A must-have for keeping oil temperature steady around 350°F (175°C).
- Mixing bowls: One for the wet ingredients and one for the dry batter.
- Wire rack or paper towels: For draining excess oil after frying.
- Tongs or slotted spoon: For safely lowering and removing the onion from hot oil.
If you don’t have a thermometer, you can test oil readiness by dropping a pinch of flour — it should bubble and sizzle immediately. I learned this the hard way when my first batch was a greasy mess because the oil was too cool. For a budget-friendly option, a heavy-bottomed pot works great too — just don’t overcrowd the oil.
Preparation Method
- Prepare the onion: Peel your sweet onion and trim the stem end slightly, leaving the root intact (this holds the “bloom” together). Place the onion cut-side down on your cutting board.
- Slice the onion: Start slicing downward about ¼ inch apart, making 12-16 cuts without cutting through the root. This step is tricky — don’t rush it! The onion should open up like a flower when shaken gently.
- Soak the onion: Submerge the cut onion in ice water for 30 minutes. This helps separate the petals and adds crispness.
- Make the wet batter: In a bowl, whisk together buttermilk and eggs until smooth.
- Make the dry batter: In a separate large bowl, combine flour, paprika, cayenne, garlic powder, onion powder, oregano, thyme, salt, and pepper.
- Drain and coat the onion: Remove the onion from ice water and shake off excess. Dip the onion into the wet batter, making sure to get between the petals.
- Dredge in dry batter: Place the onion in the flour mixture, coating thoroughly. Gently press flour between the petals so each petal is well coated.
- Second dip: For extra crunch, dip the onion back into the wet batter, then again into the dry flour mixture. This double coating is the secret to that perfect crisp.
- Heat the oil: Warm oil in your deep frying pan or Dutch oven to 350°F (175°C). Use a thermometer — trust me, this is key.
- Fry the onion: Carefully lower the onion into hot oil, cut side down, using tongs. Fry for 3-4 minutes until golden brown and crisp. Flip if needed to brown evenly, then remove and drain on a wire rack or paper towels.
- Make dipping sauce: While the onion fries, whisk all sauce ingredients together. Chill until ready to serve.
- Serve immediately: Blooming onion is best enjoyed hot and crispy with that tangy sauce on the side.
Quick tip: Don’t overcrowd the oil or the temperature will drop, resulting in greasy petals. Fry one onion at a time if needed. And don’t forget — the batter consistency should be thick enough to cling but not gummy.
Cooking Tips & Techniques
One thing I learned early on is that oil temperature is king. If it’s too low, you get soggy onion layers soaking up grease. Too high, and the outside burns before the inside cooks. Using a thermometer is not optional here — it saves you from guesswork and disappointment.
Another tip: the double-dip method for the batter is crucial. It creates a thick, crunchy shell that holds up even when dipping into that delicious sauce. I remember skipping this step once and regretting it immediately — the onion fell apart in the oil.
When slicing the onion, patience is your friend. If you cut too deep, the onion won’t “bloom” properly. If you’re nervous, use a ruler or guide to keep slices even and shallow. Also, soaking the onion in ice water makes those petals pop open nicely and adds crunch.
Lastly, drain your fried onion on a wire rack instead of paper towels if possible. It keeps the bottom from steaming and getting soggy. And don’t rush to serve — let it rest a minute to cool slightly but still stay crispy.
Variations & Adaptations
- Spice it up: Add chipotle powder or smoked cayenne for a smoky heat twist.
- Gluten-free version: Use a blend of rice flour and cornstarch instead of all-purpose flour. The texture comes out surprisingly close to the original.
- Air fryer adaptation: Spray the battered onion well with cooking spray and cook at 360°F (182°C) for 20-25 minutes, flipping halfway. It’s less oily but still pretty crispy.
- Dipping sauce swap: Try a ranch or blue cheese dressing for a creamy alternative.
- Personal favorite: Sometimes I sprinkle fresh chopped parsley or chives on top for a pop of color and freshness — adds a little something unexpected!
Serving & Storage Suggestions
Serve your blooming onion hot and fresh with the sauce on the side for dipping. It pairs beautifully with grilled steak, burgers, or even a cold craft beer for a perfect casual meal. For a party, place it on a large platter with extra lemon wedges and fresh herbs for garnish.
If you have leftovers (rare, but it happens), store them in an airtight container in the refrigerator for up to 2 days. Reheat in a toaster oven or air fryer at medium heat to restore crispiness — avoid microwaving, which makes it soggy.
Flavors actually develop a bit after chilling, so the sauce can taste even better the next day. Just remember, the onion itself shines best right after frying.
Nutritional Information & Benefits
This blooming onion recipe contains roughly 400-450 calories per serving (about 1/6 of the whole onion with batter and sauce). It’s indulgent, for sure, but made with real ingredients and no preservatives.
Key ingredients like sweet onions provide antioxidants and vitamin C, while paprika adds a touch of vitamin A. Using homemade sauce means you control salt and sugar levels, which is always a plus.
For dietary considerations, swapping gluten-free flour or using an air fryer makes this recipe accessible for many. Just note that deep frying adds fat content, so enjoy as an occasional treat.
Conclusion
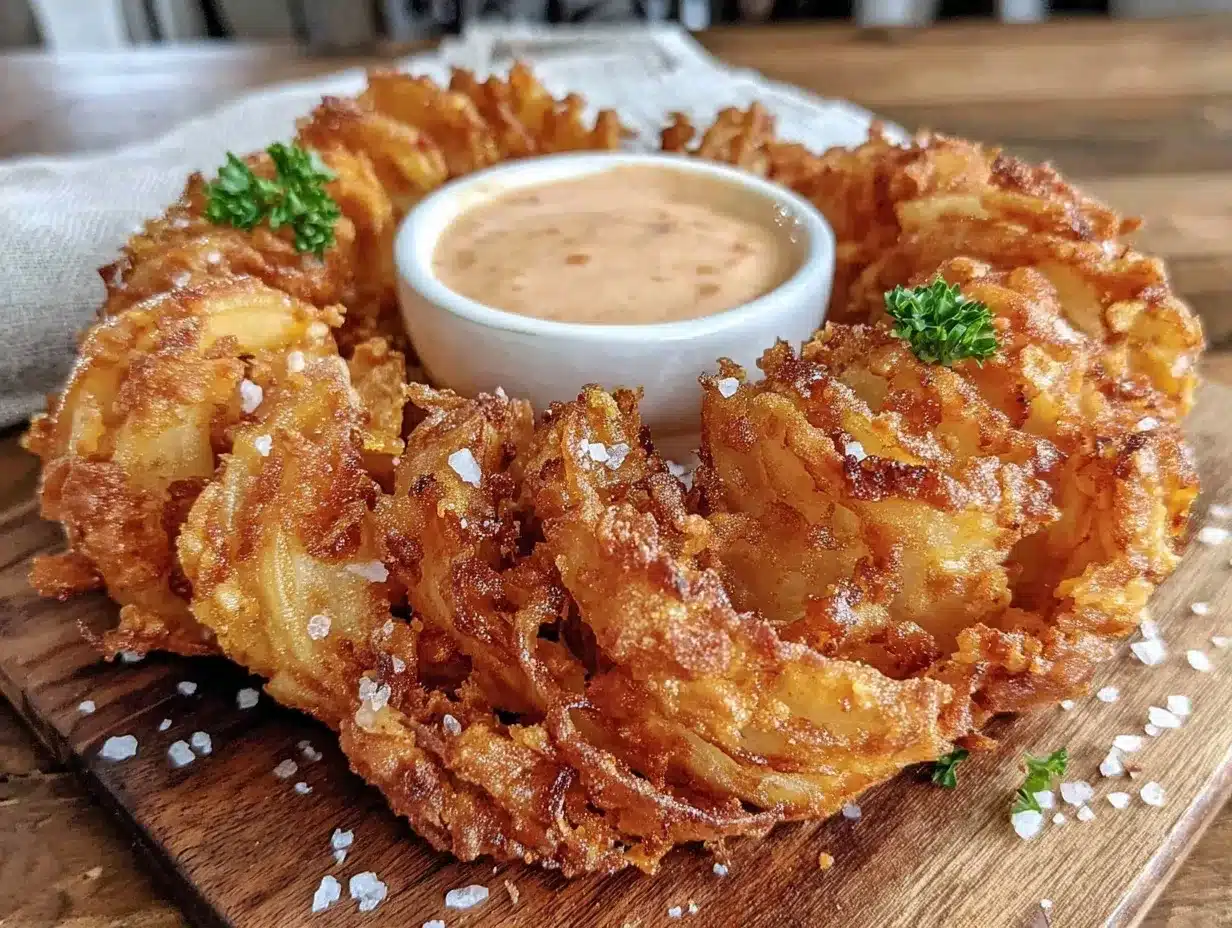
If you’ve been dreaming of that crispy, flavorful Outback Steakhouse blooming onion but wanted to try it at home, this recipe is your new best friend. It’s straightforward, fun to make, and offers that perfect crunch with a punch of seasoning.
Feel free to tweak the spice levels or dipping sauces to match your taste — after all, cooking is about making recipes your own. Personally, I love this blooming onion because it brings a little bit of restaurant magic into my everyday meals without fuss.
Give it a shot, and let me know how your blooming onion adventure goes — I’d love to hear your twists and tips! Happy cooking, and here’s to many crispy bites ahead.
FAQs
How do I keep the blooming onion from falling apart when frying?
Make sure you leave the root end intact when slicing to hold the petals together. Also, double-dip the onion in the batter and flour mixture to create a firm coating that holds up during frying.
Can I make the blooming onion ahead of time?
It’s best enjoyed fresh and hot. You can prep the onion and batter ahead, but fry just before serving to keep it crispy.
What’s the best oil for frying a blooming onion?
Vegetable or peanut oil works well because of their high smoke points and neutral flavors. Avoid olive oil as it burns easily at frying temperatures.
Is there a healthier way to make this recipe?
Yes, using an air fryer to cook the coated onion reduces oil content while keeping it crispy. You can also lighten the dipping sauce by swapping mayo for Greek yogurt.
How spicy is the blooming onion?
The recipe has a mild kick from cayenne and paprika, but you can adjust the spice levels up or down to suit your palate.
For more ideas on crispy fried favorites and easy appetizers, you might enjoy my guide on crispy garlic chicken or the step-by-step to homemade crispy fish tacos. Both pair perfectly with a blooming onion for a full flavor-packed meal.
Pin This Recipe!
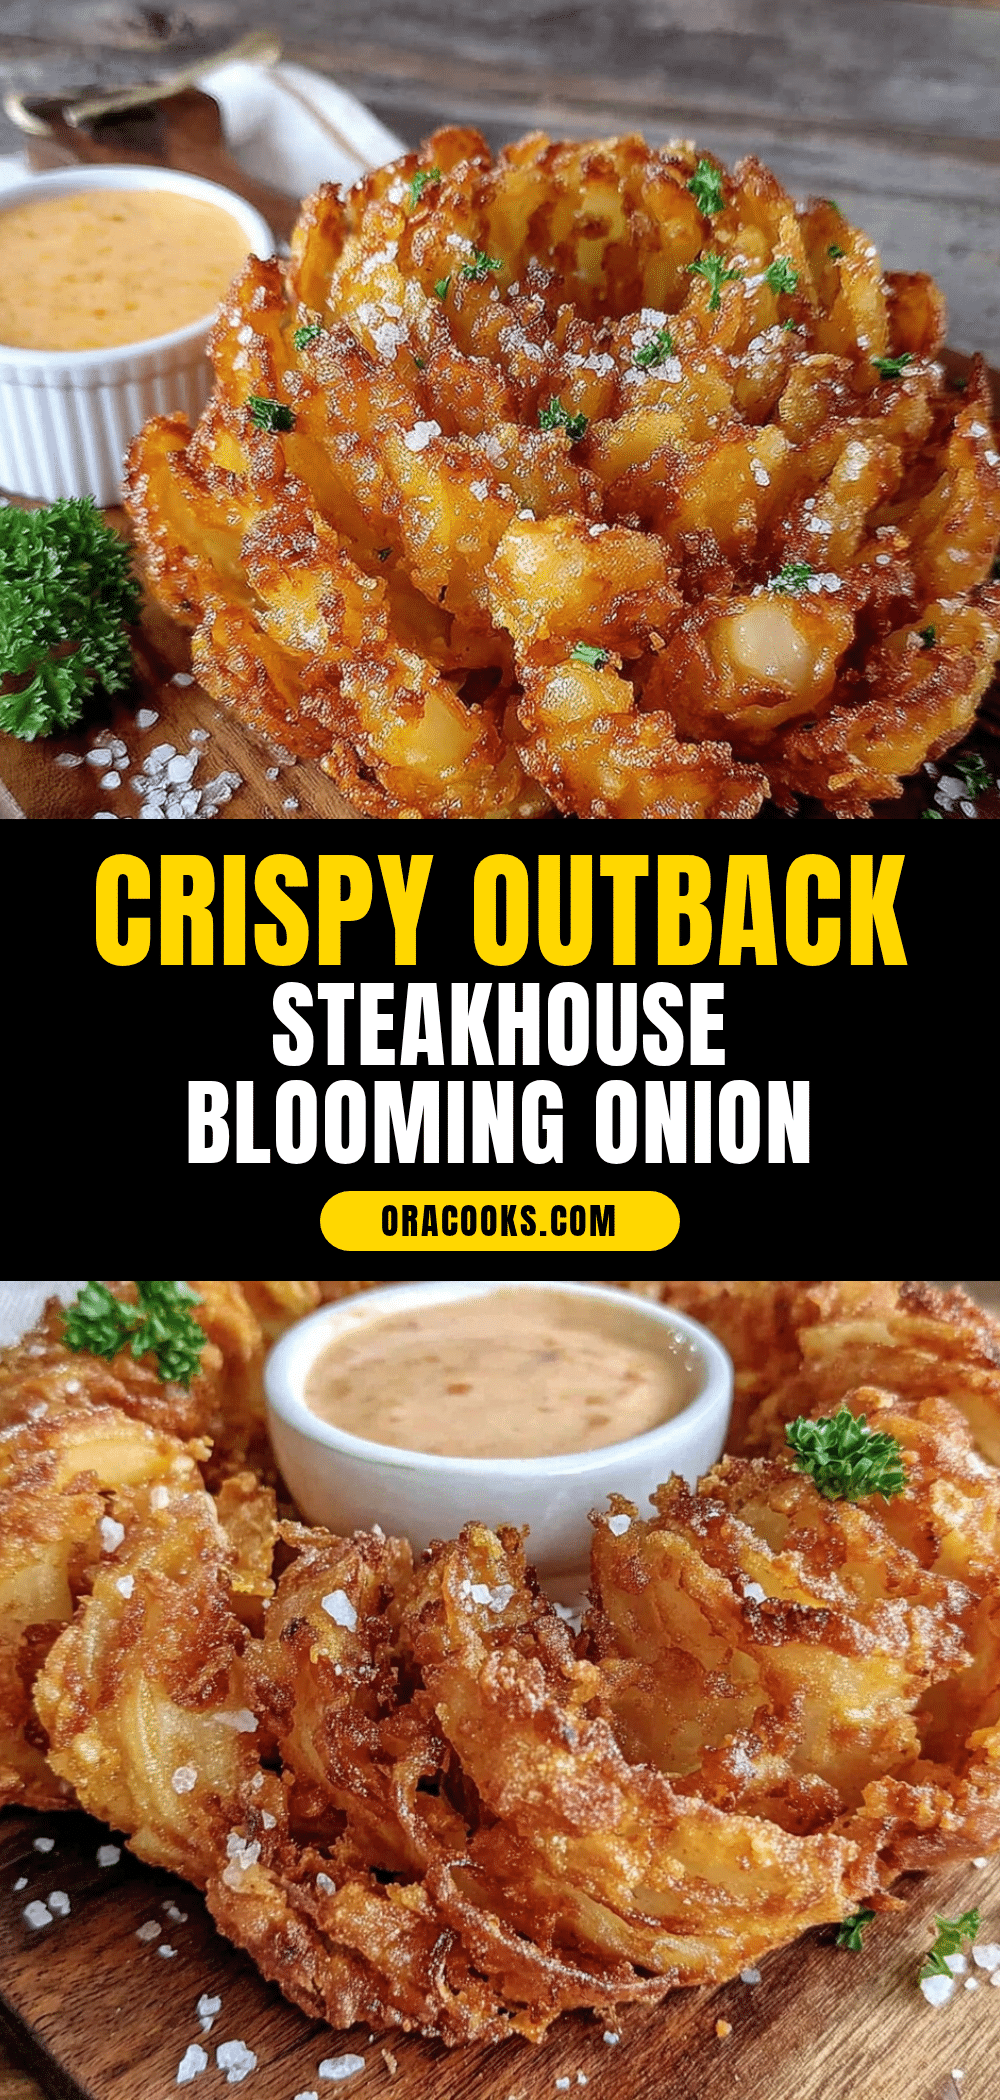
Crispy Outback Steakhouse Blooming Onion Recipe Easy Homemade Guide

This recipe recreates the iconic Outback Steakhouse blooming onion with a crispy, flavorful batter and a tangy dipping sauce. Perfect for casual get-togethers and game nights, it delivers restaurant-quality crunch at home.
- Prep Time: 40 minutes
- Cook Time: 5 minutes
- Total Time: 45 minutes
- Yield: 6 servings 1x
- Category: Appetizer
- Cuisine: American
Ingredients
- 1 large sweet onion (Vidalia or Walla Walla preferred)
- 2 ½ cups all-purpose flour
- 1 tablespoon paprika (smoked paprika optional)
- 1 teaspoon cayenne pepper (adjust to taste)
- 1 teaspoon garlic powder
- 1 teaspoon onion powder
- ½ teaspoon dried oregano
- ½ teaspoon dried thyme
- 1 teaspoon salt
- ½ teaspoon freshly ground black pepper
- 1 cup buttermilk (or whole milk with 1 tablespoon vinegar as substitute)
- 2 large eggs
- Vegetable oil for frying (about 4 cups, peanut oil recommended)
- Dipping sauce:
- ½ cup mayonnaise
- 2 tablespoons ketchup
- 1 tablespoon prepared horseradish
- 1 teaspoon smoked paprika
- ½ teaspoon garlic powder
- Salt and pepper to taste
Instructions
- Peel the sweet onion and trim the stem end slightly, leaving the root intact to hold the bloom together. Place the onion cut-side down on a cutting board.
- Slice downward about ¼ inch apart, making 12-16 cuts without cutting through the root. The onion should open like a flower when shaken gently.
- Submerge the cut onion in ice water for 30 minutes to separate petals and add crispness.
- In a bowl, whisk together buttermilk and eggs until smooth to make the wet batter.
- In a separate large bowl, combine flour, paprika, cayenne, garlic powder, onion powder, oregano, thyme, salt, and pepper to make the dry batter.
- Remove the onion from ice water and shake off excess. Dip the onion into the wet batter, ensuring coverage between petals.
- Dredge the onion in the dry batter, coating thoroughly and pressing flour between petals.
- Dip the onion again into the wet batter, then again into the dry batter for a double coating.
- Heat oil in a deep frying pan or Dutch oven to 350°F (175°C). Use a thermometer to maintain temperature.
- Carefully lower the onion cut side down into hot oil using tongs. Fry for 3-4 minutes until golden brown and crisp, flipping if needed. Remove and drain on a wire rack or paper towels.
- While frying, whisk together all dipping sauce ingredients and chill until serving.
- Serve the blooming onion hot and crispy with the dipping sauce on the side.
Notes
Use a thermometer to keep oil at 350°F for best results. Double-dip the onion in batter and flour for a thick, crunchy coating. Soaking the onion in ice water helps petals separate and adds crispness. Drain on a wire rack to avoid sogginess. Fry one onion at a time to avoid overcrowding and temperature drop. For a healthier option, use an air fryer at 360°F for 20-25 minutes, flipping halfway.
Nutrition
- Serving Size: About 1/6 of the who
- Calories: 425
- Sugar: 6
- Sodium: 700
- Fat: 25
- Saturated Fat: 4
- Carbohydrates: 45
- Fiber: 3
- Protein: 7
Keywords: blooming onion, Outback Steakhouse, crispy onion, appetizer, fried onion, homemade blooming onion, dipping sauce