Love this? Save it for later!
Share the inspiration with your friends
I wasn’t expecting cookie decorating advice from my plumber, but there I was, Wednesday morning, standing in my kitchen with a sink full of greasy water, listening to him describe exactly how to make turkey hand sugar cookies with his kids. His name is Dale, and he’d been under my sink fixing a pipe when he noticed the flour dust on my counter. “You baking for Thanksgiving?” he asked, wiping his hands on a rag. I admitted I was testing recipes, and that’s when he launched into the story about the year his wife worked nights and he was left in charge of the kindergarten class party. He needed something foolproof. Something that didn’t require piping bags or food coloring gels. Something a bunch of five-year-olds could actually pull off without a meltdown. And that’s how the turkey hand cookie became his saving grace.
Honestly, I’d seen those handprint turkey crafts made with construction paper a hundred times. But turning it into an actual cookie you could eat? That had never crossed my mind. Dale told me the trick was using a simple sugar cookie recipe that held its shape, and letting the kids go wild with candy corn and frosting. He said the mess was worth it — and honestly, he was right. I tried it that very weekend with my own kids, and let me tell you, it was chaos. There was frosting on the dog. A candy corn incident on the rug. But the cookies? They were perfect. We’ve made them every year since, and they’ve become the thing my kids request before we even carve the pumpkin.
Maybe you’ve been there, staring down a holiday baking list that feels way too ambitious, or trying to find something that gets the kids involved without making you want to hide in the pantry. These cookies are the answer. They’re not fancy, and that’s the whole point. They’re messy, fun, and absolutely delicious.
Why You’ll Love This Recipe
Let me tell you why these cookies have earned a permanent spot in our Thanksgiving rotation. I’ve tested a lot of holiday recipes over the years, and this one wins every single time for a few very specific reasons.
- Kid-Friendly & Foolproof: This is the kind of recipe where the mess is part of the fun. No fancy techniques required. If your kid can press their hand into dough, they can make these. It’s practically impossible to mess up, and that’s coming from someone who has definitely messed up a few holiday bakes.
- Budget-Friendly Ingredients: You likely have everything in your pantry right now. Butter, sugar, flour, eggs — the basics. The only special purchase is candy corn and maybe some frosting, which you can grab at any grocery store for a few bucks. No expensive extracts or specialty flours here.
- Perfect for Thanksgiving Gatherings: These cookies are a hit at school parties, family dinners, and playdates. They’re also a fantastic activity to keep kids busy while the turkey roasts. I’ve brought them to our family potluck for three years running, and they disappear faster than the pumpkin pie.
- Crowd-Pleaser for All Ages: I know, I know — sugar cookies can be hit or miss. But this particular recipe has a soft, buttery texture that even picky eaters love. My youngest, who usually picks at desserts, ate three in one sitting. Three.
- Unbelievably Delicious: The flavor combo of a soft sugar cookie with the salty-sweet crunch of candy corn is honestly addictive. It’s not just cute — it actually tastes amazing.
What makes this recipe different from all the other turkey cookies out there? It’s the dough. I spent a good year tweaking this recipe to get the perfect balance of softness and structure. You need a dough that’s sturdy enough to hold a handprint shape but tender enough to melt in your mouth. This one nails it. No spreading, no cracking, just perfect little turkey cookies every time.
What Ingredients You Will Need
This recipe uses simple, wholesome ingredients to deliver a soft, buttery sugar cookie that holds its shape perfectly. You probably have most of these in your kitchen already, which is exactly how I like to keep things.
For the Sugar Cookie Dough
- 1 cup (226g) unsalted butter, softened — I use Land O’Lakes for consistent results. Make sure it’s truly softened, not melted. You want it to give slightly when you press it.
- 1 cup (200g) granulated sugar — Regular white sugar works best here. I’ve tried coconut sugar, and it changes the texture too much.
- 1 large egg, room temperature — Cold eggs can make the dough seize up. Leave it out for 30 minutes before starting.
- 1 teaspoon vanilla extract — Pure vanilla makes a difference, but imitation works fine if that’s what you have.
- 2 ½ cups (312g) all-purpose flour — Spoon and level it. Scooping directly from the bag packs in too much flour and makes the cookies dry.
- ½ teaspoon baking powder — Helps the cookies puff just slightly without spreading.
- ¼ teaspoon salt — Balances the sweetness. Don’t skip it.
For Decorating
- 1 can (16 oz) vanilla frosting — Store-bought is totally fine here. I usually grab Pillsbury. You’re going to cover it with candy anyway.
- Candy corn — The classic choice for turkey feathers. You’ll need about 1 cup.
- Candy eyes — These little guys make the turkey faces come alive. You can find them in the baking aisle.
- Orange or red decorating gel — For the turkey’s wattle and beak. Wilton brand works well.
- Brown or red M&Ms (optional) — I sometimes use these for the turkey’s body instead of frosting, but frosting is easier for little hands.
Ingredient Selection Tips: For the candy corn, I prefer the Brach’s brand — they’re softer and stick better to the frosting. If you’re making these in advance, skip the candy eyes and use black decorating gel instead, since the eyes can fall off after a day or two.
Substitution Guidance: If you need a dairy-free option, use vegan butter sticks (not tub margarine) and a dairy-free frosting. For an egg-free version, replace the egg with a flax egg (1 tablespoon ground flaxseed mixed with 3 tablespoons water, let sit for 5 minutes). The texture will be slightly less tender, but it still works.
Equipment Needed
You don’t need much for this recipe, which is part of why I love it. Here’s what you’ll want to have on hand:
- Electric mixer (stand or hand-held) — I use my KitchenAid stand mixer for the dough, but a hand mixer works just as well. You just need to cream the butter and sugar until fluffy.
- Baking sheets — Two standard half-sheet pans work perfectly. I prefer light-colored metal pans for even baking.
- Parchment paper or silicone baking mats — Silicone mats are my go-to. They prevent spreading and make clean-up a breeze. Parchment paper works great too.
- Rolling pin — I use a simple wooden rolling pin. Nothing fancy needed.
- Plastic wrap — For chilling the dough. Trust me on this one — don’t skip the chill time.
- Small offset spatula — Makes frosting the cookies much easier, but a butter knife works in a pinch.
- Wax paper or paper plates — For the decorating station. Things get messy, so protect your surfaces.
Budget-Friendly Options: If you don’t have a rolling pin, a clean wine bottle works surprisingly well. No offset spatula? Use the back of a spoon. No cookie cutters needed here — your kid’s hand is the cutter!
Preparation Method
Alright, let’s make some turkey cookies. I’ll walk you through every step so you feel confident, even if you’ve never made cut-out cookies before.
-
Cream the butter and sugar. In a large mixing bowl, beat the softened butter and granulated sugar together on medium speed until light and fluffy, about 3 minutes. You want it to look pale and almost doubled in volume. Scrape down the sides of the bowl halfway through. This step is important — proper creaming gives your cookies that tender texture.
-
Add the egg and vanilla. Crack in the room-temperature egg and pour in the vanilla extract. Beat on low until just combined. Don’t overmix here, or you’ll incorporate too much air. The mixture might look slightly curdled — that’s totally fine.
-
Mix the dry ingredients. In a separate bowl, whisk together the flour, baking powder, and salt. I use a fork for this — it’s quick and aerates the flour nicely. Gradually add the dry mixture to the wet mixture, mixing on low speed. Stop as soon as the dough comes together. You should see no streaks of flour, but the dough shouldn’t be sticky. If it feels tacky, add another tablespoon of flour.
-
Chill the dough. Divide the dough in half, flatten each half into a disc about 1-inch thick, wrap tightly in plastic wrap, and refrigerate for at least 1 hour. I’ve made the mistake of skipping this step, and let me tell you — the cookies spread into blobs. Chilling solidifies the butter, which prevents spreading. You can chill it up to 3 days in advance.
-
Preheat and prep. When you’re ready to bake, preheat your oven to 350°F (175°C). Line your baking sheets with parchment paper or silicone mats. Take one disc of dough out of the fridge — keep the other chilled until you need it.
-
Roll out the dough. On a lightly floured surface, roll the dough to about ¼-inch thickness. I use a light hand with the flour — too much and the cookies get tough. Roll from the center outward, lifting and turning the dough occasionally to prevent sticking.
-
Make the handprints. Here’s the fun part. Have your child wash and dry their hands thoroughly. Gently press their hand into the rolled-out dough, fingers spread slightly apart. Press firmly enough to leave an impression, but don’t push all the way through. Use a sharp knife or a small offset spatula to cut around the handprint, about ½ inch from the edge of the impression. Carefully transfer the handprint cookie to the prepared baking sheet, spacing them about 2 inches apart. Repeat with the remaining dough. You’ll get about 8-10 cookies, depending on hand size.
-
Bake. Bake for 8-10 minutes, or until the edges are just barely golden. The centers should look set but not brown. My oven runs hot, so I check at 8 minutes. Let the cookies cool on the baking sheet for 5 minutes, then transfer to a wire rack to cool completely. Do not frost warm cookies — the frosting will slide right off.
-
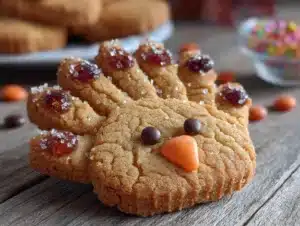
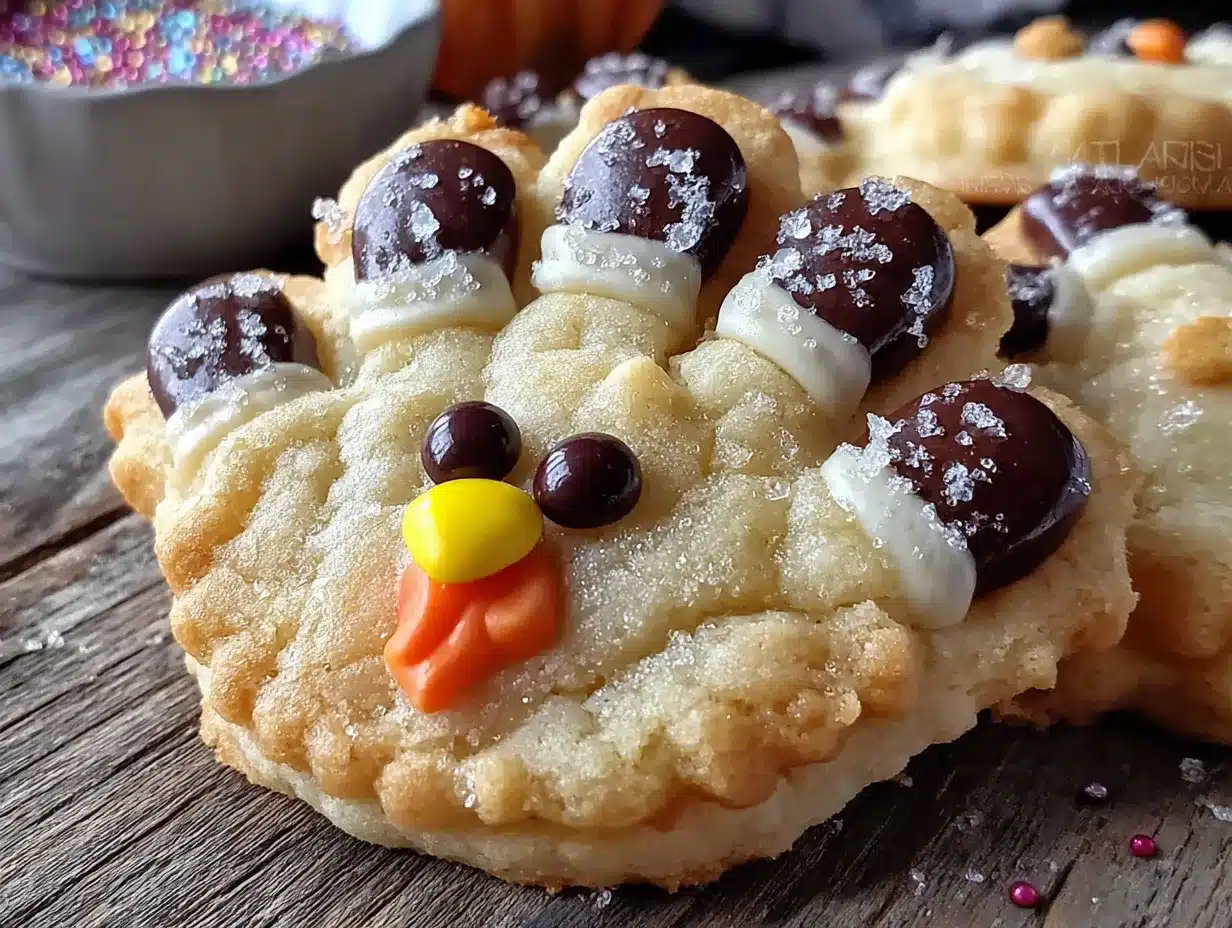
Decorate the turkeys. Once the cookies are completely cool, spread a thin layer of vanilla frosting over the palm area of the handprint (this is the turkey’s body). Arrange candy corn on each finger to create the feathers — pointy ends facing outward. Place two candy eyes on the palm area. Use the orange decorating gel to draw a small triangle beak and a red wattle (that’s the dangly bit under the beak). Let the frosting set for about 15 minutes before serving.
Sensory Cues: The dough should feel smooth and slightly firm, not sticky. When you press your child’s hand into it, you should see a clear impression. The baked cookies should be pale gold on the edges with a soft, matte center. They’ll firm up as they cool.
Cooking Tips & Techniques
Over the years, I’ve learned a few things the hard way so you don’t have to. Here are my best tips for perfect turkey hand cookies every time.
Chill the dough thoroughly. I cannot stress this enough. The first time I made these, I was impatient and only chilled the dough for 20 minutes. The cookies spread into shapeless blobs, and my kids cried. I cried a little too. Now I always chill for at least an hour, sometimes longer. Cold dough holds its shape beautifully.
Don’t overwork the dough. When you’re re-rolling scraps, handle the dough as little as possible. Overworking develops the gluten and makes tough cookies. I gently press the scraps together, re-roll once, and that’s it. Any leftover scraps get baked into “test cookies” that my kids happily eat.
Use a light touch with flour. Too much flour on your rolling surface makes the cookies dry and crumbly. I dust the surface lightly, roll, and add a tiny bit more only if the dough sticks. If the dough feels sticky after chilling, it’s usually because it wasn’t chilled long enough.
Timing is everything. Bake one sheet at a time in the center of the oven. Rotating the sheet halfway through ensures even browning. I set a timer for 6 minutes, check, and then decide if they need another 2-3 minutes. Every oven is different, so trust your eyes more than the clock.
Let kids decorate on wax paper. I learned this after scrubbing frosting off my kitchen table for an hour. Lay down wax paper or paper plates for the decorating station. It makes clean-up a breeze, and the kids can take their time without me panicking about the mess.
Variations & Adaptations
One of the best things about this recipe is how easy it is to change up. Here are some variations I’ve tried and loved.
Gluten-Free Version: Substitute the all-purpose flour with a 1:1 gluten-free baking flour blend. I use Bob’s Red Mill. The dough will be slightly more crumbly, so handle it gently and chill it for an extra 30 minutes. They won’t be quite as tender, but they’re still delicious.
Different Holiday Themes: These cookies aren’t just for Thanksgiving! For Christmas, use green frosting and arrange red and green M&Ms on the fingers as holly berries. For Halloween, use orange frosting and candy corn for a pumpkin patch theme. For a birthday party, use rainbow sprinkles and let the kids go wild. The handprint shape works for any occasion.
Natural Food Coloring Option: If you want to avoid artificial colors, make your own frosting using powdered sugar, butter, and milk, then color it with beet powder for pink or turmeric for yellow. The colors won’t be as vibrant, but they’re pretty in their own natural way.
Chocolate Version: Swap ½ cup of the flour for ½ cup of unsweetened cocoa powder. The chocolate dough is a fun twist, and it pairs surprisingly well with the candy corn. My husband actually prefers these over the original.
Picky Eater Adaptation: If your kid doesn’t like candy corn (I know, it happens), use pretzel sticks for feathers instead. They give a nice salty crunch and look just as cute. You can also use fruit leather cut into feather shapes.
Serving & Storage Suggestions
These cookies are best served at room temperature, which is perfect for Thanksgiving gatherings. I like to arrange them on a large platter with the turkey faces facing outward — it makes for a great centerpiece that kids can grab from.
Complementary Dishes: These cookies pair beautifully with a warm cup of apple cider or hot chocolate. If you’re serving them at a Thanksgiving dinner, they’re a fun addition alongside classic pumpkin pie and pecan pie bars. They’re also perfect for a Thanksgiving appetizer spread — the kids can munch on them while the adults enjoy the main meal.
Storage Instructions: Store the undecorated cookies in an airtight container at room temperature for up to 5 days. Once decorated, they’re best eaten within 2 days, as the candy corn can soften and the frosting can get sticky. If you’re making them ahead, bake the cookies, cool them completely, and store them undecorated. Frost and decorate the day you plan to serve them.
Freezer Instructions: You can freeze the unbaked dough discs for up to 3 months. Wrap them tightly in plastic wrap and then foil. Thaw in the refrigerator overnight before rolling and cutting. Baked, undecorated cookies also freeze well for up to 2 months. Thaw at room temperature, then decorate.
Reheating Tips: These cookies don’t need reheating, but if you want to refresh them, pop them in a 300°F oven for 3-4 minutes. Let them cool completely before decorating.
Flavor Development: Honestly, these cookies taste best the day they’re baked. The sugar cookie is at its peak of softness and flavor. After a day or two, they’ll still be good, but the texture becomes slightly more firm. That’s why I recommend baking them fresh if possible.
Nutritional Information & Benefits
Let’s be real — these are cookies, not health food. But I believe in balance, and these cookies bring joy to the table, which counts for something. Here’s a rough estimate per cookie (based on 10 cookies, including frosting and candy corn):
| Nutrient | Amount per Cookie |
|---|---|
| Calories | 320 |
| Total Fat | 14g |
| Saturated Fat | 8g |
| Carbohydrates | 46g |
| Sugar | 32g |
| Protein | 3g |
| Sodium | 180mg |
Health Benefits of Key Ingredients: The butter provides vitamin A, which supports eye health. The eggs contribute high-quality protein and choline, which is important for brain development (perfect for those little hands making the cookies). The flour provides iron and B vitamins. And honestly? The biggest benefit is the quality time spent in the kitchen with your kids. That matters.
Dietary Considerations: This recipe contains gluten, dairy, and eggs. For a gluten-free version, use a 1:1 gluten-free flour blend. For a dairy-free version, use vegan butter and dairy-free frosting. For an egg-free version, use a flax egg. The candy corn is typically gluten-free, but always check the label.
Potential Allergens: Wheat, dairy, eggs. The candy corn may be processed in facilities that handle peanuts and tree nuts. If allergies are a concern, check all packaging labels.
Conclusion
These Kid-Approved Turkey Hand Sugar Cookies have become a beloved tradition in our home, and I hope they become one in yours too. They’re not about perfection — they’re about the messy, joyful process of making something together. The flour on the floor, the frosting on little noses, the proud smiles when a kid holds up their turkey cookie — that’s what this recipe is really about.
I encourage you to make these your own. Use different candies, change up the frosting colors, or let your kids design their own turkey faces. Every batch will be different, and that’s the beauty of it. The cookies are delicious, sure, but the memories you’ll create while making them are even sweeter.
If you try these cookies, I’d love to hear about it! Leave a comment below and tell me how your kids decorated their turkeys. Did they use candy corn or something totally unexpected? Share your photos and tag me — I can’t wait to see your creations. Happy baking, friends!
Frequently Asked Questions
Can I use a different cookie recipe for the handprint cookies?
Absolutely! Any sturdy sugar cookie or shortbread recipe will work. Just make sure the dough is well-chilled so it holds the handprint shape. Avoid recipes that spread a lot, like chewy chocolate chip cookies.
How do I prevent the handprint from disappearing during baking?
The key is to press firmly enough to leave a clear impression, but not so hard that you cut through the dough. Chilling the shaped cookies for 15 minutes before baking also helps the impression stay defined.
Can I make these cookies without candy corn?
Yes! Try using pretzel sticks, fruit leather cut into feather shapes, or colored M&Ms. You can also use different colored frostings to pipe feather shapes directly onto the fingers.
How far in advance can I make these cookies?
You can make the dough up to 3 days ahead and keep it in the fridge. Bake the cookies up to 2 days ahead, but wait to decorate until the day you plan to serve them. The candy corn softens over time, so fresh decorating is best.
My child’s hand is too big for the cookie. What should I do?
Use a smaller hand — maybe a younger sibling’s or a friend’s. You can also make mini versions using just the thumb and two fingers, or cut the handprint in half and arrange two cookies together to make a larger turkey.
Pin This Recipe!
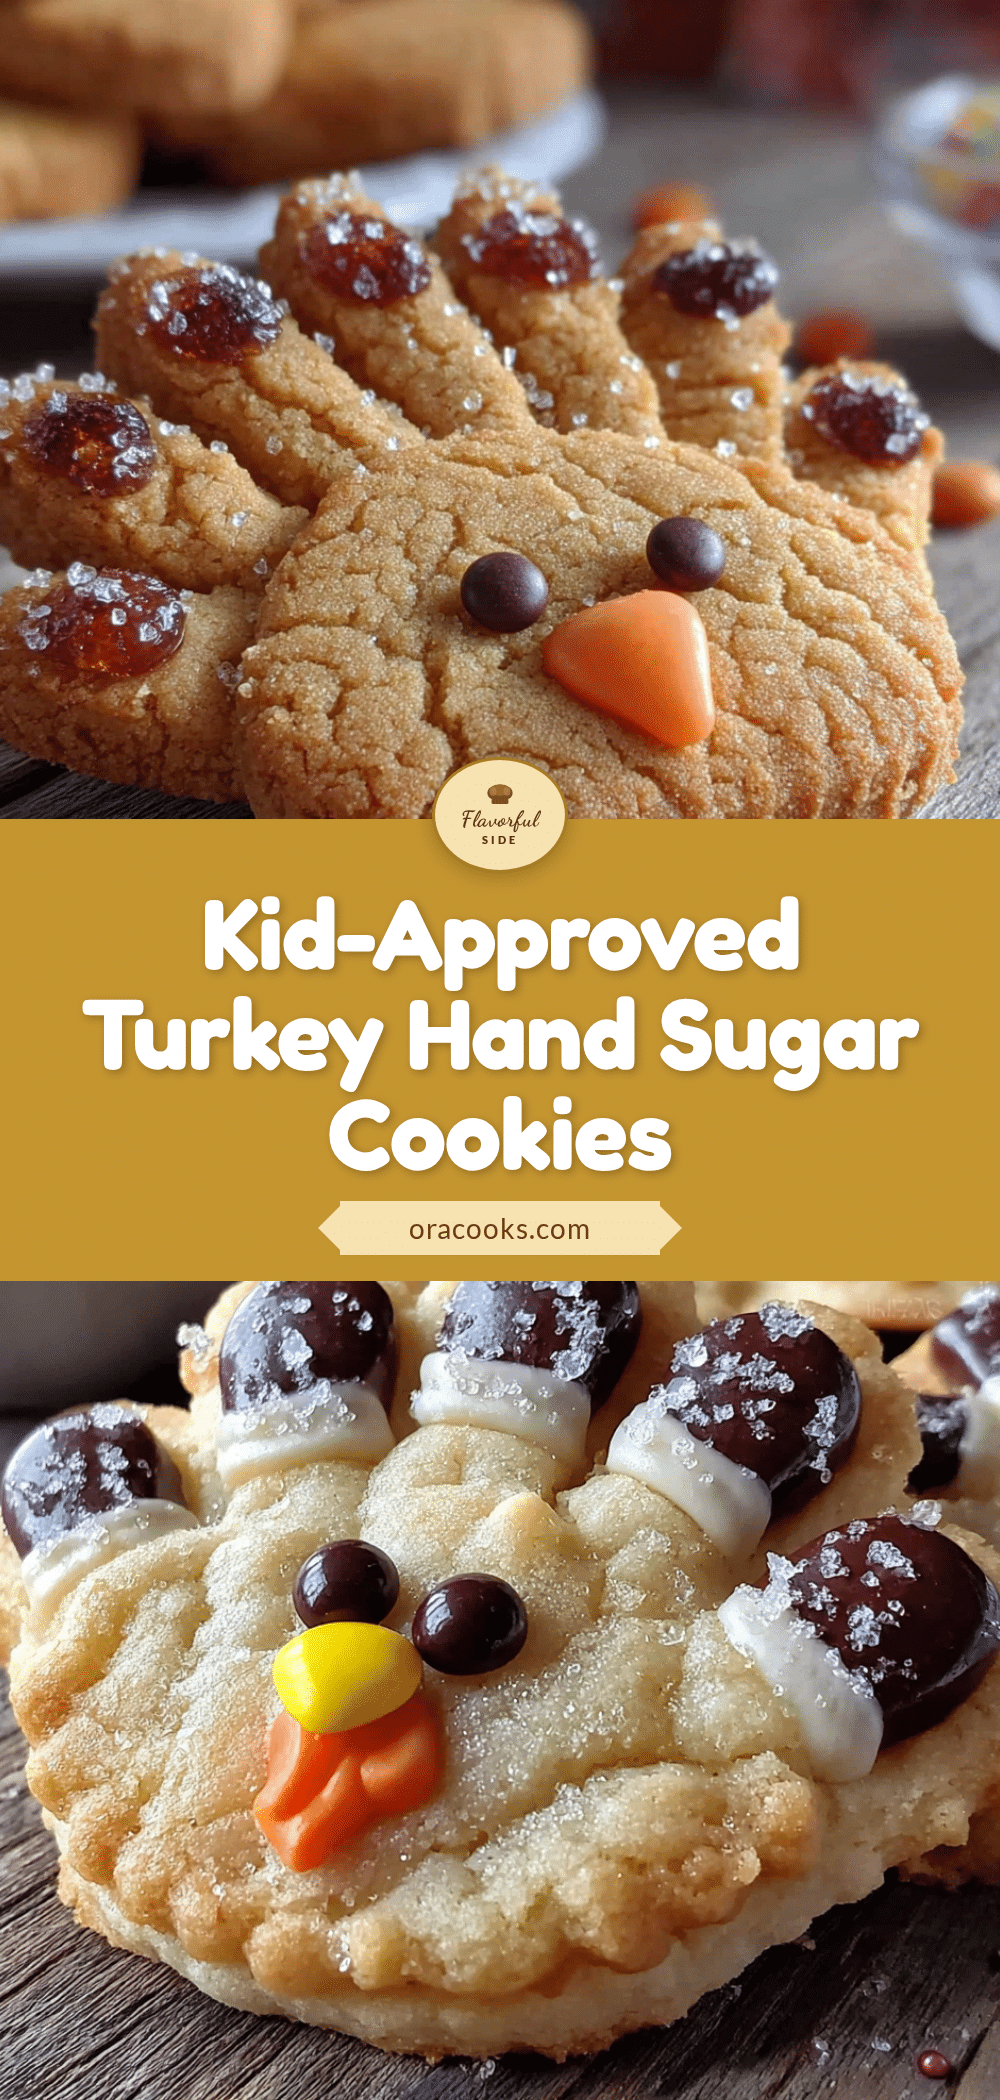
Kid-Approved Turkey Hand Sugar Cookies
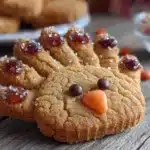
These fun and festive turkey hand sugar cookies are perfect for Thanksgiving. Made with a soft, buttery sugar cookie dough and decorated with frosting and candy corn, they’re a kid-friendly activity that results in delicious treats.
- Prep Time: 20 minutes
- Cook Time: 10 minutes
- Total Time: 1 hour 30 minutes (includes chilling)
- Yield: 8-10 cookies 1x
- Category: Dessert
- Cuisine: American
Ingredients
- 1 cup (226g) unsalted butter, softened
- 1 cup (200g) granulated sugar
- 1 large egg, room temperature
- 1 teaspoon vanilla extract
- 2 ½ cups (312g) all-purpose flour
- ½ teaspoon baking powder
- ¼ teaspoon salt
- 1 can (16 oz) vanilla frosting
- 1 cup candy corn
- Candy eyes
- Orange or red decorating gel
- Brown or red M&Ms (optional)
Instructions
- Cream the butter and sugar together until light and fluffy, about 3 minutes.
- Add the egg and vanilla; beat until just combined.
- In a separate bowl, whisk together flour, baking powder, and salt. Gradually add to wet mixture, mixing on low until dough comes together.
- Divide dough in half, flatten into discs, wrap in plastic wrap, and refrigerate for at least 1 hour.
- Preheat oven to 350°F (175°C). Line baking sheets with parchment paper or silicone mats.
- On a lightly floured surface, roll dough to ¼-inch thickness.
- Press a clean child’s hand into the dough to make an impression. Cut around the handprint with a knife, leaving a ½-inch border. Transfer to prepared baking sheets.
- Bake for 8-10 minutes, until edges are just golden. Cool on baking sheet for 5 minutes, then transfer to a wire rack to cool completely.
- Once cool, spread frosting over the palm area. Arrange candy corn on fingers for feathers. Add candy eyes, and use decorating gel to draw a beak and wattle.
- Let frosting set for 15 minutes before serving.
Notes
Chill the dough thoroughly to prevent spreading. Use a light touch with flour when rolling. Let kids decorate on wax paper for easy cleanup. Store undecorated cookies in an airtight container for up to 5 days; decorated cookies are best within 2 days.
Nutrition
- Serving Size: 1 cookie
- Calories: 320
- Sugar: 32
- Sodium: 180
- Fat: 14
- Saturated Fat: 8
- Carbohydrates: 46
- Protein: 3
Keywords: turkey cookies, handprint cookies, Thanksgiving cookies, sugar cookies, kid-friendly, holiday baking