Love this? Save it for later!
Share the inspiration with your friends
The woman at the community garden plot next to mine—her name is Ruth—watched me fumbling with a butternut squash I’d clearly overestimated my ability to carry. She didn’t say anything at first. Then she just reached over, took half the squash into her own basket, and said, “You’re making pie later, right?” That was how I ended up at her kitchen table three hours later, watching her pull a pan of the most beautiful pumpkin bars I’d ever seen out of her oven. They weren’t a pie, exactly. They were better. They were the kind of dessert that makes you forget you’re supposed to be saving room for dinner.
Ruth’s original recipe used a traditional flour crust, but I’ve been tweaking it for years to make it gluten-free without losing that buttery, flaky texture she taught me to love. Honestly, the first few attempts were disasters. I mean, crumbly messes that barely held together. But Ruth just laughed and said, “Keep going. The pumpkin part is the soul anyway.” She was right. The filling is where this dessert shines—silky, spiced just right, and perfectly set on a crust that finally, after many trials, actually works.
These gluten-free pumpkin pie bars have become my go-to for every fall gathering. They’re easier than a traditional pie (no rolling, no crimping, no stress), and they serve a crowd without any fuss. Let me tell you, there’s something magical about cutting clean squares and watching people take that first bite. The way their eyes close, just for a second, is exactly why I keep making them. Maybe you’ve been there—standing in a kitchen full of people, holding a plate of something you made, and feeling that little flutter of hope that they’ll love it as much as you do.
Why You’ll Love This Recipe
After testing this recipe more times than I care to count (and sharing it with everyone from my picky niece to my gluten-intolerant book club), I can honestly say these bars are a winner. Here’s why they’ve earned a permanent spot in my fall baking rotation:
- No-Fuss Crust: Forget rolling out dough on a floured counter. This press-in crust comes together in minutes and bakes up perfectly golden and sturdy—no gluten required.
- Crowd-Pleasing Size: A 9×13 pan serves 12 to 15 people easily. That’s way more than a standard pie, which means less fighting over the last slice.
- Make-Ahead Magic: These bars actually taste better the next day. The flavors meld together overnight, and the texture becomes even creamier. Perfect for busy hosts.
- Dietary-Friendly: They’re naturally gluten-free (using a blend of oat and almond flours), and you can easily make them dairy-free or vegan with simple swaps.
- Impressive Without Stress: Clean, neat squares look so professional on a dessert table. Your guests will think you slaved away for hours.
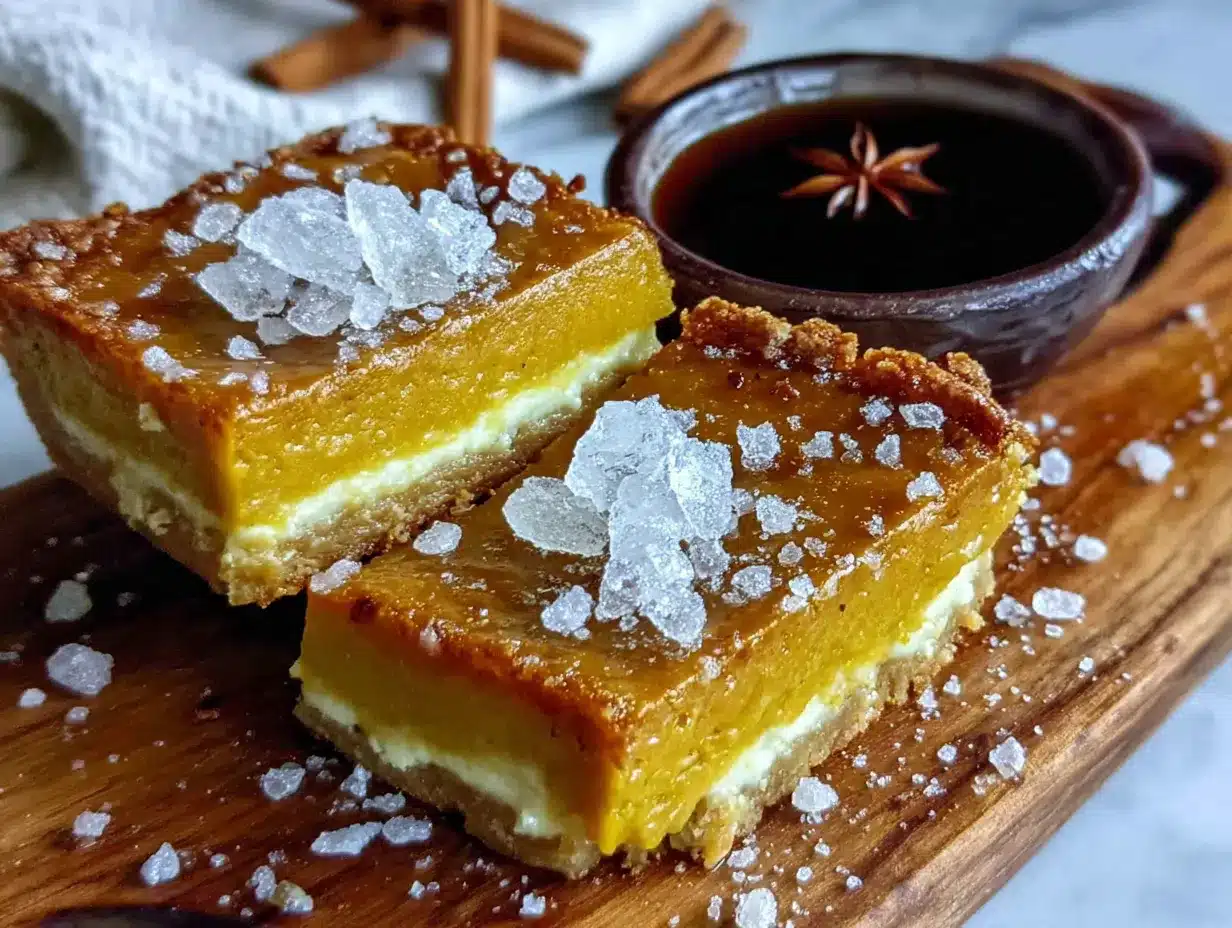
What makes these bars different from other pumpkin desserts is the texture. The crust has a slight nuttiness from almond flour that complements the warm pumpkin spice filling beautifully. And the filling? It’s not too dense, not too jiggly—it’s that perfect custard-like consistency that makes you close your eyes after the first bite. I’ve tested this with canned pumpkin, fresh pumpkin puree, and even butternut squash puree in a pinch, and every time, the result is consistently delicious.
These bars are comfort food reimagined—healthier, faster, and with the same soul-soothing satisfaction. Perfect for impressing guests without stress, or turning a simple fall evening into something memorable.
What Ingredients You Will Need
This recipe uses simple, wholesome ingredients to deliver bold flavor and satisfying texture without the fuss. Most of these are pantry staples, especially during fall baking season.
For the Crust
- 1 ½ cups (180g) gluten-free oat flour (I use Bob’s Red Mill for consistent results)
- 1 cup (100g) almond flour (adds richness and helps the crust hold together)
- ⅓ cup (65g) packed light brown sugar
- ½ teaspoon ground cinnamon
- ¼ teaspoon salt
- ½ cup (113g) cold unsalted butter, cut into small cubes (use dairy-free butter if needed)
- 1 large egg yolk (binds the crust without making it tough)
For the Pumpkin Filling
- 1 can (15 oz or 425g) pumpkin puree (not pumpkin pie filling—make sure it’s 100% pumpkin)
- 1 can (12 oz or 340g) evaporated milk (or full-fat coconut milk for dairy-free)
- ¾ cup (150g) granulated sugar
- ¼ cup (50g) packed light brown sugar
- 2 large eggs
- 1 teaspoon vanilla extract
- 2 teaspoons pumpkin pie spice (or make your own: 1 tsp cinnamon, ½ tsp ginger, ¼ tsp nutmeg, ¼ tsp cloves)
- ½ teaspoon salt
For the Topping (Optional but Recommended)
- 1 cup (240ml) heavy cream (or coconut cream for dairy-free)
- 2 tablespoons powdered sugar
- ½ teaspoon vanilla extract
- Ground cinnamon for dusting
A quick note on ingredients: I’ve tried using just oat flour for the crust, and it works, but the almond flour really makes a difference in texture. It adds a tenderness that prevents the crust from feeling sandy or dry. For the pumpkin puree, I prefer Libby’s for its consistent thickness, but any brand works as long as it’s not pumpkin pie filling (which has added sugar and spices).
If you’re dairy-free, swap the butter in the crust with a high-quality vegan butter like Miyoko’s, and use full-fat canned coconut milk instead of evaporated milk. The coconut flavor is subtle and actually complements the pumpkin nicely.
Equipment Needed
You don’t need any fancy tools for this recipe, which is part of why I love it so much. Here’s what you’ll need:
- 9×13-inch baking pan (metal or glass both work; I prefer metal for even browning)
- Parchment paper (for easy lifting and clean squares)
- Large mixing bowls (one for crust, one for filling)
- Whisk (for smoothing out the filling)
- Pastry cutter or fork (for cutting butter into the crust mixture)
- Measuring cups and spoons
- Electric mixer or stand mixer (for the whipped cream topping, or you can whisk by hand if you’re feeling strong)
- Cooling rack (essential for even cooling)
If you don’t have a pastry cutter, don’t worry. I’ve used two forks or even my fingertips (working quickly so the butter stays cold) with great results. Just make sure the butter pieces are about the size of small peas before you add the egg yolk.
One tip: line your pan with parchment paper, leaving some overhang on the long sides. This makes lifting the entire slab out of the pan so much easier, and you get those beautiful clean edges when you cut the bars.
Preparation Method
Let’s get baking! This recipe comes together in about an hour, plus cooling time. I promise it’s worth every minute.
Step 1: Prepare the Crust
Preheat your oven to 350°F (175°C). Line your 9×13-inch baking pan with parchment paper, leaving overhang on the two long sides. In a large bowl, whisk together the oat flour, almond flour, brown sugar, cinnamon, and salt. Add the cold butter cubes and cut them into the flour mixture using a pastry cutter or fork until the mixture looks like coarse meal with some pea-sized butter pieces remaining. Add the egg yolk and stir with a fork until the dough starts to come together. It will be crumbly, but it should hold together when pressed between your fingers.
Step 2: Press and Pre-Bake the Crust
Transfer the crust mixture to your prepared pan. Press it evenly into the bottom, using your fingers or the bottom of a flat measuring cup to make it as even as possible. I like to go over the edges with the measuring cup to get a nice, uniform thickness. Bake for 15-18 minutes, until the edges are lightly golden and the crust feels set. Let it cool on a wire rack for 10 minutes while you make the filling. Don’t skip this pre-bake—it keeps the crust from getting soggy.
Step 3: Make the Pumpkin Filling
In a large bowl, whisk together the pumpkin puree, evaporated milk, granulated sugar, brown sugar, eggs, vanilla extract, pumpkin pie spice, and salt. Whisk until completely smooth—no streaks of egg white or lumps of spice. The mixture should be silky and uniform. Take your time here; a smooth filling means a smooth final texture.
Step 4: Pour and Bake
Pour the filling over the pre-baked crust. Gently tilt the pan to spread it evenly, or use a spatula to smooth the top. Bake at 350°F (175°C) for 40-45 minutes, until the edges are set and the center is just slightly jiggly (like a firm jello). The filling will continue to set as it cools. If you insert a knife near the center, it should come out mostly clean. Let the bars cool completely on a wire rack—this takes about 2 hours. Then refrigerate for at least 2 more hours, or overnight, for the cleanest slices.
Step 5: Make the Whipped Cream Topping
Just before serving, pour the heavy cream into a chilled bowl. Add the powdered sugar and vanilla extract. Beat with an electric mixer on medium-high speed until soft peaks form—about 2-3 minutes. Don’t overbeat, or you’ll end up with butter! Spread or pipe the whipped cream over the chilled bars, or serve it on the side so everyone can add their own.
Step 6: Cut and Serve
Lift the entire slab out of the pan using the parchment overhang. Place it on a cutting board. Use a sharp knife to cut into squares—I usually go for 12 bars (4 rows by 3 rows) or 15 (5 rows by 3 rows). Wipe the knife clean between cuts for the neatest edges. Dust with cinnamon if desired, and serve cold or at room temperature.
Cooking Tips & Techniques
After making these bars more times than I can count, I’ve learned a few things the hard way. Here are my best tips for guaranteed success:
Keep the butter cold. This is the most important rule for a flaky crust. If your kitchen is warm, pop the cubed butter in the freezer for 5 minutes before cutting it into the flour. I once tried to rush this step, and my crust came out greasy and dense instead of tender and light.
Don’t overmix the filling. Whisk until smooth, but stop once it is. Overmixing incorporates too much air, which can cause the filling to puff up and then crack as it cools. You want a dense, creamy texture, not a soufflé.
Check for doneness carefully. The center should still wobble slightly when you shake the pan. If it looks completely solid, it’s overbaked. I once left mine in an extra 5 minutes because I was nervous, and the edges were dry while the center was still fine. Trust the jiggle!
Cool completely before cutting. I know it’s tempting to cut into warm bars, but patience pays off here. Warm filling will slide right off the crust. Chilling for at least 4 hours (overnight is best) gives you those beautiful, clean squares that look bakery-made.
Use a sharp knife. A dull knife will drag through the filling and mess up your edges. Run the knife under hot water, wipe it dry, then cut. Repeat between cuts for the cleanest slices.
Variations & Adaptations
One of the best things about this recipe is how adaptable it is. Here are some variations I’ve tried and loved:
Dairy-Free Version
Swap the butter in the crust with vegan butter (I like Miyoko’s) and use full-fat canned coconut milk instead of evaporated milk. For the topping, whip chilled coconut cream with a little powdered sugar. The coconut flavor is subtle and works beautifully with the pumpkin.
Vegan Version
Use the dairy-free swaps above, plus replace the egg yolk in the crust with 1 tablespoon of cold water mixed with 1 tablespoon of ground flaxseed. For the filling, use 2 flax eggs (2 tablespoons ground flaxseed mixed with 6 tablespoons water, let sit for 5 minutes). The texture is slightly less creamy, but still delicious.
Spiced-Up Version
Add ¼ teaspoon of cayenne pepper or chipotle powder to the filling for a warm, spicy kick that pairs beautifully with the sweet pumpkin. I tried this on a whim for a fall party, and it was gone before the plain version.
Gingerbread Crust
Replace the cinnamon in the crust with 1 teaspoon of ground ginger and ½ teaspoon of molasses. The molasses adds a deep, rich flavor that’s perfect for the holidays.
Individual Servings
Press the crust into a greased muffin tin (about 2 tablespoons per cup) and bake for 10 minutes. Fill with the pumpkin mixture and bake for 20-25 minutes. These mini bars are perfect for parties or portion control.
Serving & Storage Suggestions
These bars are incredibly versatile when it comes to serving. Here’s how I like to do it:
Serving Temperature: I prefer them cold straight from the fridge—the filling is firmer and the flavors are more pronounced. But they’re also lovely at room temperature if you let them sit out for 15-20 minutes. For a warm dessert, microwave individual bars for 10-15 seconds (skip the whipped cream until after heating).
Presentation: Arrange the bars on a large platter or cake stand. Dust with cinnamon or pumpkin pie spice for a pretty finish. Add a dollop of whipped cream and a sprinkle of candied pecans for extra crunch. For fall parties, I like to place them on a wooden board with small pumpkins and cinnamon sticks as decoration.
What to Serve Alongside: These bars pair beautifully with a hot cup of spiced chai, apple cider, or a strong coffee. For a dessert spread, serve them alongside my crispy garlic chicken for a sweet-savory combo that always surprises guests.
Storage: Keep the bars covered in the refrigerator for up to 5 days. They actually get better after day one as the flavors meld. For longer storage, freeze the unfrosted bars in an airtight container for up to 3 months. Thaw overnight in the refrigerator before serving. Add the whipped cream just before serving.
Reheating: If you want them warm, microwave individual bars for 15-20 seconds. For a whole pan, reheat in a 300°F (150°C) oven for 10-15 minutes. Be careful not to overheat, or the filling can become runny.
Nutritional Information & Benefits
Here’s the approximate nutritional breakdown for one bar (based on 12 servings, without whipped cream):
- Calories: 285
- Fat: 16g
- Carbohydrates: 33g
- Fiber: 3g
- Sugar: 22g
- Protein: 6g
While these are still a treat, they offer some nutritional perks. Pumpkin is packed with vitamin A (great for eye health), fiber, and antioxidants. The almond flour in the crust adds healthy fats and vitamin E, while the oat flour provides soluble fiber that helps with digestion. Using coconut milk instead of evaporated milk reduces lactose content for those with sensitivities.
These bars are naturally gluten-free, and with the dairy-free swaps, they can be made vegan as well. They’re also nut-free if you substitute the almond flour with more oat flour (though the texture will be slightly different). As always, check your labels for any hidden allergens.
Conclusion
These gluten-free pumpkin pie bars have become my signature fall dessert, and I think they’ll become yours too. They’re everything you want in a seasonal treat—warm spices, creamy pumpkin filling, and a buttery crust that actually works without gluten. Plus, they’re so much easier than a traditional pie, which means more time enjoying your guests and less time stressing in the kitchen.
I love making these bars because they remind me of Ruth’s kitchen that first afternoon—the way she didn’t fuss over measurements, the way she just knew the dough was ready by feel. That’s the kind of cooking I want to share with you. Feel free to tweak the spices, swap the milk, or add your own twist. That’s what makes a recipe yours.
I’d love to hear how these turn out for you. Did you try a variation? Serve them at a party? Leave a comment below and let me know—I read every single one. And if you share a photo on social media, tag me so I can see your beautiful bars. Happy baking, friends!
Frequently Asked Questions
Can I use fresh pumpkin instead of canned?
Yes, you can! Just make sure to roast and puree your pumpkin until it’s smooth and thick. Fresh pumpkin puree can be more watery than canned, so you may need to drain it through a cheesecloth for 30 minutes before using. Start with about 1 ½ cups of drained puree.
Why did my filling crack?
Cracking usually happens from overbaking or a sudden temperature change. Make sure to pull the bars out when the center is still slightly jiggly. Also, let them cool gradually on the counter before refrigerating. Don’t put hot bars straight into the fridge.
Can I make these bars ahead of time?
Absolutely! In fact, they’re better made a day ahead. Prepare and bake the bars completely, then refrigerate overnight. Add the whipped cream just before serving. They’ll keep in the fridge for up to 5 days.
Can I freeze these pumpkin pie bars?
Yes, they freeze beautifully. Freeze the unfrosted bars in an airtight container for up to 3 months. Thaw overnight in the refrigerator before serving. Add fresh whipped cream after thawing.
What’s the best gluten-free flour blend for the crust?
I recommend a blend of oat flour and almond flour for the best texture. If you can’t have nuts, use all oat flour or a 1:1 gluten-free all-purpose flour blend. Avoid coconut flour, as it’s too absorbent and will make the crust dry.
Pin This Recipe!
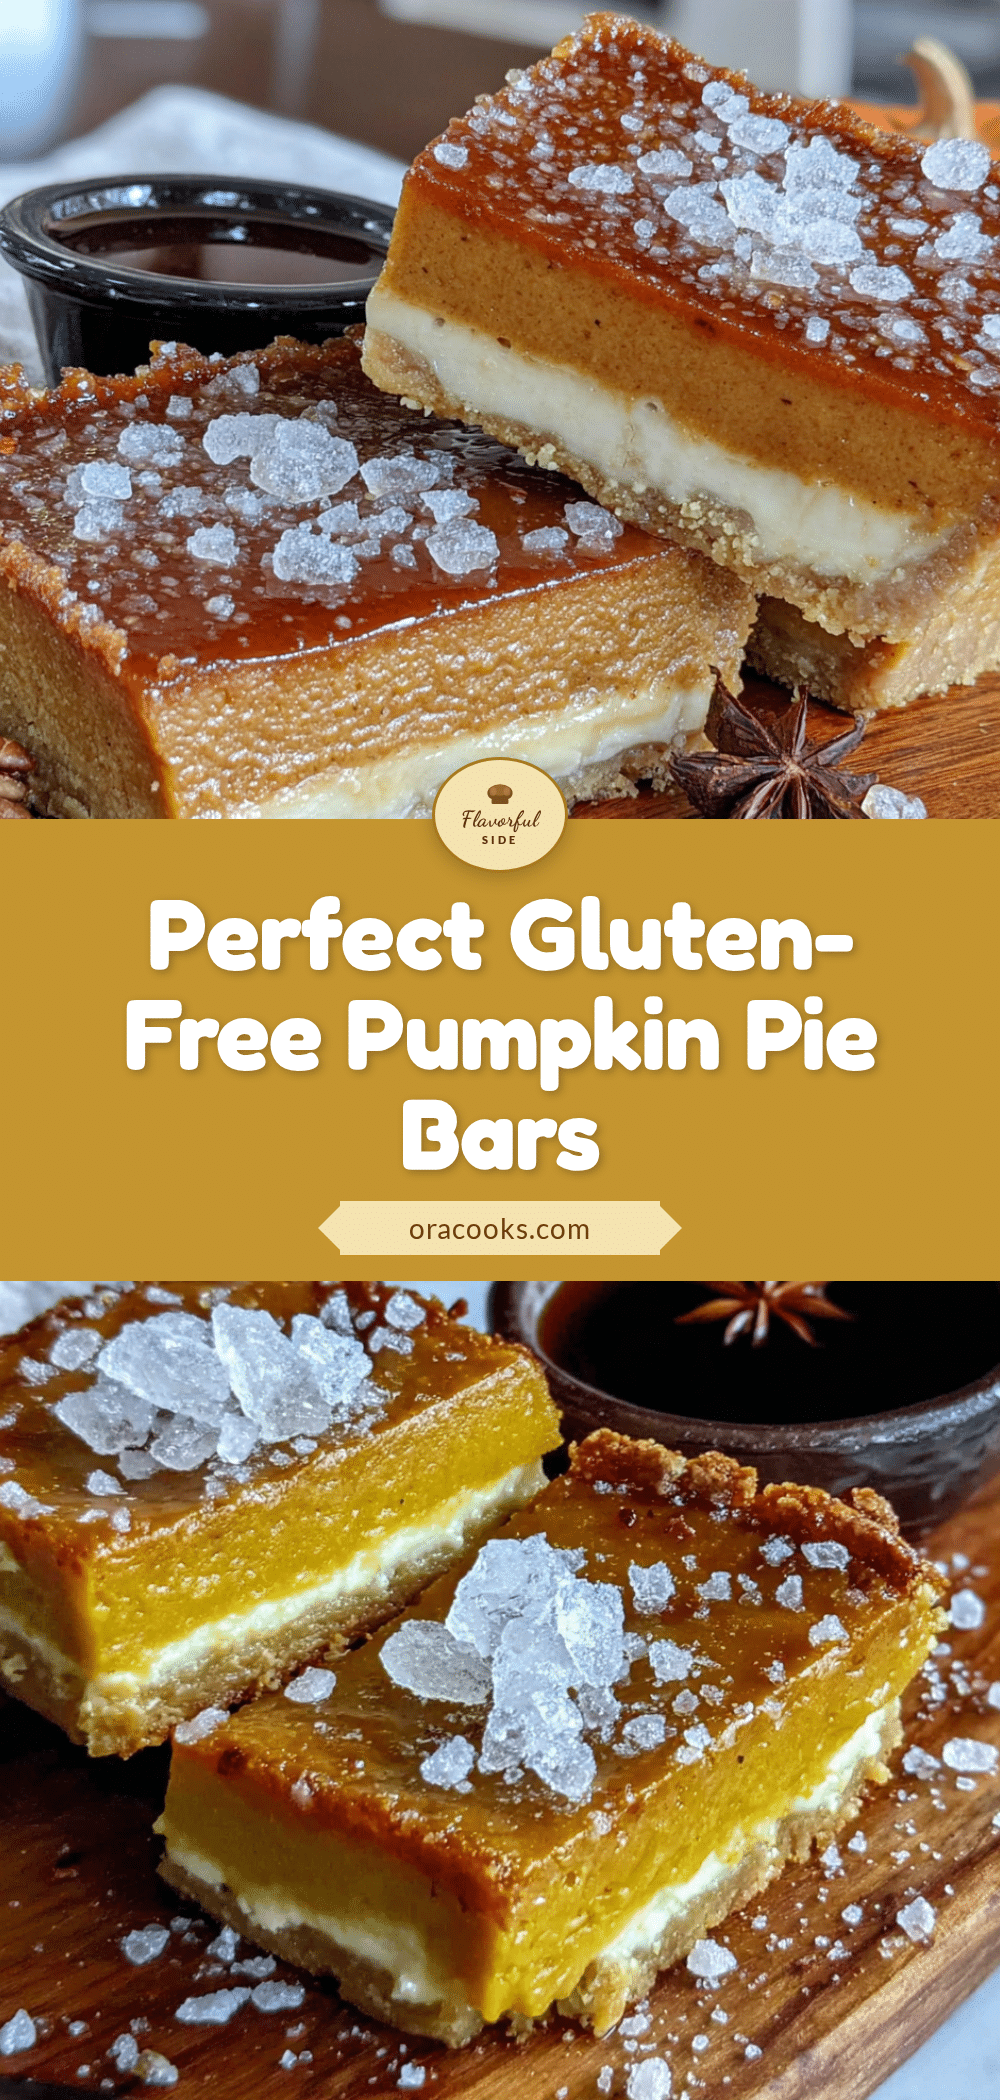
Best Gluten-Free Pumpkin Pie Bars – Easy Fall Dessert
These gluten-free pumpkin pie bars feature a buttery, nutty crust and a silky, spiced pumpkin filling. They’re easier than a traditional pie, serve a crowd, and are perfect for fall gatherings.
- Prep Time: 20 minutes
- Cook Time: 55 minutes
- Total Time: 1 hour 15 minutes (plus cooling and chilling time)
- Yield: 12 servings 1x
- Category: Dessert
- Cuisine: American
Ingredients
- 1 ½ cups (180g) gluten-free oat flour
- 1 cup (100g) almond flour
- ⅓ cup (65g) packed light brown sugar
- ½ teaspoon ground cinnamon
- ¼ teaspoon salt
- ½ cup (113g) cold unsalted butter, cut into small cubes
- 1 large egg yolk
- 1 can (15 oz or 425g) pumpkin puree
- 1 can (12 oz or 340g) evaporated milk
- ¾ cup (150g) granulated sugar
- ¼ cup (50g) packed light brown sugar
- 2 large eggs
- 1 teaspoon vanilla extract
- 2 teaspoons pumpkin pie spice
- ½ teaspoon salt
- 1 cup (240ml) heavy cream
- 2 tablespoons powdered sugar
- ½ teaspoon vanilla extract
- Ground cinnamon for dusting
Instructions
- Preheat oven to 350°F (175°C). Line a 9×13-inch baking pan with parchment paper, leaving overhang on the long sides.
- In a large bowl, whisk together oat flour, almond flour, brown sugar, cinnamon, and salt. Cut in cold butter using a pastry cutter or fork until mixture resembles coarse meal with pea-sized butter pieces. Stir in egg yolk until dough comes together.
- Press crust mixture evenly into prepared pan. Bake for 15-18 minutes until edges are lightly golden. Cool on a wire rack for 10 minutes.
- In a large bowl, whisk together pumpkin puree, evaporated milk, granulated sugar, brown sugar, eggs, vanilla extract, pumpkin pie spice, and salt until smooth.
- Pour filling over pre-baked crust. Bake at 350°F (175°C) for 40-45 minutes until edges are set and center is slightly jiggly. Cool completely on a wire rack (about 2 hours), then refrigerate for at least 2 hours or overnight.
- Just before serving, beat heavy cream, powdered sugar, and vanilla extract with an electric mixer until soft peaks form.
- Lift bars out of pan using parchment overhang. Cut into squares. Serve with whipped cream and dust with cinnamon.
Notes
Keep butter cold for a flaky crust. Don’t overmix the filling. Check for doneness by ensuring the center is slightly jiggly. Cool completely before cutting for clean squares. Bars taste better the next day. For dairy-free, use vegan butter and full-fat coconut milk. For vegan, use flax eggs.
Nutrition
- Serving Size: 1 bar (without whipp
- Calories: 285
- Sugar: 22
- Fat: 16
- Carbohydrates: 33
- Fiber: 3
- Protein: 6
Keywords: gluten-free pumpkin pie bars, pumpkin bars, fall dessert, gluten-free dessert, pumpkin pie bars