Love this? Save it for later!
Share the inspiration with your friends
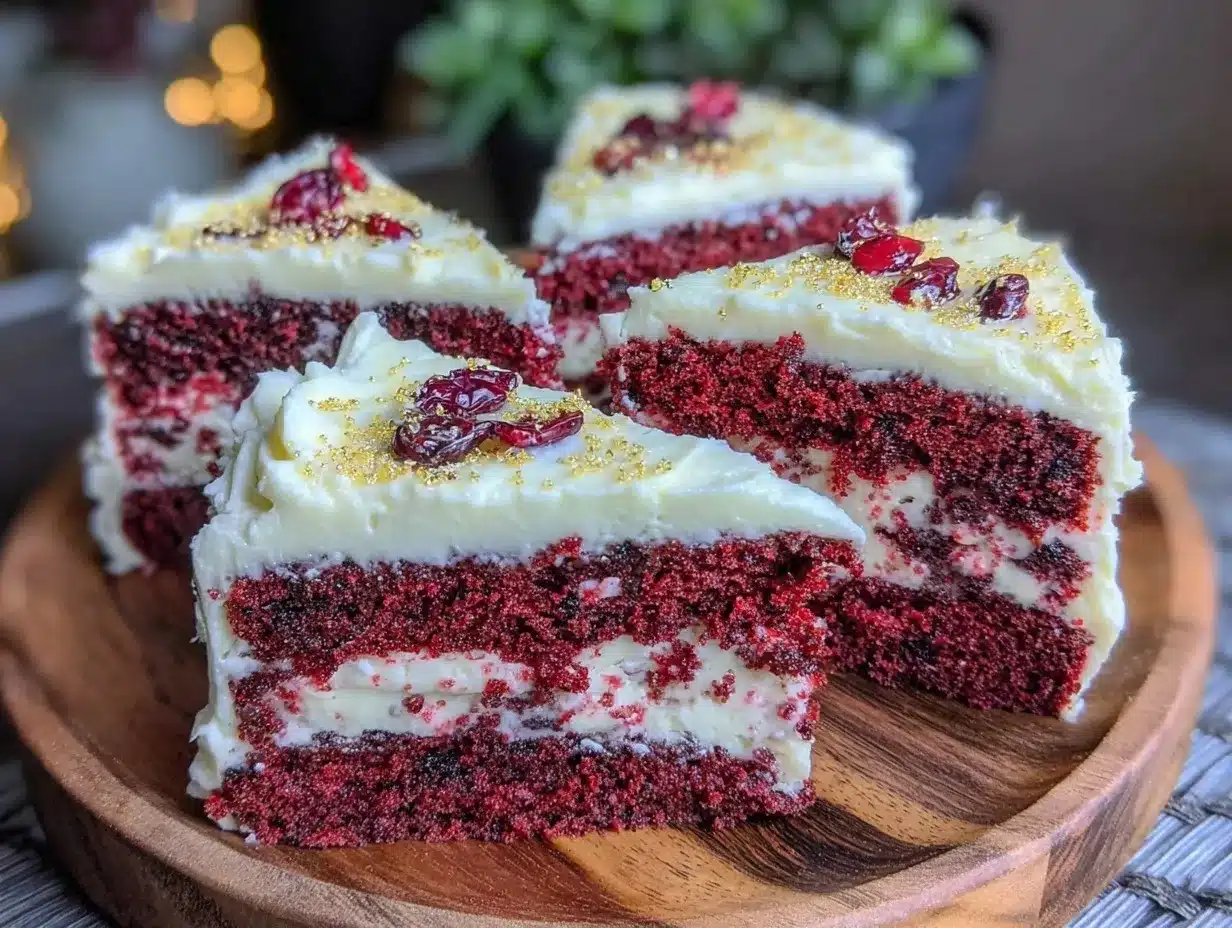
This was supposed to be a simple red velvet sheet cake for a casual Fourth of July get-together. I grabbed the wrong baking pans, the oven thermometer was off by a good 25 degrees, and I was already running late thanks to a surprise call from my neighbor, Marcy, who needed a quick recipe rescue. What came out was nothing like the plan — and better. Instead of a flat sheet cake, I ended up with layers that looked like a flag, layered with cream cheese frosting in stripes and stars. Honestly, the first time I sliced into that “happy mistake,” I could hardly believe how festive and delicious it was.
Let me tell you, the kitchen was a mess, and I forgot to grease one of the pans properly, which meant some cake stuck harder than I expected. But those slightly imperfect edges made the cake feel homemade, real, and inviting — not too polished or intimidating. Maybe you’ve been there, juggling too many things and wondering if dinner (or dessert) will ever come together. This red velvet flag cake recipe stuck with me because it’s forgiving, crowd-pleasing, and somehow turns a kitchen chaos moment into a showstopper.
Every time I make this cake, I remember that day — the sizzle of the batter hitting the hot pans, the quick frosting swirl that saved the day, and the smiles when everyone saw the red, white, and blue layers. If you’re looking for a festive dessert that feels special but doesn’t require a perfect baking day, this is it. You’ll find it’s much easier than it looks, and honestly, it tastes like a celebration in every bite.
Why You’ll Love This Recipe
After testing and retesting this red velvet flag cake recipe, I can confidently say it’s a winner for many reasons. Whether you’re a seasoned baker or just dabbling in layer cakes, this one balances ease with wow-factor effortlessly. Here’s why it’s become a staple in my kitchen:
- Quick & Easy: It comes together in about 45 minutes of active prep time, perfect for those last-minute party plans or spontaneous dessert cravings.
- Simple Ingredients: No specialty stores needed — everything is probably in your pantry or fridge already. I usually grab C&H cocoa powder and King Arthur flour for consistent results.
- Perfect for Celebrations: Ideal for patriotic holidays, birthdays, or any occasion where you want a dessert that’s both classic and festive.
- Crowd-Pleaser: Kids and adults alike love the tender crumb and the tangy cream cheese frosting combo. It’s a guaranteed hit at gatherings.
- Unbelievably Delicious: The cake is moist, with a subtle chocolate flavor and just the right hint of tang from buttermilk and vinegar, balanced by the luscious frosting.
This recipe isn’t just a red velvet cake with frosting slapped on top. The trick is in how the layers are sliced and arranged to mimic a flag, and the frosting is thoughtfully piped to create clean, creamy stripes and star accents. It’s an approachable technique that makes anyone look like a pro decorator. Honestly, it’s a dessert that makes you want to close your eyes and savor each bite, bringing a little extra joy to your table without the stress.
What Ingredients You Will Need
This red velvet flag cake uses straightforward, wholesome ingredients to give you that classic red velvet flavor with a moist texture and creamy frosting. Most are pantry staples, but I’ll note a few tips to get the best results.
- For the Cake:
- All-purpose flour, 2 ½ cups (310 g) – I prefer King Arthur for its consistency
- Cocoa powder, 2 tablespoons (unsweetened) – C&H is my go-to for a deep chocolate flavor
- Baking soda, 1 ½ teaspoons
- Salt, 1 teaspoon
- Unsalted butter, 1 cup (227 g), softened (adds richness)
- Granulated sugar, 2 cups (400 g)
- Large eggs, 2, room temperature
- Buttermilk, 1 cup (240 ml), room temperature (tanginess is key)
- White vinegar, 1 tablespoon (reacts with baking soda for lift)
- Vanilla extract, 2 teaspoons
- Red food coloring, 2 tablespoons (gel or liquid)
- For the Cream Cheese Frosting:
- Cream cheese, 8 oz (227 g), softened – I like Philadelphia brand for smooth texture
- Unsalted butter, ½ cup (113 g), softened
- Powdered sugar, 4 cups (480 g), sifted
- Vanilla extract, 1 teaspoon
- Pinch of salt (balances sweetness)
If you want a dairy-free option, swap buttermilk with almond milk mixed with a tablespoon of lemon juice, and use dairy-free cream cheese and butter alternatives. For a gluten-free cake, almond flour can work but expect a denser texture. In summer, fresh berries on top add a beautiful natural touch without extra fuss.
Equipment Needed
- Two 9-inch (23 cm) round cake pans – I use non-stick aluminum pans, but glass works too
- Mixing bowls – one large for batter, one medium for frosting
- Electric mixer or stand mixer – makes frosting and batter smooth and easy
- Measuring cups and spoons – precise measurements matter
- Rubber spatula – for folding and scraping bowls clean
- Cooling racks – prevents soggy bottoms
- Offset spatula or butter knife – for frosting the cake layers
- Piping bag with star tip (optional) – helps create star decorations on frosting stripes
If you don’t have a piping bag, a zip-top plastic bag with a corner snipped off works just fine. When using a stand mixer, watch the speed carefully to avoid overmixing the batter, which can make the cake tough. For budget-friendly pans, I recommend checking local thrift stores—sometimes you find gems for a few dollars!
Preparation Method
- Preheat & Prep: Preheat your oven to 350°F (175°C). Grease and flour two 9-inch round pans or line them with parchment paper. This step prevents sticking and helps with clean edges. (5 minutes)
- Mix Dry Ingredients: In a medium bowl, sift together 2 ½ cups all-purpose flour, 2 tablespoons cocoa powder, 1 ½ teaspoons baking soda, and 1 teaspoon salt. Set aside. The cocoa adds subtle chocolate notes without overpowering the red velvet flavor. (5 minutes)
- Cream Butter & Sugar: In a large bowl, beat 1 cup softened unsalted butter and 2 cups granulated sugar on medium speed until light and fluffy, about 3-4 minutes. This step traps air, helping the cake rise nicely. (4 minutes)
- Add Eggs: Beat in 2 large eggs, one at a time, mixing well after each. Add 2 teaspoons vanilla extract. The batter might look a little curdled here, but that’s normal. (3 minutes)
- Combine Wet & Dry: Alternately add the dry ingredients and 1 cup buttermilk to the butter mixture, starting and ending with dry ingredients. Mix on low speed just until combined — don’t overmix or the cake will be dense. (5 minutes)
- Red Color & Vinegar: Stir in 2 tablespoons red food coloring and 1 tablespoon white vinegar. The vinegar reacts with baking soda to give the cake a tender crumb. (2 minutes)
- Divide & Bake: Pour batter evenly into the pans and smooth the tops. Bake at 350°F (175°C) for 30-35 minutes, or until a toothpick inserted in the center comes out clean. Rotate pans halfway through baking for even cooking. (30-35 minutes)
- Cool Cakes: Let the cakes cool in the pans for 15 minutes, then turn onto a wire rack to cool completely before frosting. Patience here prevents frosting from melting. (45-60 minutes)
- Prepare Frosting: Beat together 8 oz softened cream cheese and ½ cup softened butter until smooth and creamy. Gradually add 4 cups powdered sugar, 1 teaspoon vanilla extract, and a pinch of salt, beating until fluffy. If frosting is too thick, add a teaspoon of milk to loosen it. (10 minutes)
- Assemble the Flag Cake: Slice each cake layer horizontally into two even layers (you’ll have four layers total). Arrange layers on your serving plate in alternating red and white stripes, spreading frosting between each. Use the frosting to create stripes on top, and pipe stars on the blue corner section if you’re feeling fancy. (20-30 minutes)
If you hit any bumps (like a cracked layer or uneven surface), just trim gently with a serrated knife. The frosting hides a multitude of sins here. I promise, the final presentation looks impressive even if you’re not a perfectionist decorator.
Cooking Tips & Techniques
Here are some insider tips to keep your perfect red velvet flag cake turning out beautifully every time:
- Don’t overmix the batter. It’s tempting to keep stirring, but overmixing develops gluten and makes the cake tough. Mix just until you don’t see dry flour.
- Use room temperature ingredients. Eggs, butter, and buttermilk at room temp blend better, giving a smoother batter and finer crumb.
- Measure flour carefully. Too much flour means a dry cake. I spoon flour into the measuring cup and level it off with a knife instead of scooping directly.
- Check oven temperature. Oven thermostats can be off. An oven thermometer helps avoid under- or over-baking.
- Chill frosting if it’s too soft. Cream cheese frosting is sensitive to warmth. If it gets runny, pop it in the fridge for 20 minutes before frosting.
- Layer trimming tip: If your cake domes on top, level it with a serrated knife for even stacking.
- Use a turntable if you have one. It makes frosting and decorating so much easier and cleaner.
One time I forgot the vinegar, and the cake was surprisingly dense. Lesson learned: that little splash is magic for tenderness! Also, multitasking by prepping frosting while cakes cool saves loads of time.
Variations & Adaptations
This red velvet flag cake is flexible enough to suit different tastes and dietary needs. Here are a few ideas I’ve tried or would love to try:
- Chocolate Lovers’ Twist: Add ½ cup mini chocolate chips to the batter for extra pockets of melty chocolate.
- Gluten-Free Version: Use a 1:1 gluten-free baking flour blend, but reduce baking time slightly as these flours bake faster.
- Dairy-Free Adaptation: Swap buttermilk with coconut milk plus lemon juice; use vegan cream cheese and margarine for frosting.
- Berry Flag Variation: Replace some frosting stripes with fresh blueberries and sliced strawberries for a natural, fruity flag look.
- Mini Flag Cakes: Make cupcakes instead of a layered cake, piping frosting stripes on each for individual servings.
Personally, I once made a version with a hint of espresso powder in the batter — it deepened the chocolate flavor without making it taste like coffee. It was a nice surprise for guests who love a little depth in their dessert.
Serving & Storage Suggestions
Serve this red velvet flag cake chilled or at room temperature. The cream cheese frosting tastes best a little cool but not cold, so take it out of the fridge about 15 minutes before slicing. For presentation, slice with a sharp serrated knife dipped in hot water and wiped dry to get clean layers.
This cake pairs wonderfully with a cold glass of milk, a cup of coffee, or even a berry-infused iced tea. For a festive touch, serve with fresh berries on the side or a sprinkle of edible glitter.
Store leftover cake tightly covered in the refrigerator for up to 4 days. You can freeze unfrosted cake layers wrapped in plastic wrap and foil for up to 3 months; thaw overnight in the fridge before frosting. Reheat slices gently in the microwave (10-15 seconds) to soften the cake if chilled.
Flavors tend to deepen after a day, so if you can wait, the cake tastes even better the next day.
Nutritional Information & Benefits
This red velvet flag cake is a treat, but it also packs some nutritional benefits thanks to its key ingredients. Each serving (approx. 1/12 of the cake) contains roughly:
| Nutrient | Amount |
|---|---|
| Calories | 350-400 kcal |
| Protein | 5 g |
| Fat | 18 g |
| Carbohydrates | 45 g |
| Sugar | 35 g |
The buttermilk adds a dose of calcium and probiotics, while cream cheese provides vitamin A and some protein. This recipe is not gluten-free or dairy-free by default but can be adapted as noted. It contains common allergens like dairy, eggs, and gluten, so keep that in mind for guests.
From a wellness perspective, I believe dessert should delight without guilt, and this cake balances indulgence with wholesome kitchen staples. It’s a classic made approachable.
Conclusion
If you’re hunting for a red velvet cake that’s more than just a dessert — one that brings a festive vibe with a creamy frosting that’s not too sweet — give this flag cake a try. The recipe is forgiving, approachable, and makes a big impression without big effort.
Feel free to tweak the frosting thickness, try different decorating styles, or swap in your favorite natural food colorings. I love this cake because it reminds me that even kitchen chaos can lead to something delicious and memorable.
Go ahead, make it your own, and if you do, I’d love to hear how it turns out! Leave a comment or share your variations — every baker’s take adds to the fun. Here’s to joyful baking and tasty celebrations!
FAQs
- Can I make this cake ahead of time? Yes! Bake the layers a day or two before, wrap them tightly, and frost just before serving for the freshest look and taste.
- What if I don’t have buttermilk? Mix 1 cup of milk with 1 tablespoon lemon juice or white vinegar, let it sit for 5 minutes, then use as a buttermilk substitute.
- How do I get the perfect red color? Using gel food coloring gives a richer color without adding extra liquid. Adjust the amount for deeper hues.
- Can I freeze the frosted cake? It’s best to freeze unfrosted layers. Frost after thawing to keep the frosting texture fresh.
- How do I prevent the cream cheese frosting from being too runny? Make sure ingredients are fully chilled, and add powdered sugar gradually. If still soft, chill the frosting before spreading.
Pin This Recipe!
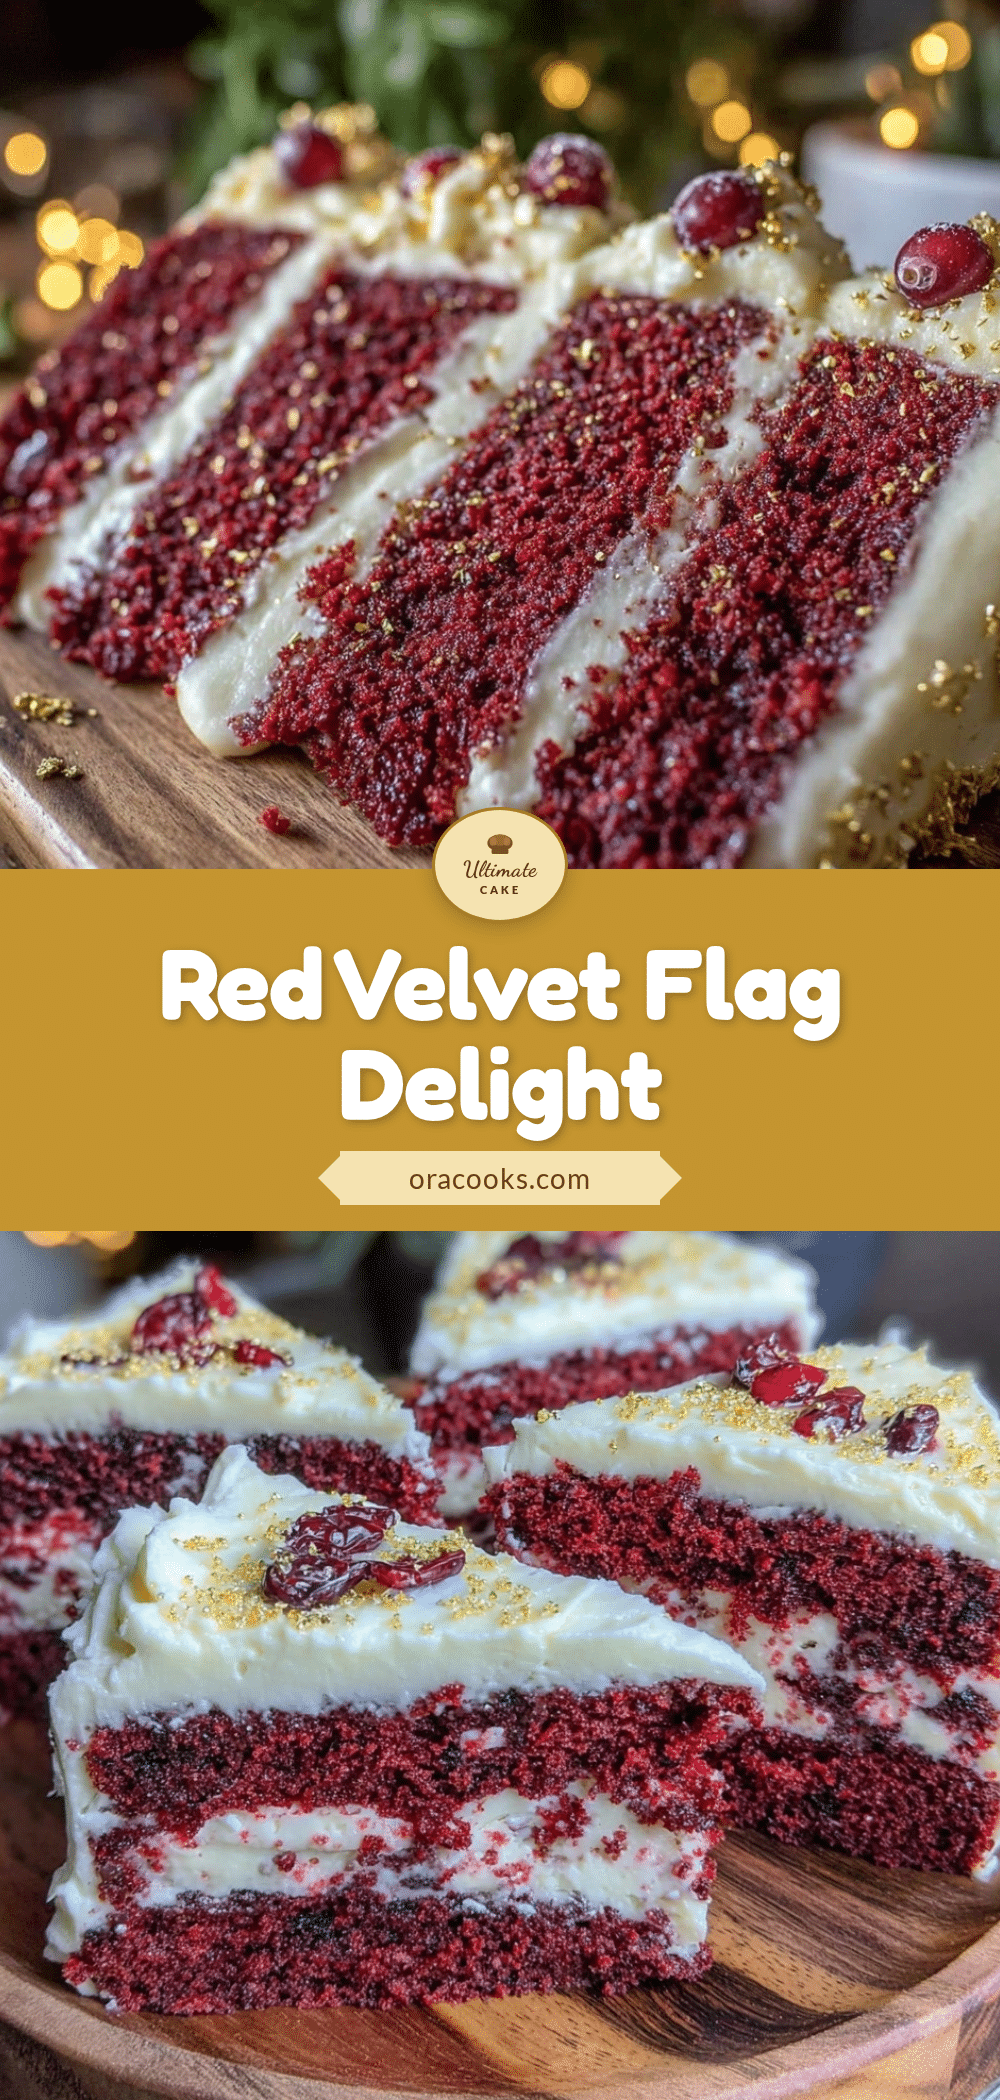
Perfect Red Velvet Flag Cake Recipe with Easy Cream Cheese Frosting Tutorial
A festive and forgiving red velvet layer cake decorated to look like a flag, featuring moist cake layers and tangy cream cheese frosting. Perfect for celebrations and easy enough for bakers of all levels.
- Prep Time: 45 minutes
- Cook Time: 30-35 minutes
- Total Time: 1 hour 15 minutes to 1 hour 20 minutes
- Yield: 12 servings 1x
- Category: Dessert
- Cuisine: American
Ingredients
- 2 ½ cups (310 g) all-purpose flour
- 2 tablespoons unsweetened cocoa powder
- 1 ½ teaspoons baking soda
- 1 teaspoon salt
- 1 cup (227 g) unsalted butter, softened
- 2 cups (400 g) granulated sugar
- 2 large eggs, room temperature
- 1 cup (240 ml) buttermilk, room temperature
- 1 tablespoon white vinegar
- 2 teaspoons vanilla extract
- 2 tablespoons red food coloring (gel or liquid)
- 8 oz (227 g) cream cheese, softened
- ½ cup (113 g) unsalted butter, softened
- 4 cups (480 g) powdered sugar, sifted
- 1 teaspoon vanilla extract
- Pinch of salt
Instructions
- Preheat oven to 350°F (175°C). Grease and flour two 9-inch round pans or line with parchment paper.
- In a medium bowl, sift together flour, cocoa powder, baking soda, and salt. Set aside.
- In a large bowl, beat softened butter and granulated sugar on medium speed until light and fluffy, about 3-4 minutes.
- Beat in eggs one at a time, mixing well after each. Add vanilla extract.
- Alternately add dry ingredients and buttermilk to the butter mixture, starting and ending with dry ingredients. Mix on low speed just until combined.
- Stir in red food coloring and white vinegar.
- Divide batter evenly into prepared pans and smooth tops. Bake for 30-35 minutes or until a toothpick inserted in the center comes out clean. Rotate pans halfway through baking.
- Let cakes cool in pans for 15 minutes, then turn onto wire racks to cool completely.
- Beat cream cheese and softened butter until smooth. Gradually add powdered sugar, vanilla extract, and salt, beating until fluffy. Add milk if frosting is too thick.
- Slice each cake layer horizontally into two even layers (four layers total). Arrange layers on a serving plate in alternating red and white stripes, spreading frosting between each.
- Use frosting to create stripes on top and pipe stars on the blue corner section if desired.
Notes
Do not overmix the batter to avoid toughness. Use room temperature ingredients for best texture. Chill frosting if too soft. Level cake layers with a serrated knife if domed. Use a turntable for easier decorating. For dairy-free or gluten-free adaptations, see recipe notes.
Nutrition
- Serving Size: Approximately 1/12 o
- Calories: 350400
- Sugar: 35
- Fat: 18
- Carbohydrates: 45
- Protein: 5
Keywords: red velvet cake, flag cake, cream cheese frosting, patriotic dessert, layered cake, easy red velvet, celebration cake