Love this? Save it for later!
Share the inspiration with your friends
The Monday morning rush was in full swing when Mrs. Patel, our usually quiet neighbor, started chatting about this simple lunchbox hack that sounded too good to be true. I wasn’t expecting cooking advice from her, especially when she was balancing a grocery bag and juggling her toddler, but there I was, slicing into a colorful pinwheel sandwich she swore her kindergartener adored. Honestly, I thought, how hard can it be to make a sandwich fun enough for picky little eaters? Yet, as I watched those neatly rolled layers come together, I realized this isn’t just another sandwich; it’s a little spiral of joy wrapped in soft bread.
What struck me most was how effortless the recipe felt—no fancy gadgets, no complicated steps—just a few ingredients and a pinch of creativity. Maybe you’ve been there, staring blankly at the lunchbox dilemma, trying to pack something that’s both nutritious and kid-approved. The best part? Mrs. Patel admitted she first got the idea from a scribbled note tucked inside an old community cookbook she found at a yard sale. Talk about an unexpected source, right? This easy kindergarten-friendly pinwheel sandwich lunchbox idea stuck with me because it’s the kind of recipe that turns a simple lunch into a little celebration. Let me tell you, once you roll up your first pinwheel, you’ll get why it’s a game changer for busy mornings and hungry little hands.
Why You’ll Love This Recipe
After making this pinwheel sandwich recipe countless times, I’ve come to appreciate why it’s a staple in my kitchen for school lunch ideas. It’s not just about convenience—it’s about packing a lunch that kids actually want to eat, without the fuss.
- Quick & Easy: Comes together in under 15 minutes, perfect for those hectic weekday mornings.
- Simple Ingredients: No need to hunt for rare items. Most ingredients are pantry staples you probably already have.
- Perfect for School Lunchboxes: Designed with little hands in mind, these pinwheels are bite-sized and mess-free.
- Crowd-Pleaser: My own picky eater gives these a thumbs up every single time, and they’re great for playdates too.
- Unbelievably Delicious: The combo of soft bread, creamy spreads, and fresh fillings hits that perfect balance of flavor and texture.
This recipe stands apart because it focuses on layering flavors thoughtfully and rolling everything up tight, so every bite has a bit of everything. Plus, swapping in different fillings is a breeze, making it versatile for various tastes and dietary needs. Honestly, it’s not just lunch—it’s a little lunchtime adventure in every roll.
What Ingredients You Will Need
This recipe uses simple, wholesome ingredients to deliver bold flavor and satisfying texture without the fuss. Most of these are easy-to-find and kid-friendly, with plenty of room for swaps depending on what you have on hand.
- Soft white or whole wheat sandwich bread (crusts removed for easy rolling)
- Cream cheese, softened (I prefer Philadelphia for a smooth spread)
- Deli turkey or ham slices, thinly sliced (look for low-sodium options if you can)
- Shredded cheddar cheese (adds a nice melty texture and mild flavor)
- Thinly sliced cucumber or bell pepper strips (adds crunch and freshness)
- Baby spinach leaves (optional, but a great way to sneak in some greens)
- Mayonnaise or mustard (optional, just a thin spread for extra flavor)
If you want to switch things up, you can swap cream cheese for hummus or Greek yogurt spread, and turkey for chicken or even a vegetarian deli slice. In summer, fresh herbs like basil or dill bring a lovely brightness. And if gluten is a concern, use gluten-free sandwich bread – it works just as well for rolling.
Equipment Needed
Luckily, this recipe doesn’t require fancy tools. Here’s what you’ll want on hand:
- A sharp knife (for trimming crusts and slicing the pinwheels)
- A small spatula or butter knife (to spread cream cheese evenly)
- A cutting board (for prepping veggies and slicing rolls)
- Plastic wrap or parchment paper (to help roll the sandwiches tightly)
- Optional: toothpicks to hold pinwheels together if needed
I usually roll the sandwiches directly on the cutting board, then wrap them tightly in plastic wrap to chill for 10 minutes—this helps them hold their shape when slicing. No fancy rolling pins or gadgets here, just good old-fashioned hands and a bit of patience!
Preparation Method
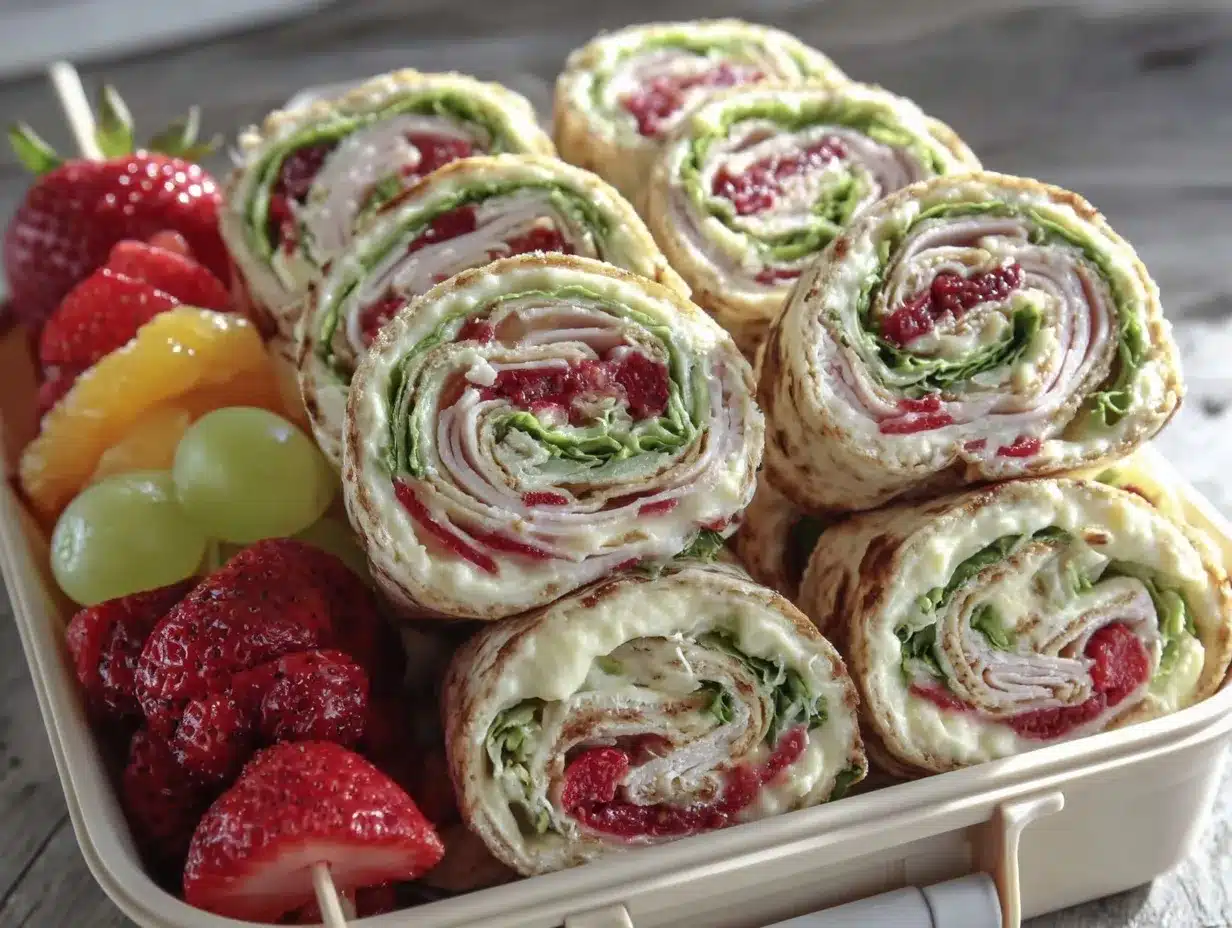
- Prepare your bread: Lay out 4-6 slices of sandwich bread on a clean surface. Use a sharp knife to carefully trim the crusts off each slice—this makes rolling easier for little hands. If the bread is a bit stale, a quick spritz of water can soften it.
- Spread the base: Using a butter knife or small spatula, spread a thin, even layer of softened cream cheese over each slice. Don’t be shy but keep it thin enough so the bread doesn’t tear when rolling.
- Add your protein: Layer deli turkey or ham slices on top of the cream cheese. Aim for 2-3 thin slices per bread piece, covering the entire surface but leaving a small edge to help with rolling.
- Layer cheese and veggies: Sprinkle shredded cheddar cheese evenly, then add thin cucumber or bell pepper strips along one edge. If using spinach, lay a few leaves on top.
- Roll it up: Starting from the edge with veggies, roll the sandwich tightly but gently—like you’re making a sushi roll. Use plastic wrap to help keep it tight, then wrap the whole roll and place in the fridge for 10-15 minutes. This step is key to keeping the pinwheels from falling apart.
- Slice and serve: Remove the plastic wrap and slice each roll into 1-inch (2.5 cm) pinwheels with a sharp knife. If needed, secure each with a toothpick for easy handling.
- Pack for lunch: Arrange pinwheels in a lunchbox with a little container of dipping sauce or fresh fruit on the side. They hold up well and stay fresh for hours.
Pro tip: If the cream cheese feels too stiff, microwave it for 10 seconds to soften before spreading. Also, cutting with a serrated knife helps prevent squishing the rolls.
Cooking Tips & Techniques
Making kindergarten-friendly pinwheel sandwiches is all about the little details that keep the process smooth and the results tasty.
- Keep the bread soft: Fresh bread is your best bet. If yours is a day old, lightly spritz it with water and microwave for 10 seconds to soften.
- Spread evenly: Use softened cream cheese to avoid tearing the bread. A thin, even layer acts like glue for the fillings.
- Roll tightly but gently: You want a snug roll without crushing the bread. Plastic wrap can help maintain shape during chilling.
- Chill before slicing: This is a game changer. Cold rolls slice cleaner and hold together much better.
- Use a sharp serrated knife: Saw gently through the roll rather than pressing down hard.
Once, I skipped the chilling step and ended up with a pile of sad, squashed sandwiches. Lesson learned! Also, multitasking by prepping veggies while bread chills really speeds things up on busy mornings.
Variations & Adaptations
This pinwheel sandwich recipe is a canvas for all sorts of tasty variations:
- Vegetarian version: Swap deli meat for hummus or mashed avocado with shredded carrots and cucumber.
- Seasonal twist: In the fall, add thin apple slices and a sprinkle of cinnamon with turkey and cream cheese for a sweet-savory combo.
- Gluten-free option: Use gluten-free bread and check your deli meats for gluten-containing additives.
- Spicy kick: Add a thin layer of mild salsa or a sprinkle of paprika inside for a little heat.
- Dairy-free: Use dairy-free cream cheese alternatives and skip or replace shredded cheese with sliced avocado.
One personal favorite is adding a smear of pesto under the cream cheese for an herby surprise—my son calls it the “green swirl.” Feel free to get creative and tailor it to your family’s tastes!
Serving & Storage Suggestions
These pinwheel sandwiches are best served chilled or at room temperature, making them perfect for lunchboxes or picnics. I like to pack them alongside crunchy carrot sticks or a small container of ranch dip. A side of fresh berries or apple slices balances the meal nicely.
To store, wrap the pinwheels tightly in plastic wrap or place them in an airtight container. They keep well in the fridge for up to 24 hours, but I recommend eating them the same day for the freshest taste. If you want to prepare in advance, slice the rolls just before packing to avoid sogginess.
Reheating isn’t really necessary, but if you prefer warm sandwiches, unwrap and gently warm in a microwave for 10-15 seconds. Keep in mind the bread might soften further, so handle carefully.
Nutritional Information & Benefits
Each pinwheel sandwich roll offers a balanced mix of protein, healthy fats, and carbs, making it a satisfying option for young kids. The cream cheese provides calcium and some vitamin A, while deli meats supply protein essential for growth. Adding fresh veggies boosts fiber and adds vitamins like C and K.
This recipe can easily fit into gluten-free or dairy-free diets with simple swaps. Just be mindful of deli meat sodium levels and opt for low-sodium varieties when possible. Personally, I appreciate how this lunchbox idea encourages kids to enjoy a variety of textures and flavors while keeping nutrition in check.
Conclusion
If you’re searching for an easy, fun, and kid-approved lunchbox recipe, this easy kindergarten-friendly pinwheel sandwich is a fantastic pick. It’s quick to make, customizable, and, most importantly, loved by little eaters. I keep coming back to this recipe because it turns a simple sandwich into something playful and exciting for kids who might otherwise be “meh” about lunch.
Feel free to tweak the fillings or add your own flair—this recipe welcomes creativity. I’d love to hear how you put your spin on these pinwheels or what favorite combos your kids enjoy. Share your stories and questions below, and happy rolling!
FAQs About Easy Kindergarten-Friendly Pinwheel Sandwiches
Can I make the pinwheel sandwiches the night before?
Yes! Just roll and wrap them tightly, then slice in the morning for the freshest texture. If sliced the night before, keep them well covered to avoid drying out.
What are good dipping sauces to serve with pinwheels?
Ranch dressing, honey mustard, or a mild salsa are all great kid-friendly options that pair well with these sandwiches.
Can I freeze pinwheel sandwiches?
Freezing isn’t recommended as the bread can become soggy when thawed. It’s best to prepare fresh or refrigerate for up to 24 hours.
Are these sandwiches suitable for toddlers?
Yes, but cut pinwheels into smaller, bite-sized pieces and watch for any choking hazards like raw veggies.
How can I make pinwheel sandwiches more nutritious?
Add extra veggies like shredded carrots or baby spinach, choose whole wheat bread, and use low-sodium deli meats for a healthier boost.
Pin This Recipe!
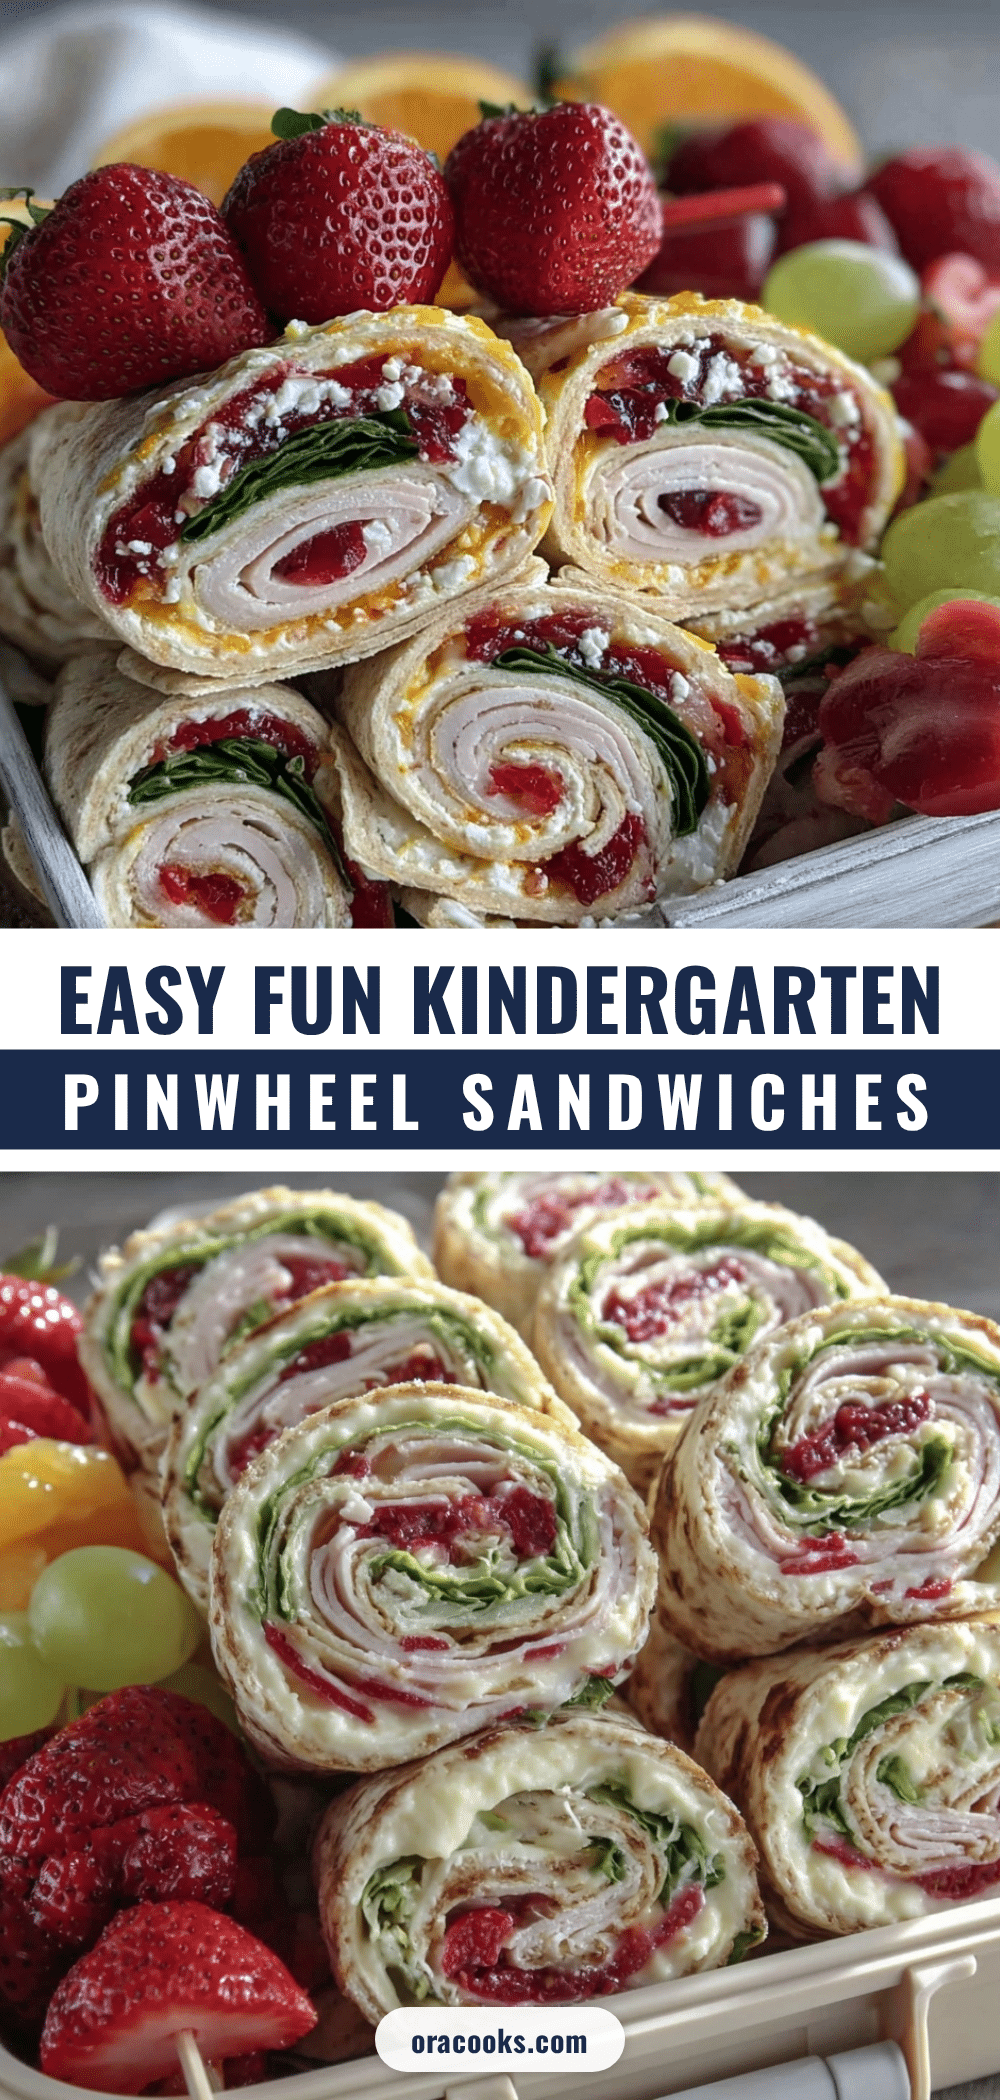
Easy Kindergarten-Friendly Pinwheel Sandwich Recipe for School Lunchbox Ideas

A quick and easy pinwheel sandwich recipe perfect for kindergarten lunchboxes, featuring simple ingredients and kid-approved flavors. These bite-sized, mess-free sandwiches are customizable and great for picky eaters.
- Prep Time: 10 minutes
- Cook Time: 0 minutes
- Total Time: 15 minutes
- Yield: 4 servings 1x
- Category: Lunch
- Cuisine: American
Ingredients
- 4–6 slices soft white or whole wheat sandwich bread, crusts removed
- Softened cream cheese (about 4 tablespoons)
- Deli turkey or ham slices, thinly sliced (2-3 slices per bread piece)
- Shredded cheddar cheese (about 1/4 cup)
- Thinly sliced cucumber or bell pepper strips (about 1/4 cup)
- Baby spinach leaves (optional, a few leaves)
- Mayonnaise or mustard (optional, thin spread)
Instructions
- Lay out 4-6 slices of sandwich bread on a clean surface and carefully trim the crusts off each slice.
- Spread a thin, even layer of softened cream cheese over each slice using a butter knife or small spatula.
- Layer 2-3 thin slices of deli turkey or ham on top of the cream cheese, covering the surface but leaving a small edge.
- Sprinkle shredded cheddar cheese evenly, then add thin cucumber or bell pepper strips along one edge. Add baby spinach leaves if using.
- Starting from the edge with veggies, roll the sandwich tightly but gently like a sushi roll. Use plastic wrap to keep it tight, then wrap the whole roll and refrigerate for 10-15 minutes.
- Remove the plastic wrap and slice each roll into 1-inch (2.5 cm) pinwheels with a sharp serrated knife. Secure with toothpicks if needed.
- Arrange pinwheels in a lunchbox with dipping sauce or fresh fruit on the side.
Notes
Use fresh bread or spritz day-old bread with water and microwave for 10 seconds to soften. Chill rolls before slicing to maintain shape. Use a serrated knife to slice gently. Customize fillings for dietary needs or preferences. Prepare rolls the night before but slice in the morning for best texture.
Nutrition
- Serving Size: Approximately 4 pinw
- Calories: 220
- Sugar: 3
- Sodium: 450
- Fat: 12
- Saturated Fat: 5
- Carbohydrates: 18
- Fiber: 1
- Protein: 10
Keywords: pinwheel sandwich, kindergarten lunch, school lunchbox ideas, easy sandwich recipe, kid-friendly lunch, quick lunch, healthy lunch, sandwich roll-ups


