Love this? Save it for later!
Share the inspiration with your friends
This was supposed to be a full-sized loaf. I had the bananas, the walnuts, the whole plan mapped out in my head. But somewhere between measuring the flour and realizing my only loaf pan was currently holding last night’s leftover enchiladas in the neighbor’s fridge, the plan fell apart. I grabbed a smaller pan, crossed my fingers, and hoped for the best. Honestly, I was already mentally preparing for a flat, sad little brick of banana bread.
What came out of the oven was nothing like the plan — and better. It was taller, more tender, and had this perfect golden dome that made me actually laugh out loud. I mean, I stood there holding this tiny loaf like it was some kind of miracle. The edges were perfectly caramelized, the walnuts were toasted just right, and the center was so moist it practically melted. I sliced into it while it was still warm — you know that feeling when the steam hits your face and you just know it’s going to be good? That was this moment.
I’ve made banana bread a hundred times, but this small-batch version? It’s the one I keep coming back to. Maybe you’ve been there — you only have two ripe bananas, not three. Or you’re cooking for one or two and don’t want a giant loaf staring at you all week. This recipe was born from a happy little accident, and now I can’t imagine making it any other way.
Why You’ll Love This Recipe
Let me tell you why this small-batch banana bread with walnuts has earned a permanent spot in my kitchen rotation. I’ve tested this recipe more times than I care to admit — tweaking the flour ratio, adjusting the baking time, even trying different pan sizes. What I landed on is pure gold.
- Quick & Easy : Comes together in under an hour, including baking time. Perfect for those random Tuesday cravings when you need something sweet, fast.
- Simple Ingredients : No fancy grocery trips needed. You likely already have everything in your kitchen — flour, sugar, butter, eggs, and those sad-looking bananas on your counter.
- Perfect for Small Households : Great for singles, couples, or anyone who doesn’t want a giant loaf tempting them all week. No waste, no guilt.
- Crowd-Pleaser : I brought this to a small dinner party and watched three people fight over the last slice. It always gets rave reviews.
- Unbelievably Delicious : The texture is next-level comfort food — crispy edges, soft center, and that perfect crunch from the walnuts.
What makes this recipe different from the rest? It’s the ratio. Most banana bread recipes use three bananas and end up dense or gummy. This one uses just two perfectly ripe bananas, giving you a lighter, more tender crumb that still tastes incredibly moist. Plus, the walnuts are toasted beforehand — a small step that makes a huge difference in flavor. This isn’t just another version; it’s my best version after years of trial and error.
This recipe is the kind that makes you close your eyes after the first bite. It’s comfort food reimagined — faster, simpler, but with the same soul-soothing satisfaction. Perfect for impressing guests without stress, or turning a random afternoon into something memorable.
What Ingredients You Will Need
This recipe uses simple, wholesome ingredients to deliver bold flavor and satisfying texture without the fuss. Most of these are pantry staples, which is exactly what you want when a banana bread craving hits.
- 2 large ripe bananas, mashed (the riper the better — look for brown spots all over; that’s where the sweetness lives)
- 1/2 cup granulated sugar (adds sweetness and helps create that tender crumb)
- 1/4 cup unsalted butter, melted (I prefer Kerrygold for its rich flavor, but any good unsalted butter works)
- 1 large egg, room temperature (brings structure and richness; cold egg can seize the butter)
- 1 teaspoon vanilla extract (pure vanilla, not imitation — trust me on this one)
- 1 cup all-purpose flour (spoon and level it — don’t scoop straight from the bag or you’ll get too much)
- 1/2 teaspoon baking soda (the leavening agent that gives the loaf its rise)
- 1/4 teaspoon salt (balances sweetness and enhances all the flavors)
- 1/2 cup walnuts, roughly chopped and toasted (toast them first — it takes 5 minutes and changes everything)
Ingredient Tips: For the bananas, I wait until they’re practically black. Seriously — the uglier the banana, the better the bread. If your bananas aren’t ripe enough, you can speed things up by baking them at 300°F for 15 minutes, then letting them cool. It’s not quite the same, but it works in a pinch.
For the walnuts, I buy them raw and toast them myself. Pre-toasted walnuts can be stale or unevenly roasted. Just spread them on a baking sheet at 350°F for 5-7 minutes, shaking halfway through. You’ll smell them when they’re done.
Substitution Guidance: Use coconut oil instead of butter for a dairy-free version. Swap the all-purpose flour with a good gluten-free blend (I like Bob’s Red Mill 1-to-1) if needed. For a lower-sugar option, reduce the sugar to 1/3 cup and add an extra tablespoon of maple syrup — though the texture will be slightly denser.
Equipment Needed
You don’t need a fancy kitchen for this recipe. Here’s what you’ll need:
- One 8×4-inch loaf pan (this is the sweet spot for small-batch — a 9×5 will work but gives you a flatter loaf)
- Large mixing bowl (any bowl will do, but a wider one makes mashing easier)
- Medium mixing bowl (for dry ingredients)
- Whisk (for combining dry ingredients evenly)
- Wooden spoon or rubber spatula (I prefer a spatula for folding — less chance of overmixing)
- Fork or potato masher (for mashing bananas — a fork works perfectly)
- Measuring cups and spoons (use dry measuring cups for flour and sugar)
- Parchment paper (optional but makes cleanup a breeze)
- Cooling rack (essential for even cooling — don’t skip this)
If you don’t have an 8×4 pan, you can use a 6-cup muffin tin instead — just reduce the baking time to 18-22 minutes. I’ve done this when my loaf pan was otherwise occupied, and the muffins turned out adorable and perfectly portioned.
Pro tip: Line your pan with parchment paper, leaving an overhang on the long sides. This creates “handles” that let you lift the entire loaf out cleanly. No scraping, no broken edges — just pure, intact banana bread glory.
Preparation Method
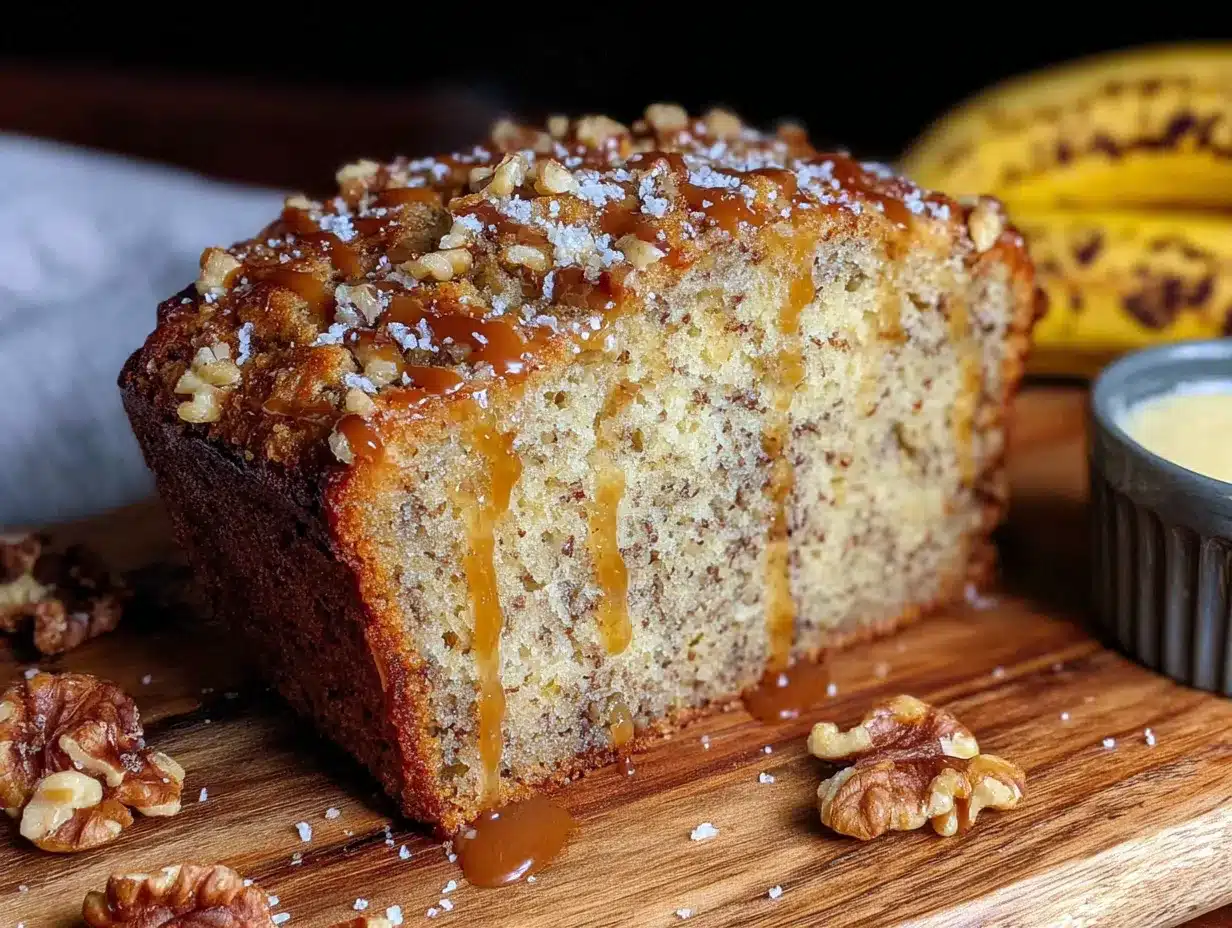
- Preheat your oven to 350°F (175°C). Position the rack in the center of the oven. While it’s heating, line your 8×4-inch loaf pan with parchment paper or grease it thoroughly with butter.
- Toast the walnuts. Spread the chopped walnuts on a small baking sheet and toast for 5-7 minutes, shaking the pan halfway through. You’ll know they’re done when they smell nutty and look slightly darker. Set them aside to cool. This step is non-negotiable — untoasted walnuts taste flat and slightly bitter.
- Mash the bananas. In a large mixing bowl, mash the ripe bananas with a fork until smooth. A few small lumps are fine — they add texture. You should have about 1 cup of mashed banana. If you have more, don’t add it — too much banana makes the bread gummy.
- Mix the wet ingredients. Add the melted butter, granulated sugar, egg, and vanilla extract to the mashed bananas. Whisk everything together until smooth and well combined. The mixture should look glossy and slightly thick. Don’t worry if it separates a little — that’s normal.
- Combine the dry ingredients. In a separate medium bowl, whisk together the all-purpose flour, baking soda, and salt. Whisking ensures the baking soda is evenly distributed — no bitter pockets of baking soda in your finished bread.
- Fold the dry ingredients into the wet. Add the dry mixture to the wet mixture and fold gently with a rubber spatula. Stop as soon as you see no more streaks of flour. Overmixing develops gluten and makes the bread tough — you want to handle it like it’s precious cargo.
- Fold in the toasted walnuts. Reserve a small handful for the top, then fold the rest into the batter with just a few strokes. The batter should be thick and slightly lumpy — that’s perfect.
- Transfer to the pan. Pour the batter into the prepared loaf pan and spread it evenly. Sprinkle the reserved walnuts on top, pressing them in gently so they stick during baking.
- Bake for 45-50 minutes. Place the pan in the preheated oven and bake until a toothpick inserted into the center comes out clean or with just a few moist crumbs. The top should be golden brown and cracked beautifully. If the top is browning too quickly after 35 minutes, tent loosely with foil.
- Cool properly. Let the loaf cool in the pan for 10 minutes, then use the parchment handles to lift it out and transfer to a cooling rack. Cool completely before slicing — about 1 hour. I know it’s hard to wait, but slicing too early turns the bread into a crumbly mess.
Cooking Tips & Techniques
I’ve made this recipe at least two dozen times, and I’ve learned a few things the hard way. Let me save you some trouble.
The banana situation. I once used bananas that were barely ripe because I was impatient. The bread came out bland and dense — a total waste of ingredients. Wait for those brown spots. If you absolutely can’t wait, roast the bananas in their skins at 300°F for 15 minutes. It concentrates the sweetness and softens them up.
Don’t overmix the batter. This is the most common mistake. I did it myself the first few times — stirring vigorously until the batter was completely smooth. The result was a tough, rubbery loaf that my dog wouldn’t even eat (okay, he would, but he’s not picky). Mix until just combined. A few lumps are your friends.
The toothpick test. Insert it into the center of the loaf, not the edge. If it comes out with wet batter, bake for 5 more minutes and test again. If it comes out clean, you’re done. If it comes out with a few moist crumbs, that’s perfect — the bread will continue cooking from residual heat as it cools.
Timing strategy. Toast the walnuts while the oven preheats. Mash the bananas while the walnuts cool. Mix the dry ingredients while the wet ingredients come together. This multitasking approach cuts your active time to about 10 minutes.
Room temperature ingredients matter. Cold eggs can seize the melted butter, creating a lumpy batter. Set your egg out 30 minutes before starting, or place it in a bowl of warm water for 5 minutes. Your future self will thank you.
Variations & Adaptations
This small-batch banana bread is endlessly adaptable. Here are some variations I’ve tried and loved:
- Chocolate Chip Banana Bread: Swap the walnuts for 1/2 cup semi-sweet chocolate chips. I use Ghirardelli because they hold their shape and melt beautifully. Add them right before folding in the dry ingredients.
- Gluten-Free Version: Use 1 cup of good gluten-free all-purpose flour blend (I’ve had success with King Arthur Measure for Measure). Add 1/4 teaspoon xanthan gum if your blend doesn’t include it. The texture is slightly more crumbly but still delicious.
- Vegan Adaptation: Replace the egg with a flax egg (1 tablespoon ground flaxseed mixed with 3 tablespoons water, let sit for 5 minutes). Use coconut oil instead of butter. The bread will be slightly denser but still moist and flavorful.
- Spiced Banana Bread: Add 1/2 teaspoon cinnamon, 1/4 teaspoon nutmeg, and a pinch of cardamom to the dry ingredients. This version is incredible during fall and pairs beautifully with a hot cup of chai.
- Nut-Free Option: Skip the walnuts entirely and add 1/4 cup dried cranberries or chopped dates instead. The sweetness complements the banana perfectly.
I once made a version with crystallized ginger and dark chocolate chunks — it was a happy accident from a poorly labeled pantry, and honestly, it might be my favorite variation yet. Don’t be afraid to experiment.
Serving & Storage Suggestions
This banana bread is best served warm, when the butter melts into every slice. I like mine with a generous smear of salted butter and a cup of strong black coffee. For a more indulgent treat, toast a slice and drizzle it with honey or maple syrup.
Storage: Wrap the cooled loaf tightly in plastic wrap or aluminum foil and store at room temperature for up to 3 days. Do not refrigerate — the cold air dries out the bread and makes it stale faster. Trust me, I learned this the hard way after ruining a perfectly good loaf.
Freezer Instructions: This bread freezes beautifully. Wrap the cooled loaf in plastic wrap, then a layer of aluminum foil, and freeze for up to 3 months. To thaw, let it sit at room temperature for 2-3 hours, or pop individual slices in the toaster for a quick treat. I always keep a frozen loaf in my freezer for emergencies — like unexpected guests or random Tuesday cravings.
Reheating: For that fresh-from-the-oven taste, warm individual slices in a 300°F oven for 5-7 minutes, or toast them lightly. Microwaving works in a pinch but can make the bread rubbery — use 10-second intervals if you go that route.
The flavors actually develop over time. Day-old banana bread is often better than fresh — the moisture distributes more evenly, and the walnut flavor deepens. So don’t feel bad if you can’t finish it in one sitting. It’ll be even better tomorrow.
Nutritional Information & Benefits
Here’s the approximate nutritional breakdown for one slice (assuming 8 slices per loaf):
| Nutrient | Amount per Slice |
|---|---|
| Calories | 245 |
| Total Fat | 12g |
| Saturated Fat | 4g |
| Cholesterol | 35mg |
| Sodium | 180mg |
| Total Carbohydrates | 32g |
| Dietary Fiber | 2g |
| Sugars | 16g |
| Protein | 4g |
Bananas are packed with potassium, vitamin B6, and fiber, which support heart health and digestion. Walnuts are rich in omega-3 fatty acids and antioxidants — great for brain health. This recipe uses less sugar than traditional banana bread, making it a slightly more balanced treat.
For those with dietary concerns: this recipe contains gluten, dairy, eggs, and tree nuts (walnuts). For allergen-friendly alternatives, check the variations section above.
I personally love that this small-batch version lets me enjoy a treat without feeling like I need to share with the entire neighborhood. It’s portion control disguised as deliciousness.
Conclusion
This small-batch banana bread with walnuts is proof that good things come in small packages. It started as a kitchen accident and became my go-to recipe for those moments when you need something warm, sweet, and comforting without the commitment of a full-sized loaf.
Whether you’re baking for yourself, a small family, or just want to satisfy a craving without leftovers haunting you all week, this recipe delivers. The toasted walnuts add crunch, the bananas bring sweetness, and the whole thing comes together in under an hour with ingredients you probably already have.
I’d love to hear how yours turns out. Did you try a variation? Add chocolate chips? Swap the walnuts for pecans? Drop a comment below and share your creation — I read every single one and love seeing how you make this recipe your own. Happy baking, friends!
Frequently Asked Questions
Can I use frozen bananas for this recipe?
Absolutely! Thaw them completely, then drain off any excess liquid before mashing. Frozen bananas are actually sweeter and more flavorful because the freezing process breaks down the starches. Just be sure to use them right away after thawing.
Why did my banana bread sink in the middle?
This usually happens when the batter is overmixed or the oven temperature is too low. Overmixing develops gluten, which can cause the bread to rise quickly then collapse. Make sure your oven is fully preheated to 350°F and mix the batter just until combined.
Can I make this recipe without walnuts?
Yes! Simply omit the walnuts or substitute with an equal amount of chocolate chips, dried fruit, or seeds like pumpkin or sunflower seeds. The bread will still be delicious — it just won’t have that nutty crunch.
How do I know when the banana bread is done baking?
Insert a toothpick into the center of the loaf. If it comes out clean or with just a few moist crumbs, it’s done. If it comes out with wet batter, bake for 5 more minutes and test again. The top should also be golden brown and cracked.
Can I double this recipe for a full-sized loaf?
Yes! Double all ingredients and bake in a 9×5-inch loaf pan for 55-65 minutes. Keep an eye on it after 50 minutes and tent with foil if the top browns too quickly. The toothpick test is your best friend here.
Pin This Recipe!
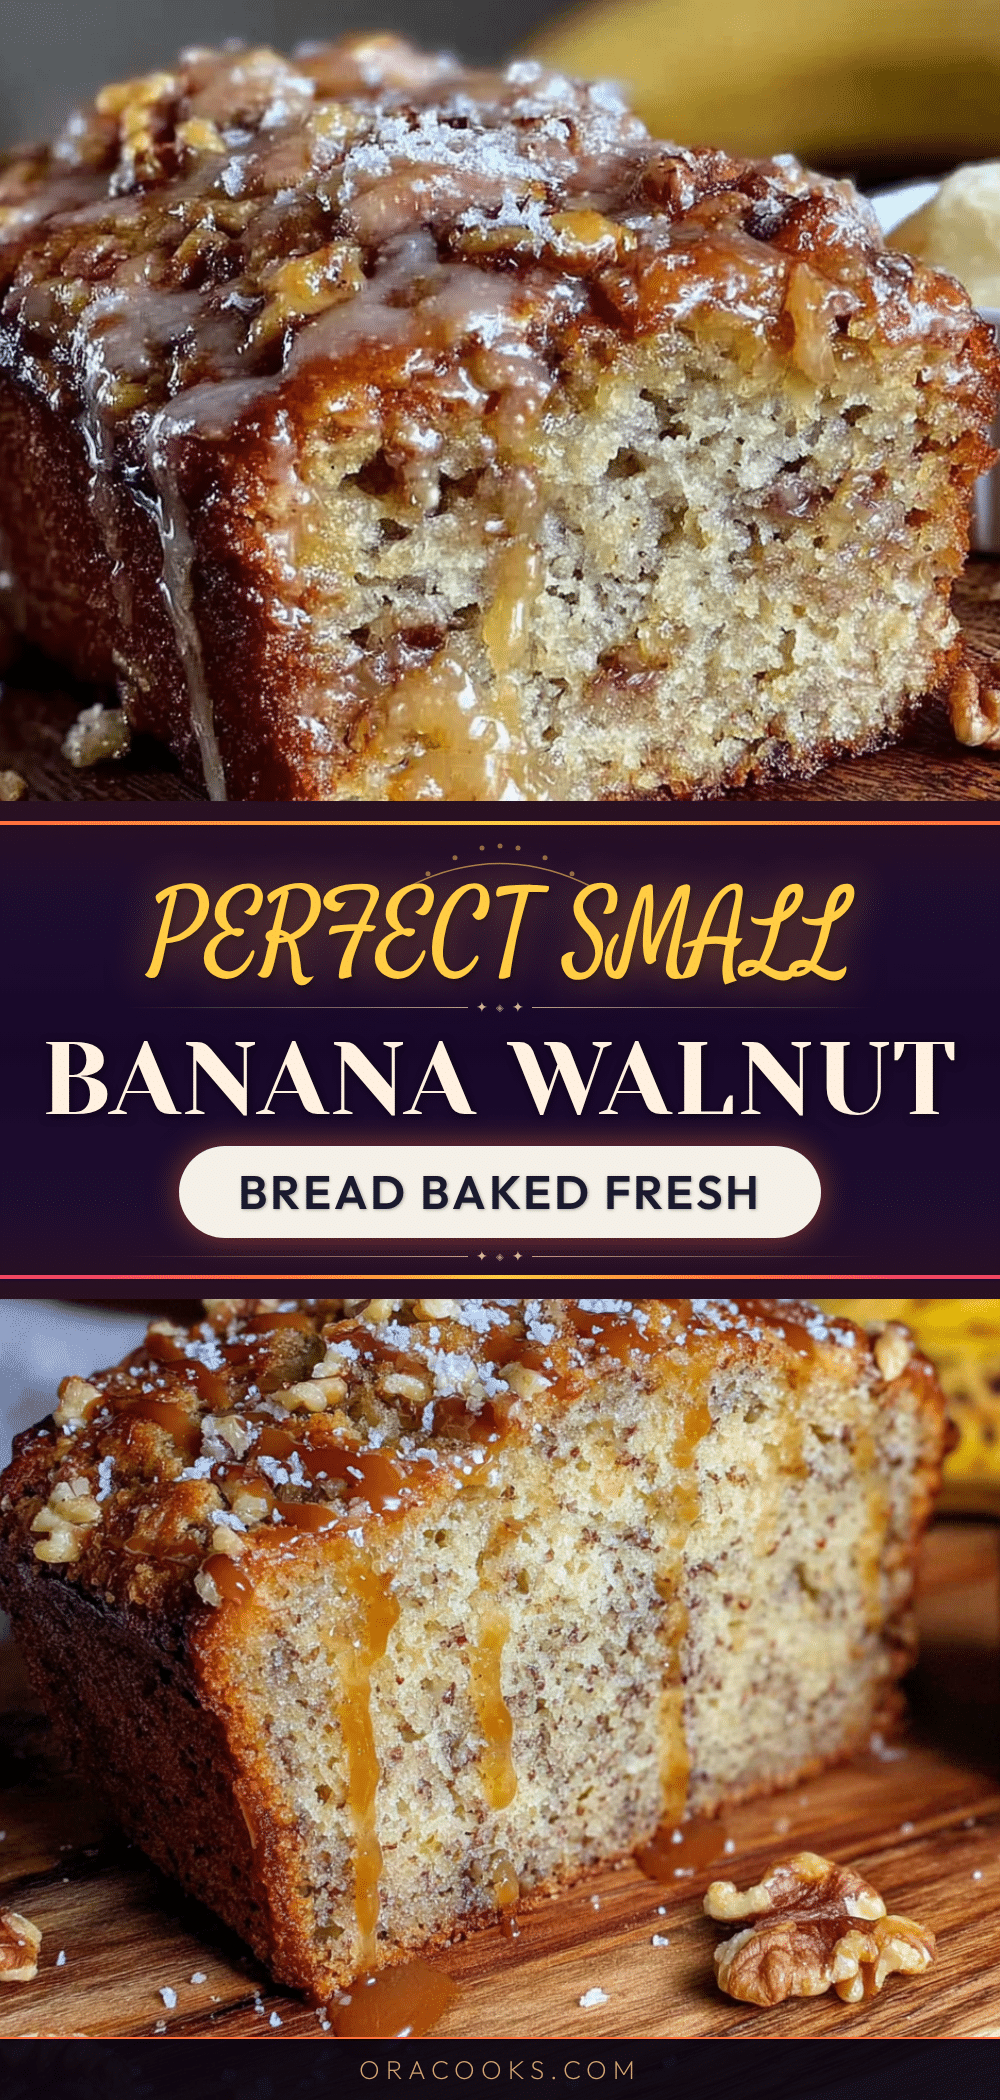
Perfect Small-Batch Banana Bread with Walnuts
This small-batch banana bread with walnuts is proof that good things come in small packages. It started as a kitchen accident and became a go-to recipe for those moments when you need something warm, sweet, and comforting without the commitment of a full-sized loaf.
- Prep Time: 10 minutes
- Cook Time: 45-50 minutes
- Total Time: 1 hour 10 minutes
- Yield: 8 servings 1x
- Category: Dessert
- Cuisine: American
Ingredients
- 2 large ripe bananas, mashed
- 1/2 cup granulated sugar
- 1/4 cup unsalted butter, melted
- 1 large egg, room temperature
- 1 teaspoon vanilla extract
- 1 cup all-purpose flour
- 1/2 teaspoon baking soda
- 1/4 teaspoon salt
- 1/2 cup walnuts, roughly chopped and toasted
Instructions
- Preheat your oven to 350°F (175°C). Position the rack in the center of the oven. Line your 8×4-inch loaf pan with parchment paper or grease it thoroughly with butter.
- Toast the walnuts: Spread the chopped walnuts on a small baking sheet and toast for 5-7 minutes, shaking the pan halfway through. Set aside to cool.
- Mash the bananas: In a large mixing bowl, mash the ripe bananas with a fork until smooth. A few small lumps are fine.
- Mix the wet ingredients: Add the melted butter, granulated sugar, egg, and vanilla extract to the mashed bananas. Whisk together until smooth and well combined.
- Combine the dry ingredients: In a separate medium bowl, whisk together the all-purpose flour, baking soda, and salt.
- Fold the dry ingredients into the wet: Add the dry mixture to the wet mixture and fold gently with a rubber spatula until just combined. Do not overmix.
- Fold in the toasted walnuts: Reserve a small handful for the top, then fold the rest into the batter with just a few strokes.
- Transfer to the pan: Pour the batter into the prepared loaf pan and spread it evenly. Sprinkle the reserved walnuts on top, pressing them in gently.
- Bake for 45-50 minutes until a toothpick inserted into the center comes out clean or with just a few moist crumbs. If the top is browning too quickly after 35 minutes, tent loosely with foil.
- Cool properly: Let the loaf cool in the pan for 10 minutes, then transfer to a cooling rack. Cool completely before slicing, about 1 hour.
Notes
For the bananas, wait until they’re practically black. If your bananas aren’t ripe enough, bake them at 300°F for 15 minutes, then let them cool. Toast walnuts yourself for best flavor. Do not overmix the batter. Room temperature ingredients matter. The bread freezes beautifully for up to 3 months.
Nutrition
- Serving Size: 1 slice
- Calories: 245
- Sugar: 16
- Sodium: 180
- Fat: 12
- Saturated Fat: 4
- Carbohydrates: 32
- Fiber: 2
- Protein: 4
Keywords: small-batch banana bread, banana bread with walnuts, easy banana bread, quick banana bread, small loaf banana bread


