Love this? Save it for later!
Share the inspiration with your friends
It was 10:47 PM on a random Wednesday in October, and I had a ridiculous, very specific craving for candy corn. Not just any candy corn, mind you—I wanted it paired with something sharp and salty, like an aged cheddar. I didn’t have any fancy cheese boards planned or guests coming over, but I had a bag of candy corn leftover from a work party and a block of white cheddar that was staring at me from the fridge. The idea arrived like a little sugar-fueled lightning bolt: why not make a full-on Halloween charcuterie board, but with candy corn as the star? I mean, it’s basically a holiday snack board, right?
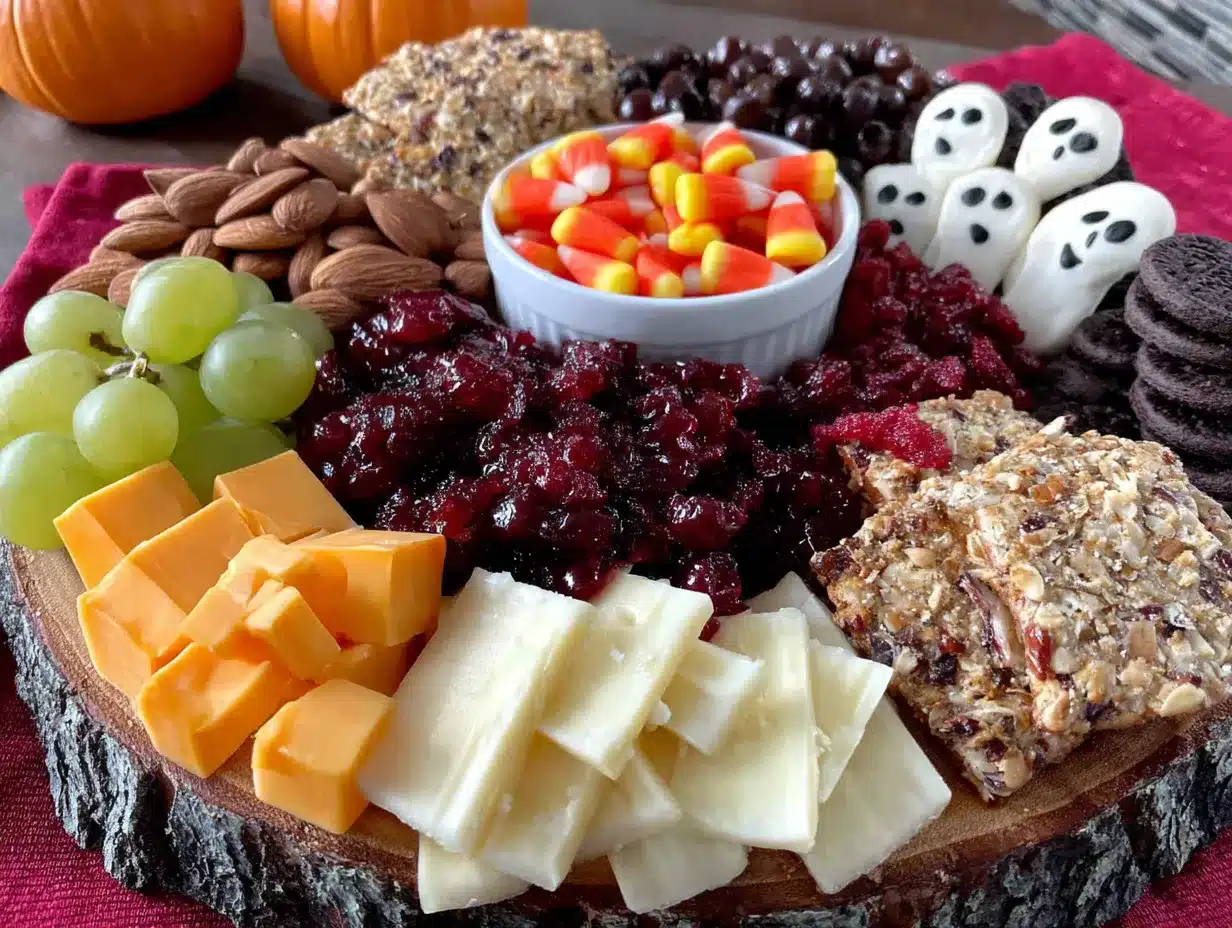
So there I was, standing in my kitchen in a pair of pajama pants, pulling out random ingredients. I grabbed some prosciutto that was about to expire, a box of crackers I’d forgotten about, and some black olives that felt appropriately spooky. I arranged everything on my biggest cutting board—the one with the juice stain from last summer’s barbecue—and honest to goodness, it looked incredible. The oranges and blacks and whites of the candy corn played off the deep reds of the salami and the pale yellows of the cheese. It was like a little edible Halloween diorama.
Maybe you’ve been there—standing in your kitchen at an unreasonable hour, feeling the urge to make something festive but not wanting to bake a whole cake or spend hours on a complicated recipe. This board is that solution. It’s the kind of thing you throw together for a party, a movie night, or just because it’s October and you want to celebrate. I’ve been making this board every year since that late-night experiment, and it keeps getting better. Honestly, it’s become my signature Halloween move. Let me show you how to build your own.
Why You’ll Love This Recipe
This Halloween Charcuterie Board with Candy Corn and Cheese isn’t just another snack platter. It’s a conversation starter, a crowd-pleaser, and surprisingly easy to put together. I’ve tested this combination at multiple parties, and it never fails to get people talking. The sweet-and-salty thing works on a primal level, and the visual payoff is huge.
- Quick & Easy: You can assemble this board in under 15 minutes. No cooking, no baking, no stress. Perfect for last-minute Halloween gatherings or when you just want a festive snack.
- Simple Ingredients: Most of these items are pantry staples or easy to find at any grocery store. No need to hunt down exotic cheeses or specialty crackers.
- Perfect for Halloween Parties: This board is a showstopper for any spooky celebration. It works for adult gatherings, family movie nights, or even classroom parties if you adapt the ingredients.
- Crowd-Pleaser: The combination of sweet candy corn with sharp cheese and savory meats appeals to both kids and adults. I’ve seen grown men argue over the last piece of prosciutto-wrapped cheese.
- Unbelievably Delicious: The texture and flavor combo is next-level comfort food. The crunch of the candy corn against the creaminess of brie, the saltiness of the meats cutting through the sweetness—it’s a symphony in your mouth.
What makes this board different from the rest? It’s the deliberate pairing of Halloween candy with high-quality cheese. Most people serve candy corn alone or cheese alone. This board bridges that gap. I’ve experimented with different cheese-to-candy ratios, and I’ve found that a 2:1 savory-to-sweet ratio works best. It’s not just another cheese board—it’s a Halloween experience. And honestly, it’s the kind of recipe that makes you close your eyes after the first bite. It’s comfort food reimagined: festive, fun, and full of flavor.
What Ingredients You Will Need
This recipe uses simple, accessible ingredients to create a visually stunning and delicious Halloween board. The key is balancing sweet, salty, creamy, and crunchy elements. Here’s what you’ll need, grouped by category for easy shopping.
For the Cheese Selection
- Sharp White Cheddar, 8 ounces, sliced into triangles or cubes (adds a sharp, tangy contrast to the sweet candy corn)
- Brie or Camembert, 8 ounces, whole wheel or wedges (creates a creamy, buttery base)
- Aged Gouda, 6 ounces, sliced thin (has a slightly sweet, nutty flavor that bridges the gap between cheese and candy)
- Goat Cheese Log, 4 ounces, sliced into rounds (adds a tangy, crumbly texture; I recommend [brand] for best creaminess)
For the Meats
- Prosciutto, 4 ounces, thinly sliced (salty and delicate, wraps beautifully around cheese or fruit)
- Salami, 6 ounces, sliced into rounds (I prefer Genoa salami for its bold flavor)
- Pepperoni, 4 ounces, small slices (adds a spicy kick that cuts through the sweetness)
For the Candy Corn & Sweets
- Candy Corn, 1 cup (the star of the show; use the classic Brach’s brand for authentic flavor)
- Chocolate-Covered Pretzels, 1 cup (adds crunch and a salty-sweet element)
- Dried Cranberries or Cherries, 1/2 cup (adds tartness and a pop of red color)
- Pumpkin-Shaped Cookies or Cake Pops, 4-6 pieces (optional, for extra Halloween flair)
For the Crackers & Bread
- Water Crackers, 1 box (neutral flavor, lets the cheese shine)
- Rye or Pumpernickel Crackers, 1 box (adds a earthy, slightly bitter note that contrasts with candy corn)
- Baguette Slices, 1 cup, toasted (adds crunch and substance)
For the Fruits & Vegetables
- Green Grapes, 1 cup (adds freshness and a burst of sweetness)
- Black Olives, 1/2 cup (adds a briny, salty element and looks spooky)
- Apple Slices, 1 apple, thinly sliced (toss with lemon juice to prevent browning)
- Fresh Rosemary Sprigs, for garnish (adds a woodsy aroma and looks like little trees)
Substitution Guidance
- For dairy-free: Use vegan cheese alternatives and skip the brie. Try cashew-based cheeses for creaminess.
- For gluten-free: Use gluten-free crackers or rice cakes. Most candy corn is gluten-free, but check the label.
- For nut allergies: Ensure all crackers and pretzels are nut-free. Replace chocolate-covered pretzels with plain chocolate pieces.
- For a healthier option: Swap some candy corn for dried fruit or dark chocolate chips. Use low-sodium meats.
Equipment Needed
You don’t need anything fancy to build this board. Here’s what I use, along with some alternatives if you’re working with limited kitchen tools.
- Large Wooden Cutting Board or Charcuterie Board: At least 12×18 inches. A wooden board adds rustic charm. If you don’t have one, a large baking sheet or even a clean pizza pan works fine. I’ve used a marble pastry board before, and it looked elegant.
- Small Bowls or Ramekins: For the candy corn, olives, and dried fruit. Use whatever you have—I’ve used espresso cups and small mason jars in a pinch. The key is to have vessels that keep the small items contained.
- Cheese Knives or Spreaders: A small knife for the brie, a cheese plane for the gouda, and a spreader for the goat cheese. If you don’t have cheese-specific tools, a butter knife and a paring knife will do the job.
- Tongs or Small Forks: For serving the meats and olives. I prefer small cocktail forks, but regular forks work too.
- Parchment Paper: Optional, but helpful for lining the board for easy cleanup. I use it when I’m taking the board to a party.
Pro tip: If you’re using a new wooden board, season it with mineral oil first to prevent staining from the cheeses and meats. I learned this the hard way after my first board got a permanent orange stain from the cheddar.
Preparation Method
Building a charcuterie board is more art than science, but following a logical order makes it easier and more visually appealing. Here’s my step-by-step method, refined over many Halloween seasons.
- Start with the Board: Place your board on a flat surface. If using parchment paper, cut it to size and lay it down. The board should be clean and dry. I like to set the mood by dimming the lights and putting on some spooky music—it helps me get into the Halloween spirit.
- Place the Bowls First: Set out your small bowls for the candy corn, olives, and dried cranberries. Position them in a triangle pattern on the board—one near the top left, one near the bottom center, and one near the top right. This creates visual balance. Fill each bowl about three-quarters full. For the candy corn, I like to pile it high so it looks abundant.
- Add the Cheeses: Place the cheese wedges and rounds around the bowls. Cut the sharp cheddar into triangles about 2 inches wide. Place the brie wheel whole or cut into wedges. Slice the aged gouda into thin, bite-sized pieces and fan them out. The goat cheese log should be sliced into rounds about 1/2 inch thick. Space the cheeses evenly across the board—you want guests to be able to reach each cheese without stretching. I always put the brie near the center because it’s the most popular.
- Layer the Meats: Fold each slice of prosciutto into a loose ribbon shape and place it in small piles around the board. Layer the salami slices in overlapping rows—I like to create a small salami “river” that flows between the cheese and bowls. The pepperoni slices can be scattered in small clusters. Don’t be afraid to let the meats overlap the cheeses slightly; it adds depth and texture.
- Fill in with Crackers and Bread: Arrange the water crackers in a fan pattern near the cheddar. Place the rye crackers in a stack near the gouda. The baguette slices can be arranged in a line along the edge of the board. I like to create little “cracker islands” so guests can easily grab a base for their toppings. For a Halloween touch, use a small cookie cutter to cut the baguette slices into pumpkin or bat shapes.
- Scatter the Fruits and Vegetables: Tuck the green grapes in small clusters around the board—they add a pop of green that contrasts nicely with the orange and black theme. Place the black olives in a small pile near the salami. Arrange the apple slices in a fan pattern near the brie. The apples add a fresh, crisp element that cuts through the richness of the cheese and meats.
- Add the Sweets and Garnishes: Scatter the chocolate-covered pretzels around the board, filling in any empty spaces. Place the pumpkin-shaped cookies or cake pops near the center for a focal point. Finally, tuck fresh rosemary sprigs in between the cheeses and meats. The rosemary adds a woodsy aroma and a touch of green that makes the board look more professional. I also like to add a few edible flowers or dried orange slices for extra color.
- Final Touches: Step back and look at the board. Fill any gaps with extra crackers, grapes, or candy corn. The board should look abundant but not overcrowded. I usually adjust the placement of the bowls and cheese wedges until it feels balanced. Serve immediately, or cover with plastic wrap and refrigerate for up to 2 hours. If refrigerating, let the board sit at room temperature for 15 minutes before serving to let the cheeses soften.
Cooking Tips & Techniques
Over the years, I’ve made my fair share of mistakes with charcuterie boards. Here are the lessons I’ve learned so you can avoid the same pitfalls.
Don’t Overcrowd the Board: I know it’s tempting to pile everything on, but a crowded board looks messy and is hard to eat from. Leave about 10-15% of the board surface empty. This creates visual breathing room and makes the board look more intentional. I once made a board so packed that guests had to disassemble it to get to the cheese. Not a good look.
Balance the Flavors: The key to a great board is contrast. Pair sharp cheeses with mild ones, salty meats with sweet fruits, and crunchy crackers with creamy spreads. Taste as you go. I once made a board with all sharp cheeses and salty meats, and it was overwhelming. Now I always include at least one mild cheese (like brie) and one sweet element (like the candy corn).
Consider Temperature: Cheese tastes best at room temperature. Take the cheeses out of the refrigerator 30 minutes before assembling the board. If you’re serving the board later, keep the cheese and meats separate from the crackers and fruits until just before serving. I learned this after a party where the brie was still cold and hard—nobody touched it.
Use the Right Cutting Techniques: For soft cheeses like brie, use a thin, sharp knife to avoid squishing them. For hard cheeses like aged gouda, use a cheese plane or a vegetable peeler to create thin, elegant slices. For the cheddar, cut into uniform triangles so they look neat. I always cut the cheese right before assembling to prevent it from drying out.
Timing is Everything: Assemble the board no more than 2 hours before serving. If you need to prep earlier, prepare the ingredients separately and assemble just before guests arrive. The crackers and pretzels can get stale if left out too long, and the apple slices will brown. I learned this the hard way at a party where the apples looked sad and brown within an hour.
Variations & Adaptations
This board is endlessly customizable. Here are some variations I’ve tried and loved.
Spooky Spiderweb Board: Replace the candy corn with black and orange jelly beans. Use a small spider-shaped cookie cutter to cut the cheese into spider shapes. Add plastic spider rings for decoration. This is a hit with kids and adds a fun, interactive element. I made this for a neighbor’s Halloween party, and the kids went wild for it.
Healthy Halloween Board: Swap the candy corn for dried mango slices and dark chocolate chips. Use low-sodium turkey slices instead of salami and prosciutto. Add more fresh vegetables like cucumber rounds and bell pepper strips. This version is lighter but still festive. I serve this at my annual Halloween brunch, and it’s always the first board to empty.
Vegan Halloween Board: Use vegan cheese alternatives like cashew-based brie and almond-based cheddar. Replace the meats with marinated artichoke hearts, roasted red peppers, and grilled eggplant slices. Use vegan crackers and skip the honey-based items. This board is surprisingly delicious and inclusive. I made it for a vegan friend’s Halloween party, and even the meat-eaters loved it.
Dessert Halloween Board: Replace all the savory elements with sweets. Use chocolate-covered strawberries, mini cupcakes, candy corn, gummy worms, and chocolate bars. Add a bowl of caramel or chocolate dip for dipping. This is perfect for a Halloween movie night or a kid’s party. I made this for a Halloween sleepover, and it was gone in 20 minutes.
Savory-Heavy Board: If you’re not a fan of sweets, double the meats and cheeses. Add pickles, pickled onions, and whole-grain mustard. Use only a small bowl of candy corn for a pop of color. This version is more traditional but still Halloween-themed. I serve this for adult gatherings where people want something more substantial.
Serving & Storage Suggestions
Serving Temperature: Serve the board at room temperature for the best flavor. If you’ve refrigerated it, let it sit out for 20 minutes before serving. The cheeses will soften and become creamier, and the meats will release more flavor. I always set the board out 15 minutes before guests arrive.
Presentation: Arrange the board on a large, flat surface. Place a few small serving plates and napkins nearby. I like to add a small sign that says “Happy Halloween” or “Trick or Treat” for a festive touch. For a dramatic effect, place the board on a black tablecloth with orange candles nearby.
Complementary Dishes and Beverages: This board pairs beautifully with a crisp white wine like Sauvignon Blanc or a light red like Pinot Noir. For non-alcoholic options, serve apple cider or sparkling water with a splash of pomegranate juice. I also like to serve a small bowl of popcorn or roasted pumpkin seeds on the side for extra crunch.
Storage Instructions: If you have leftovers, separate the components. Store the cheeses in wax paper or parchment paper in the refrigerator—plastic wrap can make them sweat. Store the meats in an airtight container. The crackers and pretzels should be stored in a ziplock bag at room temperature. The candy corn can be stored in a sealed container at room temperature for up to a month.
Reheating Tips: This board is served cold, so no reheating is needed. However, if you have leftover baguette slices, you can toast them in the oven at 350°F for 5 minutes to refresh them. The cheeses can be used in sandwiches or melted on pasta the next day. I like to use leftover brie in a grilled cheese sandwich—it’s amazing.
How Flavors Develop Over Time: The flavors of the board actually improve after an hour or two at room temperature. The cheeses soften and become more aromatic, and the meats release their oils. However, the crackers and pretzels will start to get stale after 3-4 hours. For the best experience, serve the board within 2 hours of assembling.
Nutritional Information & Benefits
This board is indulgent, but it also has some surprising nutritional benefits. Here’s the estimated breakdown per serving (assuming 8 servings).
| Nutrient | Amount per Serving |
|---|---|
| Calories | 380-420 |
| Protein | 18g |
| Fat | 24g |
| Carbohydrates | 32g |
| Fiber | 3g |
| Sugar | 18g |
| Sodium | 720mg |
Health Benefits of Key Ingredients: Cheese is a good source of calcium and protein, which support bone health and muscle function. The nuts and seeds in the crackers provide healthy fats and fiber. Grapes and apples are rich in antioxidants and vitamin C. Even candy corn has a small amount of sugar that provides a quick energy boost—though it should be enjoyed in moderation.
Dietary Considerations: This board contains dairy, gluten, and common allergens like tree nuts (if using certain crackers). For a gluten-free version, use gluten-free crackers and ensure all meats and cheeses are certified gluten-free. For a low-carb version, skip the crackers and candy corn, and focus on the cheeses and meats. I’ve made a keto-friendly version by replacing the crackers with cucumber rounds and the candy corn with dark chocolate chips.
Potential Allergens: This recipe contains milk (cheese), wheat (crackers), and possibly soy (in some processed meats). Always check labels if serving guests with allergies. I always label the board with small signs indicating which items are gluten-free or dairy-free.
Personal Wellness Perspective: I believe in balance. This board is a treat, not an everyday meal. It’s perfect for special occasions like Halloween parties or family gatherings. Enjoy it mindfully, savor each bite, and don’t feel guilty about indulging. Food is meant to be enjoyed, especially when it’s this festive and fun.
Conclusion
This Halloween Charcuterie Board with Candy Corn and Cheese is more than just a snack—it’s a celebration of the season. It’s the kind of recipe that brings people together, sparks conversation, and makes everyone smile. Whether you’re hosting a costume party, having a quiet movie night, or just want to add some Halloween spirit to your kitchen, this board delivers.
I encourage you to make this board your own. Swap in your favorite cheeses, experiment with different candies, and get creative with the presentation. The best boards are the ones that reflect your personality and taste. I’ve made this board so many times, and it never gets old. Every time I arrange the candy corn next to the sharp cheddar, I smile. It’s a little tradition that makes October feel special.
So go ahead—grab your biggest board, raid your pantry, and build something spooktacular. And when you do, I’d love to hear about it. Leave a comment below and tell me how your board turned out. What cheeses did you use? Did you add any fun decorations? Share your photos and tag me on social media. Let’s make this Halloween the tastiest one yet. Happy Halloween, and happy snacking!
Frequently Asked Questions
Can I make this board ahead of time?
Yes, you can assemble the board up to 2 hours in advance. Cover it with plastic wrap and refrigerate. Let it sit at room temperature for 15 minutes before serving. However, I recommend adding the crackers and pretzels just before serving to keep them crunchy.
What if I don’t like candy corn?
No problem! You can replace the candy corn with any Halloween-themed candy. Try candy pumpkins, chocolate eyeballs, gummy worms, or even small candy bars. The key is to keep the sweet element to balance the savory cheeses and meats.
How many people does this board serve?
This board serves 6-8 people as an appetizer or snack. If you’re serving it as a main course for a light meal, it serves 4-6 people. I usually double the recipe for larger parties or when I want leftovers.
Can I use pre-sliced cheese from the store?
Absolutely! Pre-sliced cheese works fine in a pinch. However, I recommend buying blocks and slicing them yourself for better presentation and freshness. Pre-sliced cheese can dry out faster and doesn’t look as elegant on the board.
How do I keep the apple slices from browning?
Toss the apple slices in a mixture of lemon juice and water (1 tablespoon lemon juice per 1 cup water) before adding them to the board. This will keep them fresh for up to 2 hours. Alternatively, use apple varieties that brown slowly, like Honeycrisp or Fuji.
Pin This Recipe!
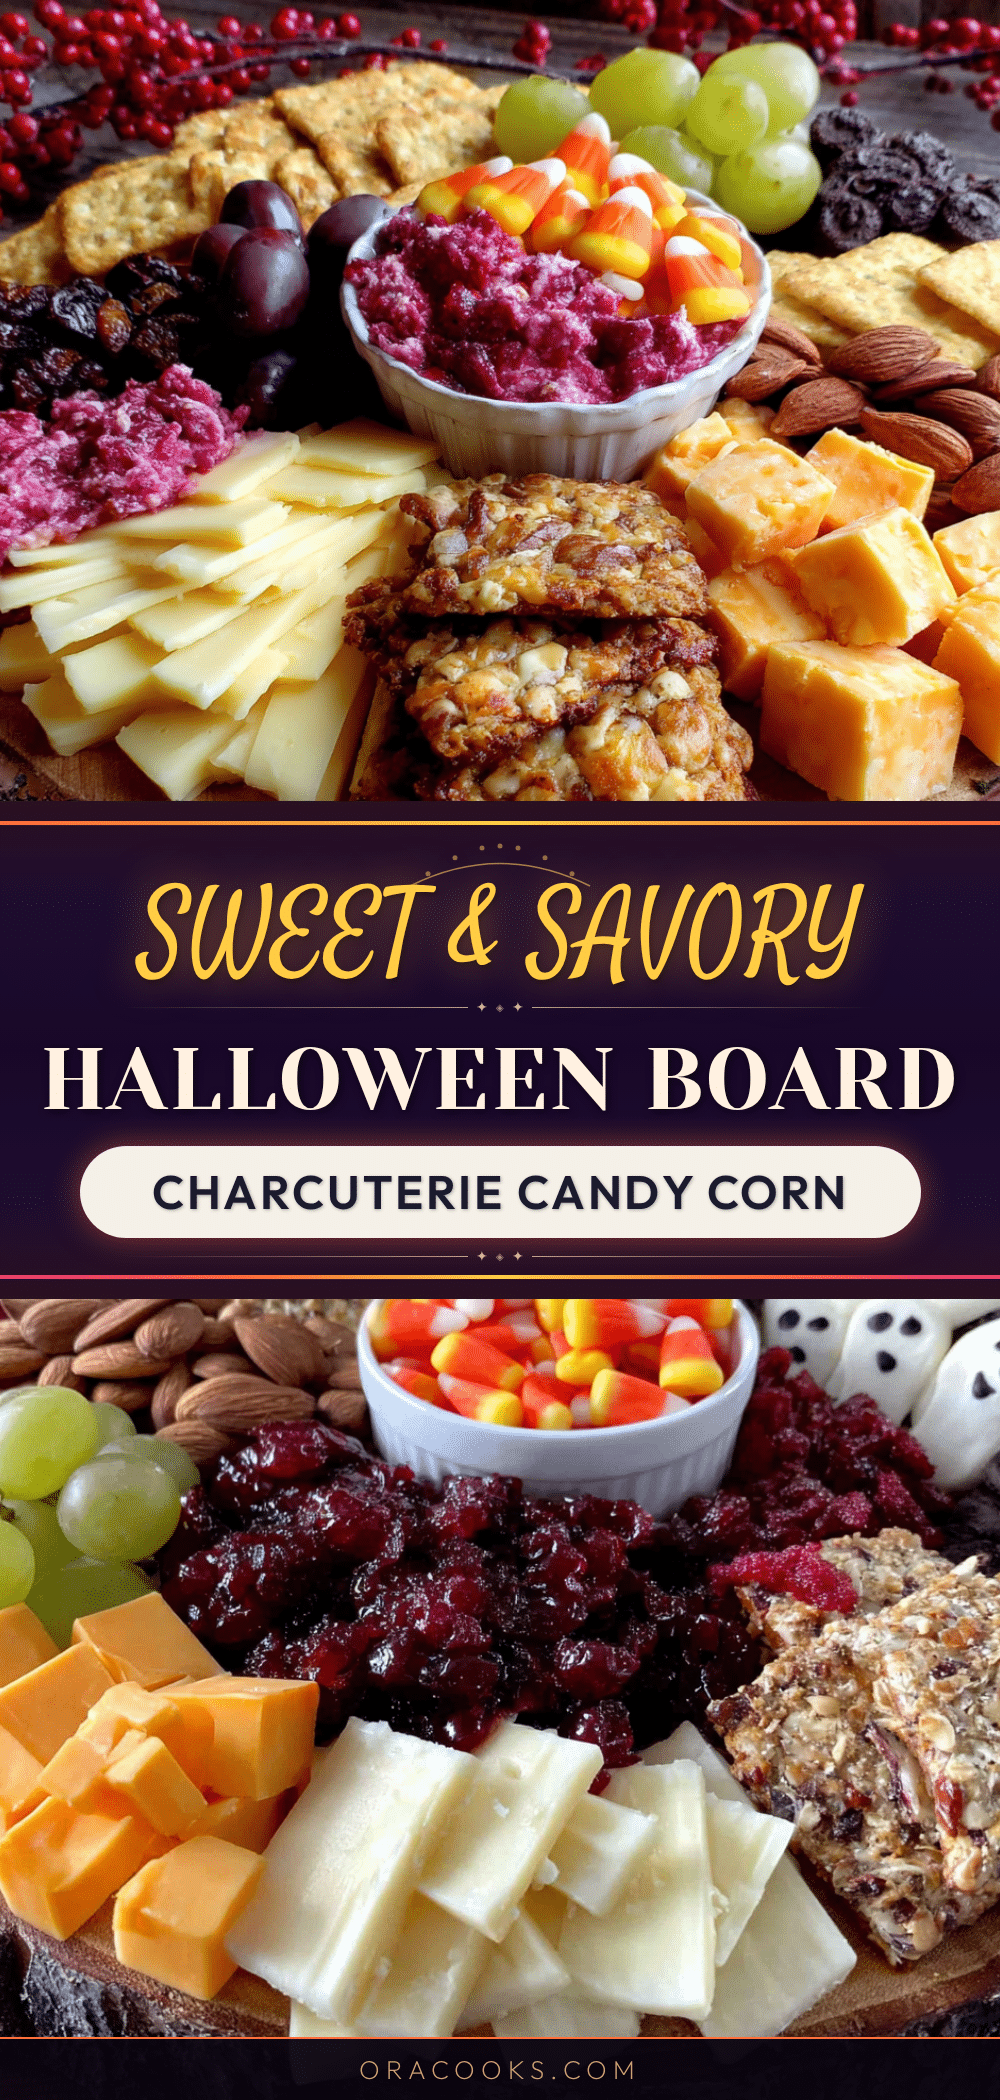
Perfect Halloween Charcuterie Board with Candy Corn & Cheese
A festive and easy-to-assemble Halloween charcuterie board featuring candy corn paired with sharp cheese, savory meats, and crunchy crackers. Perfect for parties, movie nights, or any spooky celebration.
- Prep Time: 15 minutes
- Cook Time: 0 minutes
- Total Time: 15 minutes
- Yield: 8 servings
- Category: Appetizer
- Cuisine: American
Ingredients
- Sharp White Cheddar, 8 ounces, sliced into triangles or cubes
- Brie or Camembert, 8 ounces, whole wheel or wedges
- Aged Gouda, 6 ounces, sliced thin
- Goat Cheese Log, 4 ounces, sliced into rounds
- Prosciutto, 4 ounces, thinly sliced
- Salami, 6 ounces, sliced into rounds
- Pepperoni, 4 ounces, small slices
- Candy Corn, 1 cup
- Chocolate-Covered Pretzels, 1 cup
- Dried Cranberries or Cherries, 1/2 cup
- Pumpkin-Shaped Cookies or Cake Pops, 4-6 pieces (optional)
- Water Crackers, 1 box
- Rye or Pumpernickel Crackers, 1 box
- Baguette Slices, 1 cup, toasted
- Green Grapes, 1 cup
- Black Olives, 1/2 cup
- Apple Slices, 1 apple, thinly sliced
- Fresh Rosemary Sprigs, for garnish
Instructions
- Place your board on a flat surface. If using parchment paper, cut it to size and lay it down.
- Set out small bowls for the candy corn, olives, and dried cranberries. Position them in a triangle pattern on the board.
- Place the cheese wedges and rounds around the bowls. Cut the sharp cheddar into triangles, place the brie whole or cut into wedges, slice the aged gouda into thin pieces and fan them out, and slice the goat cheese log into rounds.
- Fold each slice of prosciutto into a loose ribbon shape and place in small piles. Layer the salami slices in overlapping rows. Scatter pepperoni slices in small clusters.
- Arrange water crackers in a fan pattern near the cheddar. Place rye crackers in a stack near the gouda. Arrange baguette slices in a line along the edge of the board.
- Tuck green grapes in small clusters around the board. Place black olives in a small pile near the salami. Arrange apple slices in a fan pattern near the brie.
- Scatter chocolate-covered pretzels around the board, filling empty spaces. Place pumpkin-shaped cookies or cake pops near the center. Tuck fresh rosemary sprigs between cheeses and meats.
- Step back and look at the board. Fill any gaps with extra crackers, grapes, or candy corn. Serve immediately, or cover with plastic wrap and refrigerate for up to 2 hours. If refrigerating, let sit at room temperature for 15 minutes before serving.
Notes
For best flavor, let cheeses come to room temperature before serving. The board can be assembled up to 2 hours in advance; add crackers and pretzels just before serving to keep them crunchy. To prevent apple slices from browning, toss them in lemon juice and water.
Nutrition
- Serving Size: 1 serving (based on
- Calories: 400
- Sugar: 18
- Sodium: 720
- Fat: 24
- Saturated Fat: 12
- Carbohydrates: 32
- Fiber: 3
- Protein: 18
Keywords: Halloween charcuterie board, candy corn, cheese board, Halloween appetizer, easy snack, party platter


