Love this? Save it for later!
Share the inspiration with your friends
Introduction
My sister swore she didn’t do Halloween treats. For years. She’d show up with bags of the same store-bought candy corn every October 31st, proud of her refusal to participate in what she called “the Pinterest pressure cooker.” Then last October, I found her at my kitchen counter at 11 p.m., green-tinted almond slivers scattered across the cutting board, meticulously pressing fingernail ridges into chocolate-covered pretzel rods. She didn’t even look up when I walked in. She just muttered something about “needing them to look truly gnarled” and kept going. That’s the thing about these spooky witch finger pretzel rods — they pull you in when you least expect it. Maybe you’ve been that person who rolls their eyes at elaborate Halloween snacks. I get it. The first time I made these, I was just trying to use up leftover melting wafers from a failed cake pop experiment. But honestly? There’s something deeply satisfying about creating a snack that makes people do a double-take before giggling and grabbing one. These witch finger pretzel rods have become the thing I’m asked to bring to every Halloween party, and I never get tired of watching someone’s face shift from “ew” to “mmm” in about three seconds flat.
Why You’ll Love This Recipe
I’ve tested this recipe through three Halloween seasons and two cross-country moves, and here’s what I can tell you with confidence — these are the easiest impressive Halloween snacks you’ll ever make. Let me break down why they work so well:
- Quick & Easy: From start to finish, you’re looking at about 20 minutes of active work. The rest is just chilling time. Perfect for those “oh no, the party is tomorrow” moments.
- Simple Ingredients: You need four main ingredients, and three of them are probably already in your pantry. No specialty baking supply runs required.
- Perfect for Halloween Parties: These things are conversation starters. People can’t help but comment on how creepy they look, then immediately ask for the recipe.
- Crowd-Pleaser: I’ve brought these to parties with kids, adults, and that one friend who “doesn’t do sweet snacks.” Every single person ate at least two.
- Unbelievably Delicious: The salty pretzel crunch against sweet chocolate and that hint of almond? It’s the kind of combination that makes you reach for another one without thinking.
What makes this version different from other witch finger recipes I’ve seen is the technique. Instead of using whole almonds that look clunky and fake, I slice them into thin slivers and shape them into actual fingernail shapes. It takes an extra five minutes, but the realism is worth it. Plus, I add a pinch of salt to the chocolate — a trick I learned from a pastry chef friend that balances the sweetness perfectly.
This isn’t just another Halloween treat recipe. It’s the one that makes you feel like a kitchen wizard without actually needing to be one. The kind of snack that gets photographed, shared, and requested again next year. And honestly? Watching someone take that first bite and realize how good they taste never gets old.
What Ingredients You Will Need
This recipe uses simple, everyday ingredients to create something that looks terrifyingly realistic. The magic is in how you put them together, not in fancy components.
- Pretzel rods (1 package, about 12-16 rods) — Look for thick, sturdy pretzel rods that won’t snap easily when you’re dipping them. I prefer the brand Utz for their consistent thickness and satisfying crunch.
- Green candy melts or white chocolate melting wafers (12 ounces) — The green color is what sells the witch finger illusion. Wilton’s green candy melts work great, or you can use white chocolate and add green gel food coloring. Just don’t use liquid food coloring or your chocolate will seize up — trust me on this one.
- Sliced almonds (about 1/2 cup) — You want the raw, unsalted kind. The natural shape of sliced almonds already looks surprisingly fingernail-like. I’ve tried using whole almonds and it just doesn’t look right.
- Coconut oil or shortening (1 teaspoon) — This is optional but helps thin the melted chocolate for a smoother coating. If your candy melts are already thin enough, skip it.
- Flaky sea salt (optional, for garnish) — A tiny sprinkle on the chocolate before it sets adds that salty-sweet contrast that makes these irresistible.
- Red gel food coloring (for the “blood” effect) — Just a tiny dot at the base of each almond nail. You can skip this if you want less gore, but honestly, it’s the detail that makes people shriek.
Ingredient Selection Tips: When choosing your pretzel rods, avoid the really thin ones — they’ll break under the weight of the chocolate coating. You want rods that feel substantial in your hand. For the almonds, look for slices that are relatively uniform in thickness. I’ve noticed that the thinner slices curl up more when they set, which actually looks more like a real fingernail. If you’re making these for a party with nut allergies, you can substitute the almonds with small pieces of dried apricot or even green candy shells shaped into ovals.
Brand Recommendations: I’ve tested this with several brands of candy melts, and Wilton consistently gives the smoothest results. For the pretzel rods, Utz or Snyder’s of Hanover both work well — just avoid the extra-thin “sourdough” style rods.
Equipment Needed
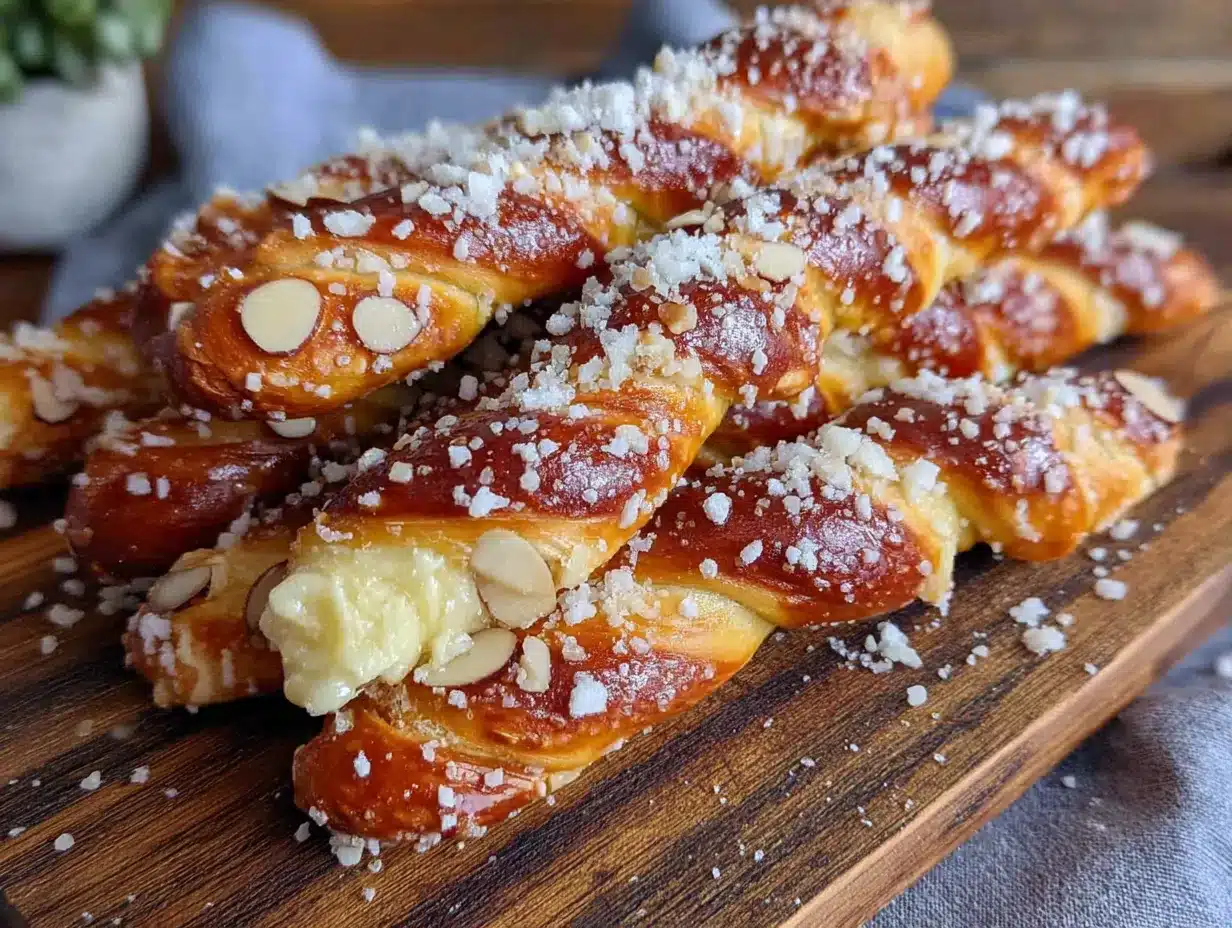
You don’t need a professional bakery setup for these. Here’s what I use every time:
- Microwave-safe bowl (for melting the candy melts)
- Parchment paper or silicone baking mat (for setting the finished rods)
- Baking sheet (to hold the parchment paper)
- Small offset spatula or butter knife (for spreading chocolate if needed)
- Toothpick (for creating knuckle wrinkles and applying red gel)
- Small piping bag or zip-top bag (for drizzling if you want extra detail)
- Cutting board and sharp knife (for trimming almond slices)
Budget-Friendly Alternatives: Don’t have a silicone baking mat? Parchment paper works just as well. No piping bag? Snip the corner off a zip-top bag — that’s what I do half the time anyway. If you don’t have an offset spatula, a regular butter knife will do the job.
Personal Equipment Note: I’ve made these using both microwave and double-boiler methods for melting chocolate. The microwave is faster and works perfectly if you go in 30-second bursts. My first batch seized up because I got impatient and cranked the heat — learn from my mistake and take it slow.
Preparation Method
Let me walk you through this step by step. I’ve made these so many times I could do it in my sleep, but I’ll share all the little tricks I’ve picked up along the way.
- Prepare your workspace — Line a baking sheet with parchment paper or a silicone mat. You want enough room to lay out all your pretzel rods without them touching. Clear some counter space — this gets a little messy, and you don’t want to be knocking things over while your hands are covered in chocolate.
- Shape the almond fingernails — Take your sliced almonds and look at them. Some will already look like tiny fingernails. For the ones that don’t, use a sharp knife to trim them into oval shapes with a slightly curved edge. You want them to look like they belong on a witch’s gnarled finger, so don’t make them too perfect. Set these aside on a small plate. You’ll need one almond per pretzel rod.
- Melt the green candy melts — Place your candy melts in a microwave-safe bowl. Microwave in 30-second intervals, stirring thoroughly between each interval. It usually takes about 90 seconds total. Stir in the teaspoon of coconut oil if your mixture seems too thick. You want it to be smooth and runny enough to coat the pretzel rods evenly. Pro tip: If your chocolate starts looking grainy or stiff, you’ve overheated it. Start over — it’s not worth trying to salvage seized chocolate.
- Dip the pretzel rods — Hold a pretzel rod by one end and dip it into the melted green chocolate, leaving about an inch undipped at the top (this will be the “base” of the finger). Gently twist and turn the pretzel to coat it evenly. Let the excess chocolate drip back into the bowl for a few seconds. You want a nice even coating, not a thick globby mess.
- Add the almond fingernail — Before the chocolate sets, press one trimmed almond slice onto the dipped end of the pretzel rod. Position it so the curved edge faces outward, like a real fingernail. Press gently so it sticks, but don’t push it all the way in — you want it to look like it’s growing out of the chocolate.
- Create knuckle wrinkles — Here’s where the realism comes in. While the chocolate is still wet, use a toothpick to draw two or three horizontal lines across the middle of the chocolate coating. These are your knuckle wrinkles. Make them slightly curved and uneven — real fingers aren’t perfectly straight. I like to add a few extra random lines for that “gnarly witch finger” look.
- Add the “blood” detail — Using a toothpick dipped in red gel food coloring, place a tiny dot at the base of each almond fingernail. Let a tiny bit of red smear down onto the chocolate. Don’t overdo it — you want it to look like a small cut, not a horror movie scene. Personal note: My first batch looked like I’d dipped them in a bucket of blood. Less is definitely more here.
- Set the pretzel rods — Place each finished pretzel rod on your prepared baking sheet. Make sure they’re not touching each other. Pop the sheet in the refrigerator for about 15-20 minutes, or until the chocolate is completely firm and set.
- Finishing touches — Once the chocolate is set, you can add extra details if you want. Sometimes I drizzle a little more melted green chocolate around the knuckle area for texture, or add a tiny sprinkle of flaky sea salt for that salty-sweet contrast.
Timing Note: The actual dipping and decorating takes about 20 minutes for a batch of 12 rods. The chilling time is another 20 minutes. So you’re looking at about 40 minutes total, with most of that being inactive waiting time.
Cooking Tips & Techniques
After three years of making these, I’ve collected more than a few lessons the hard way. Here’s what I wish someone had told me before my first attempt:
The Chocolate Temperature Dance: Your candy melts need to be warm enough to coat smoothly but not so hot that they thin out and run off the pretzel. I’ve found that letting them cool for about 2 minutes after microwaving gives the perfect consistency. If your chocolate is too thick, add a tiny bit more coconut oil — a little goes a long way.
The Almond Slice Trick: Here’s something I figured out by accident — if you slightly dampen your finger and press the almond slice gently, it sticks better than if you just push it into the chocolate. Something about the moisture helps the chocolate grip the almond. Just don’t get the almond actually wet, or it won’t stick at all.
Texture Troubleshooting: If your chocolate coating looks lumpy or uneven, you’re probably dipping too slowly. Work quickly — dip, twist, drip, and place. The chocolate starts setting the moment it leaves the bowl, so speed matters. If you mess one up, just scrape the chocolate off and start over. I’ve done this more times than I care to admit.
The Knuckle Wrinkle Timing: This is the trickiest part. If you draw the wrinkles too early, the chocolate is too liquid and the lines disappear. Too late, and the chocolate has set and you can’t make indentations. The sweet spot is about 30 seconds after dipping — the chocolate should look slightly matte on the surface but still be soft underneath. Test on one pretzel first to get the timing right.
Multitasking Strategy: I like to prep all my almond slices first, then melt the chocolate, then dip and decorate in batches of four. This way the chocolate doesn’t start setting while I’m still working on the first batch. If you’re making a large batch, keep the melted chocolate warm by placing the bowl in a shallow pan of warm water.
Variations & Adaptations
One of the best things about this recipe is how easily it adapts. Here are some versions I’ve tried over the years:
The Nut-Free Version: For school parties or events with allergy concerns, swap the almond slices for small pieces of dried apricot or even green candy shells shaped into ovals. The texture is different, but the visual effect is still creepy. I made these for my nephew’s classroom party and nobody noticed the difference.
The Zombie Finger Version: Use gray or pale green candy melts instead of bright green. Skip the red “blood” and instead add tiny pieces of crushed graham cracker around the knuckle area for a “rotting” effect. My teenage niece declared these “actually disgusting” — which I took as a compliment.
The Gluten-Free Option: Use gluten-free pretzel rods. They’re available at most health food stores and some major grocery chains. The texture is slightly different, but the chocolate coating masks it pretty well. Just make sure your candy melts are also gluten-free — some brands use wheat-based additives.
The Extra-Creepy Version: After the chocolate sets, dip the tip of each “finger” in a tiny bit of red gel and let it drip down. Add a few “warts” using small dots of melted chocolate. I did this for a Halloween party last year and someone actually screamed when they saw the tray.
The Sweet & Spicy Version: Mix a pinch of cayenne pepper into the melted chocolate before dipping. The heat sneaks up on you after the initial sweetness, which is oddly perfect for a Halloween treat. I discovered this by accident when I mistook cayenne for cinnamon — happy accident, honestly.
Serving & Storage Suggestions
These witch finger pretzel rods are best served at room temperature, arranged on a platter in a way that maximizes the creep factor. I like to place them in a cluster with the fingernail ends pointing outward, as if they’re reaching up from the ground. A black serving platter or a tray lined with black tissue paper really makes the green pop.
Presentation Ideas:
– Stand them upright in a small vase or jar filled with black beans or crushed Oreo “dirt”
– Arrange them in a fan pattern on a round platter
– Place them individually in small treat bags tied with orange ribbon for party favors
Storage Instructions:
– Room temperature: Store in an airtight container for up to 5 days. Layer them between sheets of parchment paper so they don’t stick together.
– Refrigerator: These actually keep well in the fridge for up to 2 weeks. Just let them come to room temperature for 10 minutes before serving to avoid condensation.
– Freezer: Yes, you can freeze them! Place them in a single layer on a baking sheet and freeze until solid, then transfer to a freezer bag. They’ll keep for up to 3 months. Thaw in the refrigerator overnight.
Reheating Note: You don’t need to reheat these — they’re meant to be eaten at room temperature. If your chocolate looks a little dull after refrigeration, let them sit out for 15 minutes and they’ll regain their shine.
Flavor Development: Honestly, these taste best within the first 48 hours. The pretzel stays crunchiest, and the chocolate has that perfect snap. After that, the pretzel starts absorbing moisture from the chocolate and gets slightly softer. Still delicious, but not as satisfyingly crunchy.
Nutritional Information & Benefits
Let’s be real — these are a treat, not a health food. But here’s what you’re looking at per pretzel rod (based on a batch of 12):
- Calories: Approximately 180-200 per rod
- Fat: 10-12 grams
- Carbohydrates: 22-25 grams
- Sugar: 14-16 grams
- Protein: 3-4 grams
- Sodium: 180-220 mg
Health Considerations: The almonds actually add a small amount of healthy fats, vitamin E, and magnesium. The pretzel provides quick energy from carbohydrates. Obviously, the chocolate and sugar content means these should be enjoyed in moderation — they’re a Halloween treat, not a daily snack.
Dietary Notes: This recipe contains gluten (from the pretzels), dairy (from the candy melts, depending on brand), and tree nuts (from the almonds). For a dairy-free version, use dairy-free chocolate chips and coconut oil. For a nut-free version, substitute the almonds as mentioned in the variations section.
Personal Wellness Perspective: I’m a firm believer that treats have a place in a balanced life. Halloween comes once a year, and these witch finger pretzel rods bring so much joy and laughter to parties that the nutritional trade-off feels worth it. Plus, the portion control is built in — one or two is usually enough to satisfy that sweet-and-salty craving.
Conclusion
These spooky witch finger pretzel rods have become my signature Halloween contribution for a reason. They’re fun to make, hilarious to serve, and genuinely delicious to eat. Every time I bring them to a party, someone asks for the recipe, and I love watching people’s faces when they realize how simple the ingredients are.
What I love most about this recipe is how it brings people together. There’s something about food that looks creepy but tastes amazing that makes everyone relax and have fun. Kids love the gross-out factor, adults appreciate the creativity, and everyone ends up with chocolate on their fingers — which is exactly how Halloween should feel.
Don’t be afraid to make these your own. Add extra gore, skip the blood, use different colored chocolate, or experiment with different toppings. The base recipe is forgiving and flexible. And if your first batch doesn’t look perfect? Eat them anyway. They’ll still taste great, and you’ll know exactly what to do differently next time.
I’d love to hear how yours turn out! Drop a comment below with your spooky creations, tag me in your photos, or share your own variation ideas. Halloween is better when we’re all making a mess in the kitchen together. Happy haunting, and happy snacking!
Frequently Asked Questions
Can I make these witch finger pretzel rods ahead of time?
Absolutely! These are perfect for making a day or two before your party. Store them in an airtight container at room temperature, and they’ll be just as good on party day. Just avoid stacking them too high or the chocolate might get scuffed.
My candy melts are too thick. What should I do?
Add a teaspoon of coconut oil or vegetable shortening and stir thoroughly. Microwave for another 10 seconds if needed. The oil will thin the chocolate without affecting the flavor or setting properties. Don’t add water — it will ruin the chocolate completely.
Can I use milk chocolate instead of green candy melts?
You can, but they won’t look like witch fingers. The green color is what sells the illusion. If you want to use milk chocolate, consider calling them “chocolate witch fingers” and use a different color almond or candy for the nail. I’ve made a brown version with white chocolate nails that looked pretty cool.
How do I get the almond fingernails to stick better?
Make sure your chocolate is still wet when you press the almond in. If the chocolate has started to set, the almond won’t adhere properly. Also, pressing gently but firmly helps create a better bond. If you’re really struggling, dab a tiny bit of melted chocolate on the back of the almond before pressing it on.
My pretzel rods keep breaking when I dip them. What am I doing wrong?
You might be using pretzel rods that are too thin or too dry. Look for thicker rods, and try dipping them more gently. Also, let your melted chocolate cool slightly — if it’s too hot, it can weaken the pretzel structure. I’ve also found that dipping slowly at a slight angle rather than straight down helps prevent breakage.
Pin This Recipe!

Best Easy Spooky Witch Finger Pretzel Rods for Halloween

These spooky witch finger pretzel rods are a fun and easy Halloween treat that combines salty pretzels, sweet green chocolate, and almond fingernails for a delightfully creepy snack that’s perfect for parties.
- Prep Time: 20 minutes
- Cook Time: 0 minutes
- Total Time: 40 minutes
- Yield: 12 servings 1x
- Category: Dessert
- Cuisine: American
Ingredients
- 1 package pretzel rods (about 12–16 rods)
- 12 ounces green candy melts or white chocolate melting wafers
- 1/2 cup sliced almonds (raw, unsalted)
- 1 teaspoon coconut oil or shortening (optional)
- Flaky sea salt (optional, for garnish)
- Red gel food coloring (for the ‘blood’ effect)
Instructions
- Prepare your workspace: Line a baking sheet with parchment paper or a silicone mat. Clear counter space for dipping.
- Shape the almond fingernails: Trim sliced almonds into oval shapes with a slightly curved edge using a sharp knife. Set aside on a small plate.
- Melt the green candy melts: Place candy melts in a microwave-safe bowl. Microwave in 30-second intervals, stirring thoroughly between each interval, until smooth (about 90 seconds total). Stir in coconut oil if mixture is too thick.
- Dip the pretzel rods: Hold a pretzel rod by one end and dip it into the melted green chocolate, leaving about an inch undipped at the top. Gently twist and turn to coat evenly. Let excess chocolate drip back into the bowl.
- Add the almond fingernail: Before the chocolate sets, press one trimmed almond slice onto the dipped end of the pretzel rod with the curved edge facing outward.
- Create knuckle wrinkles: While the chocolate is still wet, use a toothpick to draw two or three horizontal lines across the middle of the chocolate coating. Make them slightly curved and uneven.
- Add the ‘blood’ detail: Using a toothpick dipped in red gel food coloring, place a tiny dot at the base of each almond fingernail. Let a tiny bit smear down onto the chocolate.
- Set the pretzel rods: Place each finished pretzel rod on the prepared baking sheet. Refrigerate for 15-20 minutes until chocolate is firm.
- Finishing touches: Once set, add extra details if desired, such as a drizzle of melted green chocolate or a sprinkle of flaky sea salt.
Notes
For best results, use thick pretzel rods to prevent breakage. Let melted chocolate cool for 2 minutes after microwaving for perfect consistency. Draw knuckle wrinkles about 30 seconds after dipping when chocolate is slightly matte but still soft. Store in an airtight container at room temperature for up to 5 days.
Nutrition
- Serving Size: 1 pretzel rod
- Calories: 190
- Sugar: 15
- Sodium: 200
- Fat: 11
- Saturated Fat: 6
- Carbohydrates: 23
- Fiber: 1
- Protein: 3
Keywords: Halloween treats, witch finger pretzels, spooky snacks, easy Halloween recipe, pretzel rods, candy melts, almond fingernails


