Love this? Save it for later!
Share the inspiration with your friends
This was supposed to be a slow-simmered beef stew—the kind you let bubble away on a rainy Sunday while you fold laundry and pretend you’re a homesteader from a century ago. I had the chuck roast cubed, the carrots waiting, the whole operation planned out with military precision. But then I grabbed the wrong can from the pantry. Instead of tomato paste, I pulled out a can of chipotle peppers in adobo sauce—the small one, the one I usually save for emergency tacos. And I was already three steps deep into browning the meat before I noticed. The smoke alarm went off (it always does), I had onion tears streaming down my face, and there I was, staring at a pot of beef that smelled nothing like stew and everything like a campfire I didn’t ask for.
Honestly, my first instinct was to scrap the whole thing and order pizza. I mean, who messes up a stew that badly? But I’d already committed—the meat was seared, the garlic was in, and my stubborn streak kicked in. So I just kept going. I added what was supposed to go into the stew anyway—onions, broth, a little cumin—and let the chipotles do their thing. What came out of that pot was nothing like the plan. It was darker, smokier, bolder. It had this deep, almost dangerous heat that made you want to keep eating even as your nose started running. And there wasn’t a single bean in sight because, well, I hadn’t planned on chili at all.
That first bowl was a revelation. I sat there on my couch, spoon in hand, thinking about how this happy little accident turned into something I’d actually crave. Maybe you’ve been there—when a recipe goes off the rails and somehow lands somewhere better. This Bold Smoky Chipotle Chili (No Beans) is that for me. It’s the recipe I keep coming back to when I want something that feels both reckless and right. It’s messy, it’s spicy, and it’s proof that sometimes the best dishes come from grabbing the wrong can.
Why You’ll Love This Recipe
I’ve tested this chili more times than I care to admit—probably a dozen batches over the last year, tweaking the spice level, the meat-to-sauce ratio, the cooking time. And every single time, it delivers. This isn’t just another chili recipe you’ll find on the internet. It’s the one that makes you forget beans ever belonged in chili in the first place.
- Quick & Easy : Comes together in under an hour, perfect for busy weeknights when you want something hearty without spending all day in the kitchen.
- Simple Ingredients : No fancy grocery trips needed. Ground beef, canned tomatoes, chipotle peppers, and basic pantry spices—that’s it.
- Perfect for Game Day : Great for potlucks, Super Bowl parties, or cozy dinners when you want to impress without stress.
- Crowd-Pleaser : Even folks who swear they don’t like spicy food ask for seconds. The smokiness balances the heat in a way that feels warm, not punishing.
- Unbelievably Delicious : The texture is thick and meaty, the flavor is deep and complex, and that smoky chipotle kick lingers in the best way possible.
What makes this recipe different from the rest? It’s the technique—blending the chipotle peppers with some of the adobo sauce to create a paste that coats every piece of meat. Most chili recipes just toss the peppers in whole, but that misses the point. You want that smoky heat distributed evenly, not just in random bites. This method ensures every spoonful has that bold, campfire flavor without overwhelming your taste buds.
This chili isn’t just good—it’s the kind that makes you close your eyes after the first bite. It’s comfort food reimagined: bolder, faster, and with the same soul-soothing satisfaction. Perfect for impressing guests without stress, or turning a simple Tuesday night into something memorable.
What Ingredients You Will Need
This recipe uses simple, wholesome ingredients to deliver bold flavor and satisfying texture without the fuss. Most of these are pantry staples, which means you can whip this up on a whim without a special grocery run.
For the Chili Base
- 2 pounds ground beef (80/20 blend works best for flavor; drain excess fat if needed)
- 1 large yellow onion, diced (about 1 ½ cups)
- 4 cloves garlic, minced (fresh is best, but jarred works in a pinch)
- 2 tablespoons chipotle peppers in adobo sauce, minced (from one can; I prefer the San Marcos brand for consistent heat)
- 1 tablespoon adobo sauce (reserved from the can)
- 1 can (14.5 ounces) fire-roasted diced tomatoes, undrained (adds that smoky depth)
- 1 can (8 ounces) tomato sauce (no-salt-added is fine)
- 2 cups beef broth (low-sodium recommended so you control the salt)
- 2 tablespoons tomato paste (for richness)
For the Spice Blend
- 2 teaspoons smoked paprika (the smoky kind, not sweet—this is key)
- 1 ½ teaspoons ground cumin
- 1 teaspoon dried oregano (Mexican oregano if you have it)
- 1 teaspoon kosher salt (plus more to taste)
- ½ teaspoon black pepper
- ½ teaspoon cayenne pepper (optional, for extra heat—I skip it if I’m feeding kids)
For Thickening & Finishing
- 1 tablespoon masa harina (corn flour; whisked with 2 tablespoons water to make a slurry)
- 1 tablespoon apple cider vinegar (brightens the flavor at the end)
- Optional toppings: shredded cheddar cheese, sour cream, diced avocado, fresh cilantro, lime wedges, sliced jalapeños
Ingredient selection tips: Look for chipotle peppers that are soft and pliable in the can—avoid any that look dried out or overly mushy. For the fire-roasted tomatoes, I recommend Muir Glen or Hunt’s Fire Roasted for consistent quality. If you can’t find masa harina, you can use all-purpose flour or cornstarch instead, but masa adds a subtle corn flavor that feels authentic.
Substitution guidance: Use ground turkey or chicken for a leaner option. For a vegetarian version, swap the beef with 2 cans of black beans (rinsed) and use vegetable broth—though purists might argue it’s no longer chili. You can also use 1 ½ pounds of cubed chuck roast if you prefer chunks over ground meat; just simmer for an extra 30 minutes.
Equipment Needed
You don’t need a fancy kitchen to make this chili. Here’s what you’ll need:
- Large Dutch oven or heavy-bottomed pot (5-6 quart capacity is ideal; I use my trusty Le Creuset, but a stainless steel stockpot works fine)
- Sharp chef’s knife (for dicing onions and mincing garlic)
- Cutting board
- Wooden spoon or spatula (for stirring and breaking up the meat)
- Measuring cups and spoons
- Small bowl (for making the masa slurry)
- Can opener
- Blender or food processor (optional but helpful for pureeing the chipotle mixture if you want a smoother texture)
I’ve made this chili in a cheap nonstick pot before, and honestly, it still turned out great. The key is having a pot with a thick bottom so the meat browns evenly without scorching. If you don’t have a Dutch oven, a deep skillet with high sides will do—just watch the simmer time since it may cook faster. One tip: if you’re using a blender for the chipotle paste, let the peppers cool slightly first to avoid steam explosions. Learned that one the hard way.
Preparation Method
Let’s get cooking. This recipe moves fast, so have everything prepped before you start—mise en place style. Trust me, you don’t want to be chopping onions while the meat is burning.
- Brown the beef (10 minutes). Heat your Dutch oven over medium-high heat. Add the ground beef and cook, breaking it apart with a wooden spoon, until browned all over—about 6-8 minutes. Don’t stir constantly; let it sit and develop a nice crust. If there’s more than 2 tablespoons of rendered fat, drain it off, leaving a little for flavor. Season with a pinch of salt and pepper.
- Sauté the aromatics (5 minutes). Reduce heat to medium. Add the diced onion to the pot with the beef. Cook for 3-4 minutes until softened and translucent. Add the minced garlic and cook for another 30 seconds until fragrant. Your kitchen should smell incredible at this point.
- Build the chipotle base (3 minutes). In a small bowl, combine the minced chipotle peppers, adobo sauce, and tomato paste. Stir into the pot with the beef and onions. Cook for 2 minutes, stirring constantly. This step deepens the flavor and coats the meat in that smoky goodness. The mixture will look dark and almost pasty—that’s perfect.
- Add the liquids and spices (5 minutes). Pour in the fire-roasted diced tomatoes (with their juices), tomato sauce, and beef broth. Add the smoked paprika, cumin, oregano, salt, pepper, and cayenne if using. Stir everything together, scraping up any browned bits from the bottom of the pot. Bring to a boil, then reduce heat to low.
- Simmer the chili (30-40 minutes). Cover the pot partially with a lid and let it simmer gently over low heat. Stir occasionally to prevent sticking. The chili should be bubbling softly, not furiously. After 20 minutes, taste and adjust seasoning—add more salt or chipotle if needed. The longer it simmers, the deeper the flavor gets.
- Thicken the chili (5 minutes). In a small bowl, whisk together the masa harina and water until smooth. Slowly pour the slurry into the chili while stirring constantly. Let it simmer for 5 more minutes—the chili will thicken noticeably. If it gets too thick, add a splash of broth or water.
- Finish with vinegar (2 minutes). Stir in the apple cider vinegar. This brightens all the flavors and cuts through the richness. Taste one more time and adjust salt or heat. Remove from heat and let it rest for 5-10 minutes before serving. The flavors will continue to meld.
Sensory cues to watch for: The chili is ready when it’s thick enough to coat the back of a spoon without running off. The color should be a deep, dark reddish-brown. The smell—earthy, smoky, slightly sweet from the tomatoes—should make your stomach growl. If it tastes flat, it probably needs more salt or a splash more vinegar.
Cooking Tips & Techniques
I’ve burned my share of chili over the years, so let me save you the trouble. Here are the lessons I learned the hard way.
Don’t rush the browning. That deep, caramelized crust on the beef is where all the flavor lives. If you crowd the pan or stir too often, the meat steams instead of browns. Work in batches if your pot is small. I once tried to brown three pounds of meat at once in a too-small pot, and I ended up with gray, sad meat. Never again.
Watch the heat level. Chipotle peppers vary in spiciness depending on the brand and batch. Start with one pepper and taste before adding more. You can always add heat, but you can’t take it away. If you accidentally make it too spicy, stir in a tablespoon of sour cream or a pinch of sugar to balance it out.
Toast the spices. Before adding the liquids, try blooming the dried spices in the hot fat for 30 seconds. It wakes up their essential oils and makes the chili taste like you spent hours on it. Just be careful not to burn them—they go from fragrant to bitter in seconds.
Simmer low and slow. High heat will toughen the meat and make the sauce taste flat. Keep it at a gentle simmer—small bubbles breaking the surface, not a rolling boil. If you’re in a hurry, you can cut the simmer time to 20 minutes, but the flavor won’t be as deep.
Let it rest overnight. This chili is even better the next day. The flavors marry and mellow in the fridge, and the texture thickens beautifully. Make it a day ahead if you can. I’ve been known to make a double batch just for the leftovers.
Variations & Adaptations
This recipe is flexible, so don’t be afraid to make it your own. Here are some ways I’ve tweaked it over the years.
Smoky Chipotle Chili with Bacon: Cook 4 slices of chopped bacon before browning the beef. Remove the bacon, cook the beef in the rendered fat, then add the bacon back in at the end. It adds another layer of smoky richness that’s dangerously good.
Mild Version for Sensitive Tastes: Use only half a chipotle pepper and skip the adobo sauce. Replace the cayenne with an extra teaspoon of smoked paprika. The chili will still be smoky and flavorful, but the heat will be barely noticeable. My kids love this version.
Smoky Chipotle Chili with Pork: Swap the ground beef for ground pork or a mix of pork and beef. Pork’s natural sweetness plays beautifully with the smoky chipotles. I did this once when I ran out of beef, and honestly, it might be my favorite variation now.
Vegetarian Smoky Chipotle Chili: Use 2 cans of black beans (rinsed) and 1 can of pinto beans instead of meat. Add a tablespoon of olive oil when sautéing the onions. The texture is different—more stew-like—but the smoky flavor still shines. Just know that purists will argue it’s not chili without meat.
Slow Cooker Adaptation: Brown the beef and sauté the aromatics on the stovetop first, then transfer everything to a slow cooker. Cook on low for 6-8 hours or high for 3-4 hours. Add the masa slurry and vinegar during the last 30 minutes. The slow cooker version is less hands-on but the flavor is just as good.
Serving & Storage Suggestions
This chili is a meal in itself, but the right toppings and sides can take it to another level.
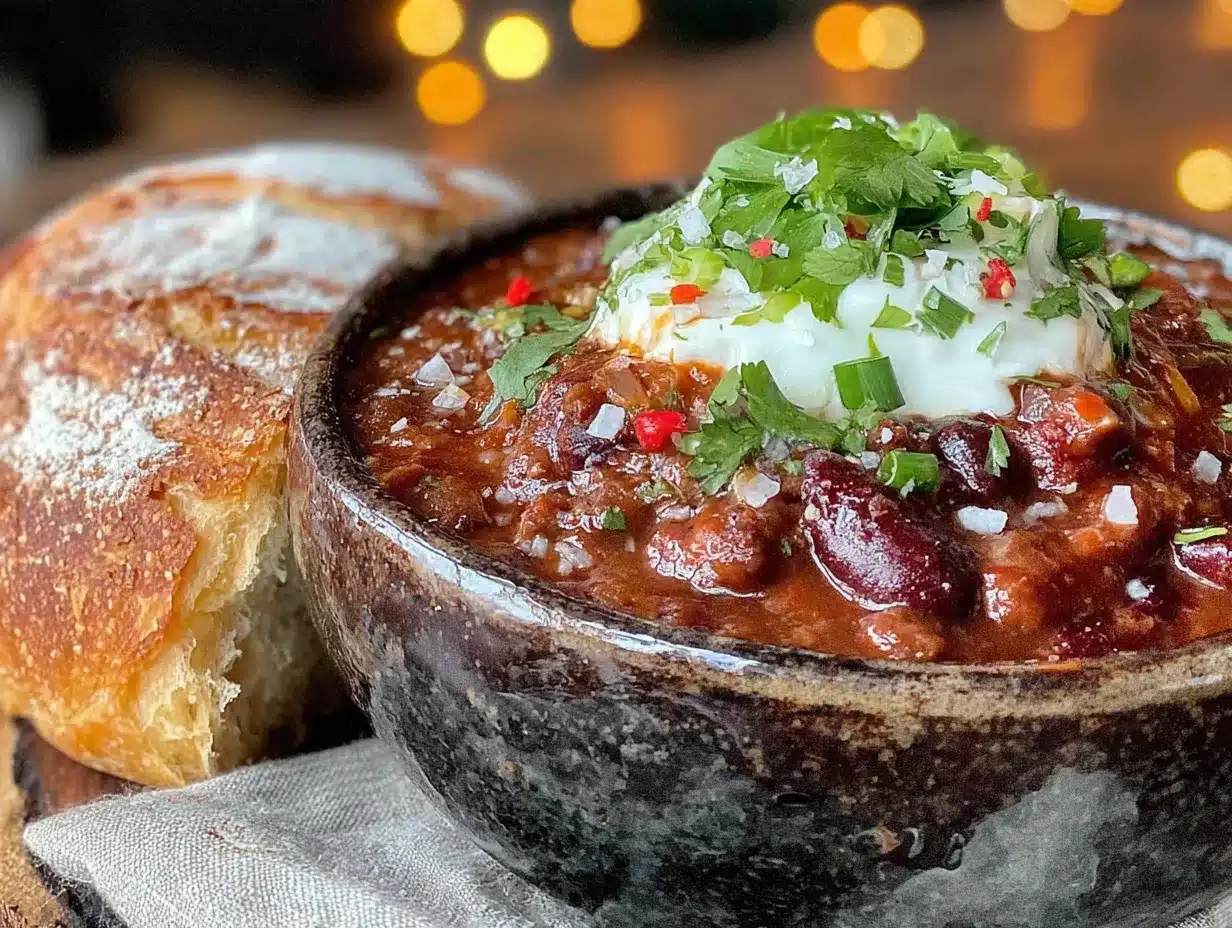
Serving temperature and presentation: Serve the chili piping hot in deep bowls. Ladle it over a bed of rice if you want something more filling, or serve it straight up with a side of crusty bread for dipping. I like to top mine with a generous dollop of sour cream, a handful of shredded sharp cheddar, diced avocado, and a sprinkle of fresh cilantro. A squeeze of lime right before eating brightens everything.
Complementary dishes and beverages: This chili pairs beautifully with cornbread—the sweet, crumbly texture balances the heat. A simple side salad with a citrus vinaigrette cuts through the richness. For drinks, a cold beer (lager or IPA) is my go-to, but a bold red wine like Zinfandel works too. Non-alcoholic? Try a tart lemonade or iced tea.
Storage instructions: Let the chili cool completely before storing. Transfer to an airtight container and refrigerate for up to 5 days. The flavors actually improve after a day or two. For longer storage, freeze in freezer-safe bags or containers for up to 3 months. I like to portion it into individual servings for quick lunches.
Reheating methods: Reheat on the stovetop over medium-low heat, stirring occasionally, until bubbling. Add a splash of broth or water if it’s too thick. You can also microwave individual portions in 30-second bursts, stirring between each. The texture stays surprisingly good even after freezing.
How flavors develop over time: This chili is at its best on day two or three. The smokiness deepens, the heat mellows into a warm background note, and the texture becomes almost velvety. If you can resist eating it all on day one, you’re in for a treat.
Nutritional Information & Benefits
Here’s an approximate nutritional breakdown per serving (based on 6 servings, without toppings):
| Nutrient | Amount |
|---|---|
| Calories | 380 |
| Protein | 32g |
| Fat | 22g |
| Carbohydrates | 12g |
| Fiber | 3g |
| Sugar | 6g |
| Sodium | 780mg |
| Vitamin A | 15% DV |
| Vitamin C | 10% DV |
| Iron | 25% DV |
Health benefits of key ingredients: Beef is an excellent source of protein, iron, and B vitamins—important for energy and muscle health. Chipotle peppers contain capsaicin, which may boost metabolism and reduce inflammation. Tomatoes are rich in lycopene, an antioxidant linked to heart health. Garlic and onions provide prebiotic fiber that supports gut health.
Dietary considerations: This chili is naturally low-carb and keto-friendly (about 12g net carbs per serving). It’s also gluten-free (check your broth label). It contains no dairy unless you add cheese or sour cream as toppings. If you’re watching sodium, use low-sodium broth and no-salt-added canned tomatoes, and skip the added salt until the end.
Personal wellness perspective: I love that this recipe lets me eat something indulgent without feeling guilty. It’s packed with protein and veggies, and the smoky flavor is so satisfying that I don’t miss the beans or extra carbs. It’s the kind of meal that makes eating well feel effortless.
Conclusion
This Bold Smoky Chipotle Chili (No Beans) started as a mistake—a wrong can, a distracted moment, a pot of something that wasn’t supposed to be chili at all. But sometimes the best things come from getting it wrong. This recipe is bold, smoky, and deeply satisfying. It’s the kind of chili that makes you forget beans ever belonged in the conversation.
I hope you give this recipe a try and make it your own. Maybe you’ll add more heat, or swap the meat, or load it up with every topping in your fridge. That’s the beauty of chili—it’s forgiving, flexible, and always delicious. When you make it, let me know how it turns out. Drop a comment below, share a photo, or tell me about your own kitchen mishap that turned into something amazing. I’d love to hear your story.
Until next time, keep cooking boldly. And maybe double-check that can before you open it.
Frequently Asked Questions
Can I make this chili in an Instant Pot?
Yes! Use the sauté function to brown the beef and cook the aromatics, then add the remaining ingredients (except the masa slurry and vinegar). Pressure cook on high for 15 minutes, then quick release. Stir in the slurry and vinegar, and let it simmer on sauté for 5 minutes to thicken.
How spicy is this chili?
It has a medium heat level—warm and smoky, not fiery. The chipotle peppers provide a gentle, building heat that’s balanced by the sweetness of the tomatoes. If you’re sensitive to spice, start with half a pepper. If you want more heat, add the cayenne or an extra chipotle.
Can I use ground turkey instead of beef?
Absolutely. Ground turkey works well, though it’s leaner so the chili will be less rich. Add a tablespoon of olive oil when browning to keep it moist. The smoky chipotle flavor still shines through beautifully.
Why no beans in this recipe?
This chili is all about the beef and the smoky chipotle flavor. Beans can dilute that bold taste and change the texture. Plus, skipping the beans makes this recipe keto-friendly and lower in carbs. If you love beans, feel free to add a can of black or pinto beans—just know it will change the character of the dish.
How do I store leftovers?
Let the chili cool completely, then transfer to an airtight container. Refrigerate for up to 5 days or freeze for up to 3 months. Reheat on the stovetop or microwave, adding a splash of broth if needed. The flavor actually improves after a day or two in the fridge.
Pin This Recipe!
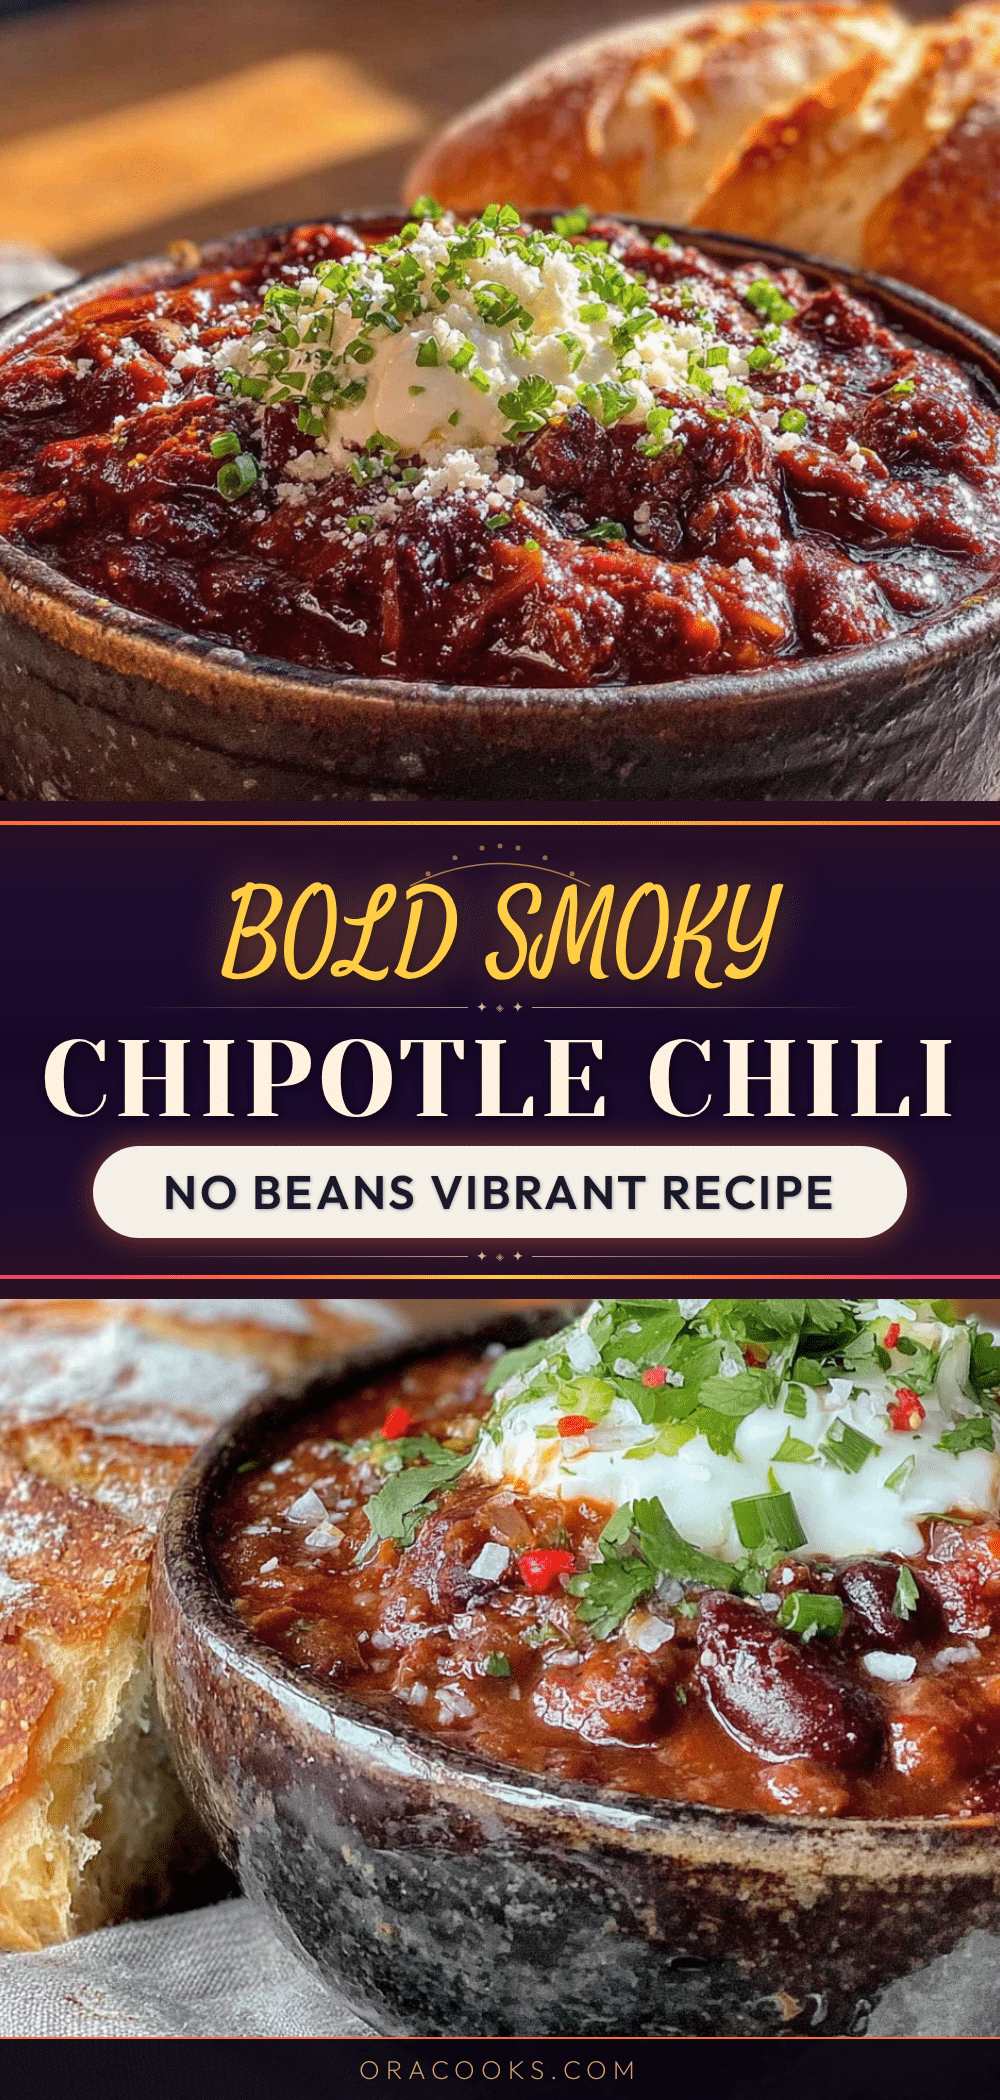
Bold Smoky Chipotle Chili: The Best No Bean Recipe

A bold, smoky, and deeply satisfying no-bean chili made with ground beef, chipotle peppers, and fire-roasted tomatoes. This happy accident turned into a crave-worthy recipe that’s perfect for busy weeknights or game day.
- Prep Time: 15 minutes
- Cook Time: 45 minutes
- Total Time: 1 hour
- Yield: 6 servings 1x
- Category: Main Course
- Cuisine: Mexican-American
Ingredients
- 2 pounds ground beef (80/20 blend)
- 1 large yellow onion, diced (about 1 ½ cups)
- 4 cloves garlic, minced
- 2 tablespoons chipotle peppers in adobo sauce, minced
- 1 tablespoon adobo sauce
- 1 can (14.5 ounces) fire-roasted diced tomatoes, undrained
- 1 can (8 ounces) tomato sauce
- 2 cups beef broth (low-sodium)
- 2 tablespoons tomato paste
- 2 teaspoons smoked paprika
- 1 ½ teaspoons ground cumin
- 1 teaspoon dried oregano (Mexican oregano preferred)
- 1 teaspoon kosher salt (plus more to taste)
- ½ teaspoon black pepper
- ½ teaspoon cayenne pepper (optional)
- 1 tablespoon masa harina
- 2 tablespoons water (for masa slurry)
- 1 tablespoon apple cider vinegar
- Optional toppings: shredded cheddar cheese, sour cream, diced avocado, fresh cilantro, lime wedges, sliced jalapeños
Instructions
- Brown the beef: Heat a Dutch oven over medium-high heat. Add ground beef and cook, breaking it apart, until browned all over (6-8 minutes). Drain excess fat if needed. Season with a pinch of salt and pepper.
- Sauté the aromatics: Reduce heat to medium. Add diced onion and cook 3-4 minutes until softened. Add minced garlic and cook 30 seconds until fragrant.
- Build the chipotle base: In a small bowl, combine minced chipotle peppers, adobo sauce, and tomato paste. Stir into the pot and cook for 2 minutes, stirring constantly.
- Add liquids and spices: Pour in fire-roasted diced tomatoes (with juices), tomato sauce, and beef broth. Add smoked paprika, cumin, oregano, salt, pepper, and cayenne (if using). Stir, scraping up browned bits. Bring to a boil, then reduce heat to low.
- Simmer the chili: Cover partially and simmer gently over low heat for 30-40 minutes, stirring occasionally. Taste and adjust seasoning after 20 minutes.
- Thicken the chili: In a small bowl, whisk together masa harina and water until smooth. Slowly pour slurry into chili while stirring. Simmer for 5 more minutes until thickened.
- Finish with vinegar: Stir in apple cider vinegar. Taste and adjust salt or heat. Remove from heat and let rest 5-10 minutes before serving.
Notes
For best flavor, let chili rest overnight in the refrigerator. Chipotle peppers vary in spiciness; start with one pepper and adjust. To make milder, use half a chipotle pepper and skip adobo sauce. For a vegetarian version, substitute beef with 2 cans of black beans and use vegetable broth. The chili can be frozen for up to 3 months.
Nutrition
- Serving Size: 1 serving (about 1 ½
- Calories: 380
- Sugar: 6
- Sodium: 780
- Fat: 22
- Saturated Fat: 8
- Carbohydrates: 12
- Fiber: 3
- Protein: 32
Keywords: chipotle chili, no bean chili, smoky chili, beef chili, easy chili recipe, game day chili, keto chili, gluten-free chili


