Love this? Save it for later!
Share the inspiration with your friends
The woman at the community garden plot next to mine watched me fumbling with a too-ripe bunch of bananas for a solid minute before she said anything. I was trying to gently explain to my toddler that no, we couldn’t just eat all seven of them right there in the dirt. She laughed, wiped her hands on her apron, and said, “You know what those are begging to become, right?” That was Maria. She didn’t give me a recipe card or a fancy tutorial. She just told me, right there between the tomato vines, how she makes banana bread when she’s too tired to deal with dishes. No mixer. One bowl. Done before the kid loses patience. I scribbled her method on the back of a seed packet, and honestly, I haven’t made banana bread any other way since. This is that recipe—the one that turns a kitchen mess into a warm, sweet-smelling win on a busy Tuesday night.
I’ve tweaked it over the years, swapped in whole wheat flour when I ran out of white, used melted butter instead of oil on a whim. But the core of it—the one-bowl, no-mixer promise—stays exactly as Maria shared it. It’s the kind of recipe that respects your time and your energy. You know that feeling when you want something homemade but the thought of pulling out the stand mixer makes you want to order takeout? This bread is the answer. It’s forgiving, it’s fast, and it uses up those sad, spotty bananas sitting on your counter. Honestly, it might be the most practical thing in my baking rotation.
What I love most is how unpretentious it is. There’s no creaming butter and sugar, no sifting dry ingredients into a separate bowl. You mash, you stir, you pour. The hardest part is waiting for it to bake. And when that warm, cinnamon-and-banana smell fills your kitchen? It’s worth every minute. This is the banana bread you make on a Wednesday after work, not just on lazy Sunday mornings. It’s for real life.
Why You’ll Love This Recipe
Let’s be honest—most banana bread recipes are a bit dramatic. They ask for three bowls, a hand mixer, and a level of precision that feels unreasonable at 6 PM on a weeknight. This one is different. It’s built for the reality of a tired cook who just wants something delicious without the cleanup headache.
- Quick & Easy: From start to oven in under 15 minutes. No mixer, no sifting, no fuss. Just a bowl, a fork, and a spoon.
- Simple Ingredients: You probably have everything already. Butter, sugar, eggs, flour, bananas, and a few pantry staples. No trips to the specialty store.
- Perfect for Weeknights: This isn’t a weekend project. It’s the dessert or breakfast you pull together while dinner is in the oven or the kids are doing homework.
- Crowd-Pleaser: I’ve brought this to potlucks and school events, and it disappears fast. Kids love it, adults love it, and no one believes it was this easy.
- Unbelievably Delicious: The texture is moist and tender, with a perfectly crackly top. It’s comfort food at its most straightforward—no fancy mix-ins required to make it amazing.
What sets this recipe apart is the technique. By mashing the bananas thoroughly and mixing the wet and dry ingredients in the same bowl, you get a batter that comes together in seconds without overworking the gluten. That means a tender crumb every single time. I’ve tested this with different flours, different sweeteners, and even different fats, and the method holds up. It’s not just another banana bread—it’s the one I make when I need a guaranteed win.
There’s something about pulling a loaf of banana bread out of the oven that feels like a small victory. It says, “I made time for this.” Even on a chaotic Tuesday. Even when you’re tired. This recipe makes that victory easy.
What Ingredients You Will Need
This recipe is built on simple, everyday ingredients. Nothing fancy, nothing hard to find. Just the stuff you probably already have in your pantry and fridge. Here’s what you’ll need and why each one matters.
For the Banana Bread
- 3 ripe bananas, mashed (about 1 ½ cups or 340g): The riper, the better. Look for bananas with lots of brown spots—they’re sweeter and easier to mash. If your bananas aren’t ripe enough, you can speed things up by baking them at 300°F for 15 minutes until the skins turn black.
- ⅓ cup (75g) unsalted butter, melted: Melted butter gives a rich flavor and keeps the bread moist. I use salted butter in a pinch and just reduce the added salt slightly. (Use coconut oil or vegetable oil for a dairy-free option.)
- ¾ cup (150g) granulated sugar: White sugar gives the bread a clean sweetness and helps create that crackly top. You can use brown sugar for a deeper, more caramel-like flavor—just pack it firmly.
- 1 large egg, room temperature: The egg binds everything together and adds structure. If your egg is cold, just let it sit in warm water for a few minutes before using.
- 1 teaspoon vanilla extract: Pure vanilla adds warmth and depth. Imitation vanilla works fine, but pure is worth the splurge here.
- 1 ½ cups (190g) all-purpose flour: Standard all-purpose flour gives the best texture. You can substitute up to half with whole wheat flour, but the bread will be denser. (Use a 1:1 gluten-free baking blend for a gluten-free version.)
- 1 teaspoon baking soda: This is the only leavener you need. Make sure it’s fresh—test it by dropping a bit into vinegar; it should fizz vigorously.
- ½ teaspoon salt: Salt balances the sweetness and enhances the banana flavor. I use fine sea salt.
- ½ teaspoon ground cinnamon (optional): Cinnamon is not traditional, but I love the warmth it adds. You can skip it or swap with nutmeg or cardamom.
Optional Mix-Ins
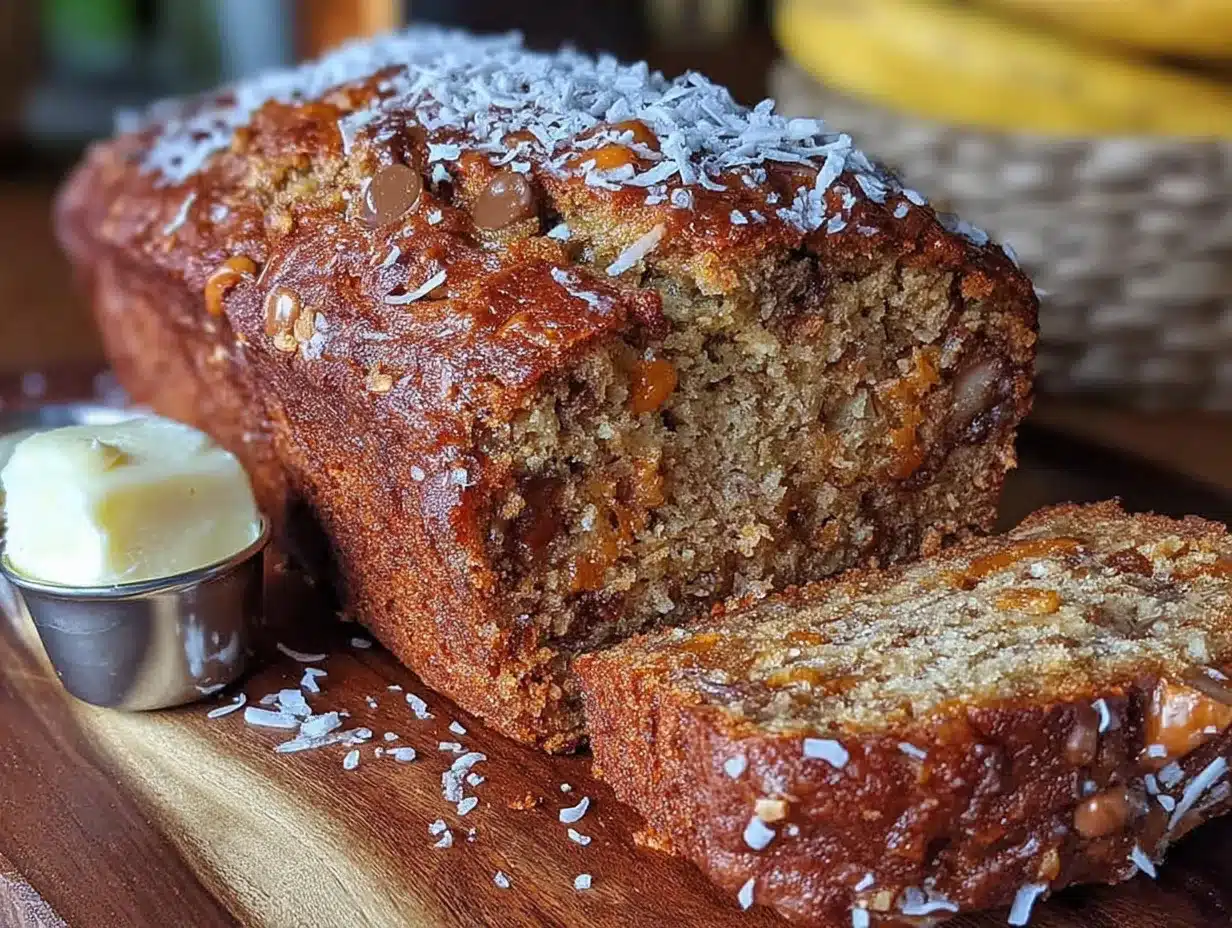
- ½ cup (85g) chocolate chips: Semi-sweet or dark are my favorites. They make the bread feel like a treat.
- ½ cup (60g) chopped walnuts or pecans: Adds a nice crunch. Toast them first for extra flavor.
I usually stick with just the base ingredients when I’m in a hurry, but tossing in a handful of chocolate chips never hurts. The beauty of this recipe is how adaptable it is—you can add almost anything and it’ll still turn out great.
Equipment Needed
One of the best things about this recipe is how little equipment it requires. If you have a basic kitchen, you’re good to go.
- Large mixing bowl: Any medium-to-large bowl will work. I use a standard ceramic mixing bowl.
- Fork or potato masher: For mashing the bananas. A fork works perfectly fine, but a potato masher makes it even faster.
- Wooden spoon or rubber spatula: For mixing the batter. A spatula is great for scraping the sides.
- 9×5-inch loaf pan: Standard size. If you use an 8×4-inch pan, the bread will be taller and可能需要增加 baking time by 5-10 minutes.
- Parchment paper (optional but helpful): Lining the pan makes cleanup even easier. You can also just grease the pan well with butter or non-stick spray.
- Cooling rack: A wire rack helps the bread cool evenly and prevents a soggy bottom.
That’s it. No mixer, no sifter, no separate bowls for dry and wet ingredients. Just a bowl, a fork, and a pan. This is the kind of recipe that makes you wonder why you ever bothered with more.
Preparation Method
Here’s the step-by-step process. Follow these steps, and you’ll have a perfect loaf every time. I’ve included visual cues and troubleshooting notes to help you along.
- Preheat your oven to 350°F (175°C). Place the rack in the center of the oven. While it heats, grease your loaf pan with butter or non-stick spray. For extra insurance, line it with a strip of parchment paper hanging over the long sides—this makes lifting the bread out a breeze.
- Mash the bananas in your mixing bowl. Peel the bananas and add them to the bowl. Use a fork or potato masher to mash them until they’re mostly smooth with a few small lumps. You want some texture, but no large chunks. It should look like a thick, lumpy puree. (If your bananas are very ripe, this takes about 30 seconds.)
- Add the melted butter and stir. Pour the melted butter over the mashed bananas and stir until combined. The mixture will look a bit separated at first—that’s normal. Keep stirring until it comes together into a smooth, glossy paste.
- Add the sugar, egg, and vanilla. Dump in the sugar, crack in the egg, and add the vanilla. Stir vigorously with your spoon or spatula until everything is well combined. The mixture should be smooth and slightly lighter in color. Scrape the bottom and sides of the bowl to make sure nothing is hiding.
- Add the dry ingredients. Sprinkle the flour, baking soda, salt, and cinnamon (if using) over the wet mixture. Stir gently until just combined. Do not overmix—a few streaks of flour are fine. Overmixing will make the bread tough. The batter should be thick and slightly lumpy. (If you’re adding chocolate chips or nuts, fold them in now with a few gentle strokes.)
- Pour the batter into the prepared pan. Use your spatula to scrape every last bit of batter into the loaf pan. Spread it evenly, and give the pan a gentle tap on the counter to release any air bubbles.
- Bake for 50-60 minutes. Place the pan in the preheated oven and bake until the top is golden brown and a toothpick inserted into the center comes out clean or with a few moist crumbs. Start checking at 50 minutes. If the top is browning too quickly, loosely tent it with foil for the last 10-15 minutes.
- Cool in the pan for 10 minutes. Set the pan on a cooling rack and let it rest. This helps the bread set and makes it easier to remove.
- Transfer to a wire rack to cool completely. Run a knife around the edges if needed, then lift the bread out using the parchment paper (or carefully invert the pan). Let it cool completely on the rack before slicing. This takes about an hour, but it’s worth the wait—slicing warm banana bread can make it crumble.
One thing I learned the hard way: don’t skip the cooling step. I once cut into a loaf after 15 minutes because I couldn’t wait, and it was gummy in the middle. Patience pays off here.
Cooking Tips & Techniques
After making this recipe dozens of times, I’ve picked up a few tricks that make a real difference. Here are the ones I use every time.
Use overripe bananas. This is the most important tip. Bananas that are mostly brown or even black on the outside are perfect. They’re sweeter, softer, and have a stronger banana flavor. If your bananas aren’t ripe enough, the bread will be less sweet and more starchy. I keep a bag of peeled, frozen overripe bananas in my freezer for whenever the craving hits—just thaw them before using.
Don’t overmix the batter. This is the second most common mistake. Stir just until the flour disappears. A few lumps are fine. Overmixing develops the gluten and makes the bread dense and rubbery. I stop stirring as soon as I can’t see any more dry flour.
Measure flour correctly. Scooping flour directly from the bag can pack it down, giving you too much. Instead, fluff the flour with a spoon, then spoon it into your measuring cup and level it off with a knife. Or, even better, use a kitchen scale—190 grams is the magic number.
Check for doneness early. Ovens vary. My old oven baked this bread in 50 minutes, but my current one takes 55. Start checking at 45 minutes if your oven runs hot. The toothpick test is your friend, but also look for a golden-brown top and edges that have pulled away from the pan slightly.
Let it cool completely. I know I said this already, but it’s worth repeating. Cooling on a wire rack allows steam to escape, which keeps the crust crisp and the inside moist. If you slice it warm, the texture will be gummy and the slices won’t hold together.
Variations & Adaptations
This recipe is a blank canvas. Here are some of my favorite ways to change it up, depending on what I have on hand or what I’m in the mood for.
- Chocolate Chip Banana Bread: Fold in ½ cup of semi-sweet chocolate chips after adding the dry ingredients. It’s the most popular version in my house. Dark chocolate chips are also great if you want a less sweet loaf.
- Whole Wheat Banana Bread: Replace half the all-purpose flour with whole wheat flour. The bread will be a bit denser and nuttier in flavor. Add an extra tablespoon of milk or yogurt if the batter seems too thick.
- Vegan Banana Bread: Substitute the butter with melted coconut oil or vegetable oil, and replace the egg with a flax egg (1 tablespoon ground flaxseed mixed with 3 tablespoons water, let sit for 5 minutes). It works beautifully—just slightly less rise.
- Gluten-Free Banana Bread: Use a 1:1 gluten-free baking blend that contains xanthan gum. I’ve used Bob’s Red Mill and King Arthur with great results. The texture is slightly more delicate, so handle it gently.
- Spiced Banana Bread: Add ½ teaspoon of ground ginger and ¼ teaspoon of ground nutmeg along with the cinnamon. It gives the bread a warm, chai-like flavor that’s perfect for fall.
- Blueberry Banana Bread: Fold in ½ cup of fresh or frozen blueberries (don’t thaw them). Toss the berries in a tablespoon of flour first to prevent them from sinking to the bottom.
I once made a version with shredded coconut and dark chocolate chunks—it was incredible. Don’t be afraid to experiment. This recipe is forgiving enough to handle almost any addition.
Serving & Storage Suggestions
Banana bread is one of those things that’s good at any temperature, but here’s how I like to serve and store it for the best experience.
Serving: Serve slices at room temperature or slightly warm. To reheat, pop a slice in the microwave for 10-15 seconds, or toast it in a toaster oven for a few minutes until the edges are crisp. I love it with a pat of butter melted on top, or spread with a little cream cheese for a tangy contrast. It’s also fantastic with a drizzle of honey or a smear of peanut butter for extra protein.
Storage: Store leftover banana bread in an airtight container at room temperature for up to 4 days. To keep it moist, place a paper towel in the bottom of the container and another on top of the bread. Change the paper towels if they get too damp. Do not refrigerate—it will dry the bread out faster.
Freezing: This bread freezes beautifully. Wrap the cooled loaf (or individual slices) tightly in plastic wrap, then in aluminum foil. Freeze for up to 3 months. To thaw, leave it on the counter for a few hours, or microwave a slice for 20-30 seconds. I always freeze a loaf when I have extra bananas—it’s like having a secret weapon for busy mornings.
Flavor development: Honestly, this bread is even better on day two. The flavors meld together and the texture becomes even more moist. If you can resist eating it all on day one, you’ll be rewarded.
Nutritional Information & Benefits
Here’s the approximate nutritional breakdown for one slice (based on 10 slices per loaf, without mix-ins).
| Nutrient | Amount per Slice |
|---|---|
| Calories | 215 |
| Total Fat | 8g |
| Saturated Fat | 5g |
| Cholesterol | 35mg |
| Sodium | 220mg |
| Total Carbohydrates | 34g |
| Dietary Fiber | 2g |
| Sugars | 18g |
| Protein | 4g |
Bananas are a great source of potassium, vitamin B6, and vitamin C. They also provide natural sweetness, which allows us to use a reasonable amount of added sugar. This recipe is relatively low in saturated fat compared to many baked goods, especially if you use oil instead of butter. It’s also easily adaptable for various dietary needs, as noted in the variations section. While it’s not a health food, it’s a wholesome treat that fits into a balanced lifestyle. I feel good about giving a slice to my kid for an after-school snack—it’s real food, not processed junk.
Conclusion
This easy one-bowl banana bread is more than just a recipe—it’s a solution for those moments when you want something homemade but don’t have the energy for a production. It’s the recipe I turn to when the bananas are browning on the counter, when the kids are restless, and when I need a small win in the kitchen. It’s forgiving, it’s fast, and it never lets me down.
I hope you give it a try, and I hope it becomes your go-to, too. Play with the mix-ins, make it your own, and don’t stress about perfection. The best banana bread is the one you actually make. So grab those spotty bananas, pull out one bowl, and get baking. You’ve got this.
I’d love to hear how it turns out! Drop a comment below and let me know what variations you tried, or tag me on Pinterest with your creation. Happy baking!
Frequently Asked Questions
Can I use frozen bananas for this recipe?
Absolutely. Thaw them completely, then drain off any excess liquid before mashing. Frozen bananas are actually sweeter and easier to mash, so they work perfectly.
Why did my banana bread sink in the middle?
This usually happens if the bread is underbaked or if the oven temperature is too low. Make sure your oven is fully preheated, and use the toothpick test to check for doneness. Also, don’t open the oven door during the first 30 minutes of baking.
Can I make this into muffins instead of a loaf?
Yes! Grease a 12-cup muffin tin and divide the batter evenly. Bake at 350°F for 18-22 minutes, or until a toothpick comes out clean. You’ll get about 12 muffins.
How do I know when my bananas are ripe enough?
They should have lots of brown or black spots on the peel and feel soft when gently squeezed. If they’re still yellow with green tips, they’re not ready. You can speed up ripening by placing them in a paper bag with an apple overnight.
Can I reduce the sugar in this recipe?
You can reduce it to ½ cup (100g) without affecting the texture too much. If you reduce it further, the bread may be less moist and have a slightly different crumb. The bananas provide natural sweetness, so it will still taste good.
Pin This Recipe!
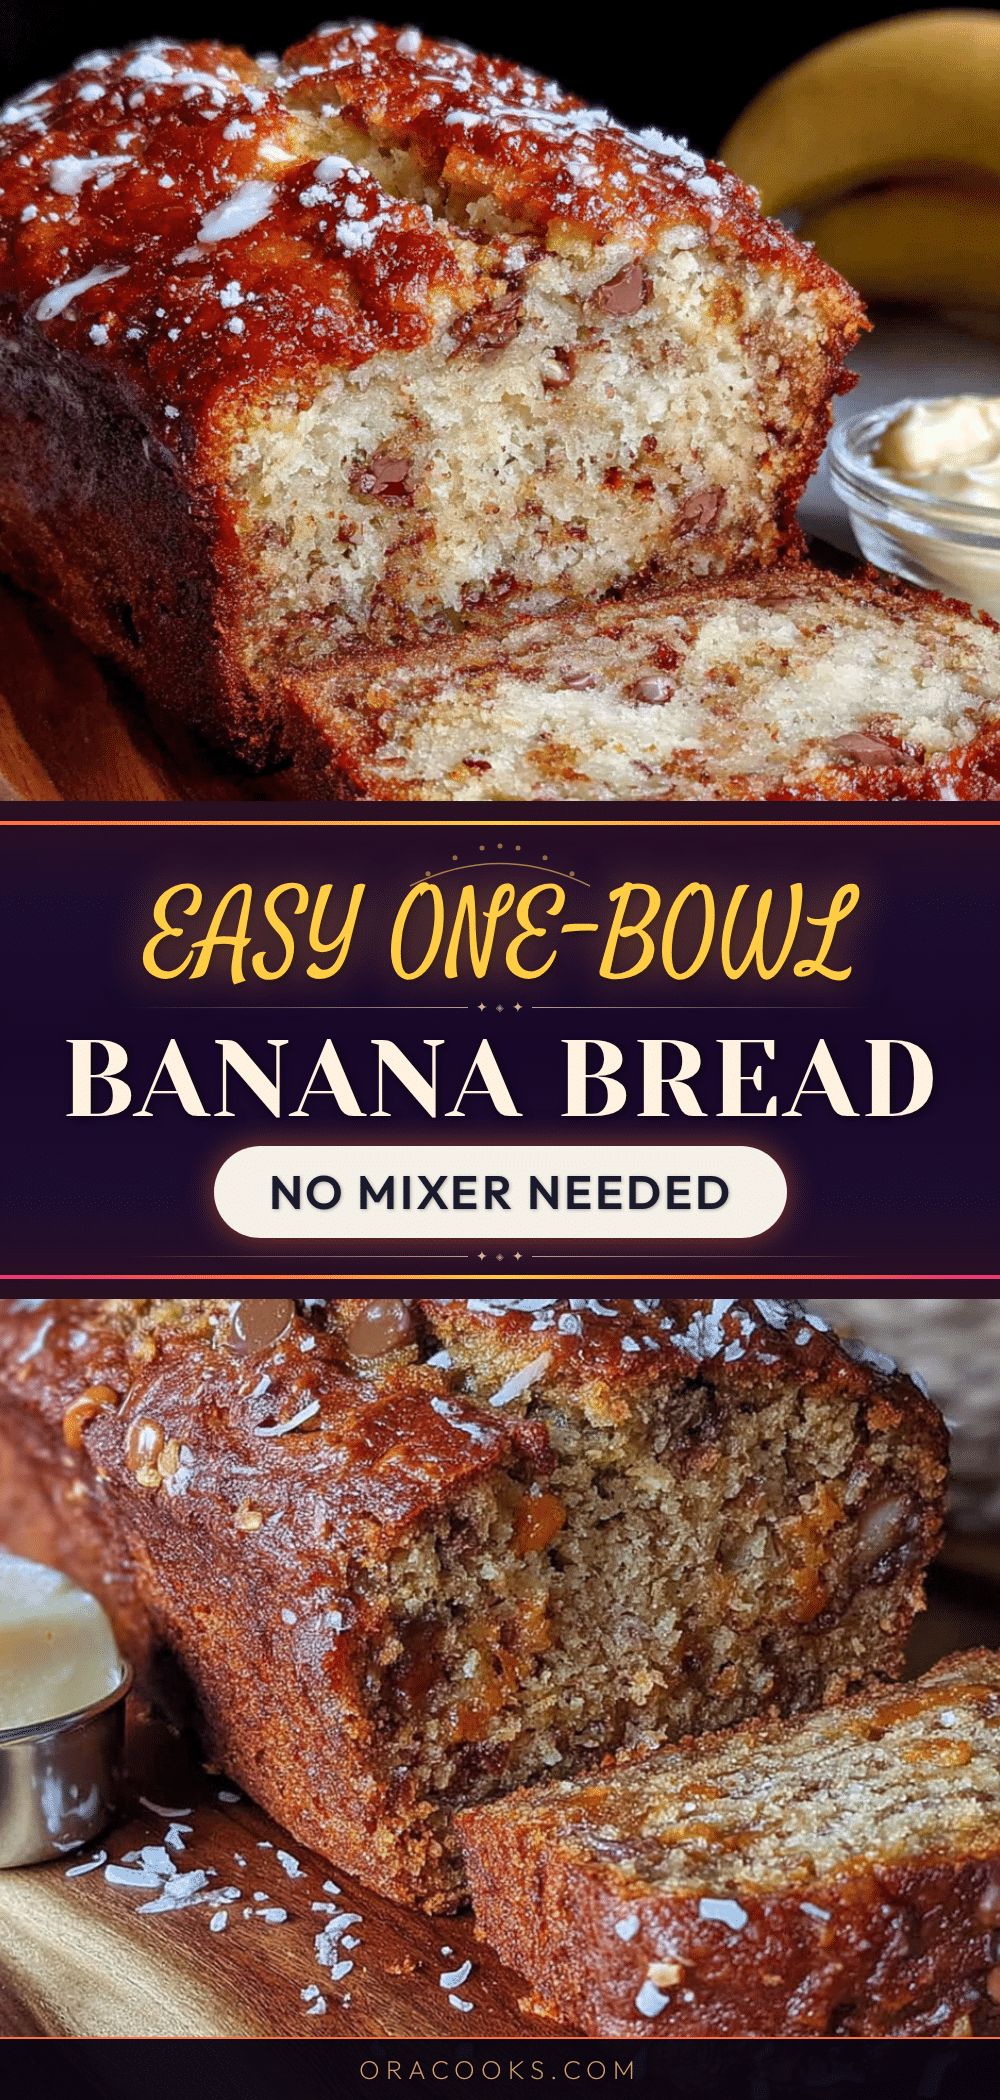
Easy One-Bowl Banana Bread Recipe (No Mixer)
This easy one-bowl banana bread requires no mixer and minimal cleanup. It’s a forgiving, fast recipe that uses overripe bananas and simple pantry staples to create a moist, tender loaf with a crackly top—perfect for busy weeknights.
- Prep Time: 15 minutes
- Cook Time: 55 minutes
- Total Time: 1 hour 10 minutes
- Yield: 10 servings 1x
- Category: Dessert
- Cuisine: American
Ingredients
- 3 ripe bananas, mashed (about 1 ½ cups or 340g)
- ⅓ cup (75g) unsalted butter, melted
- ¾ cup (150g) granulated sugar
- 1 large egg, room temperature
- 1 teaspoon vanilla extract
- 1 ½ cups (190g) all-purpose flour
- 1 teaspoon baking soda
- ½ teaspoon salt
- ½ teaspoon ground cinnamon (optional)
- ½ cup (85g) chocolate chips (optional)
- ½ cup (60g) chopped walnuts or pecans (optional)
Instructions
- Preheat your oven to 350°F (175°C). Grease a 9×5-inch loaf pan with butter or non-stick spray. Optionally, line with parchment paper.
- Mash the bananas in a large mixing bowl with a fork or potato masher until mostly smooth with a few small lumps.
- Add the melted butter and stir until combined and smooth.
- Add the sugar, egg, and vanilla. Stir vigorously until well combined and slightly lighter in color.
- Sprinkle the flour, baking soda, salt, and cinnamon (if using) over the wet mixture. Stir gently until just combined—do not overmix. Fold in chocolate chips or nuts if using.
- Pour the batter into the prepared loaf pan and spread evenly. Tap the pan gently on the counter to release air bubbles.
- Bake for 50-60 minutes, or until a toothpick inserted into the center comes out clean or with a few moist crumbs. If browning too quickly, tent with foil for the last 10-15 minutes.
- Cool in the pan for 10 minutes, then transfer to a wire rack to cool completely before slicing.
Notes
Use overripe bananas (brown or black spots) for best sweetness and flavor. Do not overmix the batter to avoid a dense texture. Measure flour correctly by fluffing, spooning, and leveling, or use a kitchen scale (190g). Let the bread cool completely before slicing to prevent a gummy texture. The bread is even better on day two.
Nutrition
- Serving Size: 1 slice
- Calories: 215
- Sugar: 18
- Sodium: 220
- Fat: 8
- Saturated Fat: 5
- Carbohydrates: 34
- Fiber: 2
- Protein: 4
Keywords: banana bread, easy banana bread, one bowl banana bread, no mixer banana bread, quick banana bread, moist banana bread


