Love this? Save it for later!
Share the inspiration with your friends
I swore I didn’t like strawberry shortcake. For years. It wasn’t a dramatic declaration or anything, just a quiet, polite refusal whenever it showed up at a barbecue or a family gathering. “No thank you, I’m full,” I’d say, while secretly thinking it was just a sad, soggy biscuit drowning in overly sweet fruit. Honestly, I thought it was a dessert for people who didn’t really like dessert. Then, last June, I found myself at a friend’s farm stand, staring down a flat of the most ridiculously perfect, ruby-red strawberries I had ever seen. They were so fragrant the air around them smelled like candy. I bought them with no plan, just a vague sense of obligation. I got home, the clock was ticking toward dinner, and I had a sudden, stubborn craving for something that wasn’t a layered cake or a fussy pie. I wanted something simple. I remembered the biscuits. I made a version “just for myself,” a small batch, really just to use the fruit. I was pulling the golden biscuits out of the oven when my neighbor, a man who claims to have no sweet tooth, appeared at my screen door. “What is that smell?” he asked. Ten minutes later, I watched him take his first bite. He didn’t say a word. He just closed his eyes. And that, right there, was the moment I realized I had been wrong this whole time. This is the recipe that proved it.
Why You’ll Love This Recipe
These Classic Strawberry Shortcake Biscuits are the kind of dessert that feels like a hug. They’re simple, but they’re not boring. They’re the perfect ending to a weeknight dinner or a star at a summer cookout, all without breaking the bank or requiring a pastry degree. Let’s be real, feeding a family on a budget means every recipe has to earn its keep. This one absolutely does.
- Quick & Easy: From start to finish, you’re looking at about 30 minutes. That’s faster than a trip to the store for a store-bought pie. The biscuits come together in one bowl, no mixer required.
- Simple Ingredients: You likely have the flour, butter, milk, and sugar in your pantry right now. The only special purchase is the fresh strawberries, which are at their peak (and cheapest) in the summer.
- Perfect for Family Meals: This isn’t a fussy dessert. It’s a “let the kids help” kind of recipe. It’s also endlessly adaptable, so picky eaters can just have a biscuit with butter if they’re feeling stubborn.
- Crowd-Pleaser: The combination of a tender, buttery biscuit, sweet-tart macerated strawberries, and a cloud of whipped cream is a classic for a reason. It’s universally loved.
- Unbelievably Delicious: The magic is in the texture. The biscuits are crisp on the outside and impossibly soft on the inside. They soak up just enough strawberry juice without turning into a soggy mess. It’s next-level comfort food that tastes like a summer afternoon.
What makes this version different? It’s all about the technique. We’re using cold, grated butter for the flakiest biscuits without the fuss of a pastry cutter. And we’re letting the strawberries sit with a little sugar to create their own gorgeous syrup. It’s not just another recipe; it’s the one I turn to every single time.
What Ingredients You Will Need
This recipe relies on a handful of pantry staples to create something truly special. The quality of your ingredients matters here, especially the strawberries. When they’re in season, you don’t need much else.
- For the Macerated Strawberries:
- 1 pound fresh strawberries, hulled and sliced (about 4 cups). Look for berries that are deeply red and fragrant. If they’re pale, they won’t have as much flavor. In a pinch, you can use frozen strawberries that have been thawed and drained, but fresh is best.
- 1/4 cup granulated sugar (this draws out the natural juices and creates a beautiful syrup). You can adjust this up or down depending on the sweetness of your berries.
- 1 teaspoon fresh lemon juice (optional, but it brightens the flavor and balances the sweetness).
- For the Biscuits:
- 2 cups all-purpose flour (spooned and leveled). I use King Arthur Flour for consistent results, but any brand works.
- 1/4 cup granulated sugar (adds a touch of sweetness to the biscuit).
- 1 tablespoon baking powder (make sure it’s fresh for the best rise).
- 1/2 teaspoon salt (essential for balancing the sweetness).
- 6 tablespoons cold unsalted butter (this is key). It must be very cold. I like to use a high-fat European-style butter like Kerrygold for extra flakiness, but regular is fine.
- 3/4 cup cold whole milk (or buttermilk for an even more tender biscuit). Whole milk gives the best texture, but 2% will work.
- 1 teaspoon vanilla extract (adds a warm, aromatic note).
- 1 tablespoon coarse sugar (like turbinado or demerara) (for sprinkling on top, adds a lovely crunch).
- For Serving:
- 1 1/2 cups heavy cream (for making whipped cream).
- 2 tablespoons powdered sugar (for the whipped cream).
- 1/2 teaspoon vanilla extract (for the whipped cream).
Equipment Needed
You don’t need a lot of fancy tools for this recipe, which is part of its charm. Here’s what you’ll need to pull it off smoothly.
- Baking Sheet: A standard half-sheet pan works perfectly. Line it with parchment paper for easy cleanup.
- Large Mixing Bowl: For the biscuit dough.
- Pastry Cutter or a Box Grater: I prefer a box grater for the butter. It’s faster and the small, thin pieces of butter create incredible flakiness. If you don’t have one, a pastry cutter works, or you can use two forks.
- 2-inch Biscuit Cutter or a Glass: A sharp biscuit cutter is ideal because it gives you a clean cut, which helps the biscuits rise straight up. A drinking glass with a thin rim will also work.
- Hand Mixer or Whisk: For making the whipped cream. A hand mixer is faster, but a good whisk and some elbow grease will get the job done.
- Pastry Brush: For brushing the tops of the biscuits with milk before baking. A paper towel works in a pinch.
Preparation Method
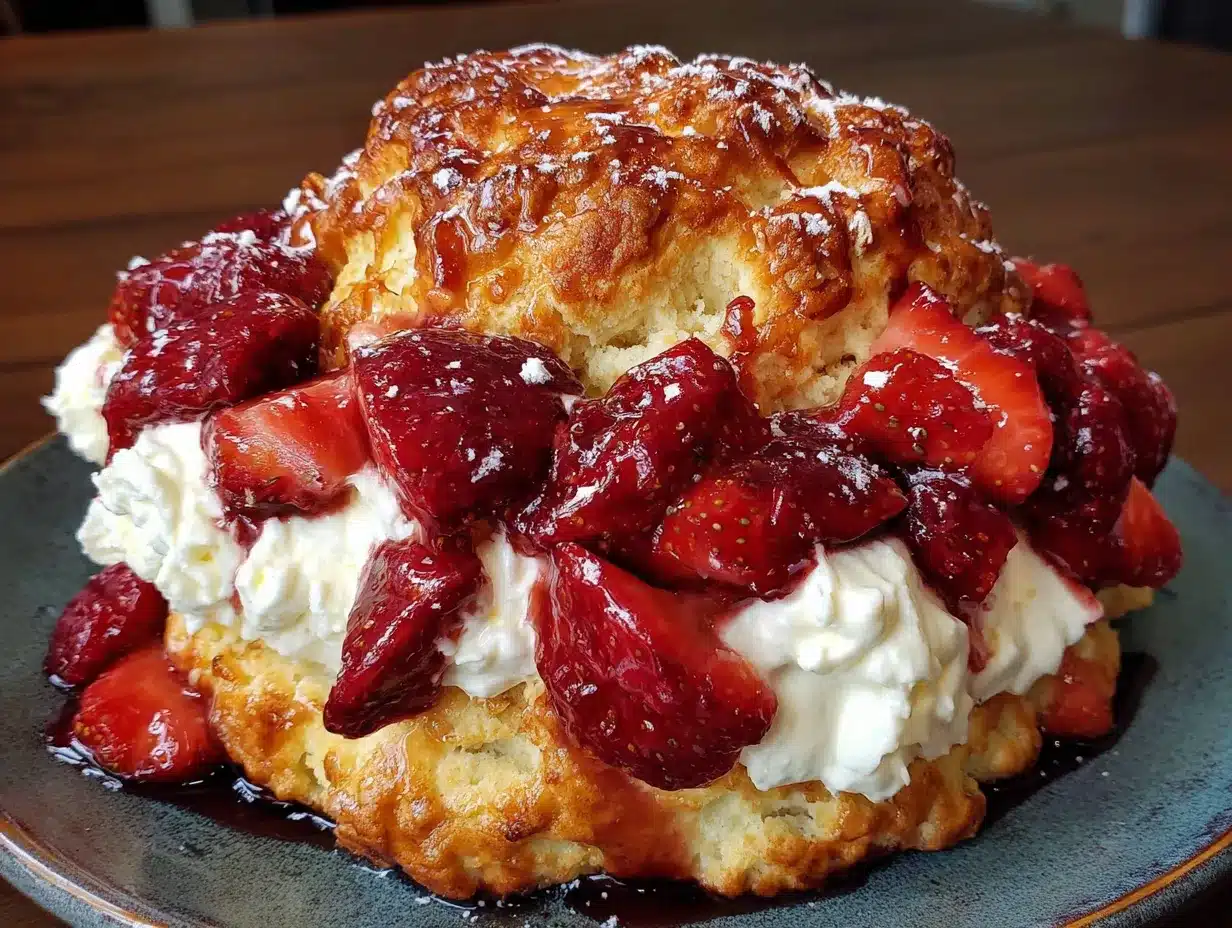
Let’s get to the good part. Follow these steps, and you’ll have a dessert that looks and tastes like you spent hours in the kitchen. I promise, it’s easier than it looks.
- Macerate the Strawberries: In a medium bowl, combine the sliced strawberries, 1/4 cup of granulated sugar, and the lemon juice. Stir gently to combine. Let this sit at room temperature for at least 15 minutes, or while you make the biscuits. The sugar will draw out the juices, creating a beautiful, syrupy sauce. Give it a stir every now and then.
- Preheat and Prep: Preheat your oven to 425°F (220°C). Line your baking sheet with parchment paper. This is a small step that makes a big difference for cleanup.
- Make the Biscuit Dough: In your large mixing bowl, whisk together the flour, 1/4 cup of granulated sugar, baking powder, and salt. Make sure there are no lumps.
- Incorporate the Butter: Here’s the trick. Take your very cold butter and, using the large holes of a box grater, grate it directly into the flour mixture. Yes, grate the butter! It’s messy, but it’s the easiest way to get tiny, even pieces of butter without warming it up with your hands. Toss the grated butter in the flour until each piece is well coated.
- Add the Liquid: Make a well in the center of the flour mixture. Pour in the cold milk and vanilla extract. Stir with a fork or a spatula just until the dough comes together. It will be shaggy and a little sticky. Do not overmix! Overmixing develops the gluten and makes tough biscuits.
- Shape the Biscuits: Turn the dough out onto a lightly floured surface. Gently bring it together with your hands, patting it into a rectangle that’s about 3/4-inch thick. Don’t use a rolling pin; the heat from your hands is enough. Use your biscuit cutter to cut out rounds. Press straight down without twisting the cutter. Twisting seals the edges and prevents the biscuits from rising as high. Gather the scraps, gently pat them together, and cut out more biscuits. You should get about 6 to 8 biscuits.
- Bake: Place the biscuits on your prepared baking sheet, about 2 inches apart. Brush the tops with a little milk and sprinkle with the coarse sugar. Bake for 12 to 15 minutes, or until the biscuits are golden brown and have risen beautifully. The smell in your kitchen will be incredible.
- Make the Whipped Cream: While the biscuits are baking, make the whipped cream. In a chilled bowl, combine the heavy cream, powdered sugar, and vanilla extract. Using a hand mixer or a whisk, whip until soft peaks form. Be careful not to overwhip, or you’ll end up with butter. You want it to be light and billowy.
- Assemble and Serve: Let the biscuits cool for just a few minutes on the baking sheet. They are best served warm. To assemble, split a biscuit in half. Spoon a generous amount of the macerated strawberries and their juices over the bottom half. Add a big dollop of whipped cream. Place the top half of the biscuit on top, and add another spoonful of strawberries and cream. Serve immediately.
Cooking Tips & Techniques
I’ve made these biscuits more times than I can count, and I’ve learned a few things the hard way. Here are my best tips to guarantee perfect results every time.
- The Cold Butter Rule is Non-Negotiable: This is the most important tip. If your butter warms up, your biscuits will be flat and greasy. Keep the butter in the fridge until the moment you grate it. If your kitchen is hot, you can even pop the grated butter and flour in the freezer for 5 minutes before adding the milk.
- Don’t Overwork the Dough: I cannot stress this enough. Overmixing is the number one cause of tough biscuits. Mix until the dough just comes together. It’s okay if it looks a little rough. That’s what you want.
- Use a Sharp Cutter: A sharp biscuit cutter makes a clean cut, which allows the biscuits to rise straight up instead of leaning. And remember, press straight down. No twisting!
- Bake at High Heat: A hot oven (425°F) creates steam from the cold butter, which is what gives the biscuits their flaky layers. Don’t be tempted to lower the temperature.
- Macerate Ahead: You can macerate the strawberries up to an hour before serving. The longer they sit, the more juice they release. Just don’t let them sit overnight, or they’ll get mushy.
Variations & Adaptations
This recipe is a fantastic base for experimentation. Here are a few ways to make it your own, depending on what you have on hand or who you’re feeding.
- Berry Swap: Not a fan of strawberries? No problem. Use an equal amount of sliced peaches, blueberries, raspberries, or a mix of all of them. If using frozen berries, let them thaw and drain off some of the excess liquid before macerating.
- Lemon-Blueberry: Add the zest of one lemon to the biscuit dough and swap the strawberries for blueberries. The lemon zest brightens the whole dessert and pairs beautifully with the blueberries.
- Chocolate Strawberry: For a more decadent treat, add 1/2 cup of mini chocolate chips to the biscuit dough. The combination of warm chocolate and sweet strawberries is a guaranteed crowd-pleaser, especially for the kids.
- Dairy-Free Adaptation: You can make these dairy-free by using a high-quality vegan butter stick (like Miyoko’s) and a dairy-free milk like oat milk or almond milk. The texture will be slightly different, but still delicious. For the whipped cream, use a can of chilled full-fat coconut cream.
- Gluten-Free Option: Substitute the all-purpose flour with a 1-to-1 gluten-free baking flour blend. King Arthur and Bob’s Red Mill both make excellent blends. The biscuits will be a bit more tender and delicate, so handle the dough gently.
Serving & Storage Suggestions
These are best enjoyed the day they are made, ideally while the biscuits are still warm. But if you have leftovers, here’s how to handle them.
- Serving: Serve the biscuits warm, split and layered with the macerated strawberries and a generous amount of freshly whipped cream. For a pretty presentation, you can also serve the components separately and let everyone build their own shortcake. This is a great idea for a party or a family gathering.
- Storage: Store the biscuits, macerated strawberries, and whipped cream separately in the refrigerator. The biscuits will keep in an airtight container at room temperature for up to 2 days. The strawberries will keep in the fridge for 2-3 days. The whipped cream is best used immediately, but it can be stored in the fridge for a day.
- Reheating: To reheat a biscuit, simply pop it in a toaster oven or a 350°F oven for 3-5 minutes. You can also microwave it for about 15 seconds, but it won’t be as crisp. Do not reheat the strawberries or the cream.
- Flavor Development: The strawberry syrup will continue to develop and deepen in flavor as it sits in the fridge. It’s a great make-ahead component for a busy week.
Nutritional Information & Benefits
While this is a dessert, it does use real, whole ingredients. Here’s a general idea of what you’re looking at per serving (one biscuit with strawberries and cream).
- Calories: Approximately 450-500 calories per serving.
- Fat: Around 25-30g (mostly from the butter and cream).
- Carbohydrates: About 55-60g.
- Sugar: Around 30-35g (includes added and natural sugars from the fruit).
- Protein: 6-8g.
Health Benefits: Strawberries are an excellent source of vitamin C and antioxidants. They’re also a good source of fiber. Using real cream and butter, while higher in fat, provides satiety and flavor that you just can’t get from processed alternatives. This dessert is a great way to enjoy the natural sweetness of peak-season fruit.
Dietary Considerations: This recipe is not vegan or dairy-free as written, but we’ve included easy adaptations above. It is nut-free and egg-free.
Conclusion
This Classic Strawberry Shortcake recipe is more than just a dessert; it’s a moment. It’s the taste of summer, the smell of a warm kitchen, and the feeling of sharing something simple and perfect with the people you love. It’s a recipe that proves you don’t need a long list of fancy ingredients or complicated techniques to create something truly memorable. I love this recipe because it’s forgiving, it’s fast, and it makes everyone at the table happy. It has officially earned a permanent spot in my summer rotation, and I have a feeling it will in yours too.
I would love to hear how it turns out for you! Did you try a fun variation? Did your kids help make the biscuits? Please leave a comment below and let me know. And if you share a photo on Pinterest, be sure to tag me so I can see your beautiful creation. Happy baking!
Frequently Asked Questions
Can I use frozen strawberries?
Yes, you can use frozen strawberries! Thaw them completely and drain off any excess liquid before macerating them with the sugar. They won’t be quite as firm as fresh berries, but they will still taste delicious.
Why did my biscuits not rise?
There are a few common reasons. Your baking powder might be old. Your butter might have been too warm. Or, you may have overmixed the dough. Make sure your baking powder is fresh, your butter is very cold, and you mix the dough just until it comes together.
Can I make the biscuits ahead of time?
You can! You can prepare the biscuit dough, cut out the biscuits, and place them on a parchment-lined baking sheet. Cover them tightly with plastic wrap and refrigerate for up to 12 hours. Bake them straight from the fridge, adding a minute or two to the baking time.
What can I use instead of heavy cream for the whipped cream?
If you don’t have heavy cream, you can use a can of full-fat coconut cream (chilled) for a dairy-free option. You can also use a store-bought whipped topping, but the flavor won’t be as rich.
Can I make this into a shortcake cake?
Absolutely! Instead of cutting out individual biscuits, press the dough into a greased 9-inch round cake pan or cast-iron skillet. Bake for 18-22 minutes, until golden brown. Let it cool slightly, then split it horizontally and layer with the strawberries and cream for a stunning “shortcake cake.”
Pin This Recipe!
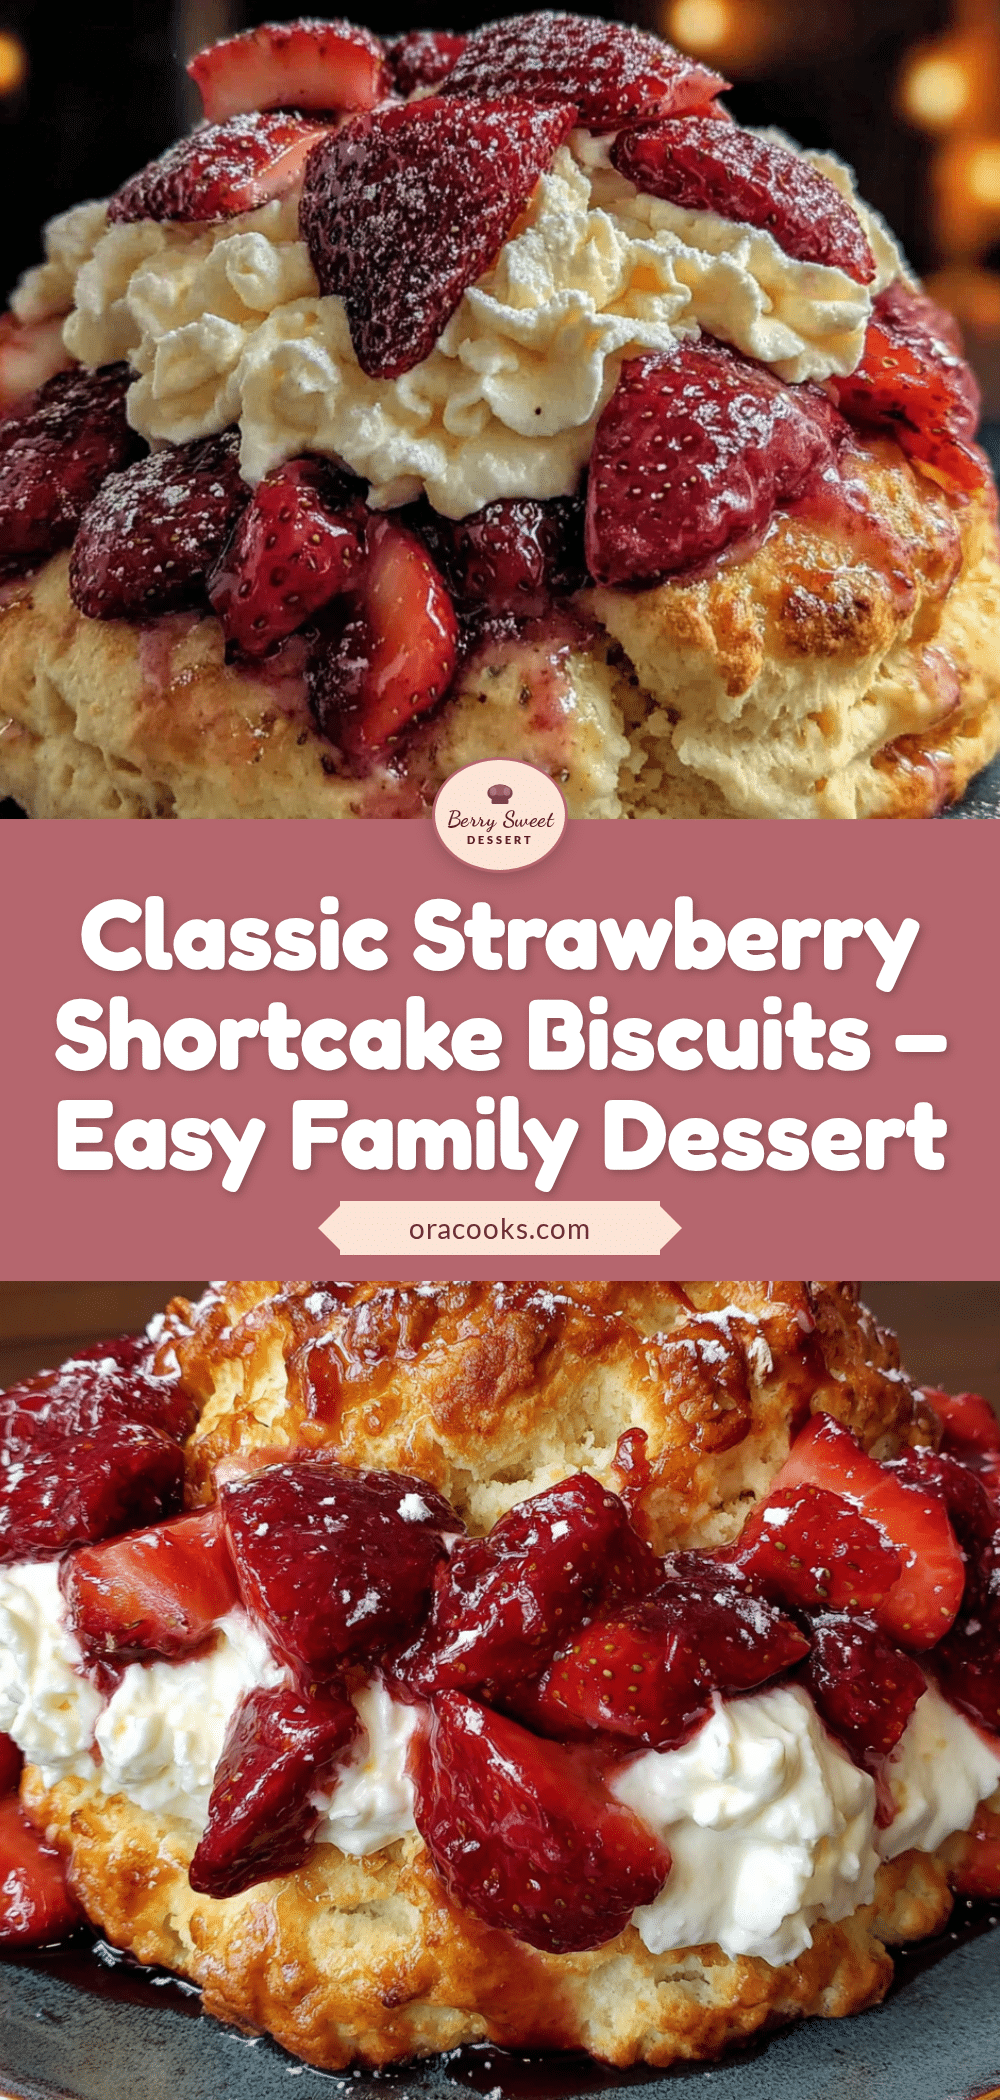
Classic Strawberry Shortcake Biscuits – Easy Homemade Dessert

These Classic Strawberry Shortcake Biscuits are the kind of dessert that feels like a hug. They’re simple, but they’re not boring, and they’re the perfect ending to a weeknight dinner or a star at a summer cookout.
- Prep Time: 15 minutes
- Cook Time: 15 minutes
- Total Time: 30 minutes
- Yield: 6-8 servings 1x
- Category: Dessert
- Cuisine: American
Ingredients
- 1 pound fresh strawberries, hulled and sliced (about 4 cups)
- 1/4 cup granulated sugar
- 1 teaspoon fresh lemon juice (optional)
- 2 cups all-purpose flour (spooned and leveled)
- 1/4 cup granulated sugar
- 1 tablespoon baking powder
- 1/2 teaspoon salt
- 6 tablespoons cold unsalted butter
- 3/4 cup cold whole milk
- 1 teaspoon vanilla extract
- 1 tablespoon coarse sugar (like turbinado or demerara)
- 1 1/2 cups heavy cream
- 2 tablespoons powdered sugar
- 1/2 teaspoon vanilla extract
Instructions
- Macerate the Strawberries: In a medium bowl, combine the sliced strawberries, 1/4 cup of granulated sugar, and the lemon juice. Stir gently to combine. Let this sit at room temperature for at least 15 minutes, or while you make the biscuits. The sugar will draw out the juices, creating a beautiful, syrupy sauce. Give it a stir every now and then.
- Preheat and Prep: Preheat your oven to 425°F (220°C). Line your baking sheet with parchment paper.
- Make the Biscuit Dough: In your large mixing bowl, whisk together the flour, 1/4 cup of granulated sugar, baking powder, and salt. Make sure there are no lumps.
- Incorporate the Butter: Take your very cold butter and, using the large holes of a box grater, grate it directly into the flour mixture. Toss the grated butter in the flour until each piece is well coated.
- Add the Liquid: Make a well in the center of the flour mixture. Pour in the cold milk and vanilla extract. Stir with a fork or a spatula just until the dough comes together. It will be shaggy and a little sticky. Do not overmix!
- Shape the Biscuits: Turn the dough out onto a lightly floured surface. Gently bring it together with your hands, patting it into a rectangle that’s about 3/4-inch thick. Use your biscuit cutter to cut out rounds. Press straight down without twisting the cutter. Gather the scraps, gently pat them together, and cut out more biscuits. You should get about 6 to 8 biscuits.
- Bake: Place the biscuits on your prepared baking sheet, about 2 inches apart. Brush the tops with a little milk and sprinkle with the coarse sugar. Bake for 12 to 15 minutes, or until the biscuits are golden brown and have risen beautifully.
- Make the Whipped Cream: While the biscuits are baking, make the whipped cream. In a chilled bowl, combine the heavy cream, powdered sugar, and vanilla extract. Using a hand mixer or a whisk, whip until soft peaks form. Be careful not to overwhip.
- Assemble and Serve: Let the biscuits cool for just a few minutes on the baking sheet. To assemble, split a biscuit in half. Spoon a generous amount of the macerated strawberries and their juices over the bottom half. Add a big dollop of whipped cream. Place the top half of the biscuit on top, and add another spoonful of strawberries and cream. Serve immediately.
Notes
The cold butter rule is non-negotiable. Keep the butter in the fridge until the moment you grate it. If your kitchen is hot, you can even pop the grated butter and flour in the freezer for 5 minutes before adding the milk. Don’t overwork the dough. Use a sharp cutter and press straight down without twisting. Bake at high heat (425°F) for flaky layers. You can macerate the strawberries up to an hour before serving.
Nutrition
- Serving Size: 1 biscuit with straw
- Calories: 450500
- Sugar: 3035
- Fat: 2530
- Carbohydrates: 5560
- Protein: 68
Keywords: strawberry shortcake, biscuits, easy dessert, summer dessert, homemade shortcake, strawberry recipe


