Love this? Save it for later!
Share the inspiration with your friends
My neighbor, a retired nurse named Carol, asked me last week why I couldn’t just use sweetened condensed milk and call it a day. I was in the middle of explaining my whole “lighter no-churn” philosophy when she interrupted. “You’re overcomplicating it,” she said, pointing at the can in her hand. “I’ve been making ice cream this way since the seventies.”
I started to explain why that wouldn’t work for a healthier version — then stopped. She was holding a can of the full-fat stuff, sure, but her logic was actually kind of brilliant. Use a concentrated sweetener as the base, control the fat, and skip the heavy cream entirely. I mean, honestly, I’d been so focused on fancy techniques that I missed the obvious solution sitting right there on the grocery store shelf.
So I tried her approach. I swapped in a lighter sweetened condensed milk (yes, it exists), cut back on the heavy cream, and used Greek yogurt for that creamy texture we all crave. The result? A salted caramel ice cream that tastes indulgent but doesn’t leave you feeling like you need a nap afterward. Carol tried a scoop and just nodded. “Told you,” she said. Let me tell you, being wrong never tasted so good.
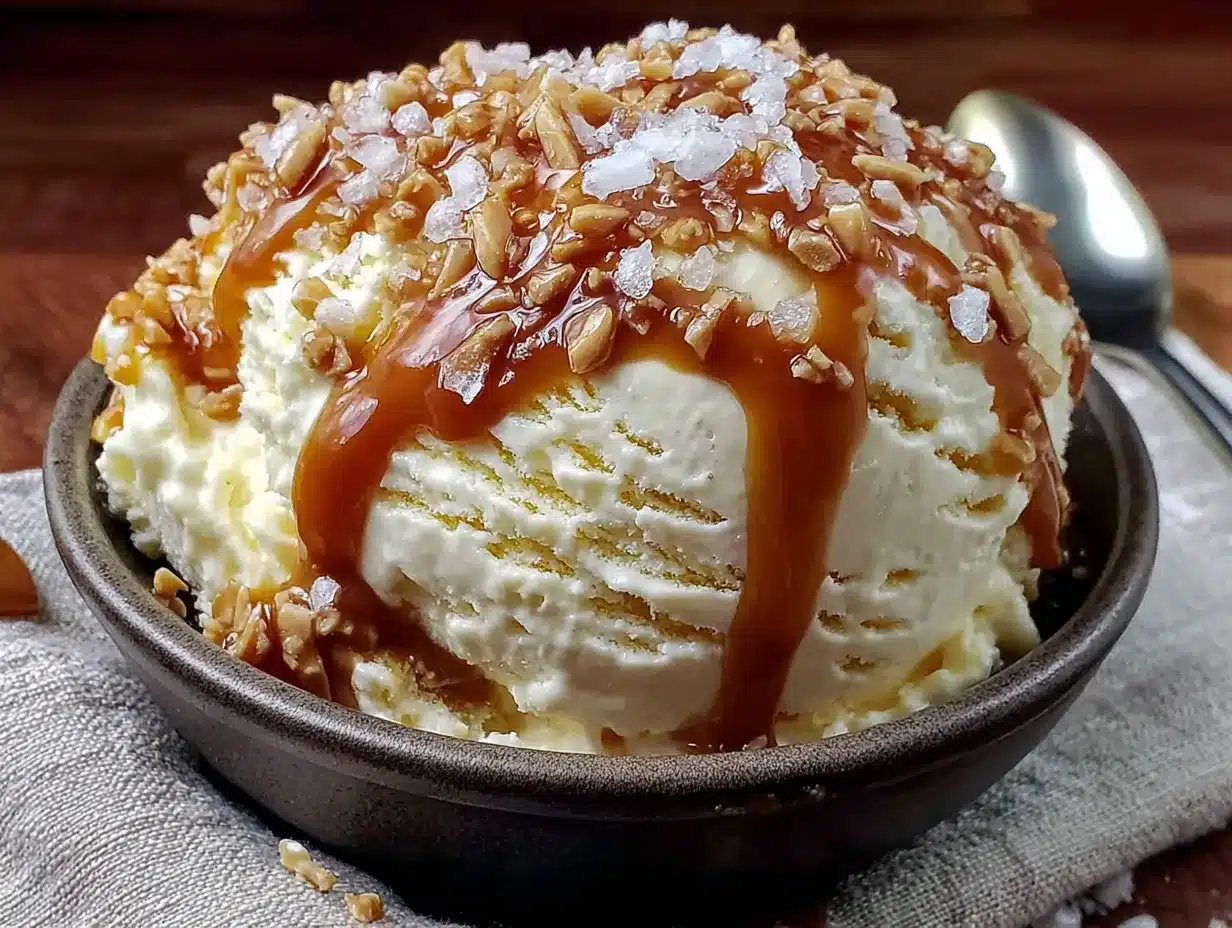
This lighter no-churn salted caramel ice cream has become my go-to for those evenings when you want something sweet but don’t want to undo all your hard work from the week. It’s got that perfect balance of salty and sweet, and the texture is so creamy you’d never guess it’s lighter. Maybe you’ve been there — standing in front of the freezer at 9 PM, trying to justify a bowl of the regular stuff. This recipe is for those moments.
Why You’ll Love This Lighter No-Churn Salted Caramel Ice Cream
I’ve tested this recipe about a dozen times to get it just right. The first batch was too icy. The second was too sweet. The third? That was the one where I finally understood what Carol meant about keeping things simple. Here’s why this version stands out from every other ice cream recipe you’ll find online.
- No Ice Cream Maker Needed : You don’t need any fancy equipment. Just a mixing bowl, a whisk, and some freezer space. It’s genuinely no-churn — no special machines, no rock salt, no complicated freezing process.
- Simple, Healthy Ingredients : This recipe uses fat-free sweetened condensed milk, low-fat Greek yogurt, and a touch of half-and-half. No heavy cream, no artificial sweeteners, no weird ingredients you can’t pronounce.
- Perfect for Warm Evenings : Whether it’s a summer barbecue, a movie night, or just Tuesday, this ice cream hits the spot without derailing your healthy eating goals.
- Crowd-Pleaser : I’ve served this to kids, adults, and even my picky mother-in-law. Everyone goes back for seconds. The salted caramel flavor is universal.
- Unbelievably Creamy : The Greek yogurt adds a tangy richness that mimics the texture of full-fat ice cream. You honestly won’t miss the heavy cream.
What makes this recipe different is the technique. Most lighter ice creams use egg whites or gelatin to create structure, but those can leave a weird texture. My version uses the natural creaminess of Greek yogurt combined with the concentrated sweetness of condensed milk. It’s not just another healthy ice cream — it’s the one that actually tastes like the real thing.
This is the kind of dessert that makes you close your eyes after the first bite. It’s comfort food reimagined — lighter, faster, but with the same soul-soothing satisfaction. Perfect for impressing guests without stress, or turning a simple Wednesday into something special.
What Ingredients You Will Need
This recipe uses simple, wholesome ingredients to deliver that rich salted caramel flavor without the heavy cream and excess sugar. Most of these are pantry staples, and the substitutions are easy if you need them.
For the Caramel Base
- 1 can (14 ounces) fat-free sweetened condensed milk — This is the secret to the no-churn texture. I prefer the Eagle Brand fat-free version for its consistency. It provides sweetness and structure without the fat.
- 1/2 cup half-and-half — Adds just enough richness without going overboard. You can use whole milk if you prefer, but the texture will be slightly less creamy.
- 1/4 cup plain Greek yogurt (2% or full-fat) — This is my secret weapon. The tanginess balances the sweetness and adds creaminess. I recommend Fage or Chobani for best texture.
- 1 teaspoon vanilla extract — Pure vanilla, not imitation. It makes a difference in the depth of flavor.
- 1/4 teaspoon fine sea salt — For the salted element. Don’t skip this — it’s what makes the caramel pop.
For the Salted Caramel Swirl
- 1/4 cup light brown sugar, packed — Adds that deep, molasses-like caramel flavor. Dark brown sugar works too, but the flavor will be more intense.
- 2 tablespoons unsalted butter — Just a little for richness. Use vegan butter if needed.
- 1/4 cup half-and-half — To thin the caramel to swirl-able consistency.
- 1/2 teaspoon flaky sea salt (like Maldon) — For that final sprinkle on top. It adds texture and a burst of salty flavor.
Optional Add-Ins
- 1/4 cup chopped pecans or walnuts — Toasted, for crunch. Add them during the last fold.
- 1 tablespoon bourbon or rum — Helps keep the ice cream scoop-able straight from the freezer. Vanilla extract works too.
- Chocolate chips — Because caramel and chocolate are best friends. Use dark chocolate for less sugar.
Ingredient Selection Tips : Look for a thick, creamy Greek yogurt — the thicker the better. Thin yogurt will make the ice cream icy. For the sweetened condensed milk, the fat-free version works perfectly here, but regular works too if you’re not worried about calories. In summer, I sometimes add fresh berries on top instead of the caramel swirl for a lighter version.
Equipment Needed
You don’t need much for this recipe, which is honestly my favorite part. Here’s what you’ll need:
- Large mixing bowl — Any bowl works, but a wider bowl makes whisking easier.
- Whisk or electric hand mixer — A whisk works fine, but a hand mixer makes it faster. I’ve done it both ways — whisking by hand takes about 3 minutes of arm work.
- Small saucepan — For making the caramel swirl. Any small pot works.
- Spatula — For folding in the caramel and scraping every last bit into the pan.
- Loaf pan or freezer-safe container — A standard 9×5 loaf pan works perfectly. Glass or metal both work.
- Plastic wrap or parchment paper — To cover the surface directly and prevent ice crystals.
Budget-Friendly Options : Don’t have a loaf pan? Use a disposable aluminum baking dish. No hand mixer? A whisk and some elbow grease work just fine. The most important tool is patience — the freezer does most of the work.
Maintenance Tip : If you use an electric mixer, make sure the beaters are completely dry before starting. Any water can make the mixture grainy.
Preparation Method
This recipe comes together in about 15 minutes of active time. The hardest part is waiting for it to freeze. Trust me, it’s worth it.
- Make the caramel swirl first : In a small saucepan over medium heat, combine the brown sugar and 2 tablespoons butter. Stir constantly until the butter melts and the sugar dissolves, about 2 minutes. Add the 1/4 cup half-and-half and continue stirring for another minute until smooth. Remove from heat and stir in the flaky sea salt. Let it cool completely — stick it in the fridge for 10 minutes if you’re impatient like me.
- Whisk the base : In a large mixing bowl, combine the fat-free sweetened condensed milk, 1/2 cup half-and-half, Greek yogurt, vanilla extract, and fine sea salt. Whisk until smooth and well combined. If using a hand mixer, beat on low for about 30 seconds. The mixture should look like thick, creamy pancake batter.
- Check the consistency : The base should be smooth and pourable. If it looks curdled or separated, you might have added cold yogurt to cold milk — let it sit at room temperature for 5 minutes and whisk again. This happened to me the first time, and I almost threw the whole thing out. Don’t panic.
- Fold in the caramel : Drizzle about half of the cooled caramel sauce over the base. Use a spatula to gently fold it in — but don’t fully incorporate it. You want streaks of caramel running through the ice cream. Think of it like a ribbon, not a uniform color.
- Pour into the pan : Transfer the mixture to your loaf pan or freezer container. Smooth the top with the spatula. Drizzle the remaining caramel sauce on top and use a knife to create a few swirls. Don’t over-swirl or you’ll lose the distinct caramel pockets.
- Cover and freeze : Press a piece of plastic wrap directly onto the surface of the ice cream. This prevents ice crystals from forming. Then cover the pan with foil or a lid. Freeze for at least 6 hours, but preferably overnight. The texture gets better after a full 12 hours.
- Check for doneness : After 6 hours, the ice cream should be firm but scoop-able. If it’s rock hard, let it sit at room temperature for 5 minutes before scooping. If it’s too soft, give it another 2 hours.
Pro Tip : For the creamiest texture, stir the mixture once after 2 hours of freezing. Just give it a quick mix with a fork to break up any ice crystals. This step is optional but makes a noticeable difference.
Cooking Tips & Techniques
I’ve made this recipe enough times to know exactly where things can go wrong. Here’s what I’ve learned the hard way so you don’t have to.
Don’t overmix the caramel : When you’re folding in the caramel, less is more. I once mixed it until it was completely uniform, and the ice cream lost all that beautiful ribbon effect. You want visible streaks — it’s both prettier and more flavorful.
Temperature matters : Make sure your caramel is completely cool before adding it to the base. Warm caramel will melt the yogurt and create a grainy texture. I learned this the hard way when my first batch turned into caramel-flavored soup. Let it cool in the fridge for at least 10 minutes.
Use room temperature ingredients : Take the yogurt and half-and-half out of the fridge about 15 minutes before starting. Cold ingredients don’t emulsify as well, and you’ll end up with a thinner base. This is one of those small steps that makes a big difference.
The alcohol trick : If you add a tablespoon of bourbon or vodka, the ice cream will stay softer in the freezer. Alcohol doesn’t freeze, so it keeps the texture scoop-able. I skip it when serving kids, but for adult-only gatherings, it’s a game-changer.
Patience is key : Let the ice cream freeze for the full 6-8 hours. I know it’s tempting to check after 3 hours, but it won’t be set yet. The texture needs time to develop that creamy consistency. Trust the process.
Salt balance : The flaky salt on top is non-negotiable. It’s not just for looks — the bursts of salt against the sweet caramel create that addictive contrast. Don’t skip it, and don’t use table salt instead. Flaky salt has a different texture and intensity.
Variations & Adaptations
This base recipe is incredibly forgiving. Here are some ways I’ve adapted it depending on what I have in the pantry or who I’m serving.
Vegan Version : Use full-fat coconut cream instead of half-and-half, and dairy-free coconut yogurt instead of Greek yogurt. For the caramel, use coconut cream and vegan butter. The coconut flavor pairs beautifully with caramel. I made this for a friend with dairy allergies, and she said it was better than the original.
Keto-Friendly Version : Swap the sweetened condensed milk for a can of coconut cream mixed with 1/4 cup of keto-friendly sweetener like allulose or monk fruit. Use heavy cream instead of half-and-half. The texture will be slightly different — less creamy — but the flavor is spot on.
Chocolate Caramel Twist : Add 2 tablespoons of unsweetened cocoa powder to the base before folding in the caramel. You’ll get a chocolate-caramel swirl that tastes like a fancy candy bar. I did this for a birthday party, and it disappeared in 10 minutes.
Spiced Caramel : Add 1/2 teaspoon of cinnamon and a pinch of nutmeg to the caramel sauce while it’s cooking. The warm spices make it taste like fall in a bowl. Perfect for Thanksgiving or cozy winter nights.
Fruit Swirl : Instead of the caramel swirl, fold in 1/2 cup of fresh berry puree. Raspberry or strawberry works best. It’s a lighter, fresher version that’s perfect for summer. I’ve done this with mashed peaches too — incredible.
Nutty Crunch : Toast 1/4 cup of chopped pecans or walnuts and fold them in right before freezing. The crunch against the creamy ice cream is textural heaven.
Serving & Storage Suggestions
This ice cream is best served slightly softened. Take it out of the freezer about 5-10 minutes before scooping. The texture should be creamy but firm — if it’s too hard, let it sit longer. If it’s too soft, pop it back in for 15 minutes.
Serving Ideas : Scoop into bowls and top with an extra sprinkle of flaky sea salt. For a more indulgent presentation, drizzle with warm caramel sauce and add a dollop of whipped cream. It also pairs beautifully with fresh berries or a slice of warm brownie. For a simple summer dessert, serve it alongside fresh watermelon or grilled peaches.
Storage : Store the ice cream in an airtight container with plastic wrap pressed directly onto the surface. This prevents ice crystals from forming. It will keep for up to 2 weeks in the freezer, but honestly, it never lasts that long in my house. After about 10 days, the texture starts to get icy, so eat it within the first week for best results.
Reheating Note : You don’t need to reheat this, but if the ice cream is too hard to scoop, microwave the container for 10-15 seconds. This softens the edges without melting the whole batch. Don’t microwave for longer — you’ll end up with soup.
Flavor Development : The caramel flavor actually deepens after a day or two in the freezer. The salt and sweetness meld together, creating a more complex taste. So if you can wait, make it a day ahead. The texture also improves — it becomes creamier as the ingredients fully set.
Nutritional Information & Benefits
Here’s the honest truth: this is still a dessert, but it’s a much lighter version than traditional ice cream. One serving (about 1/2 cup) contains approximately 180 calories, 6 grams of fat, 28 grams of carbs, and 5 grams of protein. Compare that to regular salted caramel ice cream, which can have 300+ calories and 20 grams of fat per serving.
Health Benefits : The Greek yogurt adds protein and probiotics, which are great for gut health. The fat-free sweetened condensed milk reduces the saturated fat content significantly. Using half-and-half instead of heavy cream cuts the calories almost in half. And the salt? Well, a little sea salt is fine for most people — just don’t go overboard.
Dietary Considerations : This recipe is vegetarian. For gluten-free, it’s naturally gluten-free as written. For low-carb, use the keto variation above. For dairy-free, use the vegan version. The main allergens are dairy (milk, yogurt) and nuts (if you add them).
My Personal Take : I’m not a nutritionist, but I’ve learned that balance is key. This ice cream lets me enjoy a sweet treat without feeling like I’ve blown my whole day. It’s not “health food,” but it’s a smarter choice. And honestly, it tastes so good that I don’t feel like I’m missing out on anything.
Conclusion
This lighter no-churn salted caramel ice cream has become a staple in my freezer for a reason. It’s proof that you don’t need heavy cream, an ice cream maker, or a ton of sugar to make something truly delicious. The texture is creamy, the caramel is rich, and that hit of salt at the end just makes everything sing.
I love this recipe because it’s forgiving. You can mess up the caramel, forget to cool it, or overmix the base, and it still turns out great. It’s the kind of recipe that makes you feel like a confident cook, even on a Tuesday night when you’re just trying to satisfy a sweet craving.
So go ahead — give it a try. Customize it with your favorite add-ins, make it vegan, or keep it classic. However you make it, I promise you’ll be scraping the bottom of the pan within a week. And when you do, come back and tell me about it. I’d love to hear how your version turned out. Happy scooping!
Frequently Asked Questions
Can I use regular sweetened condensed milk instead of fat-free?
Absolutely. The fat-free version keeps it lighter, but regular works perfectly fine. The texture will be slightly richer and creamier. Just keep in mind the calorie count will go up.
Why is my ice cream icy instead of creamy?
This usually happens if the mixture wasn’t cold enough when it went into the freezer, or if you didn’t press plastic wrap onto the surface. Make sure everything is well-chilled before freezing, and always cover the surface directly to prevent ice crystals.
How long does this ice cream last in the freezer?
It’s best within the first week, but it will keep for up to 2 weeks if stored properly. After that, the texture starts to get icy. If it does get icy, let it sit at room temperature for 10 minutes and stir it before serving.
Can I make this without an electric mixer?
Yes, absolutely. A whisk works perfectly fine. It takes about 3 minutes of whisking to get the base smooth. I’ve done it both ways, and the texture is identical. It’s a great arm workout!
Is it safe to eat if I’m pregnant?
Yes, this recipe is safe during pregnancy. It doesn’t contain raw eggs, which is the main concern with homemade ice cream. The only potential issue is if you add alcohol — just skip that if you’re pregnant or serving someone who is.
Pin This Recipe!
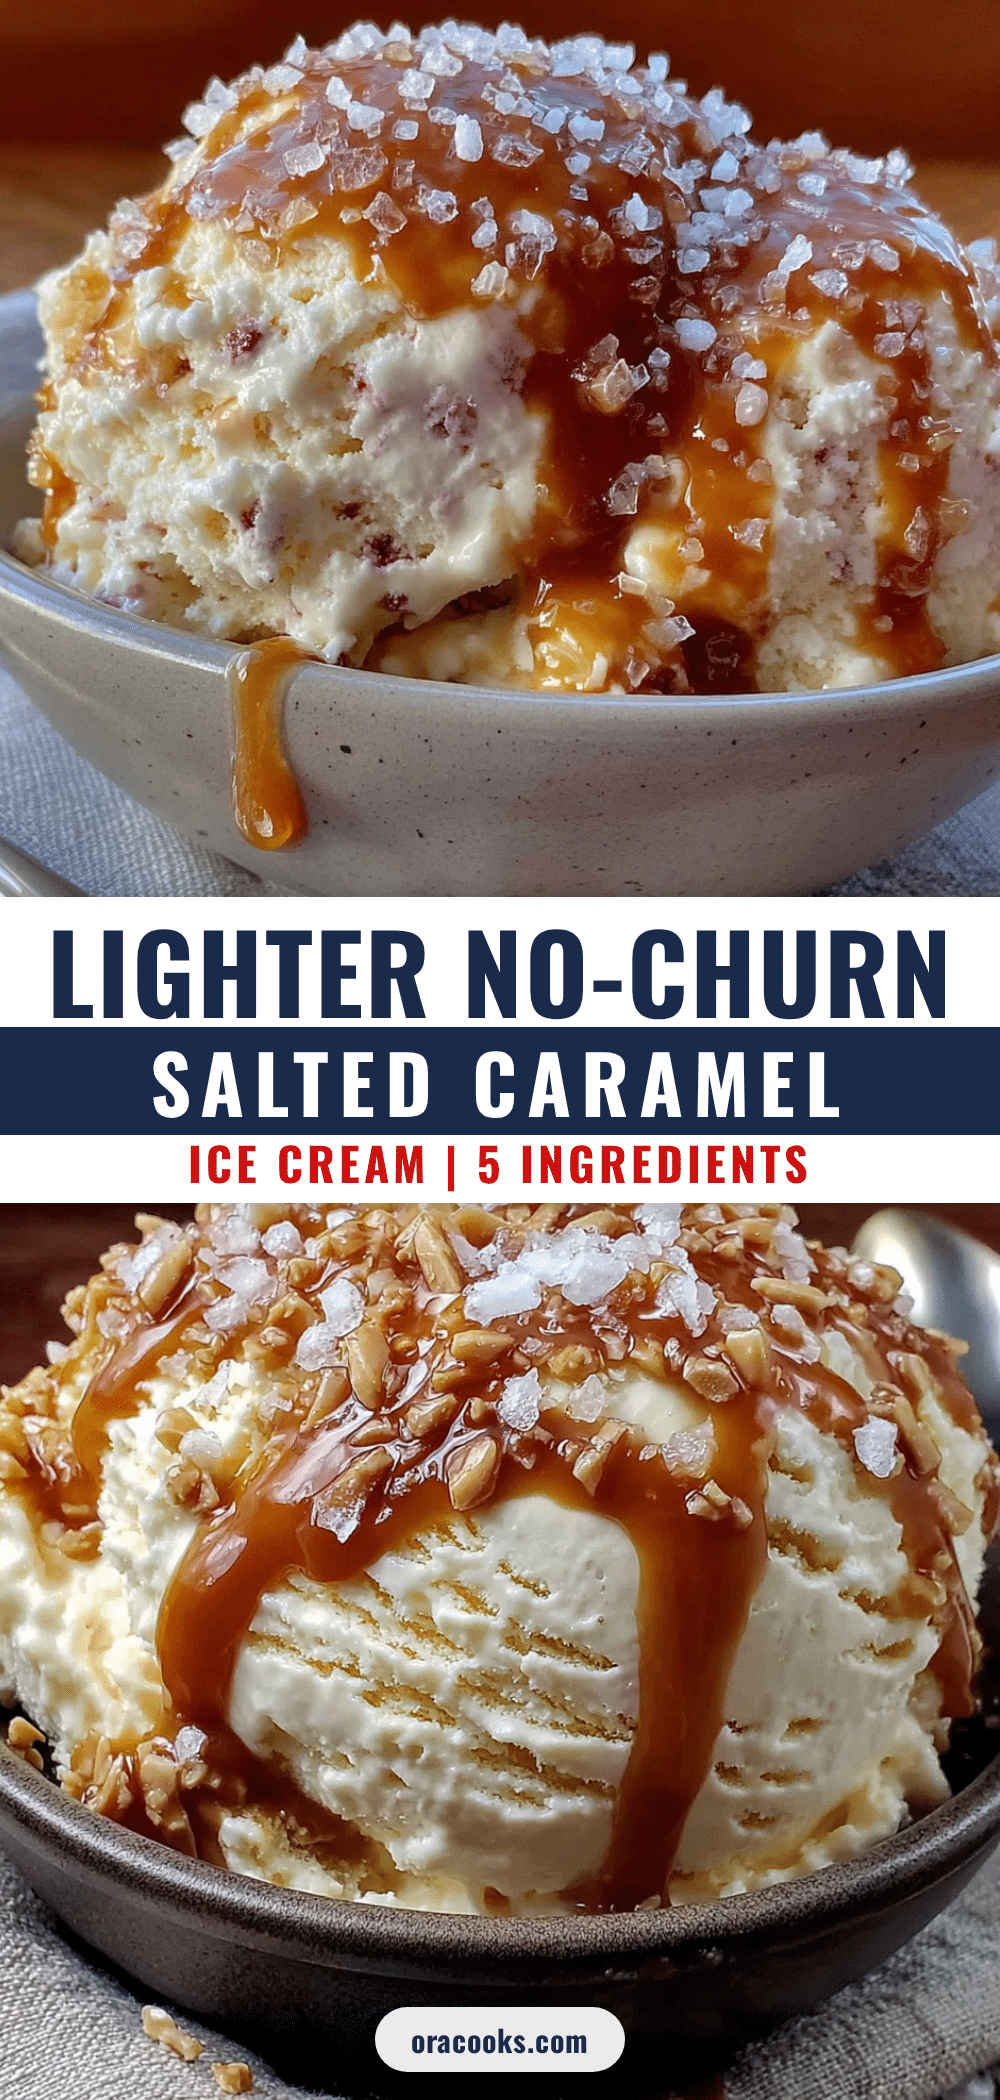
Lighter No-Churn Salted Caramel Ice Cream
A lighter version of salted caramel ice cream that uses fat-free sweetened condensed milk, Greek yogurt, and half-and-half for a creamy texture without the heavy cream. No ice cream maker needed, and it tastes indulgent without derailing healthy eating goals.
- Prep Time: 15 minutes
- Cook Time: 5 minutes
- Total Time: 6 hours 20 minutes (including freezing)
- Yield: 8 servings 1x
- Category: Dessert
- Cuisine: American
Ingredients
- 1 can (14 ounces) fat-free sweetened condensed milk
- 1/2 cup half-and-half
- 1/4 cup plain Greek yogurt (2% or full-fat)
- 1 teaspoon vanilla extract
- 1/4 teaspoon fine sea salt
- 1/4 cup light brown sugar, packed
- 2 tablespoons unsalted butter
- 1/4 cup half-and-half
- 1/2 teaspoon flaky sea salt (like Maldon)
- 1/4 cup chopped pecans or walnuts (optional)
- 1 tablespoon bourbon or rum (optional)
- Chocolate chips (optional)
Instructions
- Make the caramel swirl first: In a small saucepan over medium heat, combine the brown sugar and 2 tablespoons butter. Stir constantly until the butter melts and the sugar dissolves, about 2 minutes. Add the 1/4 cup half-and-half and continue stirring for another minute until smooth. Remove from heat and stir in the flaky sea salt. Let it cool completely — stick it in the fridge for 10 minutes if you’re impatient like me.
- Whisk the base: In a large mixing bowl, combine the fat-free sweetened condensed milk, 1/2 cup half-and-half, Greek yogurt, vanilla extract, and fine sea salt. Whisk until smooth and well combined. If using a hand mixer, beat on low for about 30 seconds. The mixture should look like thick, creamy pancake batter.
- Check the consistency: The base should be smooth and pourable. If it looks curdled or separated, you might have added cold yogurt to cold milk — let it sit at room temperature for 5 minutes and whisk again. This happened to me the first time, and I almost threw the whole thing out. Don’t panic.
- Fold in the caramel: Drizzle about half of the cooled caramel sauce over the base. Use a spatula to gently fold it in — but don’t fully incorporate it. You want streaks of caramel running through the ice cream. Think of it like a ribbon, not a uniform color.
- Pour into the pan: Transfer the mixture to your loaf pan or freezer container. Smooth the top with the spatula. Drizzle the remaining caramel sauce on top and use a knife to create a few swirls. Don’t over-swirl or you’ll lose the distinct caramel pockets.
- Cover and freeze: Press a piece of plastic wrap directly onto the surface of the ice cream. This prevents ice crystals from forming. Then cover the pan with foil or a lid. Freeze for at least 6 hours, but preferably overnight. The texture gets better after a full 12 hours.
- Check for doneness: After 6 hours, the ice cream should be firm but scoop-able. If it’s rock hard, let it sit at room temperature for 5 minutes before scooping. If it’s too soft, give it another 2 hours.
Notes
For the creamiest texture, stir the mixture once after 2 hours of freezing. Let the ice cream sit at room temperature for 5-10 minutes before scooping. The caramel flavor deepens after a day or two in the freezer. Store with plastic wrap pressed directly onto the surface to prevent ice crystals.
Nutrition
- Serving Size: 1/2 cup
- Calories: 180
- Sugar: 24
- Sodium: 180
- Fat: 6
- Saturated Fat: 3.5
- Carbohydrates: 28
- Protein: 5
Keywords: no-churn ice cream, lighter ice cream, salted caramel, healthy ice cream, easy ice cream, no ice cream maker, Greek yogurt ice cream


