Love this? Save it for later!
Share the inspiration with your friends
Introduction
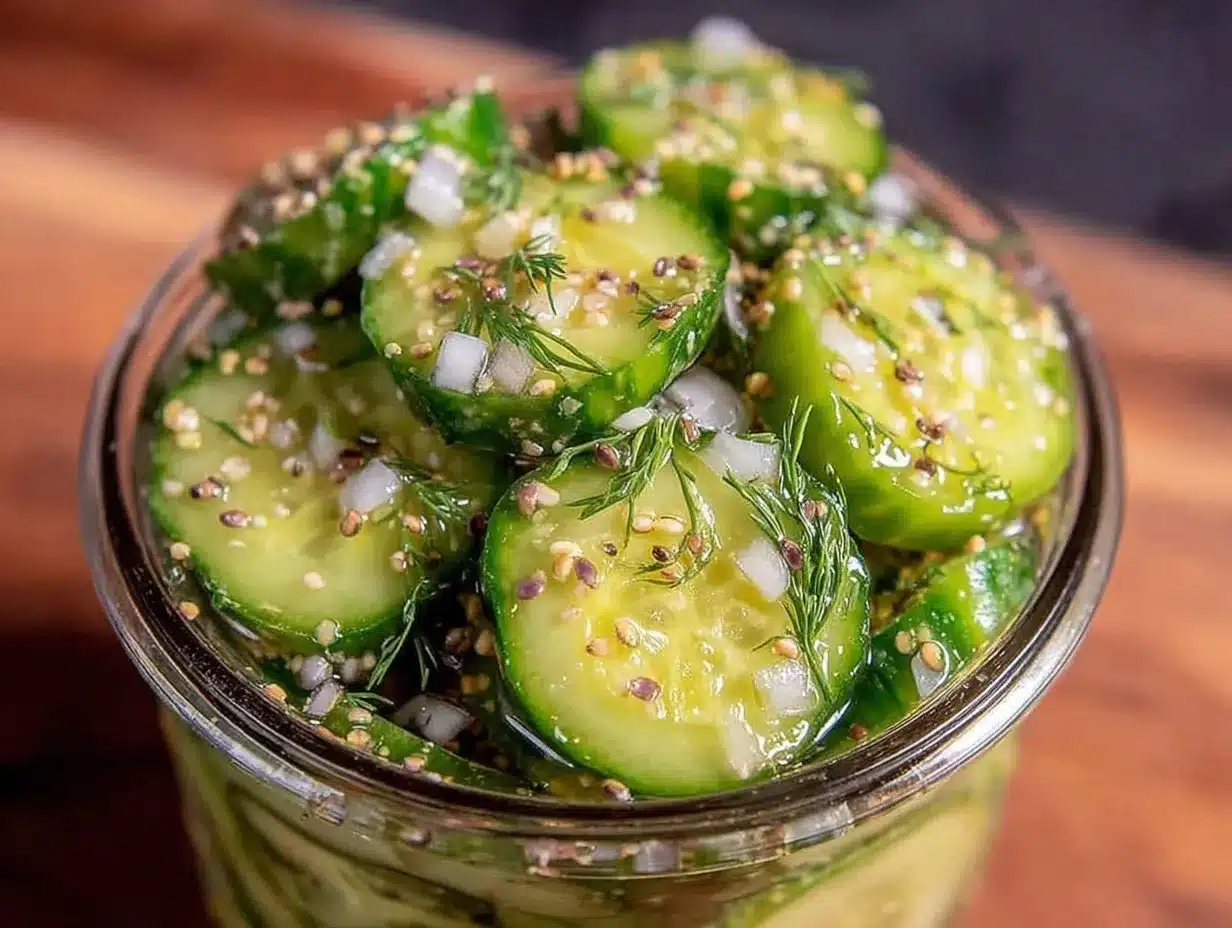
“Why can’t we just toss the cucumbers in vinegar and call it pickles?” my friend asked while I was gearing up for a full day of canning. I started to explain why that wouldn’t work—then stopped. Honestly, it felt a bit silly to resist when the idea was so simple and, well, kind of brilliant. So, we gave it a shot. No jars boiling, no jars sealing—just fresh cucumbers, dill, garlic, and a quick brine in the fridge. It turned out better than I expected, honestly.
That night, as I popped open the jar, I was surprised by the crisp snap and tangy flavor that had developed in just a few hours. No fuss, no fussing over sterilizing or timing, just straightforward, bright, crunchy dill pickles ready when I was. Maybe you’ve been there—wanting homemade pickles but dreading the whole canning process. This recipe stayed with me because it’s exactly what I needed: easy, fast, and reliable. It’s the kind of recipe I still reach for when I want that satisfying pickle crunch without the hassle.
Why You’ll Love This Recipe
This easy quick dill refrigerator pickles recipe has been a game changer for me and my busy kitchen. Here’s why it’s worth trying out:
- Quick & Easy: Ready to enjoy in as little as 24 hours, perfect for last-minute pickle cravings or weeknight sides.
- Simple Ingredients: Uses basic pantry staples like white vinegar, garlic, and fresh dill—no specialty stores needed.
- No Canning Required: Forget the hot water bath; just jar and chill for effortless pickling.
- Crowd-Pleaser: Kids and adults alike love the crisp, tangy flavor, making it great for picnics, sandwiches, or snack time.
- Customizable: You can easily adjust the seasonings for mild or spicy versions, adding a little kick or extra garlic.
This isn’t your ordinary pickle recipe. The secret is in balancing the vinegar and salt perfectly while letting the dill and garlic really sing through. After testing numerous versions, I found this recipe nails the classic dill flavor with a refreshing zing and snap. Honestly, it’s the kind of pickle that makes you close your eyes after the first bite and smile.
What Ingredients You Will Need
This recipe uses simple, wholesome ingredients to deliver bold flavor and satisfying crunch without fuss. Most of these are pantry staples, and substitutions are easy if you’re working around what you have.
- Cucumbers: 4-5 medium Kirby or pickling cucumbers, sliced into spears or rounds (Kirby cucumbers hold up best for crunch)
- White Vinegar: 2 cups (475 ml) – this is the acidic base that ensures crisp, tangy pickles
- Water: 2 cups (475 ml) – balances the vinegar for mild acidity
- Salt: 2 tablespoons kosher salt or pickling salt (avoid iodized table salt to keep brine clear)
- Fresh Dill: 3-4 sprigs – the star herb for that classic dill aroma
- Garlic: 3 cloves, peeled and smashed – adds savory depth
- Black Peppercorns: 1 teaspoon – for subtle spice and complexity
- Optional Spices: 1/2 teaspoon red pepper flakes (for heat), 1 teaspoon mustard seeds (for mild warmth)
If you want to switch it up, you can use apple cider vinegar for a sweeter note or swap fresh dill with dried (use about 1 tablespoon dried). For a low-sodium version, reduce salt to 1 tablespoon but keep in mind it may affect crispness.
Equipment Needed
- Glass Jar with Lid: A quart-sized (1-liter) mason jar or any clean jar with a tight-fitting lid works perfectly. I often use recycled pickle jars cleaned thoroughly.
- Measuring Cups and Spoons: For precise brine measurements to keep acidity balanced.
- Knife and Cutting Board: For slicing cucumbers evenly to ensure uniform pickling.
- Small Saucepan: To warm the brine ingredients so salt dissolves fully (optional but helps speed infusion).
If you don’t have a mason jar, any airtight container will do, but glass is best for flavor and safety. I’ve tried plastic containers, but the pickles never taste quite as bright.
Preparation Method
- Wash and Slice Cucumbers: Rinse 4-5 medium Kirby cucumbers under cold water. Trim off the blossom ends (they can cause softening). Slice into spears about 3 inches (7.5 cm) long or into 1/4-inch (0.6 cm) thick rounds. This usually takes about 5-7 minutes.
- Prepare the Brine: In a small saucepan, combine 2 cups (475 ml) white vinegar, 2 cups (475 ml) water, and 2 tablespoons kosher salt. Warm over medium heat, stirring until salt dissolves completely—about 3-4 minutes. No need to boil; just warm enough to dissolve salt.
- Pack the Jar: Place 3-4 fresh dill sprigs, 3 smashed garlic cloves, 1 teaspoon black peppercorns, and optional spices like 1/2 teaspoon red pepper flakes or 1 teaspoon mustard seeds into the bottom of your clean glass jar. Then tightly pack the sliced cucumbers vertically or layered, leaving about 1/2 inch (1.3 cm) headspace at the top.
- Pour the Brine: Carefully pour the warm brine over the cucumbers and spices, making sure the cucumbers are fully submerged. Tap the jar gently on the counter to release any trapped air bubbles. Seal the jar with its lid.
- Refrigerate: Place the jar in the refrigerator and let the pickles develop flavor for at least 24 hours. For best crunch and flavor, wait 2-3 days before enjoying. Pickles will keep fresh up to 2 weeks refrigerated.
Pro tip: If your cucumbers float above the brine, weigh them down with a small clean glass or fermentation weight to keep them submerged and crunchy.
Cooking Tips & Techniques
Here are some tried-and-true tips I’ve picked up over the years making refrigerator pickles:
- Trim the Blossom End: That tiny blossom end of the cucumber contains enzymes that can soften pickles quickly. Snip it off before slicing to keep crispness longer.
- Salt Choice Matters: Using kosher or pickling salt avoids cloudiness and off-flavors that iodized table salt might cause.
- Warm Brine: Dissolving salt in warm liquid helps speed up flavor infusion but avoid boiling, which can dull bright vinegar notes.
- Keep Cucumbers Submerged: Cucumbers exposed to air soften and discolor. Use a clean weight or tightly pack to keep them underwater in the brine.
- Don’t Skip Fresh Dill: Fresh dill is essential for that authentic dill pickle aroma. Dried can be a fallback but won’t taste quite the same.
- Patience is Key: While you can eat these pickles after 24 hours, letting them sit 48-72 hours really lets the flavors meld beautifully.
I once rushed the process and grabbed the pickles too soon—resulting in a bland, soggy mess. Lesson learned: good things come to those who wait, even in the fridge.
Variations & Adaptations
If you like to mix things up or need to accommodate dietary needs, here are some tasty variations:
- Spicy Dill Pickles: Add 1-2 sliced jalapeños or 1 teaspoon red pepper flakes for a fiery kick.
- Garlic Lovers’ Pickles: Double the garlic cloves or add a few whole roasted garlic cloves for depth.
- Low Sodium: Cut salt to 1 tablespoon but expect less crunch and shorter shelf life.
- Sweet & Tangy: Stir in 1 tablespoon sugar or honey to the brine for a touch of sweetness.
- Herb Variations: Swap dill for fresh tarragon or basil for a unique twist.
One time, I added fresh lemon slices and thyme to the jar for a citrusy herbaceous note that surprised me in a good way. Don’t be afraid to experiment!
Serving & Storage Suggestions
These refrigerator pickles are best served cold straight from the jar. They make a fantastic crunchy side for sandwiches, burgers, or grilled meats. I love pairing them with a hearty crispy garlic chicken for a perfect balance of flavors.
Store the pickles tightly sealed in the refrigerator for up to 2 weeks. Over time, the pickles will soften slightly but remain tasty. If you want to keep them extra crisp, consume within the first week.
When reheating dishes with pickles, add them fresh afterward to keep that satisfying snap. Also, the pickle brine can be reused once or twice to quick-pickle new cucumbers or vegetables like carrots or green beans.
Nutritional Information & Benefits
These quick dill refrigerator pickles are low in calories (about 5-10 calories per spear), making them a guilt-free snack. Cucumbers provide hydration and small amounts of vitamins K and C. The vinegar may aid digestion and blood sugar control. Using fresh garlic adds antimicrobial properties and flavor without fat or sugar.
This recipe is naturally gluten-free, vegan, and paleo-friendly. Just watch out for sodium if you’re on a low-salt diet. Personally, I appreciate how these pickles add flavor and crunch without extra calories or preservatives.
Conclusion
Honestly, this easy quick dill refrigerator pickles recipe is one of my favorite go-tos when I want fresh, crunchy pickles without the fuss of canning. It’s simple to make, uses everyday ingredients, and delivers that unmistakable dill flavor we all crave. I encourage you to try it, tweak it to your taste, and enjoy the process as much as the pickles themselves.
Let me know how your pickles turn out, or if you’ve tried any fun variations. Sharing your feedback is what keeps these recipes alive and evolving. Here’s to crunchy, tangy bites that brighten any meal!
FAQs
- How long do refrigerator pickles last? They stay fresh and crunchy for up to 2 weeks when stored properly in the fridge.
- Can I use other types of cucumbers? Yes, but Kirby or pickling cucumbers hold up best due to their firm texture.
- Do I have to boil the brine? No, warming to dissolve salt is enough; boiling isn’t necessary for refrigerator pickles.
- Can I use dried dill instead of fresh? You can, but fresh dill gives a brighter, more authentic flavor.
- Are these pickles safe without canning? Yes, because they are kept refrigerated and consumed within two weeks, no canning is needed.
Pin This Recipe!
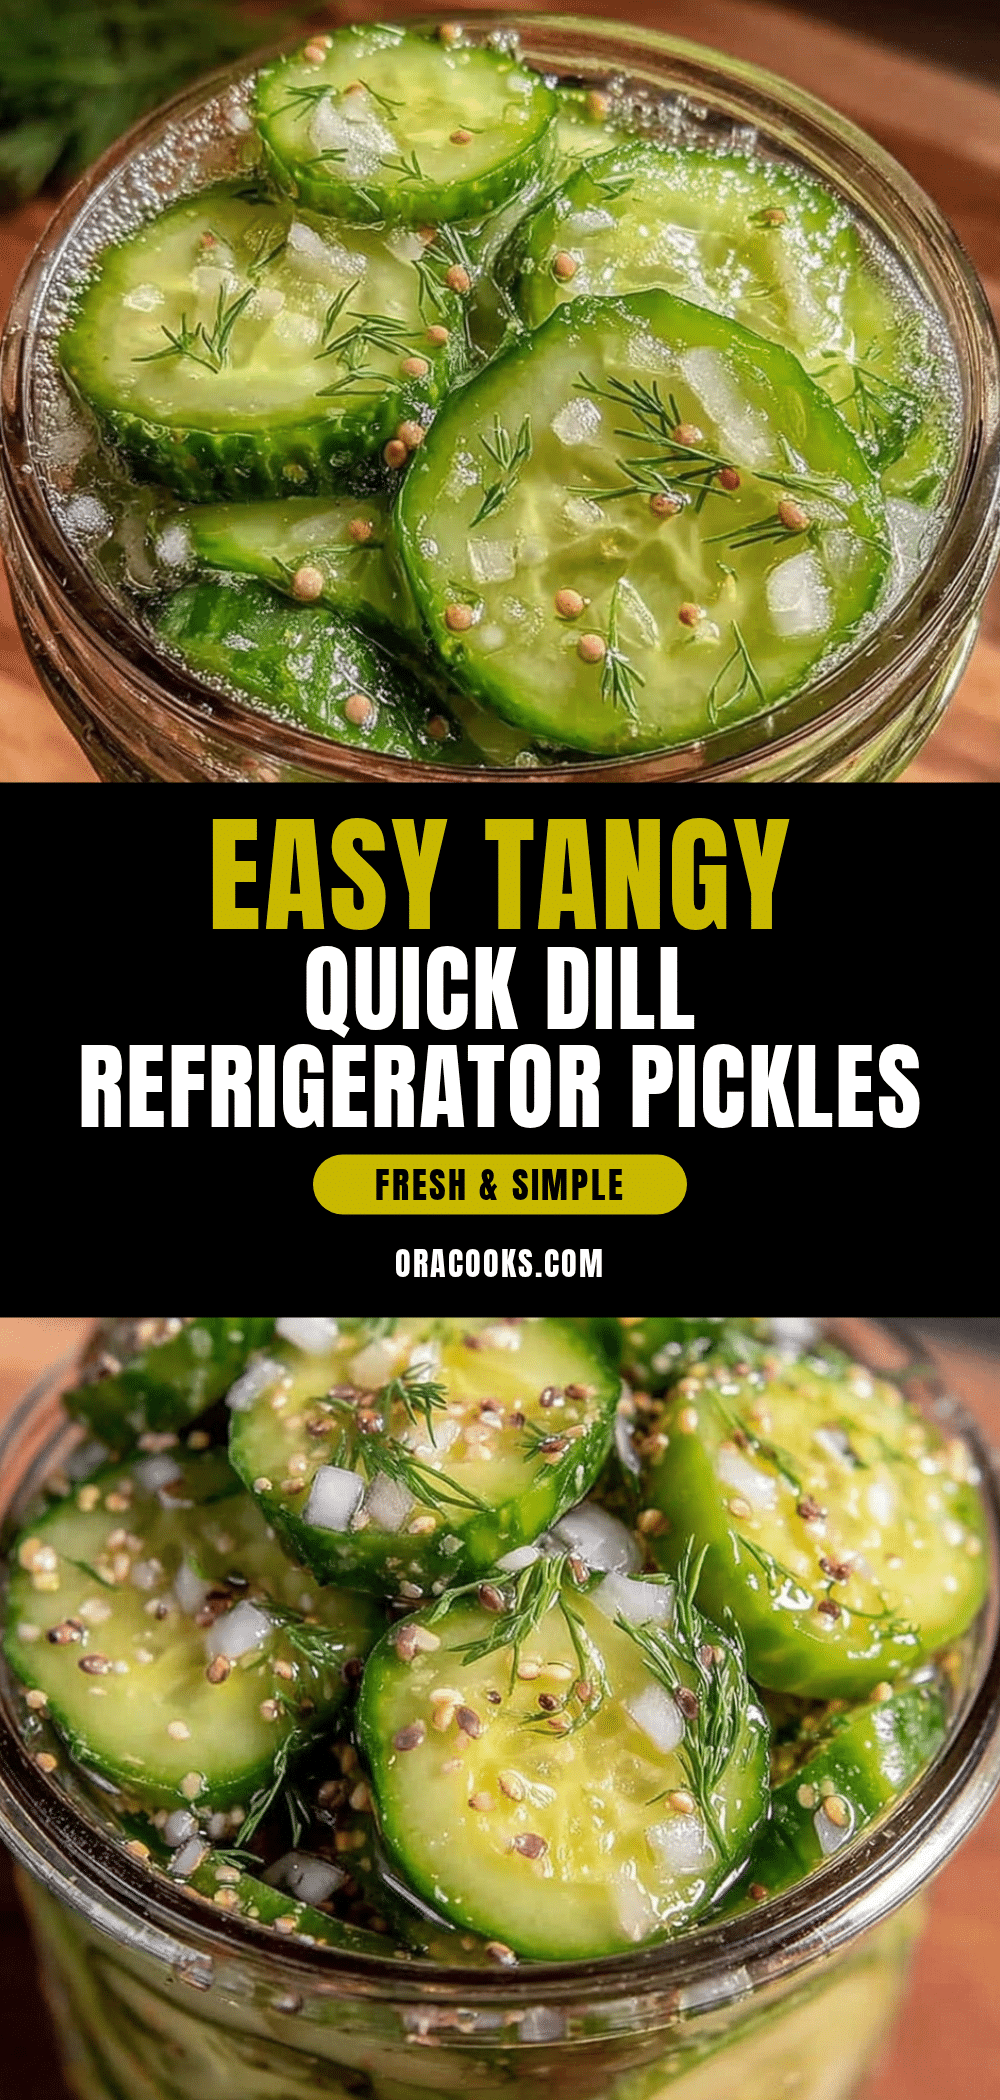
Easy Quick Dill Refrigerator Pickles Recipe No Canning Required
A simple and fast refrigerator pickle recipe using fresh cucumbers, dill, garlic, and a quick brine. No canning required, ready in as little as 24 hours with a crisp, tangy flavor.
- Prep Time: 10 minutes
- Cook Time: 5 minutes
- Total Time: 24 hours (including refrigeration)
- Yield: 4 servings 1x
- Category: Side Dish
- Cuisine: American
Ingredients
- 4–5 medium Kirby or pickling cucumbers, sliced into spears or rounds
- 2 cups (16 fl oz) white vinegar
- 2 cups (16 fl oz) water
- 2 tablespoons kosher salt or pickling salt
- 3–4 sprigs fresh dill
- 3 cloves garlic, peeled and smashed
- 1 teaspoon black peppercorns
- Optional: 1/2 teaspoon red pepper flakes
- Optional: 1 teaspoon mustard seeds
Instructions
- Rinse 4-5 medium Kirby cucumbers under cold water. Trim off the blossom ends and slice into spears about 3 inches long or into 1/4-inch thick rounds.
- In a small saucepan, combine 2 cups white vinegar, 2 cups water, and 2 tablespoons kosher salt. Warm over medium heat, stirring until salt dissolves completely, about 3-4 minutes. Do not boil.
- Place 3-4 fresh dill sprigs, 3 smashed garlic cloves, 1 teaspoon black peppercorns, and optional spices (red pepper flakes or mustard seeds) into the bottom of a clean glass jar.
- Tightly pack the sliced cucumbers into the jar, leaving about 1/2 inch headspace at the top.
- Pour the warm brine over the cucumbers and spices, ensuring cucumbers are fully submerged. Tap the jar gently to release air bubbles and seal with the lid.
- Place the jar in the refrigerator and let the pickles develop flavor for at least 24 hours. For best flavor and crunch, wait 2-3 days before eating.
- Pickles will keep fresh up to 2 weeks refrigerated.
Notes
Trim the blossom end of cucumbers to keep pickles crisp longer. Use kosher or pickling salt to avoid cloudiness. Warm the brine to dissolve salt but do not boil. Keep cucumbers submerged in brine using a weight if needed. Let pickles sit 48-72 hours for best flavor. Store refrigerated up to 2 weeks.
Nutrition
- Serving Size: About 1/4 of the jar
- Calories: 10
- Sugar: 1
- Sodium: 900
- Carbohydrates: 2
- Fiber: 0.5
Keywords: quick pickles, refrigerator pickles, dill pickles, no canning, easy pickles, homemade pickles, crunchy pickles