Love this? Save it for later!
Share the inspiration with your friends
My neighbor Carol watched me trying to wrestle a bag of Halloween candy away from my kids last October and didn’t say anything at first. Then she just shook her head, laughed, and said, “You’re fighting the wrong battle.” She pulled out her phone and showed me a photo of these dirt cups her granddaughter helped her make the weekend before. Honestly, that image changed everything for me. I stopped trying to be the Halloween candy police and started thinking about what actually makes my kids light up on Halloween night, and it’s not the full-size candy bars. It’s the fun stuff, the messy stuff, the stuff that feels like a little bit of mischief in a cup.
These Kid-Approved Halloween Dirt Cups with Gummy Worms are exactly that. They’re silly, they’re sweet, and they’re the kind of thing that makes my six-year-old giggle every single time she sees one on the counter. I mean, let’s be real, there’s something deeply satisfying about eating something that looks like a miniature graveyard scene. And the best part? They come together in about fifteen minutes flat. No baking, no fancy techniques, just a little layering and a lot of gummy worms. I’ve made them three times since Carol showed me that photo, and each time I tweak it just a little bit more. Maybe you’ve been there, standing in the grocery store aisle wondering if you should just give in and buy another bag of candy for the classroom party. Trust me, I get it. But these little cups of dirt are the answer you didn’t know you were looking for.
What I love most about this recipe is that it’s not really about the ingredients. It’s about the moment when you hand a kid a cup and watch their eyes go wide. It’s about the tiny hands crumbling Oreos and the inevitable chocolate fingerprints on your kitchen counter. It’s about the fact that you made something together that feels a little bit rebellious and a whole lot of fun. That’s why I keep coming back to this recipe. Not because it’s fancy, but because it’s exactly what Halloween should feel like for kids.
Why You’ll Love This Recipe
I’ve tested these dirt cups with my own kids, my niece’s class, and a handful of skeptical neighbors, and let me tell you, they pass every test with flying colors. Here’s why this recipe has earned a permanent spot in my Halloween rotation:
- Quick & Easy: You can put these together in under 20 minutes. No oven, no stove, no complicated steps. Perfect for those busy October weeknights when you’re already juggling costumes and school parties.
- Simple Ingredients: You probably already have most of this in your pantry. A box of instant pudding, some Oreos, a tub of Cool Whip, and a bag of gummy worms. No special trips to a fancy grocery store required.
- Perfect for Halloween: Whether it’s a classroom party, a family gathering, or just a fun treat after trick-or-treating, these dirt cups fit right in. They’re the kind of thing that makes kids feel like they’re getting away with something.
- Crowd-Pleaser: I’ve yet to meet a kid who doesn’t love these. And honestly, the adults sneak them too. There’s something about the combination of creamy pudding and crunchy Oreo crumbs that hits the spot for everyone.
- Unbelievably Fun: The gummy worms poking out of the “dirt” is the kind of playful detail that makes kids absolutely lose their minds. It’s simple, but it works every single time.
What makes this different from other dirt cup recipes? It’s the texture. I use a specific ratio of pudding to Cool Whip that gives you a silky, mousse-like creaminess instead of something that feels too heavy or too thin. Plus, I’ve figured out the trick for getting that perfect “dirt” texture with the Oreo crumbs, not too fine and not too chunky. It’s not just another version of the same old recipe, it’s the version that actually works when you’re feeding a crowd of excited kids.
This recipe isn’t just good, it’s the kind that makes you close your eyes after the first bite. It’s comfort food reimagined for a holiday that’s supposed to be a little bit silly and a whole lot of fun. Perfect for impressing the kindergarten set without breaking a sweat, or turning a simple dessert into something memorable.
What Ingredients You Will Need
This recipe uses simple, everyday ingredients to create something that feels special without the fuss. Most of these are pantry staples or easy to find at any grocery store, which is exactly what you want when you’re planning for a busy holiday week.
- Instant Chocolate Pudding Mix (3.9 oz box): I prefer Jell-O brand for consistent results, but any instant pudding mix will work. Make sure it’s the instant kind, not the cook-and-serve, or you’ll be waiting forever for it to set.
- Cold Milk (2 cups): Whole milk gives the richest texture, but 2% works just fine. I’ve even used oat milk in a pinch and it turned out okay, just a little less creamy.
- Cool Whip (8 oz tub): This is what gives the pudding that light, mousse-like texture. You can use the regular or the lite version, but I honestly think the full-fat version tastes better. Thaw it in the fridge overnight or on the counter for about 30 minutes before you start.
- Oreo Cookies (about 20 cookies): You’ll need the regular ones, not the Double Stuf. The filling helps bind the crumbs together just enough to create that realistic “dirt” texture. I’ve tried this with generic chocolate sandwich cookies and they work, but Oreos really do give the best color and flavor.
- Gummy Worms (about 12 worms): Look for the sour or regular kind, whatever your kids prefer. I like the ones that are a mix of colors because they show up better against the dark “dirt.” You’ll need about one worm per cup, plus a few extra for decorating the tops.
- Optional Toppings: You can add some gummy spiders, candy pumpkins, or even a few crushed graham crackers for extra texture. I sometimes add a few pumpkin-shaped sprinkles on top just for fun.
One thing I’ve learned from making these multiple times is that the quality of the pudding mix matters more than you’d think. Cheap store brands sometimes don’t set up as firmly, which means your dirt cups might end up a little soupy. Stick with a trusted brand like Jell-O or Dr. Oetker and you’ll be fine.
For the gummy worms, I’ve noticed that the sour ones tend to hold their shape better and don’t get as sticky when they’re poked into the pudding. The regular ones work fine too, they just might leave a little more residue on your fingers when you’re placing them.
If you’re making these for a classroom party where there might be allergies, you can easily swap the milk for a dairy-free alternative and use a dairy-free whipped topping. The texture will be slightly different, but the kids won’t notice once the gummy worms are in place.
Equipment Needed
You don’t need anything fancy for this recipe, which is part of the beauty of it. Here’s what you’ll need:
- Mixing Bowls: One large bowl for the pudding mixture and one medium bowl for crushing the Oreos. I use glass bowls because they’re easy to clean, but any bowl will work.
- Whisk: For mixing the pudding. A hand whisk works fine, but if you have an electric hand mixer, it makes the process even faster.
- Food Processor or Ziploc Bag: For crushing the Oreos. A food processor gives you the most consistent texture, but a Ziploc bag and a rolling pin work just as well. Honestly, I’ve used a heavy-bottomed glass before in a pinch.
- Small Cups or Glasses (6 cups): Clear plastic cups are best because you can see the layers, but any small cup or glass will work. I use 6-ounce clear plastic cups for classroom parties because they’re disposable and easy to transport.
- Spatula: For folding the Cool Whip into the pudding. A rubber spatula works best for getting every last bit out of the bowl.
- Measuring Cups: For measuring the milk. I always use a liquid measuring cup for accuracy.
If you don’t have a food processor, don’t stress. I’ve crushed Oreos with a rolling pin more times than I can count, and it honestly gives you a more satisfying texture because you can control how fine the crumbs get. Just make sure the Ziploc bag is sealed tight before you start pounding, or you’ll be sweeping chocolate crumbs off your floor for days.
Preparation Method
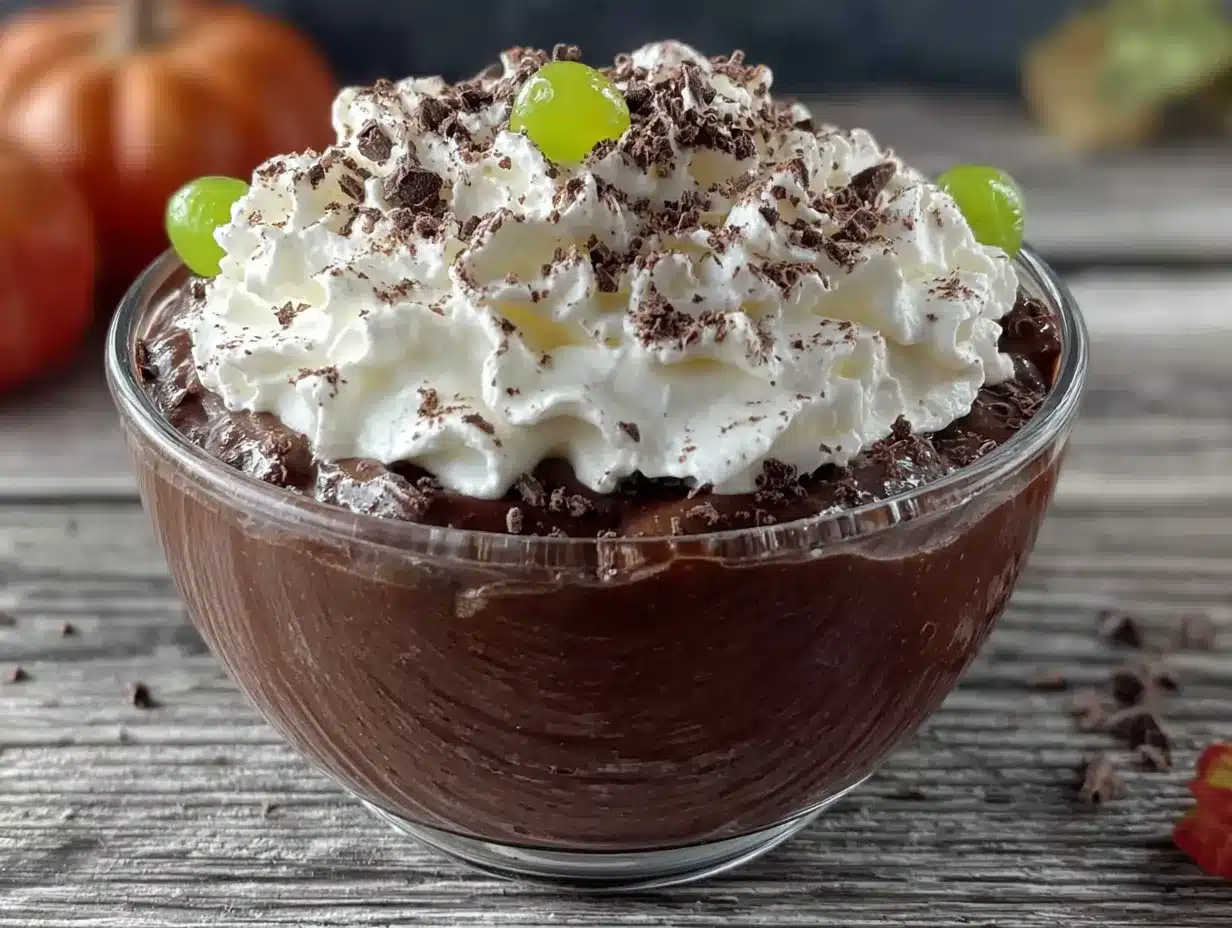
Let me walk you through this step by step. I’ve made these enough times to know exactly where things can go wrong, so I’ll share those little tricks along the way.
- Make the Pudding Base: In a large mixing bowl, whisk together the instant chocolate pudding mix and 2 cups of cold milk. Whisk for about 2 minutes until it starts to thicken. You’ll feel it getting heavier in the bowl. Let it sit for 5 minutes to set up completely. This is important, don’t rush this step or your dirt cups will be runny.
- Fold in the Cool Whip: Once the pudding has set, add the entire 8 oz tub of thawed Cool Whip. Use a rubber spatula to gently fold it in. Don’t stir vigorously, you want to keep the air in the Cool Whip so the mixture stays light and fluffy. Fold until you don’t see any white streaks anymore. The mixture should look like a smooth, dark chocolate mousse.
- Crush the Oreos: While the pudding is setting, crush the Oreos. If you’re using a food processor, pulse them about 10 to 12 times until you get a mixture of fine crumbs and small chunks. If you’re using a Ziploc bag, put the cookies in the bag, seal it tight, and go to town with a rolling pin. You want the crumbs to look like dark, rich soil. Don’t overdo it, a few slightly bigger pieces add to the “dirt” effect.
- Layer the Cups: Spoon about 2 tablespoons of the pudding mixture into the bottom of each cup. Spread it evenly. Then add a layer of Oreo crumbs, about 1 to 2 tablespoons depending on the size of your cup. Repeat with another layer of pudding and another layer of crumbs. The goal is to have the top layer be the Oreo crumbs so it looks like dirt.
- Add the Gummy Worms: Here’s the fun part. Take a gummy worm and gently poke it into the side of the cup so it looks like it’s crawling out of the dirt. I usually put two worms per cup, one on each side. Push them in until they’re about halfway submerged. You can also place a few worms on top of the dirt layer for extra effect.
- Chill Before Serving: Put the cups in the refrigerator for at least 30 minutes before serving. This allows the pudding to firm up and the flavors to meld together. If you’re making them for a party, you can make them a day ahead and just add the gummy worms right before serving so they don’t get too soft.
A few things I’ve learned the hard way: if you add the gummy worms too early, they’ll absorb moisture from the pudding and get soft and sticky. So if you’re making these ahead, keep the worms separate and add them just before you serve. Also, don’t skip the chilling step. I know it’s tempting to dig right in, but the texture is so much better after it’s had time to set up in the fridge.
The pudding mixture should look thick and glossy after you fold in the Cool Whip. If it looks too thin, you might have used warm milk or not whisked it enough. Don’t panic, just pop it in the fridge for 10 minutes and it will firm up.
Cooking Tips & Techniques
I’ve made these dirt cups at least a dozen times now, and I’ve definitely had my share of failures. One time I used cook-and-serve pudding by accident and spent two hours waiting for it to set. Another time I crushed the Oreos too fine and they looked more like dust than dirt. But those mistakes taught me a few things that I’m happy to pass along.
Get the Pudding Right: The most important tip I can give you is to use instant pudding, not cook-and-serve. They look similar in the box, but they behave very differently. Instant pudding sets up in about 5 minutes, while cook-and-serve requires actual cooking on the stove and takes forever to cool down. Check the box before you buy it.
Don’t Overmix the Cool Whip: When you fold in the Cool Whip, be gentle. If you stir it too vigorously, you’ll deflate all the air and your pudding mixture will be dense and heavy instead of light and mousse-like. Use a folding motion, cutting through the center and bringing the mixture up from the bottom.
Crush Oreos with Purpose: The texture of your “dirt” matters. You want a mix of fine crumbs and small chunks, not a uniform powder. If you use a food processor, pulse it rather than running it continuously. If you’re using a bag, don’t crush them into oblivion. Leave a few pea-sized pieces for texture.
Layer Strategically: I’ve found that two layers of pudding and two layers of crumbs gives you the best visual effect. If you only do one layer, the cup looks too simple. Too many layers and it gets messy. Two is the sweet spot.
Keep Worms Fresh: Gummy worms can get sticky and soft if they sit in the pudding too long. If you’re making these for a party, I recommend adding the worms no more than an hour before serving. This keeps them chewy and fun to eat.
Make It a Project: If you’re making these with kids, let them do the crushing and layering. It’s messy and it’s fun, and that’s the whole point. Just be prepared for chocolate fingerprints everywhere.
Variations & Adaptations
One of the best things about this recipe is how easy it is to change up. I’ve tried several variations over the years, and here are some of my favorites:
- Dairy-Free Version: Use almond milk or oat milk for the pudding, and swap the Cool Whip for a dairy-free whipped topping like CocoWhip. The texture will be slightly less creamy, but it still works beautifully. I’ve made this for a classroom with dairy allergies and no one complained.
- Gluten-Free Option: Use gluten-free chocolate sandwich cookies instead of Oreos. There are several brands available now that taste almost identical to the original. Just check the label to make sure they’re certified gluten-free if that’s a concern.
- Pumpkin Dirt Cups: For a fall twist, swap the chocolate pudding for vanilla or butterscotch pudding, and use crushed graham crackers instead of Oreos. Add a few candy pumpkins on top for a harvest-themed treat.
- Mint Chocolate Version: Add a few drops of peppermint extract to the pudding mixture before folding in the Cool Whip. Use mint-flavored Oreos if you can find them. This is a fun variation for a Christmas party or winter gathering.
- Extra Crunchy Dirt: Mix in some crushed pretzels or chopped peanuts with the Oreo crumbs for added texture. This works well if you’re serving these to older kids or adults who want a little more complexity in the flavor.
I personally love the mint chocolate version. I made it for a holiday party last December and it was gone in minutes. The peppermint adds a fresh note that balances the richness of the chocolate perfectly.
Serving & Storage Suggestions
These dirt cups are best served cold, straight from the fridge. The contrast between the cool, creamy pudding and the crunchy Oreo crumbs is part of what makes them so satisfying. I like to serve them in clear cups so everyone can see the layers and the gummy worms poking out.
For presentation, you can add a few extra gummy worms on top or stick a small plastic spider on the rim of the cup for a spooky touch. If you’re serving these at a Halloween party, arrange them on a platter with some fake spiderwebs and plastic skeletons for a full graveyard effect. Kids absolutely love this.
Storage: You can store these in the refrigerator for up to 3 days, but they’re best within the first 24 hours. The Oreo crumbs will start to soften over time as they absorb moisture from the pudding. If you’re making them ahead, I recommend keeping the crumbs separate and adding them just before serving. This keeps the texture fresh and crunchy.
Freezing: I don’t recommend freezing these. The pudding mixture will become watery when thawed, and the texture won’t be the same. These are really meant to be enjoyed fresh.
Reheating: There’s no reheating with these, they’re meant to be eaten cold. If you’ve stored them in the fridge, just take them out about 10 minutes before serving to take the chill off slightly.
One thing I’ve noticed is that the flavors actually get better after a few hours in the fridge. The chocolate pudding deepens and the Oreo crumbs start to meld with the creaminess. So if you can make them the morning of your party, they’ll be perfect by the time you serve them.
Nutritional Information & Benefits
Let’s be honest, these are a treat, not a health food. But here’s the estimated nutritional breakdown for one dirt cup (based on 6 servings):
| Nutrient | Amount per Serving |
|---|---|
| Calories | 280 |
| Total Fat | 12g |
| Saturated Fat | 6g |
| Cholesterol | 10mg |
| Sodium | 280mg |
| Total Carbohydrates | 42g |
| Sugars | 28g |
| Protein | 4g |
That said, there are a few redeeming qualities. The milk provides calcium and vitamin D, and the Cool Whip has slightly less fat than traditional whipped cream. The gummy worms are basically just sugar, but hey, it’s Halloween.
If you’re looking for a slightly healthier version, you can use sugar-free pudding mix and lite Cool Whip. The texture will be a little different, but it cuts the sugar content in half. I’ve done this for my own family and the kids honestly didn’t notice the difference.
As for allergens, this recipe contains dairy and wheat (from the Oreos). If you’re serving these at a school party, make sure to check for any allergies in the class before you bring them in.
Conclusion
These Kid-Approved Halloween Dirt Cups with Gummy Worms are exactly what a Halloween dessert should be: fun, simple, and absolutely irresistible to kids. They come together in minutes, use ingredients you probably already have, and they’re guaranteed to get a reaction from every child who sees them. I’ve made these for my own kids, for classroom parties, and for neighborhood gatherings, and they never fail to bring smiles.
I love that this recipe isn’t just about the final product, it’s about the process. It’s about crushing Oreos with your kids and watching them giggle as they poke gummy worms into the “dirt.” It’s about the mess and the laughter and the chocolate fingerprints that end up everywhere. That’s what Halloween is really about, isn’t it?
So go ahead and give these a try. Customize them however you like, add your own creepy touches, and make them your own. And when you do, I’d love to hear about it. Drop a comment below and let me know how your kids reacted, or share a photo of your dirt cups on social media. Tag me so I can see your spooky creations. Happy Halloween, and happy cooking!
Frequently Asked Questions
Can I make these dirt cups ahead of time?
Yes, you can make them a day ahead, but I recommend adding the gummy worms and the top layer of Oreo crumbs just before serving to keep everything fresh and crunchy.
Can I use homemade whipped cream instead of Cool Whip?
Absolutely, but keep in mind that homemade whipped cream is less stable and might deflate more quickly. If you use it, make sure it’s very cold and fold it in gently.
How many cups does this recipe make?
This recipe makes about 6 servings if you’re using 6-ounce cups. If you’re using smaller cups, you can stretch it to 8 servings, just adjust the layering accordingly.
Can I use a different flavor of pudding?
Yes, vanilla or butterscotch pudding work great. Just note that the “dirt” effect won’t be as dramatic with a lighter colored pudding. You can also try white chocolate or cheesecake flavored pudding for a different twist.
How do I keep the gummy worms from getting sticky?
Add the gummy worms no more than an hour before serving. If you add them too early, they’ll absorb moisture from the pudding and become soft and sticky. Keep them in a separate bag until you’re ready to serve.
Pin This Recipe!
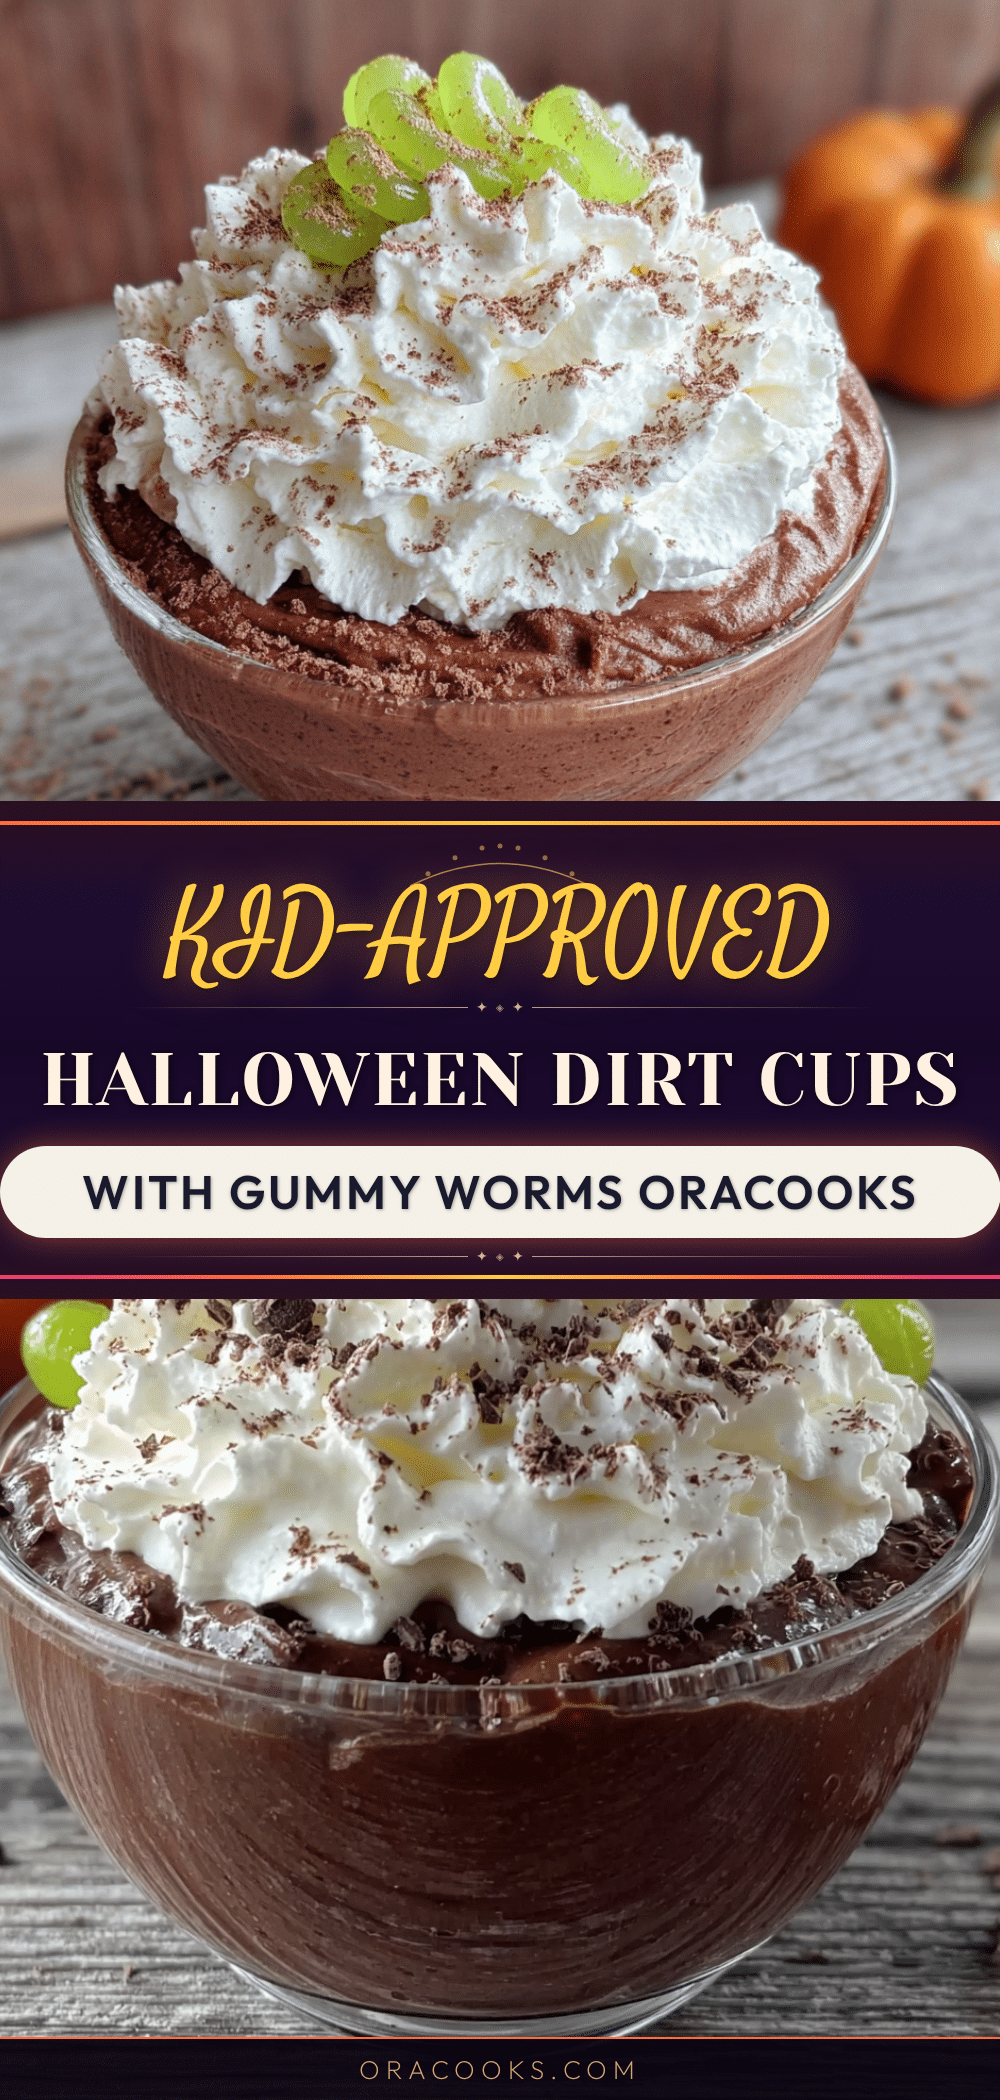
Kid-Approved Halloween Dirt Cups with Gummy Worms
These no-bake Halloween dirt cups are a fun and easy treat made with creamy chocolate pudding, crushed Oreos, and gummy worms. Perfect for classroom parties or a spooky family dessert, they come together in under 20 minutes.
- Prep Time: 15 minutes
- Cook Time: 0 minutes
- Total Time: 45 minutes
- Yield: 6 servings 1x
- Category: Dessert
- Cuisine: American
Ingredients
- 1 box (3.9 oz) instant chocolate pudding mix
- 2 cups cold milk
- 1 tub (8 oz) Cool Whip, thawed
- 20 Oreo cookies
- 12 gummy worms
- Optional: gummy spiders, candy pumpkins, crushed graham crackers, pumpkin-shaped sprinkles
Instructions
- In a large mixing bowl, whisk together the instant chocolate pudding mix and 2 cups of cold milk. Whisk for about 2 minutes until it starts to thicken. Let it sit for 5 minutes to set up completely.
- Once the pudding has set, add the entire 8 oz tub of thawed Cool Whip. Use a rubber spatula to gently fold it in until no white streaks remain. The mixture should look like a smooth, dark chocolate mousse.
- While the pudding is setting, crush the Oreos. If using a food processor, pulse about 10 to 12 times until you get a mixture of fine crumbs and small chunks. If using a Ziploc bag, seal the cookies in the bag and crush with a rolling pin until the crumbs resemble dark, rich soil.
- Spoon about 2 tablespoons of the pudding mixture into the bottom of each cup. Spread evenly. Add a layer of Oreo crumbs, about 1 to 2 tablespoons. Repeat with another layer of pudding and another layer of crumbs, ending with Oreo crumbs on top.
- Gently poke gummy worms into the side of each cup so they look like they are crawling out of the dirt. Push them in until about halfway submerged. You can also place a few worms on top of the dirt layer.
- Refrigerate the cups for at least 30 minutes before serving. If making ahead, add the gummy worms and top layer of Oreo crumbs just before serving.
Notes
Use instant pudding, not cook-and-serve. For best texture, add gummy worms no more than an hour before serving to prevent them from getting sticky. The pudding mixture can be made a day ahead; store in the refrigerator and add crumbs and worms just before serving.
Nutrition
- Serving Size: 1 dirt cup
- Calories: 280
- Sugar: 28
- Sodium: 280
- Fat: 12
- Saturated Fat: 6
- Carbohydrates: 42
- Fiber: 1
- Protein: 4
Keywords: Halloween dirt cups, gummy worms, no-bake dessert, kid-friendly, chocolate pudding, Oreo crumbs, Halloween treat