Love this? Save it for later!
Share the inspiration with your friends
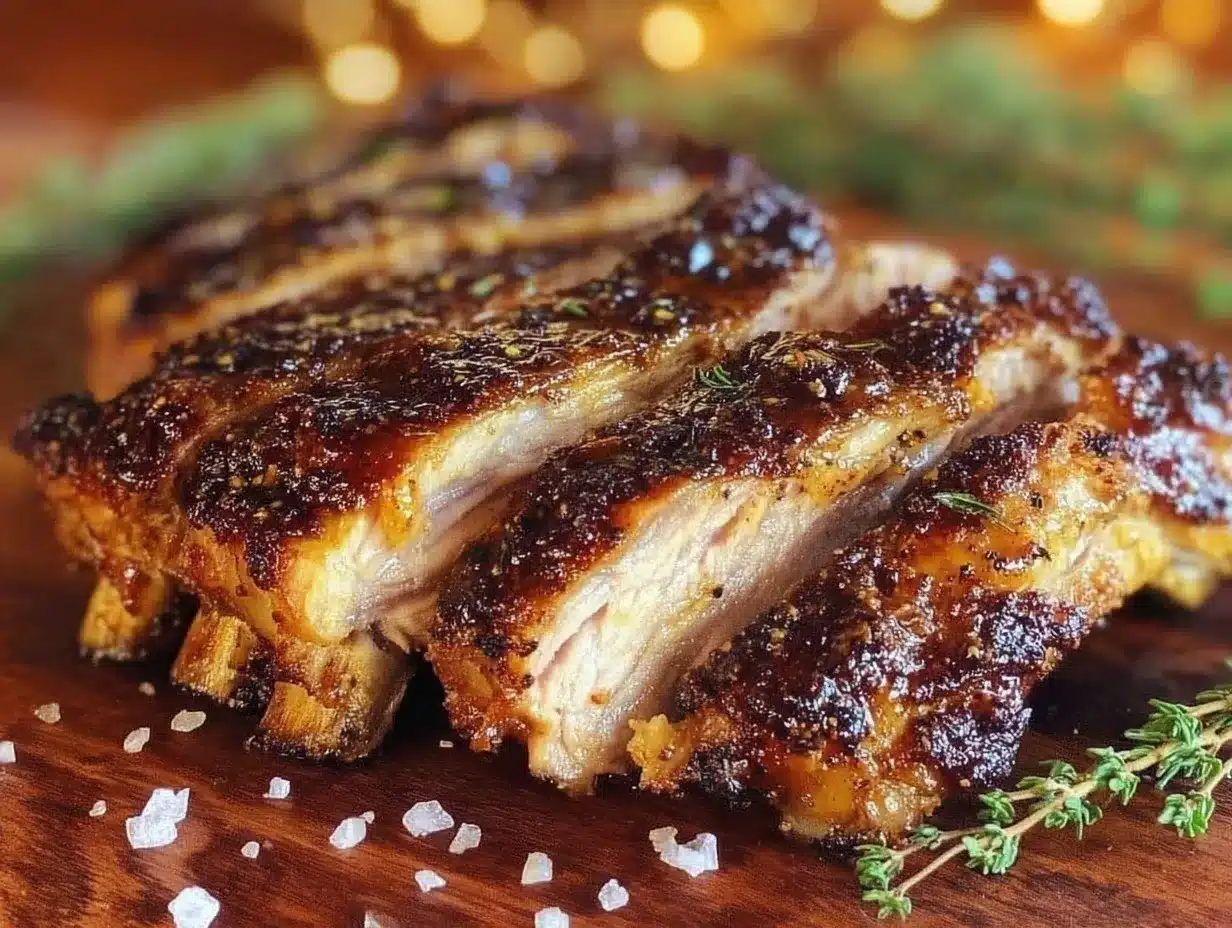
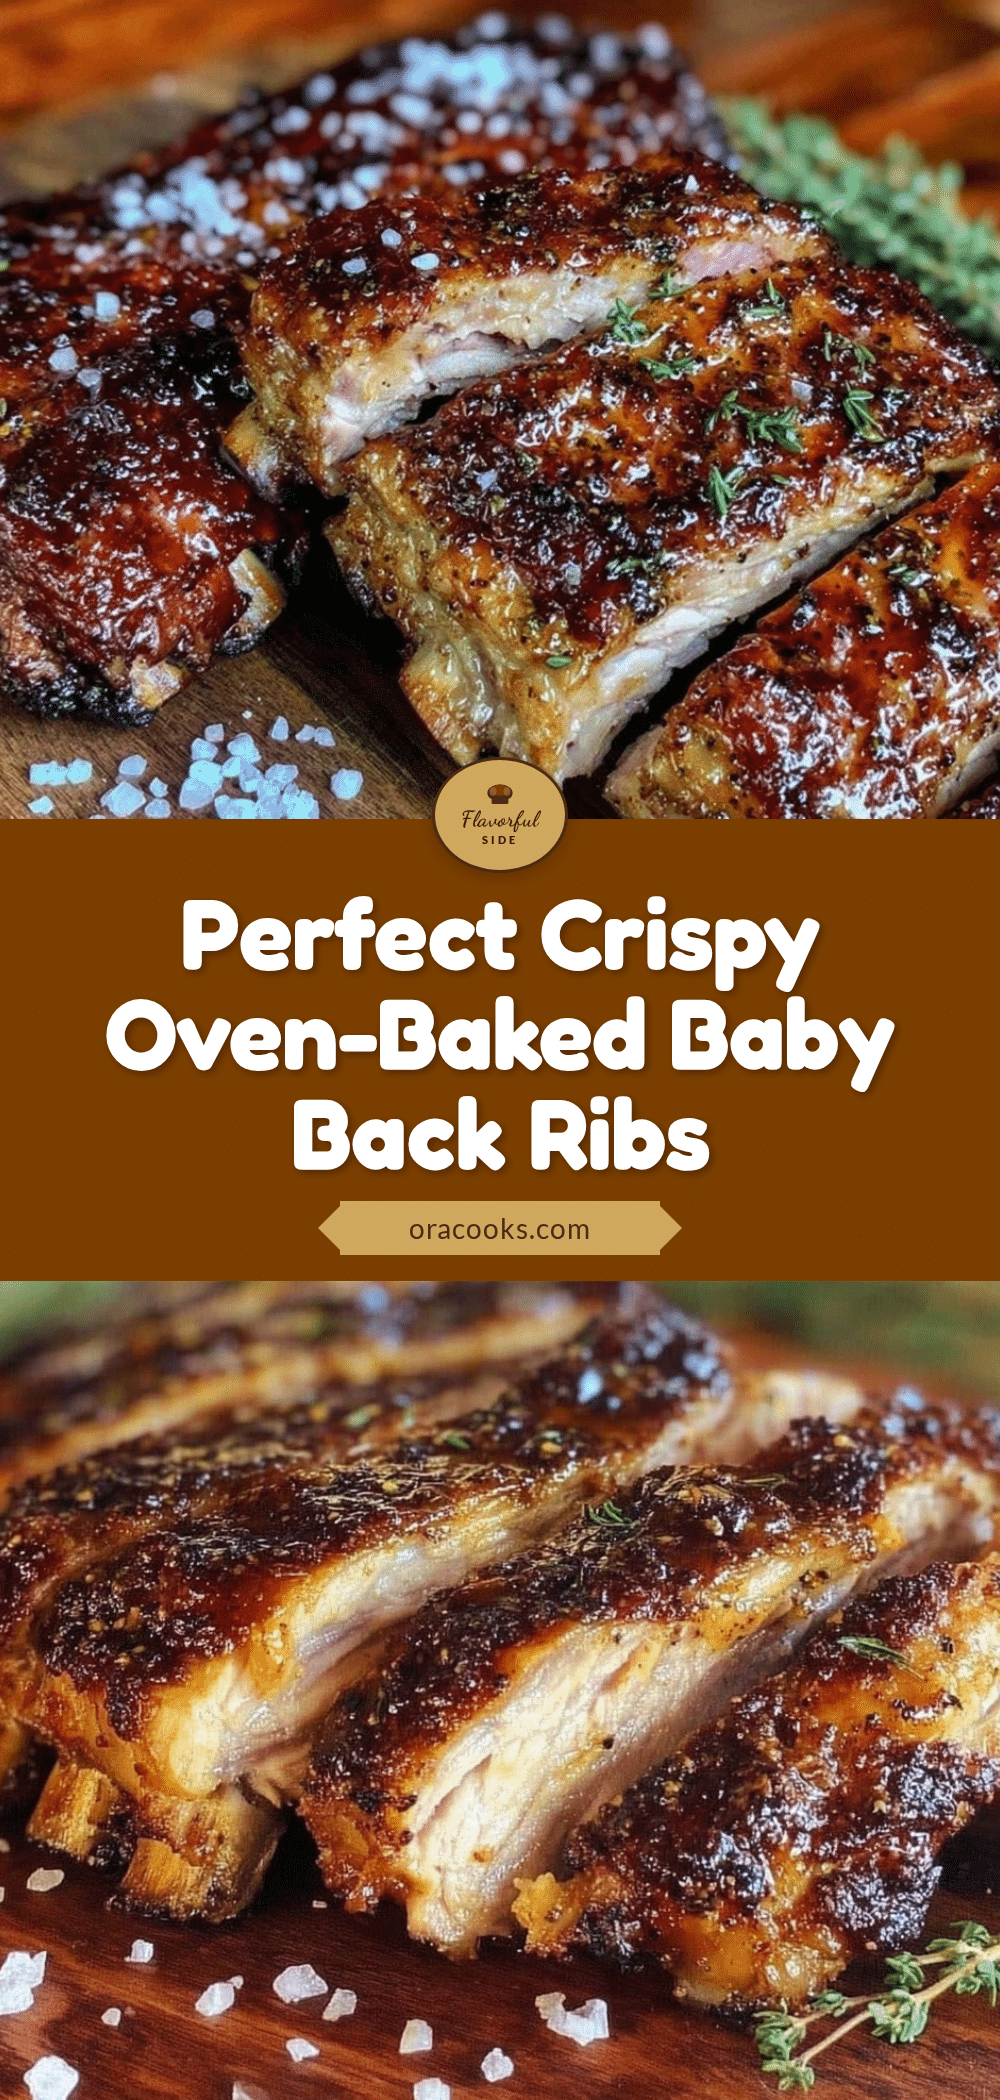
“Why can’t you just toss the ribs in the oven at 425 and call it a day?” my friend asked one Saturday afternoon as I was fussing over the perfect way to make crispy oven-baked baby back ribs with dry rub. I started to explain why that wouldn’t work — then stopped. Honestly, the idea seemed reckless, but curiosity won. I decided to try her no-frills method, figuring I’d be the one proving her wrong. Instead, the ribs turned out tender, juicy, and yes, perfectly crispy on the outside. It was a humbling moment; the beginner’s instinct was right, and I learned that sometimes less is more.
I mean, let me tell you, I’d been overcomplicating ribs for years — hours of slow cooking, wrapping in foil, brushing with sauce, you name it. But that day, while my kitchen counter was cluttered with spices and a cracked ceramic bowl (classic me, dropping it mid-rub), the simple oven method swept me off my feet. Maybe you’ve been there, stuck in the endless quest for the “best” ribs, only to find that straightforward techniques can deliver magic. This recipe stuck with me because it’s easy, reliable, and nails that crispy bark we all crave without the hassle or a smoker. If you’re ready to get to grips with perfect crispy oven-baked baby back ribs using a dry rub, you’re in the right place.
Why You’ll Love This Recipe
After testing countless rib recipes in my kitchen, this one stands out for its simplicity and unbeatable results. The dry rub locks in flavor while the oven method crisps the edges just right. Here’s why you’ll want to make this recipe a go-to:
- Quick & Easy: Ready in under 2 hours, making it great for weekend dinners or when you want ribs without the all-day commitment.
- Simple Ingredients: Uses pantry staples and common spices — no need for specialty items or long grocery lists.
- Perfect for Gatherings: Whether it’s a casual barbecue or a cozy family meal, these ribs impress without stress.
- Crowd-Pleaser: Kids and adults alike rave about the flavorful crust and tender meat that falls right off the bone.
- Unbelievably Delicious: The dry rub adds a perfect balance of smoky, sweet, and spicy notes that make every bite memorable.
This isn’t just another ribs recipe — it’s my best version that combines a no-nonsense approach with professional technique learned over years. Plus, the dry rub creates a crispy, caramelized crust that’s hard to beat. Honestly, there’s something comforting about biting into these ribs that makes you close your eyes and savor the moment. It’s the kind of recipe that turns simple dinner nights into something special, and I can’t wait for you to try it.
What Ingredients You Will Need
This recipe uses simple, wholesome ingredients to deliver bold flavor and satisfying texture without the fuss. Most of these are pantry staples, and you can easily make substitutions if needed.
- Baby Back Ribs: One rack (about 2 to 2.5 pounds / 900-1130 grams) — look for meaty ribs with minimal silver skin.
- Brown Sugar: 2 tablespoons (adds sweetness and helps caramelize the crust).
- Paprika: 1 tablespoon (I prefer smoked paprika for that subtle smoky flavor).
- Garlic Powder: 1 teaspoon (for savory depth).
- Onion Powder: 1 teaspoon (balances the garlic).
- Cayenne Pepper: 1/2 teaspoon (adds heat — adjust to taste).
- Black Pepper: 1 teaspoon, freshly ground preferred.
- Salt: 1 teaspoon, kosher or sea salt works best.
- Chili Powder: 1 teaspoon (for earthy warmth).
- Olive Oil: 1 tablespoon (helps the rub stick and crisp up the ribs).
If you want to switch things up, use coconut sugar instead of brown sugar for a less sweet rub, or swap paprika with chipotle powder to add a smoky kick. For gluten-free options, all these spices are naturally gluten-free, but double-check your chili powder brand just to be sure.
I usually buy my spices from trusted brands like McCormick or Simply Organic — they provide consistent flavor and quality. When selecting ribs, avoid those with too much fat or silver skin still attached, as it can make the texture less pleasant. In summer, I sometimes add a pinch of dried herbs like thyme or oregano for a fresh twist.
Equipment Needed
- Baking Sheet: A sturdy, rimmed baking sheet to catch drips and hold the ribs comfortably.
- Wire Rack: Placed over the baking sheet to allow air circulation and help crisp the ribs evenly. If you don’t have one, you can use an oven-safe cooling rack or even crumple foil into balls as a makeshift rack.
- Mixing Bowl: For combining the dry rub ingredients — I prefer medium-sized ceramic or glass bowls to avoid plastic odors.
- Sharp Knife: To remove the silver skin from the ribs if needed.
- Tongs: For flipping and handling the ribs safely.
- Meat Thermometer (Optional): Helps check doneness; ribs are perfect when internal temp reaches around 190°F (88°C).
Personally, I’ve found that investing in a good wire rack makes a noticeable difference in crispiness. Also, cleaning the racks soon after use prevents stubborn buildup — a quick soak helps here. For those on a budget, a simple baking sheet lined with parchment paper works fine, but the texture might not be quite as crispy.
Preparation Method
- Preheat your oven to 300°F (150°C). This lower temperature lets the ribs cook gently and become tender.
- Prepare the ribs: Remove the silver skin membrane from the back of the ribs. Slide a sharp knife under the membrane at one end, then grab it with a paper towel and pull it off. This step is crucial for tender ribs.
- Mix the dry rub: In your mixing bowl, combine 2 tbsp brown sugar, 1 tbsp paprika, 1 tsp garlic powder, 1 tsp onion powder, 1 tsp chili powder, 1 tsp salt, 1 tsp black pepper, and 1/2 tsp cayenne pepper. Stir until well blended.
- Apply olive oil: Rub 1 tbsp olive oil over both sides of the ribs. This helps the dry rub stick and creates that lovely crust later.
- Coat the ribs: Generously sprinkle the dry rub onto both sides of the ribs, pressing lightly to adhere. Feel free to use your hands — it’s messy but worth it!
- Set up your baking sheet: Place the wire rack over the baking sheet and lay the ribs bone side down on the rack. This lets heat circulate and fat drip away.
- Cover the ribs: Tent the ribs loosely with aluminum foil to trap moisture while cooking.
- Bake low and slow: Place the ribs in the oven and bake for 2 hours. This slow bake makes the meat tender and juicy.
- Increase the heat: After 2 hours, remove the foil and raise the oven temperature to 425°F (220°C). Return the ribs to the oven and bake uncovered for 20-25 minutes. Watch closely — this step crisps the outside perfectly.
- Check for doneness: The ribs should be tender and the edges caramelized with a crispy bark. If you have a meat thermometer, the internal temperature should reach about 190°F (88°C).
- Rest before serving: Let the ribs rest for 10 minutes after removing from the oven. This helps the juices redistribute for moist, flavorful meat.
One time, I forgot to tent the ribs with foil — the ribs dried out a bit, so don’t skip that step! Also, keep an eye during the high-heat finish; ovens vary, and you don’t want burnt edges. If your oven runs hot, 20 minutes might be enough.
Cooking Tips & Techniques
Getting the perfect crispy oven-baked baby back ribs with dry rub is about balance and patience. Here are some tips I’ve picked up along the way:
- Don’t skip the silver skin removal: It’s a common mistake that makes ribs tough and less flavorful.
- Pat the ribs dry before applying oil and rub: Excess moisture can prevent the rub from sticking properly, resulting in less crispiness.
- Use a wire rack: This allows air to circulate around the ribs, which is key for even cooking and crispy edges.
- Low and slow baking: This step is crucial to breaking down connective tissue and rendering fat without drying out the meat.
- Finish with high heat: That last blast crisps the outside just right but watch closely to avoid burning.
- Resting the meat: It’s tempting to dig in right away, but resting keeps the ribs juicy and tender.
Honestly, I’ve learned the hard way that rushing ribs results in chewy, disappointing meat. Multitasking helps — prep your sides while the ribs bake low and slow. And if you want a smokier flavor, you can add a few drops of liquid smoke to the dry rub mix, but don’t go overboard.
Variations & Adaptations
Feel free to customize this recipe to your taste or dietary needs. Here are some ideas I’ve tried or recommend:
- Spicy Kick: Increase cayenne pepper or add crushed red pepper flakes to the rub for a bolder heat.
- Sweet & Tangy: After baking, brush ribs with your favorite barbecue sauce and broil for 3-5 minutes to caramelize the glaze.
- Herb-Infused: Add dried rosemary or thyme to the dry rub for an aromatic twist.
- Gluten-Free: This recipe is naturally gluten-free, but double-check your chili powder and paprika brands if you’re highly sensitive.
- Oven to Grill: Start ribs in the oven, then finish on a hot grill for 5-10 minutes to add smoky grill marks and flavor.
One variation I love is mixing a teaspoon of espresso powder into the rub — it enhances the savory depth and makes the crust almost addictive. It’s a little trick from a barbecue chef friend that I swear by now.
Serving & Storage Suggestions
Serve these ribs warm or at room temperature, sliced between the bones for easy sharing. They pair beautifully with classic sides like coleslaw, baked beans, or creamy mashed potatoes. For drinks, a cold beer or a tangy lemonade complements the flavors perfectly.
Leftovers keep well in an airtight container in the refrigerator for up to 3 days. Reheat gently in a low oven (around 275°F / 135°C) covered with foil to maintain moisture, or microwave with a damp paper towel over the ribs.
If you want to freeze them, wrap tightly in plastic wrap and foil, then freeze for up to 2 months. Thaw overnight in the fridge before reheating.
Interestingly, the flavors deepen after a day, making leftover ribs even more delicious. If you’re planning ahead for a party, cooking ribs the day before can save you stress on the big day!
Nutritional Information & Benefits
One rack of baby back ribs (about 2.5 pounds / 1130 grams) contains roughly 1200-1400 calories, making it a rich and satisfying main dish. The dry rub adds minimal calories but packs a punch of antioxidants from spices like paprika and chili powder.
Ribs are a good source of protein and provide essential nutrients like iron, zinc, and B vitamins. Using a dry rub instead of sugary sauces cuts down on added sugars and carbs, making this a better choice for those watching their sugar intake.
For those mindful of dietary restrictions, this recipe is naturally gluten-free and can be adapted for low-sodium diets by reducing salt in the rub.
From a wellness perspective, I appreciate that this recipe balances indulgence with real ingredients, so you get comfort food with a nod to health.
Conclusion
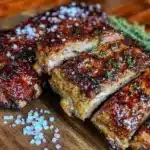
This recipe for perfect crispy oven-baked baby back ribs with dry rub is a keeper. It combines straightforward steps with big flavors and that irresistible crispy crust we all crave. Whether you’re a rib rookie or a seasoned pro, this method delivers consistently delicious results.
Remember, you can tweak the rub and cooking times to fit your preferences — that’s the beauty of cooking at home. I love this recipe because it’s a reminder that sometimes, simple instincts beat overthinking in the kitchen. Plus, it’s a crowd-pleaser every time.
If you try these ribs, I’d love to hear how you made them your own. Leave a comment with your tweaks or share your experience. Happy cooking, and here’s to many crispy rib dinners ahead!
FAQs About Perfect Crispy Oven-Baked Baby Back Ribs with Dry Rub
How long do baby back ribs take to cook in the oven?
For tender, crispy ribs, bake low and slow at 300°F (150°C) for about 2 hours, then finish at 425°F (220°C) for 20-25 minutes to crisp the edges.
Can I prepare the dry rub ahead of time?
Absolutely! The dry rub can be mixed and stored in an airtight container for up to a month. This makes prep easier on cooking day.
Do I need to marinate the ribs overnight?
Nope! While marinating can add flavor, the dry rub works well applied right before cooking, saving you time without sacrificing taste.
How do I know when ribs are done?
The meat should be tender and pull away easily from the bones. If using a thermometer, aim for an internal temperature of around 190°F (88°C).
Can I use this dry rub on other cuts of meat?
Yes! This rub works great on pork shoulders, chicken thighs, or even grilled vegetables, adding a smoky, spicy flavor wherever you use it.
Pin This Recipe!
Perfect Crispy Oven-Baked Baby Back Ribs Easy Dry Rub Recipe
This recipe delivers tender, juicy, and perfectly crispy baby back ribs using a simple dry rub and an easy oven method. Ready in under 2.5 hours, it’s perfect for flavorful ribs without the hassle of slow smoking.
- Prep Time: 15 minutes
- Cook Time: 2 hours 25 minutes
- Total Time: 2 hours 40 minutes
- Yield: 4 servings 1x
- Category: Main Course
- Cuisine: American
Ingredients
- 1 rack baby back ribs (about 2 to 2.5 pounds / 900–1130 grams)
- 2 tablespoons brown sugar
- 1 tablespoon paprika (smoked paprika preferred)
- 1 teaspoon garlic powder
- 1 teaspoon onion powder
- 1 teaspoon chili powder
- 1 teaspoon salt (kosher or sea salt)
- 1 teaspoon black pepper, freshly ground
- 1/2 teaspoon cayenne pepper
- 1 tablespoon olive oil
Instructions
- Preheat your oven to 300°F (150°C).
- Remove the silver skin membrane from the back of the ribs by sliding a sharp knife under it and pulling it off with a paper towel.
- In a mixing bowl, combine brown sugar, paprika, garlic powder, onion powder, chili powder, salt, black pepper, and cayenne pepper. Stir until well blended.
- Rub olive oil over both sides of the ribs to help the dry rub stick.
- Generously sprinkle the dry rub onto both sides of the ribs, pressing lightly to adhere.
- Place a wire rack over a rimmed baking sheet and lay the ribs bone side down on the rack.
- Tent the ribs loosely with aluminum foil to trap moisture while cooking.
- Bake the ribs at 300°F (150°C) for 2 hours to make the meat tender and juicy.
- Remove the foil and increase the oven temperature to 425°F (220°C). Bake uncovered for 20-25 minutes to crisp the outside, watching closely to avoid burning.
- Check for doneness; ribs should be tender with caramelized edges and an internal temperature of about 190°F (88°C) if using a meat thermometer.
- Let the ribs rest for 10 minutes before serving to allow juices to redistribute.
Notes
Remove the silver skin membrane for tender ribs. Pat ribs dry before applying oil and rub for better crispiness. Use a wire rack to allow air circulation and crisp edges. Tent ribs with foil during the low and slow bake to retain moisture. Watch closely during the high heat finish to avoid burning. Let ribs rest before serving. Dry rub can be prepared ahead and stored up to a month. Variations include adding espresso powder, herbs, or finishing with barbecue sauce and broiling.
Nutrition
- Serving Size: Approximately 1/4 ra
- Calories: 300
- Sugar: 6
- Sodium: 450
- Fat: 20
- Saturated Fat: 7
- Carbohydrates: 8
- Fiber: 1
- Protein: 22
Keywords: baby back ribs, oven baked ribs, dry rub ribs, crispy ribs, easy ribs recipe, barbecue ribs, pork ribs, oven ribs, smoky ribs