Love this? Save it for later!
Share the inspiration with your friends
Introduction
Last October, while fumbling through a crowded kitchen during a neighborhood Halloween potluck, my neighbor Jessie watched me struggling with a too-thick dough that refused to stretch. She didn’t say anything at first, just smiled as I dropped flour all over the counter and muttered about how breadsticks should be easier. Then, she casually slid a small bowl of roasted garlic marinara toward me and mentioned, “Try shaping these like fingers — it’s what my niece loves, and it’s surprisingly fun.”
The idea of witch finger breadsticks wasn’t some elaborate plan or a Halloween marketing stunt; it was just a playful nudge from someone who knew how to bring a bit of whimsy into an otherwise chaotic evening. I mean, who thinks of breadsticks as little fingers? But honestly, shaping the dough that way made the whole process feel less like a chore and more like a conversation piece. Plus, roasting the garlic in the marinara sauce gave it a mellow, sweet undertone that surprised me the first time I dipped a crispy finger into it.
Maybe you’ve been there — trying to jazz up a simple snack without fussing over complicated ingredients or techniques. This recipe stayed with me because it’s that perfect blend of fun and flavor, a little bit spooky but totally approachable. I still keep a jar of that roasted garlic marinara in my fridge around Halloween, but truth is, these crispy witch finger breadsticks show up any time I want a snack that’s both comforting and a little different. Let me tell you, they’re as good for a lazy Sunday as they are for a festive gathering.
Why You’ll Love This Recipe
Having tested this recipe several times, I can say it’s a real crowd-pleaser with some standout perks that make it worth your time—especially if you’re after something festive but fuss-free.
- Quick & Easy: Comes together in under 45 minutes, perfect when you want a tasty snack without a big time commitment.
- Simple Ingredients: Uses pantry staples like flour, yeast, and garlic—you probably have everything on hand already.
- Perfect for Halloween or Parties: The finger shape adds a playful twist that’s great for themed events or just to surprise your family.
- Crowd-Pleaser: Kids and adults alike love the crispy texture paired with the sweet, roasted garlic marinara dip.
- Unbelievably Delicious: The combination of crunchy edges, soft interior, and garlicky sauce is totally addictive.
What sets this recipe apart is the attention to texture and flavor balance — I use a light dusting of semolina flour on the baking sheet to get that extra crispiness on the bottom. The roasted garlic marinara isn’t your average jarred sauce; roasting the garlic beforehand adds a subtle sweetness and depth that pairs perfectly with the savory breadsticks. Honestly, this isn’t just another breadstick recipe; it’s a playful snack that feels a little magical and a lot delicious.
What Ingredients You Will Need
This recipe uses simple, wholesome ingredients to deliver bold flavor and satisfying texture without the fuss. Most are pantry staples, with a few fresh touches to bring the breadsticks and sauce to life.
- For the Breadsticks:
- 2 ½ cups (300g) all-purpose flour, plus extra for dusting
- 1 teaspoon instant yeast (I prefer Fleischmann’s for consistency)
- 1 teaspoon sugar (helps activate the yeast)
- 1 teaspoon salt
- ¾ cup (180ml) warm water (about 110°F/43°C)
- 2 tablespoons olive oil, plus extra for brushing
- Almond slices (for “fingernails”)
- Optional: A pinch of smoked paprika or Italian seasoning to sprinkle on top
- For the Roasted Garlic Marinara:
- 1 head of garlic, cloves separated and unpeeled
- 1 tablespoon olive oil
- 1 can (14 oz/400g) crushed tomatoes
- 1 teaspoon dried oregano
- ½ teaspoon salt
- 1 teaspoon sugar (balances acidity)
- Fresh basil leaves (optional, for garnish)
If you want to swap the all-purpose flour for whole wheat or a gluten-free blend, that works too — just expect a slightly different texture. Using fresh garlic for roasting is key here; it mellows the flavor far better than raw garlic and adds a tender, spreadable quality to the sauce. For vegan options, use any dairy-free olive oil and skip the almond fingernails or use slivered coconut flakes instead.
Equipment Needed
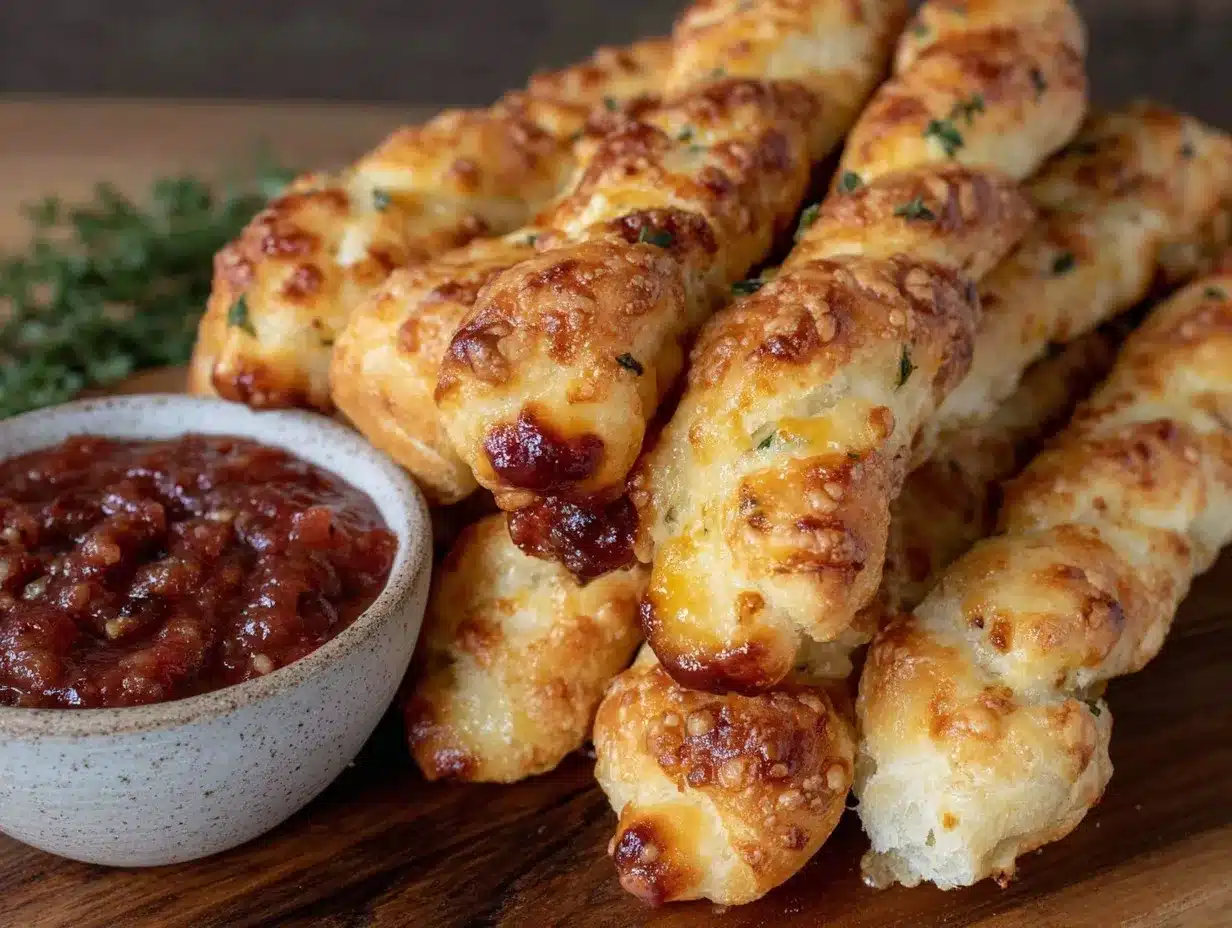
- Mixing bowl (medium size) — a sturdy glass or stainless steel bowl works best.
- Measuring cups and spoons — precise measurements help with yeast activation.
- Baking sheet — I like using a rimmed baking sheet lined with parchment paper or a silicone mat.
- Pastry brush — for brushing olive oil over the breadsticks before baking.
- Sharp knife or kitchen scissors — essential for shaping the dough and scoring knuckle lines.
- Small roasting pan or foil for the garlic — roasting garlic cloves needs a small vessel.
- Oven mitts — because you’ll be handling hot trays and garlic.
If you don’t have a pastry brush, a clean kitchen towel or paper towel can do the trick for applying oil. For shaping the witch fingers, I find that using kitchen scissors for snipping knuckle lines gives a more realistic effect than a knife. A budget tip: You can roast garlic in a small foil packet if you don’t have a roasting pan — just be sure to poke a few holes to vent steam.
Preparation Method
- Prepare the roasted garlic: Preheat your oven to 400°F (205°C). Slice off the top of the garlic head to expose the cloves. Drizzle with olive oil, wrap loosely in foil, and roast for about 30–35 minutes until cloves are soft and golden. Let cool, then squeeze out the softened garlic into a bowl.
- Make the marinara sauce: In a saucepan over medium heat, add the roasted garlic, crushed tomatoes, oregano, salt, and sugar. Stir well and let simmer gently for 15 minutes, stirring occasionally. Taste and adjust seasoning. Keep warm on low heat.
- Activate the yeast: In a mixing bowl, combine warm water, sugar, and instant yeast. Stir lightly and wait 5 minutes until foamy. If it doesn’t foam, your yeast might be inactive — try again with fresh yeast.
- Mix the dough: Add flour, salt, and olive oil to the yeast mixture. Use a wooden spoon or your hands to combine into a soft, slightly sticky dough.
- Knead the dough: On a floured surface, knead for 8–10 minutes until smooth and elastic. Add a little flour if it’s too sticky but don’t overdo it — you want a tender crumb.
- First rise: Place dough in a lightly oiled bowl, cover with a damp towel or plastic wrap, and let rise in a warm spot for about 1 hour or until doubled in size.
- Shape the witch fingers: Punch down the dough and divide it into 12 equal pieces (about 50g/1.75 oz each). Roll each piece into a finger shape roughly 5–6 inches (12–15 cm) long. Use kitchen scissors to cut small slits for knuckles. Press an almond slice at one end for the fingernail.
- Second rise: Arrange breadsticks on a parchment-lined baking sheet, leaving space between. Cover loosely and let rise for 20 minutes.
- Preheat oven and prepare to bake: While the breadsticks rise, preheat the oven to 375°F (190°C). Dust the baking sheet lightly with semolina flour for extra crunch.
- Bake: Brush fingers lightly with olive oil and bake for 18–22 minutes until golden and crispy on the edges. They should sound hollow when tapped.
- Serve: Let cool slightly and serve warm with the roasted garlic marinara for dipping. Garnish the sauce with fresh basil if you like.
If your fingers puff up too much and lose shape, try chilling the dough before shaping next time — cooler dough holds form better. Also, don’t skip the semolina dusting; it’s a personal trick that adds a little crunch to the bottom crust that I love.
Cooking Tips & Techniques
Honestly, shaping dough into witch fingers sounds tricky, but once you get the hang of it, it’s actually pretty fun. Here are some tips I picked up after a few trial runs:
- Don’t over-knead: Kneading develops gluten, which is good, but too much can make the breadsticks tough. Stop when the dough is smooth and elastic.
- Keep the dough slightly sticky: This helps keep the breadsticks tender. Dust your hands with flour to prevent sticking while shaping.
- Use kitchen scissors for knuckle cuts: It’s easier and gives a more natural look than a knife.
- Don’t forget to brush olive oil: It promotes browning and adds flavor. Plus, it helps the almonds stick better.
- Roast the garlic gently: Too high heat can burn and make the sauce bitter. Low and slow is the way to go.
- Timing is key: Let the dough rise fully but avoid over-proofing, which can make the sticks collapse during baking.
One time, I forgot to score the knuckles before baking and ended up with smooth, boring sticks — lesson learned! Also, multitasking helps: roast the garlic while the dough rises to save time. This way, you’re not waiting around for the sauce after the breadsticks are done.
Variations & Adaptations
This recipe is pretty adaptable, so feel free to make it your own. Here are some ideas I’ve tried or thought about:
- Cheesy Witch Fingers: Sprinkle shredded mozzarella or cheddar on top before baking for melty, gooey fingers.
- Gluten-Free Version: Use a gluten-free flour blend like Bob’s Red Mill 1-to-1 baking flour. The texture changes a bit — more crumbly — but still tasty.
- Herb-Infused Dough: Add chopped fresh rosemary or thyme into the dough for an earthy twist.
- Spicy Marinara: Toss in red pepper flakes or a dash of cayenne to the sauce for a little heat.
- Vegan Adaptation: Use olive oil only and swap almonds for pumpkin seeds as fingernails.
I once made a batch with a smoky chipotle tomato sauce instead of marinara, and it was a hit at a game night. Feel free to experiment with your favorite dips — creamy ranch, pesto, or even a cheesy beer sauce work surprisingly well.
Serving & Storage Suggestions
These crispy witch finger breadsticks are best served warm, right out of the oven, with a generous side of the roasted garlic marinara. The warmth brings out the garlic’s sweetness and makes the breadsticks delightfully soft inside with a crispy exterior.
For presentation, arrange the fingers on a platter with some fresh basil leaves scattered around the marinara bowl — it adds a pop of color and a fresh aroma. They pair wonderfully with a crisp, cold drink like iced tea or a light red wine if you’re serving adults.
To store leftovers, place breadsticks in an airtight container at room temperature for up to 2 days. You can refrigerate the marinara sauce separately for up to a week. To reheat, pop the breadsticks in a 350°F (175°C) oven for about 5-7 minutes to regain crispness. Microwave will soften them but won’t keep the crunch.
Flavors actually deepen if you make the marinara a day ahead — the roasted garlic has time to mingle with the tomatoes, making the dip even better. So, if you want to prep in advance, that’s a neat trick.
Nutritional Information & Benefits
Each serving of these crispy witch finger breadsticks with roasted garlic marinara (about 3 fingers plus dip) is roughly:
| Calories | 220 kcal |
|---|---|
| Carbohydrates | 35 g |
| Protein | 5 g |
| Fat | 6 g |
| Fiber | 3 g |
The garlic in the marinara offers immune-boosting compounds and antioxidants, while olive oil contributes heart-healthy fats. Using fresh ingredients and minimal added sugar keeps this snack on the lighter side compared to many store-bought dips and breads.
This recipe can be made gluten-free or vegan, making it accessible for a variety of dietary needs. Just be mindful of nut allergies if using almonds for fingernails.
Conclusion
If you’re looking for a snack that’s playful, flavorful, and surprisingly simple, these crispy witch finger breadsticks with roasted garlic marinara fit the bill perfectly. They bring a little magic to your table without complicated steps or hard-to-find ingredients.
Feel free to tweak the herbs, spices, or dip to suit your taste — that’s what keeps this recipe fresh and fun in my kitchen. Honestly, I love making them for both Halloween and lazy weekend afternoons, because they’re as satisfying as they are whimsical.
Give this recipe a try, and let me know how your witch fingers turn out! I’m always curious to hear about your own twists or favorite dips. Happy baking, and remember — a little creativity in the kitchen goes a long way!
Frequently Asked Questions
Can I make the dough ahead of time?
Yes! You can prepare the dough, let it rise once, then refrigerate overnight. Bring it to room temperature before shaping and baking.
What if I don’t have almond slices for fingernails?
Sunflower seeds, pumpkin seeds, or even small pieces of bell pepper can be fun alternatives.
Can I freeze the breadsticks?
Absolutely. Freeze baked breadsticks in an airtight container for up to 2 months. Reheat in the oven for best texture.
Is the roasted garlic necessary for the marinara?
While it adds a deeper, sweeter flavor, you can use plain marinara if pressed for time. Just expect a sharper garlic bite.
How do I get the breadsticks to be crispy?
Dusting the baking sheet with semolina flour and brushing with olive oil before baking helps create that satisfying crispness.
Pin This Recipe!
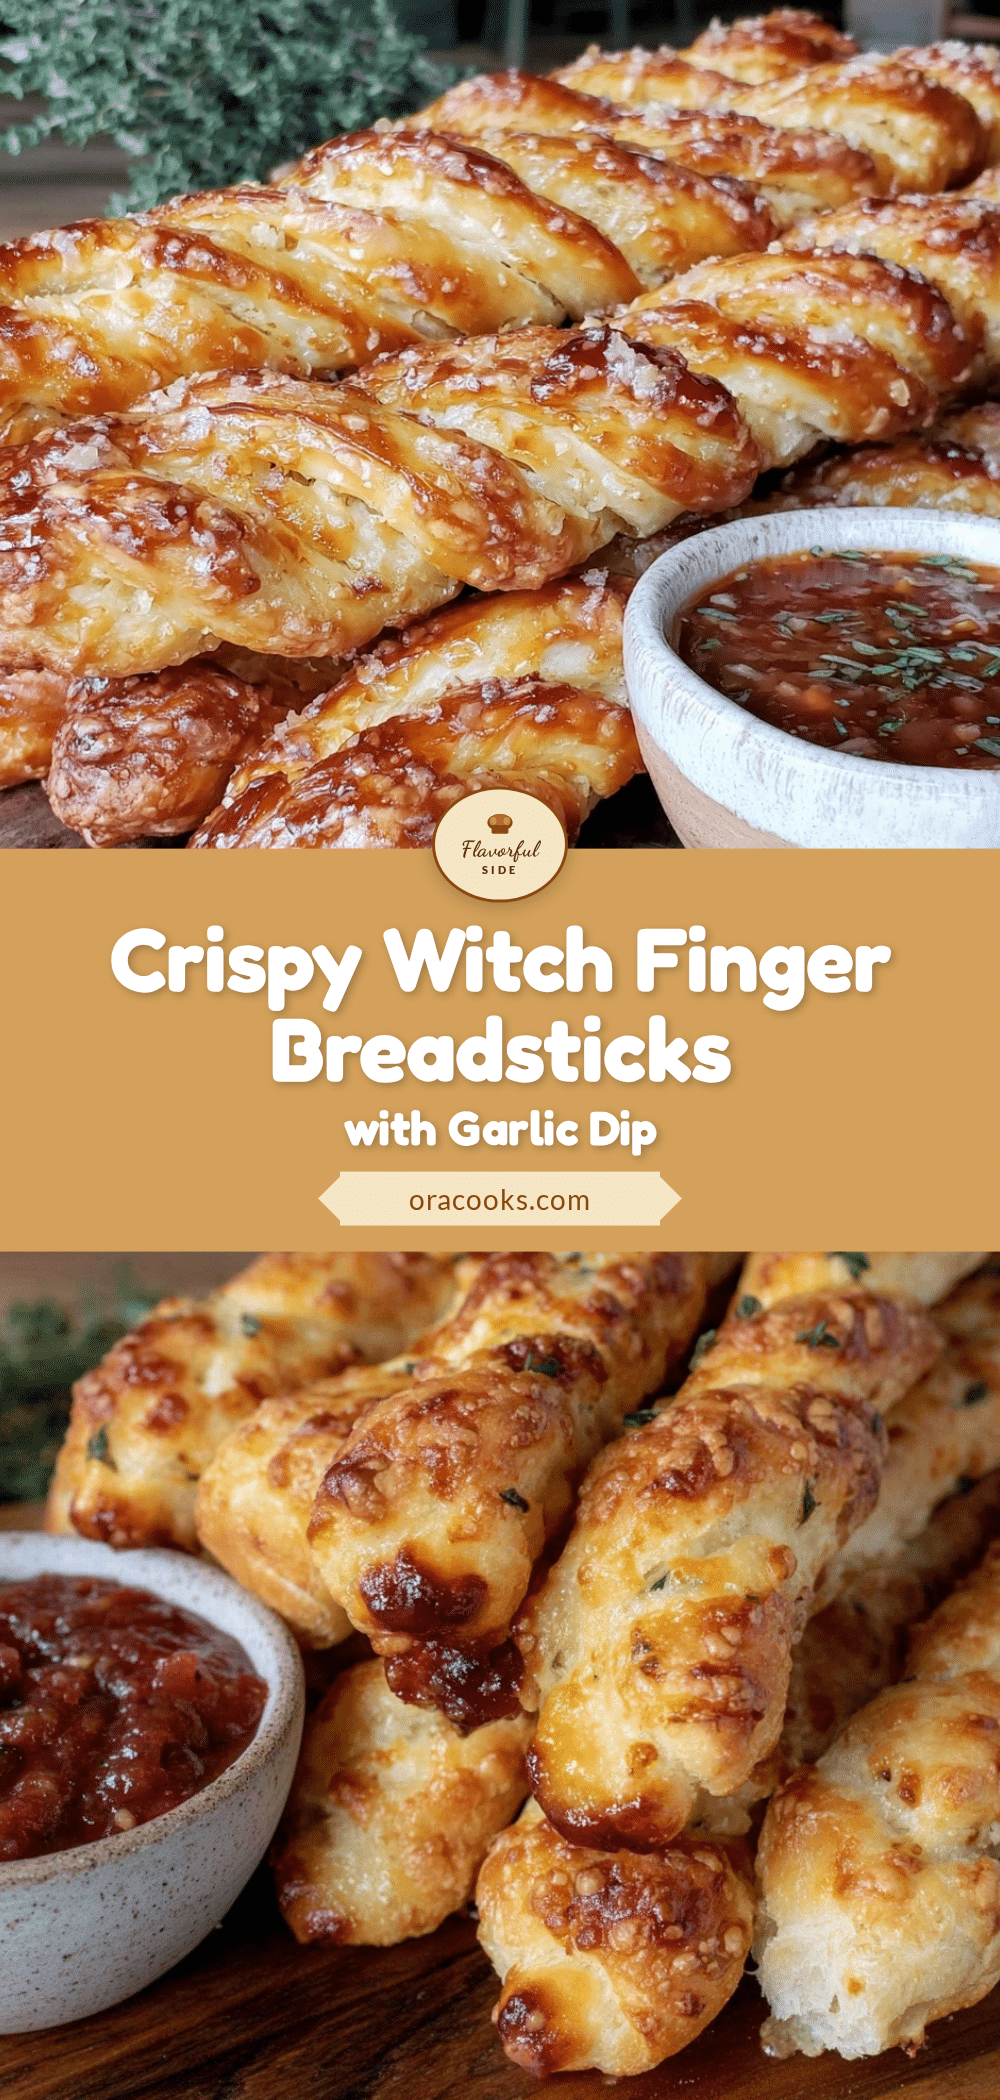
Crispy Witch Finger Breadsticks Recipe Easy Step by Step with Roasted Garlic Marinara
These crispy witch finger breadsticks are a fun and flavorful snack perfect for Halloween or any festive gathering, served with a sweet and mellow roasted garlic marinara dip.
- Prep Time: 20 minutes
- Cook Time: 40 minutes
- Total Time: 1 hour 15 minutes
- Yield: 12 breadsticks (about 4 servings) 1x
- Category: Snack
- Cuisine: American
Ingredients
- 2 ½ cups (300g) all-purpose flour, plus extra for dusting
- 1 teaspoon instant yeast
- 1 teaspoon sugar
- 1 teaspoon salt
- ¾ cup (180ml) warm water (about 110°F/43°C)
- 2 tablespoons olive oil, plus extra for brushing
- Almond slices (for fingernails)
- Optional: A pinch of smoked paprika or Italian seasoning to sprinkle on top
- 1 head of garlic, cloves separated and unpeeled
- 1 tablespoon olive oil
- 1 can (14 oz/400g) crushed tomatoes
- 1 teaspoon dried oregano
- ½ teaspoon salt
- 1 teaspoon sugar
- Fresh basil leaves (optional, for garnish)
Instructions
- Preheat oven to 400°F (205°C). Slice off the top of the garlic head to expose cloves. Drizzle with olive oil, wrap loosely in foil, and roast for 30–35 minutes until cloves are soft and golden. Let cool, then squeeze out softened garlic into a bowl.
- In a saucepan over medium heat, add roasted garlic, crushed tomatoes, oregano, salt, and sugar. Stir well and simmer gently for 15 minutes, stirring occasionally. Taste and adjust seasoning. Keep warm on low heat.
- In a mixing bowl, combine warm water, sugar, and instant yeast. Stir lightly and wait 5 minutes until foamy.
- Add flour, salt, and olive oil to yeast mixture. Combine into a soft, slightly sticky dough.
- Knead dough on a floured surface for 8–10 minutes until smooth and elastic. Add flour if too sticky but keep dough tender.
- Place dough in lightly oiled bowl, cover, and let rise in warm spot for about 1 hour or until doubled in size.
- Punch down dough and divide into 12 equal pieces (~50g/1.75 oz each). Roll each into 5–6 inch (12–15 cm) finger shapes. Use kitchen scissors to cut small slits for knuckles. Press an almond slice at one end for fingernail.
- Arrange breadsticks on parchment-lined baking sheet, leaving space between. Cover loosely and let rise for 20 minutes.
- Preheat oven to 375°F (190°C). Dust baking sheet lightly with semolina flour for extra crunch.
- Brush breadsticks lightly with olive oil and bake for 18–22 minutes until golden and crispy on edges. They should sound hollow when tapped.
- Let cool slightly and serve warm with roasted garlic marinara. Garnish sauce with fresh basil if desired.
Notes
Dust baking sheet with semolina flour for extra crunch. Use kitchen scissors to cut knuckle lines for a natural look. Chill dough if breadsticks puff up too much. Roasting garlic gently is key to avoid bitterness. Dough can be made ahead and refrigerated overnight.
Nutrition
- Serving Size: About 3 breadsticks
- Calories: 220
- Fat: 6
- Carbohydrates: 35
- Fiber: 3
- Protein: 5
Keywords: witch finger breadsticks, Halloween snack, roasted garlic marinara, breadsticks recipe, easy breadsticks, party snack, crispy breadsticks


