Love this? Save it for later!
Share the inspiration with your friends
The school lunchbox. It’s a daily battlefield, isn’t it? You’re up against the clock, the cafeteria’s mystery meat, and the dreaded sandwich-sog factor. I remember staring into the fridge on a Sunday night, the week looming ahead, and just feeling… tired. I wanted something my kids would actually eat, something I could feel good about, and honestly, something that wouldn’t have me crying over a soggy sandwich at 7 AM. That’s when these Easy Baked Chicken Tender Lunchbox Nuggets were born. The first batch was a bit of a happy accident—I was out of breadcrumbs and used crushed crackers instead. The result? A perfectly crispy, golden-brown nugget that even my pickiest eater devoured. The power went out halfway through baking the first test batch, and I had to finish them in a skillet. They were even better. It felt like a win, a tiny victory in the lunch-packing wars. And the best part? They freeze like a dream. No more morning scramble. Just grab, heat, and pack. Let me tell you, that first bite of a warm, homemade nugget straight from the lunchbox is a feeling you need to experience. Maybe you’ve been there, staring down a bag of frozen, processed nuggets and wishing for something better. This is it. These aren’t just nuggets; they’re a little piece of calm in a busy week.
Why You’ll Love This Recipe
Let’s be real. I’ve tested a lot of chicken nugget recipes over the years. Some were dry, some were a greasy mess, and some just didn’t have that kid-friendly crunch. This one, though? This one is the gold standard. It’s not just another recipe; it’s the one I turn to week after week, and here’s why it’s become a staple in my kitchen.
- Quick & Easy: From start to finish, you’re looking at about 30 minutes of active time. The oven does the rest. Perfect for a Sunday meal prep session or a last-minute weeknight dinner.
- Simple Ingredients: No weird additives, no preservatives, and no trips to a specialty store. You likely have everything in your pantry and fridge right now. Chicken, breadcrumbs, a few spices—that’s it.
- Freezer-Friendly: This is the game-changer. You can make a double batch, freeze them, and have healthy, homemade nuggets ready to go for weeks. It’s like having a fast-food secret weapon in your freezer.
- Perfect for Lunchboxes: They reheat beautifully in a toaster oven or air fryer, staying crispy and delicious. No more sad, soggy lunches.
- Crowd-Pleaser: I’ve served these at playdates, birthday parties, and even a casual dinner party. Adults and kids alike go back for seconds. They’re just that good.
- Unbelievably Delicious: The secret is a little bit of parmesan in the breading. It adds a savory, umami depth that makes these nuggets taste like they’re from a fancy restaurant, not your home kitchen.
This recipe is different because of that simple trick. It’s not just a coating; it’s a promise of flavor. It’s comfort food reimagined—healthier, faster, and with the same soul-soothing satisfaction that makes you close your eyes after the first bite. Perfect for impressing your kids without the stress, or turning a simple weeknight into something memorable.
What Ingredients You Will Need
This recipe uses simple, wholesome ingredients to deliver bold flavor and satisfying texture without the fuss. You probably have most of these in your kitchen already, which is the whole point. Let’s break down what you’ll need and why each ingredient matters.
- Chicken Tenders (1.5 lbs / 680g): These are the star of the show. I prefer using chicken tenders because they’re already the perfect size and shape for nuggets. You can also use boneless, skinless chicken breasts and cut them into 1.5-inch pieces. Look for fresh, not frozen, for the best texture. (I personally like the ones from [Brand Name] for their consistent size).
- Panko Breadcrumbs (1 cup / 120g): Panko is the secret to that extra-crispy, crunchy coating. It’s lighter and flakier than regular breadcrumbs, so it doesn’t get soggy. If you only have regular breadcrumbs, you can use them, but the texture won’t be as crunchy. (Pro tip: Toast the panko in a dry skillet for 2-3 minutes before using for an even deeper golden color).
- Grated Parmesan Cheese (1/2 cup / 50g): This is my little magic ingredient. It adds a salty, nutty, savory flavor that makes the breading irresistible. Don’t skip it! Use the good stuff from a block, not the pre-shredded kind in a can, for the best melt and flavor.
- Garlic Powder (1 teaspoon): A must-have for that savory, aromatic base. It adds depth without being overpowering.
- Paprika (1 teaspoon): This is for color and a subtle smoky sweetness. You can use smoked paprika for a bolder flavor or sweet paprika for a milder one.
- Salt (1/2 teaspoon) & Black Pepper (1/4 teaspoon): The essential seasonings. They bring all the other flavors together. Adjust to your taste.
- Large Eggs (2): These act as the glue for the breading. They help the panko mixture stick to the chicken. Make sure they’re at room temperature for a smoother coating.
- All-Purpose Flour (1/2 cup / 60g): This is the first layer of the breading station. It helps the egg wash stick to the chicken and creates a barrier that keeps the nuggets moist on the inside.
- Cooking Spray or Olive Oil (for baking): This is crucial for getting that golden-brown, crispy exterior. A light spray of avocado or olive oil spray works wonders. You can also drizzle a little oil over the nuggets before baking.
Substitution Guidance: For a gluten-free option, use gluten-free panko breadcrumbs and a 1:1 gluten-free all-purpose flour blend. For a dairy-free version, omit the parmesan cheese and add an extra tablespoon of nutritional yeast for a cheesy flavor. If you’re out of panko, crushed cornflakes or even crushed potato chips make a fantastic, crunchy alternative!
Equipment Needed
You don’t need a fancy kitchen to make these nuggets. Most of this stuff you probably already have. Here’s the short list of tools that will make the process a breeze.
- Baking Sheet (Half-Sheet Pan): A large, rimmed baking sheet is perfect for even cooking and browning. I use a standard 18×13 inch pan. If you don’t have one, you can use a smaller one, but you might need to bake in batches.
- Wire Rack (Fits Inside the Baking Sheet): This is my top tip! Placing a wire rack on the baking sheet allows hot air to circulate all around the nuggets, making them crispy on the bottom too. No more soggy bottoms! If you don’t have one, just flip the nuggets halfway through baking.
- Three Shallow Bowls: You’ll need these for your breading station. One for flour, one for eggs, and one for the panko mixture. Pie plates or wide, shallow bowls work perfectly.
- Cutting Board & Sharp Knife: For trimming any excess fat or cutting the chicken tenders into uniform nugget-sized pieces. A sharp knife makes this job much safer and easier.
- Measuring Cups & Spoons: For accurate ingredient measurements. I can’t stress this enough—baking is a science, and the right ratios make all the difference.
- Tongs or a Fork: For moving the chicken through the breading station without making a huge mess. Tongs are my go-to.
Budget-Friendly Options: Don’t have a wire rack? No problem! Just spray your baking sheet generously with cooking spray and flip the nuggets halfway through. You can also use a silicone baking mat for easy cleanup, though it won’t give you quite the same level of bottom crispiness. A simple fork is a perfectly fine substitute for tongs.
Preparation Method
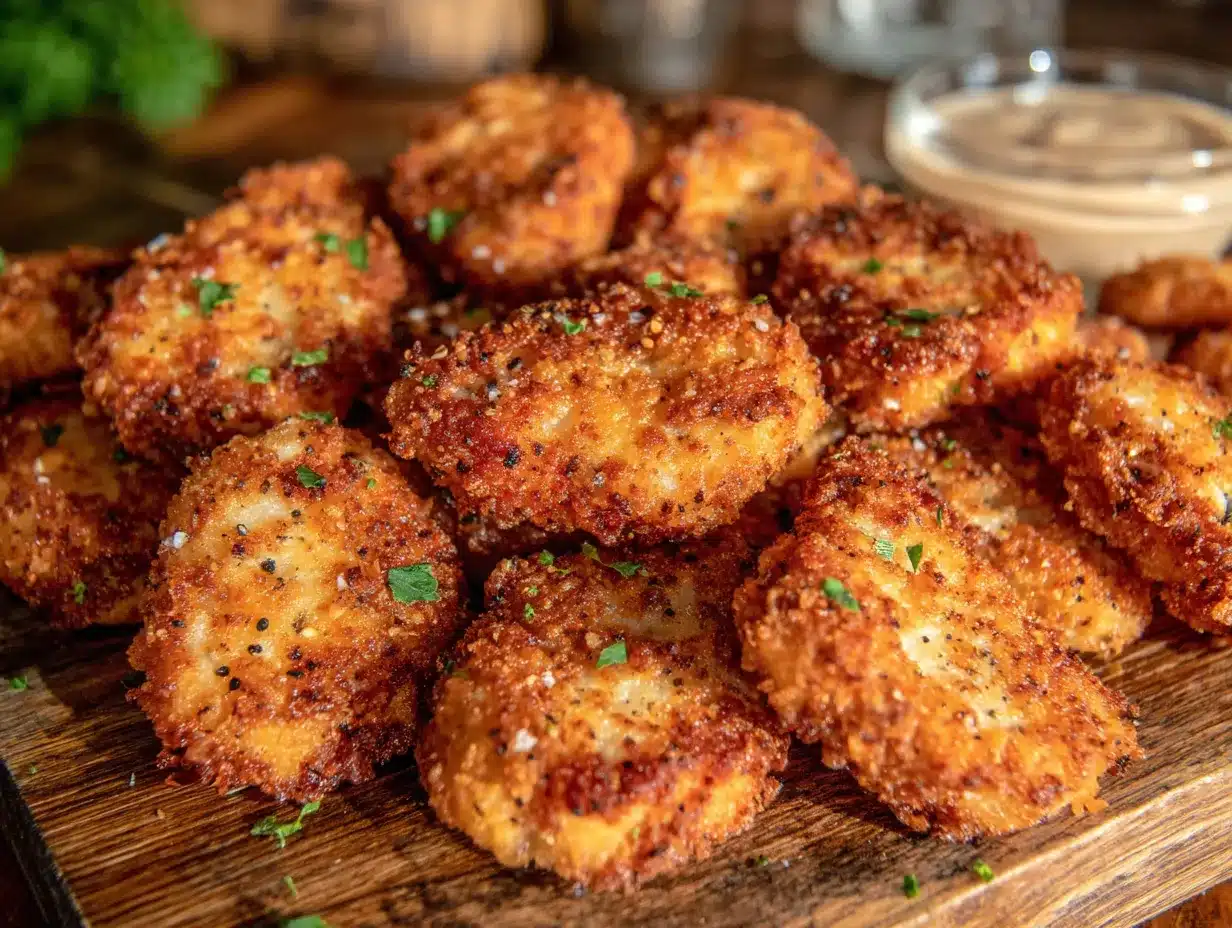
Alright, let’s get cooking! This process is simple, but following these steps will guarantee perfect, crispy nuggets every single time. I’ve learned a few tricks along the way that I’m happy to share.
- Preheat and Prep (5 minutes): First things first, preheat your oven to 400°F (200°C). While it’s heating up, line your baking sheet with parchment paper or foil for easy cleanup, and place a wire rack on top if you’re using one. Give the rack a good spray with cooking spray so the nuggets don’t stick.
- Set Up Your Breading Station (5 minutes): Grab your three shallow bowls. In the first bowl, add the 1/2 cup of all-purpose flour. In the second bowl, whisk the 2 large eggs until they’re frothy and combined. In the third bowl, mix together the 1 cup of panko breadcrumbs, 1/2 cup of grated parmesan cheese, 1 teaspoon of garlic powder, 1 teaspoon of paprika, 1/2 teaspoon of salt, and 1/4 teaspoon of black pepper. Give it a good stir with a fork to make sure everything is evenly distributed.
- Prepare the Chicken (10 minutes): Pat the chicken tenders dry with a paper towel. This is a crucial step—dry chicken helps the flour stick better. If you’re using chicken breasts, cut them into 1.5-inch pieces. Try to make them all roughly the same size so they cook evenly. (I once cut them into wildly different sizes and ended up with some overdone and some underdone. Learn from my mistake!)
- The Breading Process (15 minutes): Now for the fun part. Take a piece of chicken and coat it first in the flour, shaking off any excess. Then, dip it into the egg wash, letting any extra drip off. Finally, press it firmly into the panko mixture, making sure it’s completely covered on all sides. Place the breaded nugget onto your prepared baking sheet or wire rack. Repeat with all the chicken pieces. (Pro tip: Use one hand for the dry ingredients and one for the wet to avoid turning your fingers into a breaded mess.)
- Bake to Golden Perfection (15-18 minutes): Once all the nuggets are on the baking sheet, give them a light, even spray with cooking spray. This is what gives them that beautiful golden-brown color. Bake for 15-18 minutes, flipping them halfway through if you’re not using a wire rack. The nuggets are done when they’re golden brown and the internal temperature reaches 165°F (74°C) on an instant-read thermometer. The smell in your kitchen at this point is absolutely heavenly.
- Cool and Serve (5 minutes): Let the nuggets rest on the baking sheet for about 5 minutes before serving. This allows the juices to redistribute and the coating to set. They’ll be perfectly crispy and ready to dip into your favorite sauce.
Cooking Tips & Techniques
Over the years, I’ve had my fair share of nugget failures—soggy, dry, and just plain sad. But I’ve also had my victories. Here are the lessons I’ve learned so you can skip the failures and go straight to the win.
- Don’t Overcrowd the Pan: This is the number one mistake people make. If you put too many nuggets on the baking sheet, they’ll steam instead of bake, and you’ll lose that precious crunch. Leave a little space between each nugget so the hot air can circulate. If you’re making a big batch, bake in two batches.
- The “Finger Test” for Doneness: If you don’t have a meat thermometer, you can use the finger test. The nugget should feel firm to the touch, not squishy. A more reliable test is to cut one open—the juices should run clear, and the meat should be white all the way through, with no pink.
- Timing and Multitasking: While the nuggets are baking, you can prep your dipping sauces or pack the rest of the lunchboxes. The 15-minute bake time is a great window to get other things done. I often use this time to wash the dishes from the breading station.
- My Biggest Failure: The first time I made these, I forgot the egg wash. I just coated the chicken in flour and then the panko. The result? A sad, bare chicken tender with a pile of breadcrumbs on the pan. Don’t skip the egg wash! It’s the glue that holds everything together.
Variations & Adaptations
This recipe is a fantastic base for creativity. Don’t be afraid to make it your own! Here are a few of my favorite variations that I’ve tried and loved.
- Spicy Buffalo Nuggets: Add 1-2 teaspoons of cayenne pepper or chili powder to the panko mixture. After baking, toss the hot nuggets in your favorite buffalo wing sauce. It’s a game-changer for adults who want a little kick.
- Parmesan-Herb Nuggets: Add 1 tablespoon of dried Italian seasoning or a mix of dried oregano, basil, and thyme to the panko mixture. The herbs pair beautifully with the parmesan for a more sophisticated flavor. I love these with a simple marinara dipping sauce.
- Gluten-Free & Dairy-Free Adaptation: As mentioned in the ingredients section, use gluten-free panko and a 1:1 gluten-free flour blend. Omit the parmesan and add 2 tablespoons of nutritional yeast for a cheesy, savory flavor. They turn out just as crispy and delicious.
- Air Fryer Method: For an even faster, crispier result, cook the breaded nuggets in an air fryer at 375°F (190°C) for 10-12 minutes, shaking the basket halfway through. No need for a wire rack or flipping! This is my go-to method for reheating leftovers.
Serving & Storage Suggestions
These nuggets are incredibly versatile. Whether you’re packing a lunch or serving a dinner, here’s how to make the most of them.
Serving: Serve the nuggets warm, straight from the oven. They’re fantastic with a variety of dipping sauces like ketchup, honey mustard, BBQ sauce, ranch dressing, or a simple sriracha mayo. For a complete meal, pair them with a side of roasted vegetables, a simple salad, or some sweet potato fries. They’re also great sliced up on top of a salad for a protein boost.
Storage: This is where these nuggets truly shine. Let the cooked nuggets cool completely on a wire rack. Once cool, place them in a single layer on a baking sheet and pop them in the freezer for 1-2 hours, or until they’re frozen solid. This is called “flash freezing” and it prevents them from sticking together. Then, transfer the frozen nuggets to a zip-top freezer bag or an airtight container. They’ll keep in the freezer for up to 3 months.
Reheating: For the best results, reheat frozen nuggets in a toaster oven or air fryer at 375°F (190°C) for 8-10 minutes, or until heated through and crispy. You can also reheat them in a conventional oven at 350°F (175°C) for 10-12 minutes. Avoid the microwave, as it will make them soggy. The flavors actually seem to meld together even more after freezing, so they taste just as good—if not better—the second time around.
Nutritional Information & Benefits
While I’m not a nutritionist, I do like to know what’s going into my family’s food. These nuggets are a much healthier alternative to store-bought, processed versions. They’re baked, not fried, which significantly reduces the fat content. Plus, you’re in control of the ingredients.
Estimated Nutritional Values (per serving of 4-5 nuggets):
- Calories: ~350-400
- Protein: ~35g
- Fat: ~15g
- Carbohydrates: ~20g
- Fiber: ~1g
Chicken is a fantastic source of lean protein, which is essential for muscle growth and repair. The parmesan cheese adds a bit of calcium and protein, while the breadcrumbs provide a small amount of energy from carbohydrates. This recipe is naturally nut-free and can easily be made gluten-free and dairy-free. It’s a balanced, satisfying meal that you can feel good about serving. From my perspective, knowing I’m feeding my family real, whole ingredients is the biggest benefit of all.
Conclusion
These Easy Baked Chicken Tender Lunchbox Nuggets are more than just a recipe; they’re a solution to a daily problem. They’re the answer to the “what’s for lunch?” question that haunts every parent. They’re quick, they’re healthy, and they’re absolutely delicious. I love that I can make a big batch on a Sunday and have lunches sorted for weeks. It feels like I’ve outsmarted the system, and honestly, that’s a great feeling.
I encourage you to make this recipe your own. Try the spicy version, the herby version, or just stick with the classic. The beauty of a simple recipe is that it’s a blank canvas for your family’s tastes. I’d love to hear how they turn out for you! Did your kids love them? Did you try a crazy new variation? Drop a comment below and let me know. Share this recipe with a friend who’s also in the lunch-packing trenches. Until next time, happy cooking, and may your lunchboxes always be full of homemade goodness!
Frequently Asked Questions (FAQs)
Can I use chicken thighs instead of breasts?
Absolutely! Chicken thighs will be even more juicy and flavorful. Just make sure to cut them into uniform pieces and bake them until they reach an internal temperature of 165°F (74°C).
How do I keep the breading from falling off?
The key is the breading station order: flour, then egg, then panko. Make sure the chicken is dry before you start, and press the panko mixture firmly onto the chicken. The egg wash acts as a glue, so don’t skimp on that step.
Can I use an air fryer instead of an oven?
Yes! The air fryer is my favorite method for these nuggets. Cook them at 375°F (190°C) for 10-12 minutes, shaking the basket halfway through. They come out incredibly crispy.
How long do these nuggets last in the freezer?
When stored properly in an airtight container or freezer bag, these nuggets will stay fresh for up to 3 months. I like to label my bags with the date so I don’t forget.
Can I double this recipe?
Definitely! This recipe scales up beautifully. Just make sure you use a large enough baking sheet or bake in batches to avoid overcrowding. You can also use two baking sheets on separate oven racks.
Pin This Recipe!
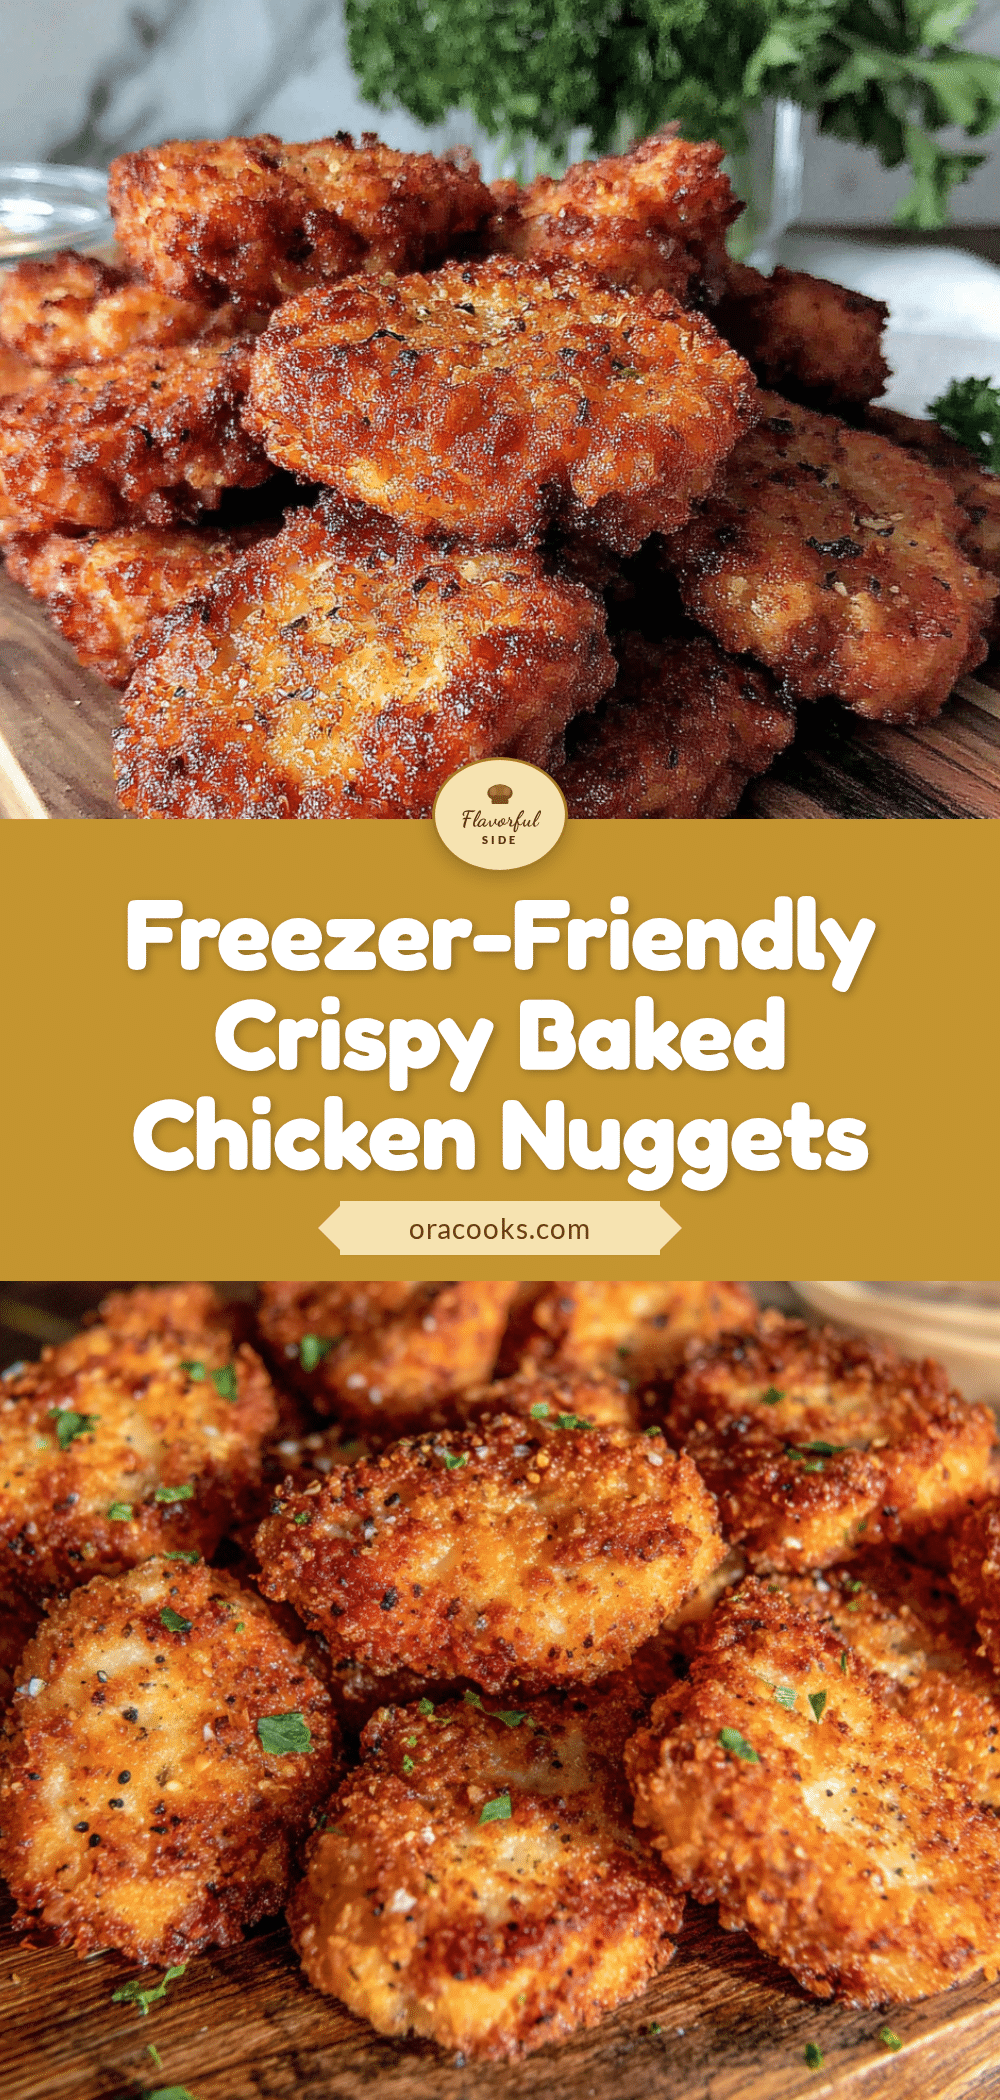
Easy Baked Chicken Tender Lunchbox Nuggets (Freezer-Friendly)
These easy baked chicken tender lunchbox nuggets are a healthy, freezer-friendly alternative to store-bought nuggets. Made with simple ingredients and a secret parmesan breading, they’re perfectly crispy and perfect for meal prep.
- Prep Time: 30 minutes
- Cook Time: 18 minutes
- Total Time: 48 minutes
- Yield: 4 servings 1x
- Category: Main Course
- Cuisine: American
Ingredients
- 1.5 lbs (680g) chicken tenders
- 1 cup (120g) panko breadcrumbs
- 1/2 cup (50g) grated Parmesan cheese
- 1 teaspoon garlic powder
- 1 teaspoon paprika
- 1/2 teaspoon salt
- 1/4 teaspoon black pepper
- 2 large eggs
- 1/2 cup (60g) all-purpose flour
- Cooking spray or olive oil (for baking)
Instructions
- Preheat oven to 400°F (200°C). Line a baking sheet with parchment paper or foil and place a wire rack on top if using. Spray the rack with cooking spray.
- Set up a breading station with three shallow bowls: first bowl with flour, second bowl with whisked eggs, third bowl with panko, Parmesan, garlic powder, paprika, salt, and pepper mixed together.
- Pat chicken tenders dry with paper towels. If using chicken breasts, cut into 1.5-inch pieces.
- Coat each piece of chicken in flour, shaking off excess. Dip into egg wash, letting excess drip off. Press firmly into panko mixture, coating all sides. Place on prepared baking sheet or wire rack.
- Lightly spray the breaded nuggets with cooking spray. Bake for 15-18 minutes, flipping halfway through if not using a wire rack, until golden brown and internal temperature reaches 165°F (74°C).
- Let nuggets rest on the baking sheet for 5 minutes before serving.
Notes
For gluten-free: use gluten-free panko and 1:1 gluten-free flour. For dairy-free: omit Parmesan and add 2 tablespoons nutritional yeast. For extra crispiness, toast panko in a dry skillet for 2-3 minutes before using. Do not overcrowd the pan to ensure crispiness. Flash freeze nuggets on a baking sheet before transferring to a freezer bag for up to 3 months. Reheat in toaster oven or air fryer at 375°F (190°C) for 8-10 minutes.
Nutrition
- Serving Size: 4-5 nuggets
- Calories: 375
- Sugar: 1
- Sodium: 600
- Fat: 15
- Saturated Fat: 4
- Carbohydrates: 20
- Fiber: 1
- Protein: 35
Keywords: chicken nuggets, baked chicken nuggets, lunchbox nuggets, freezer-friendly chicken nuggets, healthy chicken nuggets, easy chicken nuggets


