Love this? Save it for later!
Share the inspiration with your friends
This was supposed to be a simple lemon herb chicken thing. You know the kind — throw some chicken in a pan, squeeze a lemon, call it dinner. I had the lemons on the counter, the herbs measured, the whole plan mapped out in my head. But somewhere between chopping garlic and realizing I was out of white wine (because of course I was), I grabbed the butter instead of olive oil, cranked the heat too high, and just… went with it. Honestly, I was already annoyed at myself for forgetting the wine. The last thing I wanted was another kitchen fail on a Tuesday night.
But then that butter started to brown, and the garlic hit the pan, and suddenly my whole apartment smelled like the kind of place where people actually know what they’re doing. I threw the rice in without even measuring properly — just a handful, a splash of broth, and a prayer. Twenty minutes later, I was standing over the stove eating straight from the pan, not even bothering with a plate. Maybe you’ve been there — that moment when a mistake turns into something you didn’t know you needed.
That’s how this crispy garlic butter chicken and rice skillet was born. Not from a tested recipe or a chef’s secret. Just from a distracted cook, an empty wine bottle, and a whole lot of butter. And now I can’t stop making it. It’s the kind of meal that feels like comfort food but comes together faster than takeout. Every time I make it, I remember that burnt garlic moment — and I smile.
Why You’ll Love This Recipe
Let me tell you why this crispy garlic butter chicken and rice skillet has become my most-requested recipe. It’s not fancy, but it’s honest. And honestly? It works every single time.
- Quick & Easy: From fridge to table in under 30 minutes. Perfect for those nights when you’re starving and the fridge looks empty.
- Simple Ingredients: You probably have everything already — chicken, rice, butter, garlic, broth. No fancy grocery runs required. I mean it.
- Perfect for Weeknights: This is the dinner you make on a Wednesday when you have zero energy but still want something that tastes like you tried.
- Crowd-Pleaser: Kids love the crispy bits, adults love the garlic butter situation, and everyone goes back for seconds.
- One-Pan Wonder: Less cleanup means more time doing literally anything else. My kind of math.
What makes this different from every other chicken and rice recipe out there? It’s the texture. That golden, crispy crust on the chicken — it’s not fried, but it tastes like it. The rice soaks up all that garlic butter goodness while staying separate and fluffy. I’ve tested this at least a dozen times, tweaking the heat, the butter amount, the timing. This version? It’s the one. The one where you close your eyes after the first bite and forget about your day.
This isn’t just dinner. It’s the kind of meal that makes you feel like you’ve got your act together, even when you definitely don’t.
What Ingredients You Will Need
This recipe uses simple, everyday ingredients to create something that tastes way more complicated than it is. Here’s what you’ll need and why each one matters.
- Chicken Thighs (4-6, bone-in or boneless, skin-on): I prefer boneless, skin-on thighs for this. The skin gets incredibly crispy in the butter, and the meat stays juicy. If you only have breasts, they’ll work, but thighs are more forgiving. (Trust me on this one.)
- Unsalted Butter (4 tablespoons): Don’t skimp here. Butter is the star of this show. Unsalted lets you control the salt level. I like Kerrygold for the richness, but any good unsalted butter works.
- Garlic (6-8 cloves, minced): Fresh garlic only, please. The pre-minced stuff in jars will burn too fast. You want that fresh, pungent flavor that mellows into sweetness as it cooks.
- Long-Grain White Rice (1 cup): Basmati or jasmine work beautifully. They stay separate and fluffy, unlike short-grain rice which gets sticky. Rinse it first until the water runs clear — this removes excess starch and prevents gummy rice.
- Chicken Broth (2 cups): Low-sodium is best so you can control the salt. I use Swanson’s or homemade if I have it. The broth adds flavor that water just can’t match.
- Onion (1 medium, diced): Yellow or sweet onion works. It adds a subtle sweetness that balances the garlic and butter.
- Paprika (1 teaspoon): Smoked paprika if you have it — it adds a depth that regular paprika doesn’t. Regular works in a pinch.
- Dried Thyme (½ teaspoon): Just a little earthiness to round things out. Fresh thyme works too, just use a bit more.
- Salt and Black Pepper (to taste): Season generously. Chicken needs it, rice needs it. Don’t be shy.
- Fresh Parsley (for garnish): Optional but nice. It adds a pop of color and freshness at the end.
Substitution Notes: For a gluten-free version, just make sure your broth is certified gluten-free. For dairy-free, use a good quality vegan butter — but honestly, the texture won’t be quite the same. If you’re watching sodium, use no-salt-added broth and season lightly. You can swap the rice for cauliflower rice for a low-carb option, but adjust the cooking time significantly (about 10 minutes less).
Equipment Needed
- Large Skillet with Lid (12-inch, preferably cast iron or heavy-bottomed stainless steel): This is non-negotiable. You need a pan that holds heat well and has a tight-fitting lid. Cast iron gives the best crispy crust, but a good stainless steel pan works too. Avoid non-stick if you can — you won’t get that golden crust.
- Sharp Knife and Cutting Board: For mincing garlic and dicing onion. A dull knife is a dangerous knife, I learned that the hard way.
- Measuring Cups and Spoons: For the rice, broth, and spices. Eyeballing works for some things, but rice-to-liquid ratio matters here.
- Wooden Spoon or Spatula: For stirring the rice and scraping up those delicious browned bits from the bottom of the pan.
- Tongs: For flipping the chicken without piercing the skin and losing those precious juices.
Budget Options: If you don’t have a cast iron skillet, a heavy-bottomed non-stick pan will work — just know the crust won’t be as dramatic. I’ve made this in a $20 stainless steel pan from Target and it was still delicious. The lid matters more than the pan material, honestly. A piece of foil tightly crimped around the edges can work in a pinch if your pan doesn’t have a lid.
Preparation Method
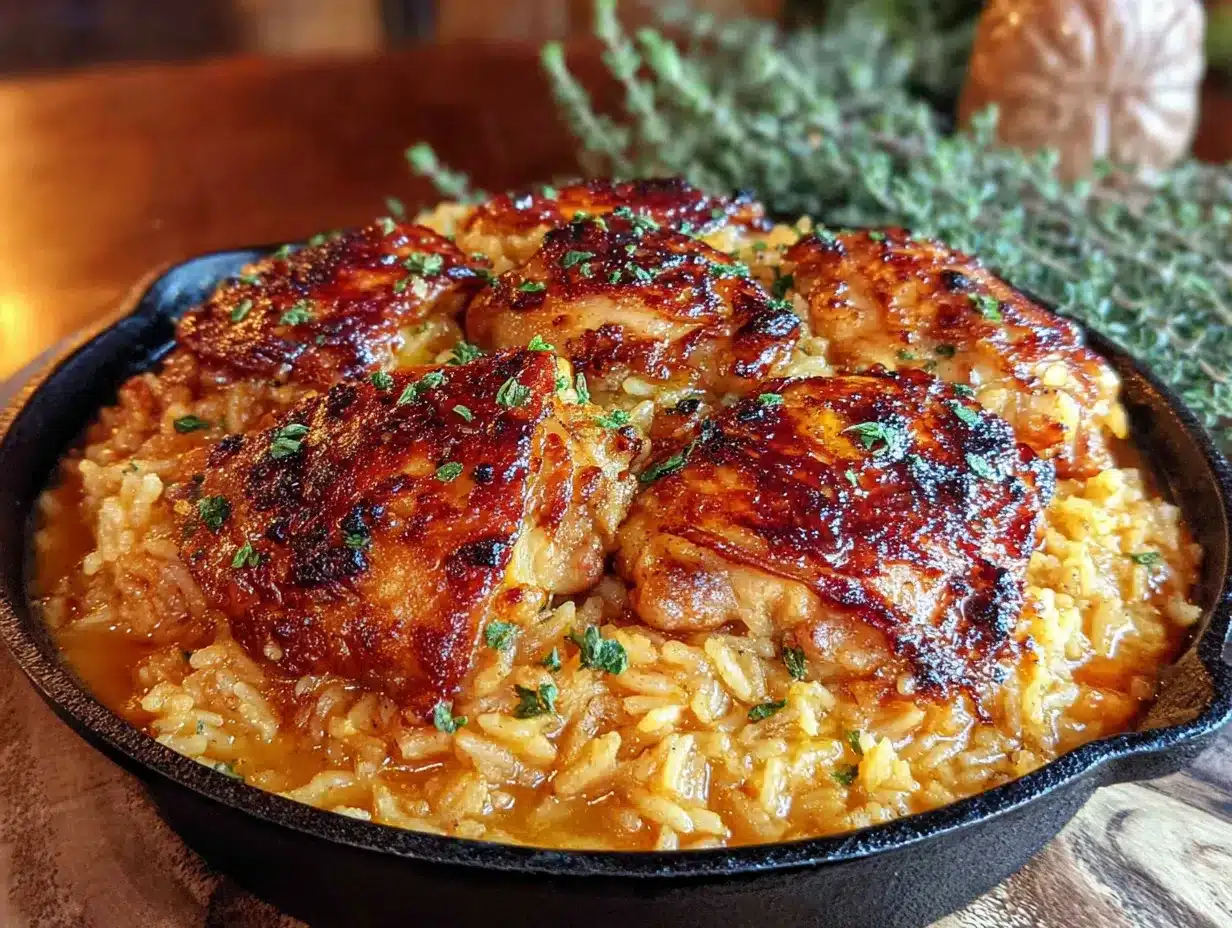
- Prep your ingredients first. This is one of those recipes where everything moves fast once you start. Mince the garlic, dice the onion, rinse the rice, and pat the chicken dry with paper towels. Patting the chicken dry is the single most important step for crispy skin. Don’t skip it. (I learned this after years of soggy chicken skin. Years.)
- Season the chicken generously. Sprinkle both sides with salt, pepper, and paprika. Don’t be delicate about it — you want flavor in every bite. Let it sit for 5 minutes while your pan heats up.
- Heat your skillet over medium-high heat. Add 2 tablespoons of butter. Let it melt and foam — when the foam subsides, it’s ready. The butter should be sizzling but not browning yet. If it’s smoking, your heat is too high.
- Sear the chicken skin-side down. Place the chicken in the pan, skin side down, and let it cook undisturbed for 5-7 minutes. I know it’s tempting to peek, but don’t. You want that deep golden crust, and moving the chicken too early will tear the skin. The chicken should release easily from the pan when it’s ready. If it sticks, it needs more time.
- Flip and cook the other side. Use tongs to flip the chicken. Cook for another 4-5 minutes until golden. Remove the chicken to a plate. It won’t be fully cooked yet — that’s fine, it’ll finish in the rice.
- Cook the aromatics. Reduce heat to medium. Add the remaining 2 tablespoons of butter. Toss in the diced onion and cook for 2-3 minutes until softened. Add the minced garlic and cook for 30 seconds — just until fragrant. Garlic burns fast, so keep stirring. (I’ve burned garlic more times than I care to admit. The smell lingers for days.)
- Toast the rice. Add the rinsed rice to the pan. Stir it around for 1-2 minutes until it starts to smell nutty. This step makes a huge difference in the final texture — the rice stays separate and doesn’t get mushy.
- Add the broth and seasonings. Pour in the chicken broth, add the dried thyme, and stir everything together. Scrape up any browned bits from the bottom of the pan — that’s pure flavor. Bring it to a simmer.
- Nestle the chicken back in. Place the chicken pieces on top of the rice, skin side up. Don’t push them down into the liquid — you want that crispy skin to stay above the surface. Cover the pan with the lid.
- Simmer and steam. Reduce heat to low and cook for 18-20 minutes. Don’t lift the lid during this time — the steam is what cooks the rice perfectly. Set a timer and walk away. I mean it. No peeking.
- Rest before serving. After 20 minutes, turn off the heat and let the pan sit, covered, for 5 more minutes. This allows the rice to absorb any remaining liquid and the chicken to rest. Fluff the rice with a fork, garnish with fresh parsley, and serve straight from the pan.
Cooking Tips & Techniques
Here’s the stuff I wish someone had told me before I started making this dish. The first time I made it, the rice was mushy and the chicken skin was rubbery. It was a mess. But I learned from every mistake.
Patience is everything with the sear. That first 5-7 minutes of cooking the chicken skin-side down? Don’t touch it. Don’t even think about touching it. The skin needs uninterrupted contact with the hot butter to develop that crispy, golden crust. I used to flip things constantly because I thought I was being attentive. Turns out I was just sabotaging myself.
Rinse your rice until the water runs clear. This removes excess starch that would otherwise turn your rice into a sticky, gluey mess. Three rinses is usually enough. I learned this after making rice that looked more like risotto than fluffy grains.
Low and slow for the simmer. Once you add the broth and cover the pan, keep the heat on low. A vigorous boil will cook the rice unevenly and evaporate the liquid too fast. You want a gentle simmer — just a few lazy bubbles breaking the surface.
Don’t lift the lid. I know it’s hard. The kitchen smells amazing, and you want to check if everything’s okay. But every time you lift that lid, you let out steam, and steam is what cooks the rice. Trust the process. Set a timer and walk away.
Let it rest. Those 5 minutes at the end aren’t optional. The rice continues to absorb liquid as it rests, and the chicken finishes cooking through gently. If you dig in immediately, the rice will be wet and the chicken might be underdone in the center.
Variations & Adaptations
One of the best things about this recipe is how adaptable it is. I’ve made it so many ways, and honestly, they’ve all been good.
Spicy Version: Add ½ teaspoon of red pepper flakes with the garlic, or use a pinch of cayenne in the seasoning for the chicken. The heat cuts through the richness of the butter beautifully. I did this on a whim one night and now it’s my go-to when I’m feeling under the weather.
Vegetable Add-Ins: Toss in a cup of frozen peas or diced bell peppers right after you toast the rice. They’ll steam along with everything else and add color and nutrients. Broccoli florets work too, just cut them small so they cook through.
Herb Swap: Replace the dried thyme with rosemary or oregano for a different flavor profile. Fresh herbs work best added at the end — stir in a tablespoon of chopped fresh dill or parsley right before serving for a bright finish.
Creamy Version: Stir in ¼ cup of heavy cream or full-fat coconut milk right before you add the chicken back to the pan. It makes the rice extra luxurious and rich. Perfect for a cold winter night.
Dietary Adaptations: For a dairy-free version, use ghee or a high-quality vegan butter. For low-carb, swap the rice for cauliflower rice (reduce cooking time to 10 minutes). For gluten-free, double-check your broth label — most are gluten-free, but some contain wheat.
Serving & Storage Suggestions
This dish is best served hot, straight from the skillet. The contrast between the crispy chicken skin and the tender, buttery rice is the whole point. I like to serve it with a simple side salad dressed with lemon vinaigrette — the acidity cuts through the richness perfectly.
What to drink with it: A crisp white wine like Sauvignon Blanc or a light Pinot Noir. For beer drinkers, a pilsner or pale ale works beautifully. If you’re not drinking, sparkling water with a squeeze of lemon is perfect.
Leftovers: Store in an airtight container in the refrigerator for up to 4 days. The chicken skin will lose its crispiness, but the flavor only gets better as it sits. To reheat, add a splash of broth or water to a skillet, cover, and warm over medium-low heat for 5-7 minutes. The microwave works in a pinch, but the stovetop method keeps the rice from drying out.
Freezing: This freezes surprisingly well. Let it cool completely, then transfer to a freezer-safe container. Freeze for up to 3 months. Thaw overnight in the refrigerator and reheat as directed above. The texture won’t be quite as perfect as fresh, but it’s still a solid weeknight dinner option.
One thing I’ve noticed: the flavors meld and deepen overnight. Leftovers the next day are almost better than the original meal. The garlic mellows, the rice absorbs every last bit of broth, and everything comes together in a way that feels intentional.
Nutritional Information & Benefits
Here’s the rough breakdown per serving (based on 4 servings):
- Calories: ~520
- Protein: 35g
- Fat: 28g
- Carbohydrates: 38g
- Fiber: 1g
- Sugar: 2g
- Sodium: 680mg (varies based on broth and seasoning)
This dish is a solid source of protein from the chicken, which helps keep you full and supports muscle health. The butter provides fat-soluble vitamins A, D, E, and K, while the garlic offers allicin, a compound known for its anti-inflammatory properties. Rice provides quick energy, making this a great meal before or after a workout.
Dietary Considerations: This recipe is naturally nut-free and egg-free. For gluten-free, just check your broth. For lower sodium, use no-salt-added broth and go easy on the added salt. It’s not a health food by any stretch, but it’s a balanced meal that satisfies without leaving you feeling heavy.
I personally love that this dish feels indulgent but isn’t loaded with processed ingredients. Real butter, real garlic, real chicken — it’s simple food done well.
Conclusion
This crispy garlic butter chicken and rice skillet started as a mistake, but it’s become one of my most reliable recipes. It’s the dinner I make when I’m tired, when I’m stressed, when I need something that feels like a hug in a pan. The crispy chicken, the buttery rice, the way the garlic perfumes the whole kitchen — it’s simple magic.
I hope you make this your own. Add more garlic if you’re brave. Throw in some vegetables if you’re feeling virtuous. Leave out the thyme if you don’t have it. The beauty of this recipe is that it’s forgiving. It wants to be made, and it wants to be eaten.
When you make it — and I really hope you do — come back and let me know how it turned out. Did you add something unexpected? Did it become a family favorite? I’d love to hear your story. Drop a comment below, share a photo, or tag me on social media. There’s nothing I love more than seeing someone else fall in love with a happy accident.
Now go make some crispy, garlicky, buttery magic. You’ve got this.
Frequently Asked Questions
Can I use chicken breasts instead of thighs?
Yes, but be careful not to overcook them. Chicken breasts cook faster and can dry out. I’d recommend pounding them to an even thickness first, and checking for doneness at the 15-minute mark during the simmer.
Why is my rice mushy?
Most likely one of two things: you didn’t rinse the rice before cooking, or you lifted the lid during the simmer. Rinsing removes excess starch, and keeping the lid on ensures even steaming. If your rice is consistently mushy, reduce the broth by ¼ cup next time.
Can I make this in an Instant Pot?
You can, but the chicken won’t get as crispy. Use the sauté function to sear the chicken and cook the aromatics, then pressure cook on high for 6 minutes with a natural release. For crispy skin, finish the chicken under the broiler for 2-3 minutes.
How do I get the chicken skin extra crispy?
Pat the chicken dry with paper towels before seasoning. Don’t crowd the pan — cook in batches if needed. And most importantly, don’t move the chicken while it’s searing. Let it develop that golden crust undisturbed.
Can I add vegetables to this dish?
Absolutely. Frozen peas, diced bell peppers, or chopped broccoli all work well. Add them right after you toast the rice, before adding the broth. They’ll steam along with everything else and be perfectly tender by the time the rice is done.
Pin This Recipe!
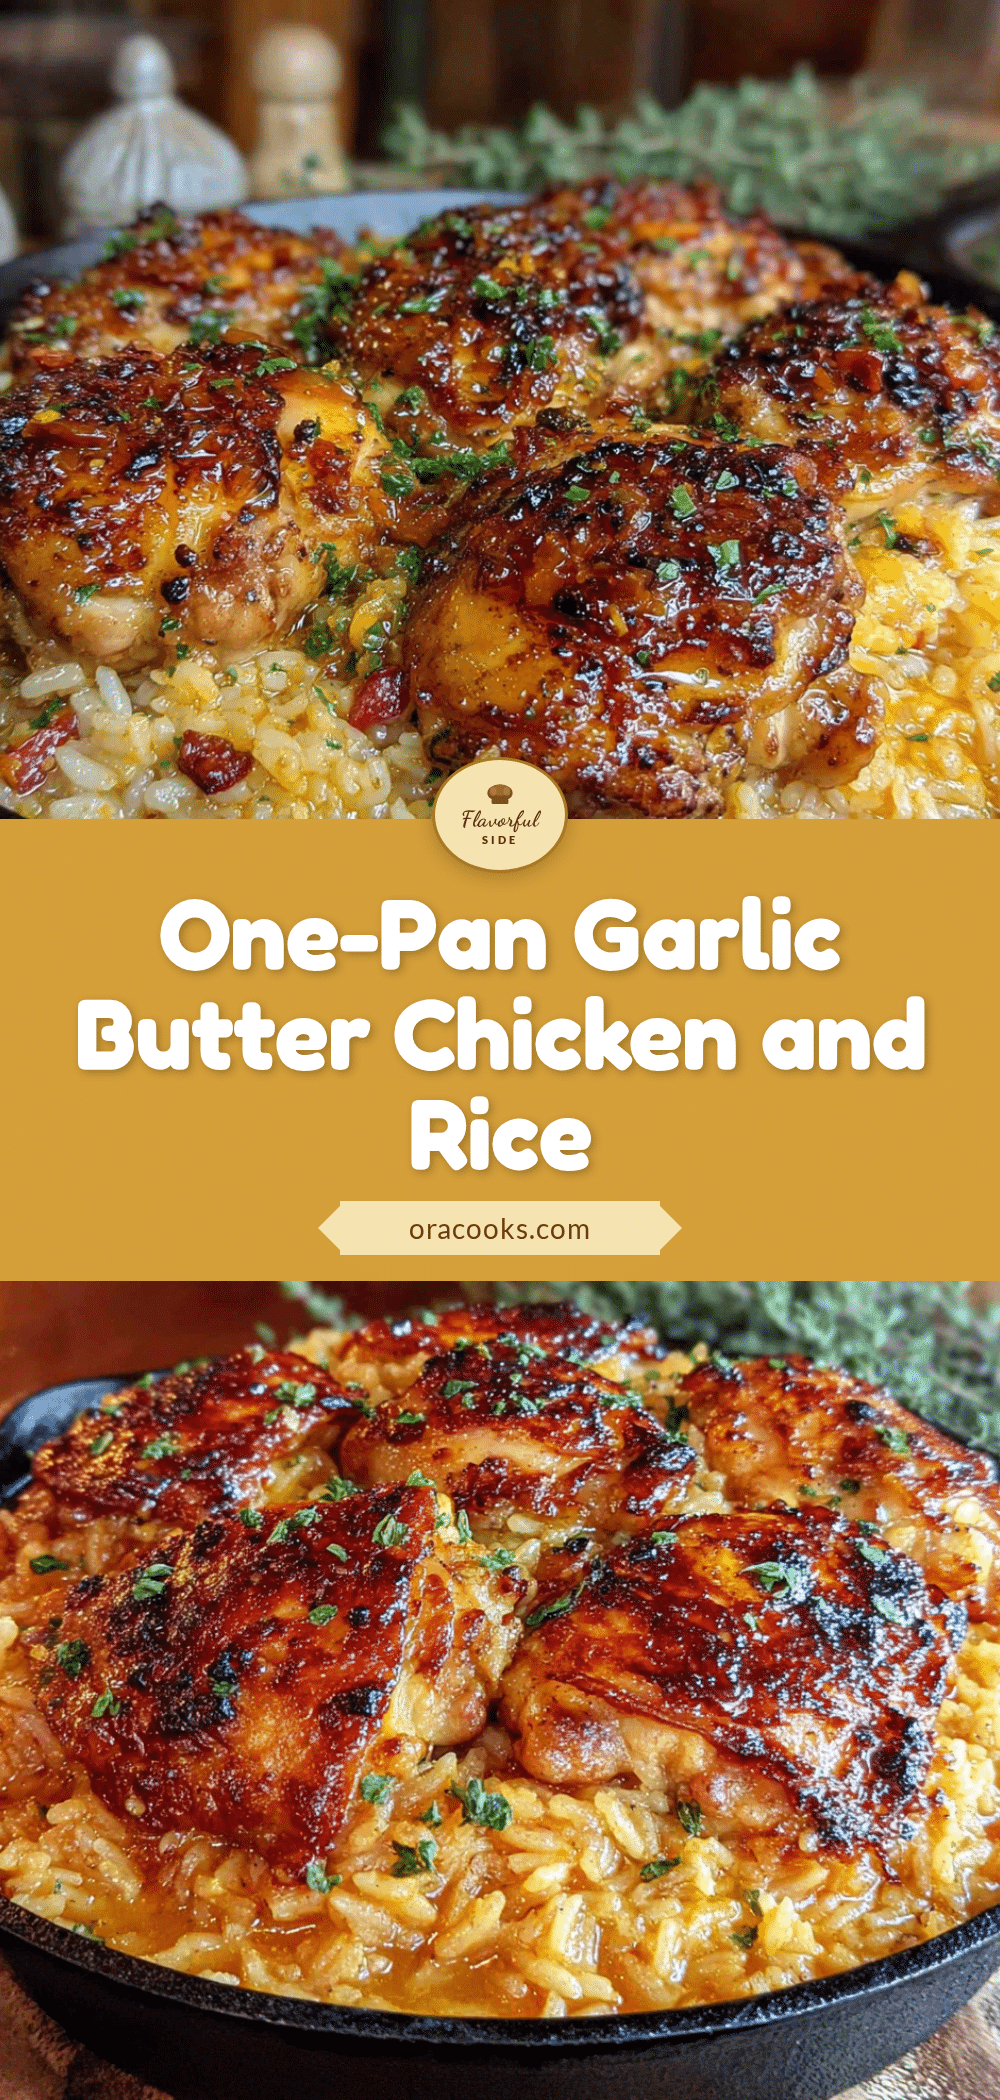
Crispy Garlic Butter Chicken & Rice Skillet – Easy 30-Minute Meal

A crispy garlic butter chicken and rice skillet that comes together in under 30 minutes. This one-pan wonder features golden, crispy chicken thighs and fluffy rice soaked in garlic butter goodness.
- Prep Time: 10 minutes
- Cook Time: 20 minutes
- Total Time: 30 minutes
- Yield: 4 servings 1x
- Category: Main Course
- Cuisine: American
Ingredients
- 4–6 chicken thighs (bone-in or boneless, skin-on)
- 4 tablespoons unsalted butter
- 6–8 cloves garlic, minced
- 1 cup long-grain white rice (rinsed)
- 2 cups low-sodium chicken broth
- 1 medium onion, diced
- 1 teaspoon paprika (smoked preferred)
- ½ teaspoon dried thyme
- Salt and black pepper to taste
- Fresh parsley for garnish (optional)
Instructions
- Prep your ingredients first: mince garlic, dice onion, rinse rice, and pat chicken dry with paper towels.
- Season chicken generously on both sides with salt, pepper, and paprika. Let sit for 5 minutes.
- Heat a large skillet over medium-high heat. Add 2 tablespoons butter. Let it melt and foam until foam subsides.
- Sear chicken skin-side down for 5-7 minutes without moving, until deep golden. Flip and cook 4-5 minutes more. Remove chicken to a plate.
- Reduce heat to medium. Add remaining 2 tablespoons butter. Cook diced onion for 2-3 minutes until softened. Add minced garlic and cook 30 seconds until fragrant.
- Add rinsed rice to the pan. Stir for 1-2 minutes until nutty.
- Pour in chicken broth, add dried thyme, and stir. Scrape up browned bits from pan bottom. Bring to a simmer.
- Nestle chicken back into the pan, skin side up, on top of the rice. Cover with lid.
- Reduce heat to low and simmer for 18-20 minutes. Do not lift the lid.
- Turn off heat and let rest, covered, for 5 minutes. Fluff rice with a fork, garnish with parsley, and serve.
Notes
Pat chicken dry for crispiest skin. Rinse rice until water runs clear to avoid mushiness. Do not lift lid during simmer. Let rest 5 minutes before serving. For dairy-free, use ghee or vegan butter. For low-carb, substitute cauliflower rice and reduce cooking time to 10 minutes.
Nutrition
- Serving Size: 1 serving (about 1 c
- Calories: 520
- Sugar: 2
- Sodium: 680
- Fat: 28
- Saturated Fat: 12
- Carbohydrates: 38
- Fiber: 1
- Protein: 35
Keywords: crispy garlic butter chicken, chicken and rice skillet, one-pan chicken dinner, easy weeknight meal, 30-minute meal


