Love this? Save it for later!
Share the inspiration with your friends
It was 10:47 PM on a rainy Thursday in late September, and I had a jar of sourdough discard staring at me from the fridge like it knew something I didn’t. I also had half a can of pumpkin puree leftover from a failed attempt at making my niece a “healthy” pudding earlier that week (she took one bite and asked for a popsicle instead). Honestly, I was tired. My kitchen was a mess. But that nagging feeling of waste—the kind that keeps you up if you let it—pushed me to the counter.
I grabbed the discard, dumped the pumpkin into a bowl, and just started mixing. No plan. No recipe pulled up on my phone. Just a hunch that these two things, born from other recipes, might actually belong together. The dough came together weirdly soft, a bit sticky, and the color—this gorgeous burnt orange—made me stop and smile. I let it rise overnight, not really expecting much.
The next morning, I pulled that loaf out of the oven, and let me tell you, the smell was unreal. Toasty, slightly tangy, with this warm pumpkin spice undertone that just felt like fall in a kitchen. The crust crackled when I sliced it. The crumb was soft, almost pillowy, with that signature sourdough chew. I stood there eating a slice with butter, still in my pajamas, and thought—why didn’t I try this sooner? Maybe you’ve been there too, staring at a jar of discard with no idea what to do with it. This is that recipe. The one that turns kitchen leftovers into something you actually look forward to eating.
Why You’ll Love This Pumpkin Sourdough Discard Bread
I’ve tested this recipe about seven times now, tweaking hydration levels and fermentation times until it felt just right. It’s one of those rare recipes that solves two problems at once—using up sourdough discard and that leftover pumpkin puree hiding in your fridge. Here’s why it works so well:
- No Yeast Required: This loaf relies entirely on your sourdough discard for leavening. No packets of commercial yeast needed, which means one less thing to buy at the store.
- Uses Discard, Not Active Starter: Perfect for those days when you feed your starter and have a cup of unfed discard sitting around. No need to wait for it to bubble up.
- Soft, Tender Crumb: The pumpkin adds moisture and a subtle sweetness that makes the bread incredibly soft without being gummy. My neighbor, who usually only eats store-bought bread, asked for the recipe after one slice.
- Perfect for Fall Mornings: This bread toasts like a dream. Slather it with butter, cream cheese, or even a drizzle of honey for a breakfast that feels special without any effort.
- Simple Pantry Ingredients: Flour, pumpkin puree, discard, salt, and a few spices. That’s it. No fancy equipment or hard-to-find items.
What sets this recipe apart is the texture. Most pumpkin breads are dense and cake-like. This one has that beautiful sourdough chew with a soft interior, thanks to the long cold fermentation. The pumpkin doesn’t overpower the tang—it just rounds it out, making it more approachable for people who think sourdough is too sour. I’ve brought this to two fall gatherings now, and both times, people were shocked it was made from discard. It’s the kind of bread that makes you close your eyes after the first bite, honestly.
What Ingredients You Will Need
This recipe uses simple, wholesome ingredients to deliver that perfect balance of tangy and sweet without the fuss. Most of these are pantry staples, especially if you already keep a sourdough starter. Let’s break down each one:
- All-Purpose Flour (400g / about 3 cups): I prefer unbleached all-purpose flour for this recipe. It gives the bread structure without making it too dense. King Arthur Flour is my go-to brand for consistent results. If you’re in a pinch, bread flour works too, but the crumb will be slightly chewier.
- Pumpkin Puree (200g / about ¾ cup): Make sure you’re using 100% pure pumpkin puree, not pumpkin pie filling. The pie filling has added sugar and spices that will throw off the balance. Libby’s is a reliable brand, but any canned puree works. If you roast your own pumpkin, just make sure to drain any excess liquid—homemade puree can be a bit watery.
- Sourdough Discard (200g / about 1 cup): Unfed discard straight from the fridge works perfectly here. It doesn’t need to be bubbly or active. I’ve used discard that was three days old, and it still turned out great. Just make sure it smells pleasantly sour, not funky or like nail polish remover.
- Water (100g / about ⅓ cup plus 1 tablespoon): Lukewarm water helps the dough come together. Tap water is fine, but if your water is heavily chlorinated, let it sit out for an hour first.
- Salt (8g / about 1½ teaspoons): Fine sea salt is what I use. It dissolves more evenly than coarse salt. Don’t skip it—salt controls fermentation and adds flavor.
- Pumpkin Pie Spice (2 teaspoons): You can use store-bought or make your own blend. I mix cinnamon, nutmeg, ginger, and a pinch of cloves. If you only have cinnamon, that works too—just add an extra teaspoon.
- Optional Mix-Ins: Toasted pepitas (pumpkin seeds) or a handful of dried cranberries add texture and pops of sweetness. I’ve added about ¼ cup of pepitas to the dough before shaping, and it was lovely.
For the spices, I recommend buying them in small quantities if you don’t bake with them often—they lose potency over time. And if you’re out of pumpkin pie spice, just use cinnamon and a tiny pinch of nutmeg. It won’t taste exactly the same, but it’ll still be delicious.
Equipment Needed
You don’t need a professional bakery setup to make this bread. Here’s what I use:
- Large Mixing Bowl: Any bowl big enough to hold the dough and let you mix without flour flying everywhere. I use a ceramic one my sister gave me years ago.
- Digital Kitchen Scale: This is non-negotiable for me. Measuring flour by volume is inconsistent, especially in a recipe with discard and pumpkin. A $15 scale from Amazon will save you from dense, gummy loaves.
- Dutch Oven or Heavy Pot with Lid: A 5- or 6-quart Dutch oven creates the steam needed for a crispy crust. If you don’t have one, use any oven-safe pot with a lid. I’ve used a cast iron combo cooker before, and it worked just fine.
- Parchment Paper: Makes transferring the dough into the hot pot so much easier. No sticking, no burns.
- Bench Scraper or Plastic Dough Scraper: Helps with folding the dough and cleaning up sticky bits. A flexible plastic one is my favorite.
- Banneton or Proofing Basket (Optional): You can proof the dough in a bowl lined with a floured kitchen towel. I used a banneton for the first time last year, and it gives a nice pattern on the crust, but it’s not essential.
- Razor Blade or Sharp Knife (for Scoring): A lame or bread scoring tool gives you that classic ear, but a sharp serrated knife works in a pinch.
If you’re on a budget, skip the banneton and use a mixing bowl with a clean tea towel. The Dutch oven is worth investing in if you bake bread regularly—it does double duty for soups and stews too.
Preparation Method
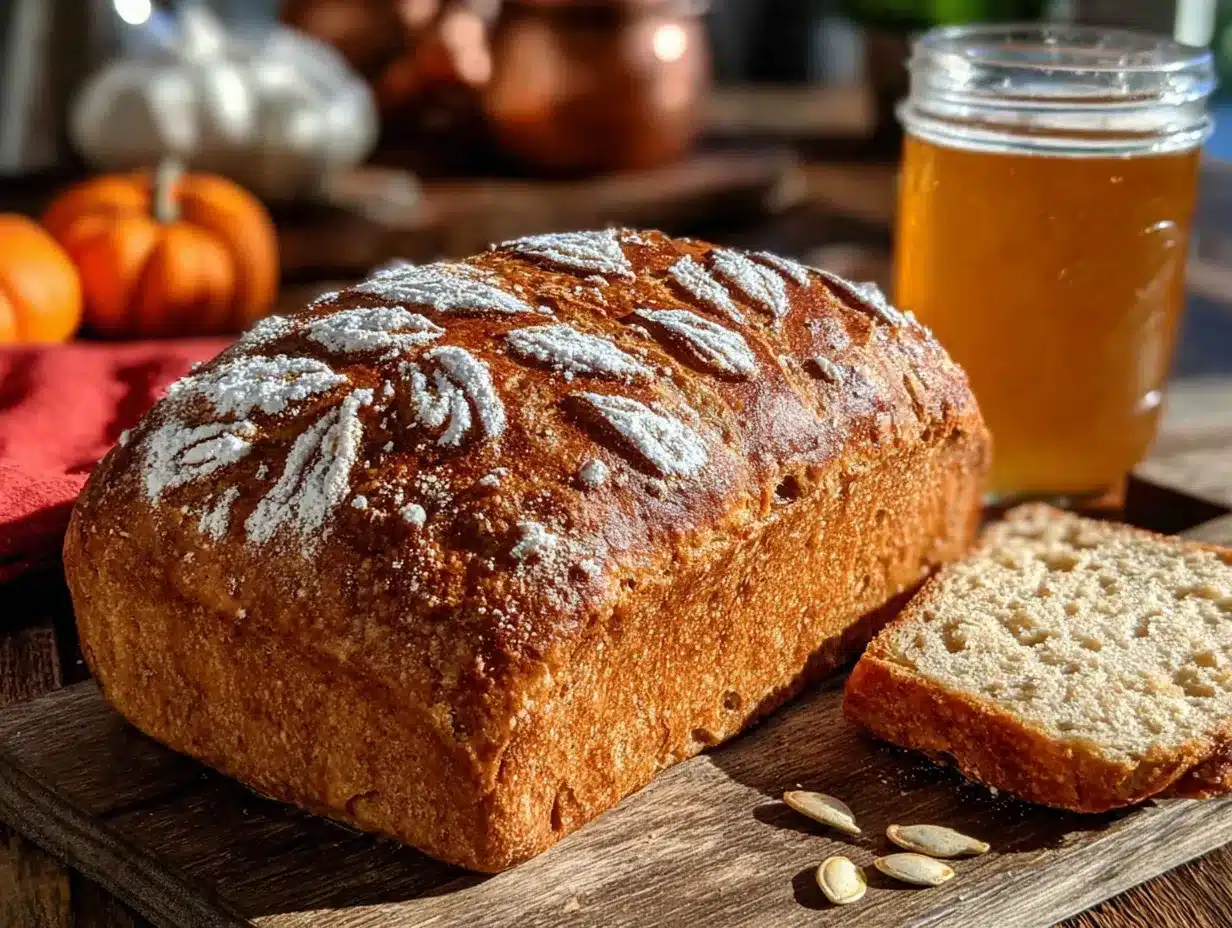
This recipe uses a long, cold fermentation to develop flavor. Plan ahead—the dough needs to rest overnight or for at least 8 hours in the fridge. Here’s how it all comes together:
Step 1: Mix the Dough (10 minutes)
In a large mixing bowl, combine 400g all-purpose flour, 2 teaspoons pumpkin pie spice, and 8g salt. Whisk them together to distribute the salt and spices evenly. In a separate bowl or measuring cup, mix 200g sourdough discard, 200g pumpkin puree, and 100g lukewarm water. Stir until the discard is mostly dissolved—some small lumps are fine.
Pour the wet mixture into the dry ingredients. Use a spatula or your hands to mix until no dry flour remains. The dough will be shaggy and a bit sticky. That’s normal. Cover the bowl with a damp towel or plastic wrap and let it rest for 30 minutes. This is called the autolyse—it lets the flour absorb the liquid and starts developing gluten without any work from you.
Step 2: Stretch and Folds (30 minutes)
After the rest, perform a series of stretch and folds. Wet your hands slightly to prevent sticking. Grab one side of the dough, stretch it up, and fold it over the top. Rotate the bowl a quarter turn and repeat. Do this four times, covering the bowl between each set. Wait 15 minutes, then do another round of four stretches and folds. The dough should feel smoother and slightly more elastic by the end.
Step 3: Bulk Fermentation (4-6 hours at room temperature)
Cover the bowl and let it sit at room temperature. The dough needs to rise by about 50%—it won’t double like a yeasted dough because the discard is unfed. This usually takes 4 to 6 hours depending on your kitchen temperature. In a warm kitchen (around 75°F), it might be closer to 4 hours. In a cooler kitchen, give it more time. Look for small bubbles on the surface and a domed top.
Step 4: Shape and Cold Proof (8-12 hours overnight)
Turn the dough out onto a lightly floured surface. Gently shape it into a round or oval loaf. Don’t deflate it too much—you want to keep those air bubbles. Place the dough seam-side up in a floured banneton or a bowl lined with a floured towel. Cover it with plastic wrap or a reusable bag. Put it in the fridge for 8 to 12 hours. This cold proof slows down fermentation and deepens the tangy flavor.
Step 5: Bake (45 minutes total)
Place your Dutch oven in the oven and preheat to 450°F (230°C). Let it heat for at least 30 minutes. When ready, take the dough out of the fridge. Flip it onto a piece of parchment paper. Score the top with a razor blade or sharp knife—a simple slash across the middle or an “X” pattern works well. Carefully place the dough (with the parchment) into the hot Dutch oven. Put the lid on and bake for 30 minutes. Remove the lid and bake for another 15 to 20 minutes until the crust is deep golden brown. The internal temperature should reach 200°F (93°C). Let it cool on a wire rack for at least an hour before slicing. I know it’s hard to wait, but cutting too early makes the crumb gummy.
Cooking Tips & Techniques
I’ve made every mistake in the book with sourdough, and this recipe taught me a few things the hard way. First, don’t skip the cold proof. I tried rushing it once, baking after only 4 hours in the fridge, and the loaf was flat and dense. The long rest in the fridge is what gives this bread its structure and that perfect tang.
Second, watch your hydration. Pumpkin puree adds moisture, so the dough might feel stickier than a standard sourdough loaf. Resist the urge to add more flour. Trust the process—the stretch and folds will build enough strength to handle the extra moisture. If you’re really struggling, dip your hands in water instead of flour when handling the dough.
Third, timing matters. I like to mix the dough in the evening, do the stretch and folds, let it bulk ferment while I clean up, then shape it and pop it in the fridge overnight. The next morning, I bake it fresh. It’s a rhythm that works for a weekday baker. Multitasking tip: while the dough is in its final proof in the fridge, you can prep other things for breakfast or just enjoy your coffee.
One failure I’ll never forget: I forgot to score the dough before putting it in the Dutch oven. The bread burst open in an ugly crack along the side. It still tasted fine, but it wasn’t pretty. Always score—it gives the dough a controlled place to expand.
Variations & Adaptations
This recipe is flexible, and I’ve tried a few variations that turned out surprisingly well:
- Whole Wheat Version: Swap 100g of the all-purpose flour for whole wheat flour. The bread will be a bit denser and have a nuttier flavor. Add an extra tablespoon of water since whole wheat absorbs more liquid.
- Vegan Option: This recipe is already vegan-friendly since it uses no butter or eggs. Just make sure your sourdough discard is made with plant-based flour (which it usually is).
- Add-In Variation: Fold in ½ cup of toasted pepitas or dried cranberries during the final shaping. I did this for a Thanksgiving gathering, and it was a hit. The pepitas add a lovely crunch.
- Spice It Up: If you like a stronger spice profile, add an extra teaspoon of cinnamon and a pinch of cardamom. I tried this once when I ran out of pumpkin pie spice, and it gave the bread a warm, almost chai-like flavor.
- Gluten-Free Attempt: I tested this with a gluten-free flour blend once, and the results were mixed. The bread was much denser and didn’t rise as well. If you need gluten-free, I’d recommend looking for a recipe specifically designed for that.
Serving & Storage Suggestions
This bread is best served warm, fresh from the oven. Slice it thick and toast it lightly if you’re eating it the next day. I love it with a generous smear of salted butter and a drizzle of honey. It also pairs beautifully with a bowl of soup or stew—the slightly sweet, tangy flavor complements savory dishes perfectly. For a fall breakfast spread, serve it alongside scrambled eggs and fresh fruit.
For storage, let the bread cool completely before wrapping it in a clean kitchen towel. Keep it at room temperature for up to 3 days. Do not refrigerate it—the fridge will dry it out faster. If you want to keep it longer, slice the entire loaf and freeze the slices in a zip-top bag. They’ll keep for up to 2 months. To reheat, pop a frozen slice directly in the toaster. The texture comes back beautifully. I’ve found that the flavor actually deepens after a day or two, so day-old bread is still wonderful for toast.
Nutritional Information & Benefits
Here’s an estimated breakdown per slice (based on 12 slices per loaf):
- Calories: Approximately 180
- Carbohydrates: 36g
- Protein: 5g
- Fat: 1g
- Fiber: 3g
- Sugar: 2g
Pumpkin is rich in vitamin A and antioxidants, which support eye health and immunity. The sourdough fermentation process breaks down phytic acid in the flour, making the nutrients more bioavailable. This bread is naturally low in fat and contains no added sugars (the sweetness comes from the pumpkin itself). It’s also vegan-friendly and can be made nut-free depending on your add-ins. If you’re watching your sodium, you can reduce the salt to 6g without affecting the fermentation too much.
From a wellness perspective, I love that this bread feels indulgent but is made from simple, whole ingredients. It’s the kind of thing you can feel good about eating for breakfast or as a snack.
Frequently Asked Questions
Can I use active sourdough starter instead of discard?
Yes, you can. If you use active starter, you might need to reduce the water slightly since the starter is already hydrated. The fermentation time might also be shorter because active starter is more vigorous. Keep an eye on the dough during bulk fermentation.
My dough is very sticky. Did I do something wrong?
No, that’s normal for this recipe. Pumpkin puree adds extra moisture, so the dough will be stickier than a standard sourdough loaf. Use wet hands during the stretch and folds, and resist adding more flour. The gluten will develop and make it easier to handle after the cold proof.
Can I bake this without a Dutch oven?
Yes, you can. Place a shallow pan of water on the bottom rack of your oven to create steam. Bake the bread on a preheated baking stone or inverted baking sheet. The crust won’t be quite as crispy, but it’ll still be delicious.
How do I know when the bread is fully baked?
The internal temperature should reach 200°F (93°C) when measured with an instant-read thermometer. The crust should be deep golden brown, and the loaf should sound hollow when tapped on the bottom.
Can I add chocolate chips to this recipe?
Absolutely. Fold in about ½ cup of dark chocolate chips during the final shaping. The combination of tangy sourdough, pumpkin, and chocolate is surprisingly good. I’ve done this for a sweeter version, and it’s great for dessert toast.
Conclusion
This pumpkin sourdough discard bread has become my go-to fall recipe, and I honestly think it’s worth making even if you don’t have discard to use up. The texture is soft, the flavor is balanced, and the process—while it takes time—is deeply satisfying. There’s something about pulling a golden loaf out of the oven on a cool morning that just feels right.
I encourage you to make this recipe your own. Add your favorite mix-ins, adjust the spices to your taste, or try it with different flours. The beauty of sourdough is that it’s forgiving and adaptable. And if you end up with a loaf that’s a little lopsided or has a crack where you didn’t score deep enough—don’t worry. It’ll still taste amazing with butter.
I’d love to hear how yours turns out. Leave a comment below and let me know what variations you tried, or share a photo of your loaf. Happy baking, friends. This one’s a keeper.
Pin This Recipe!
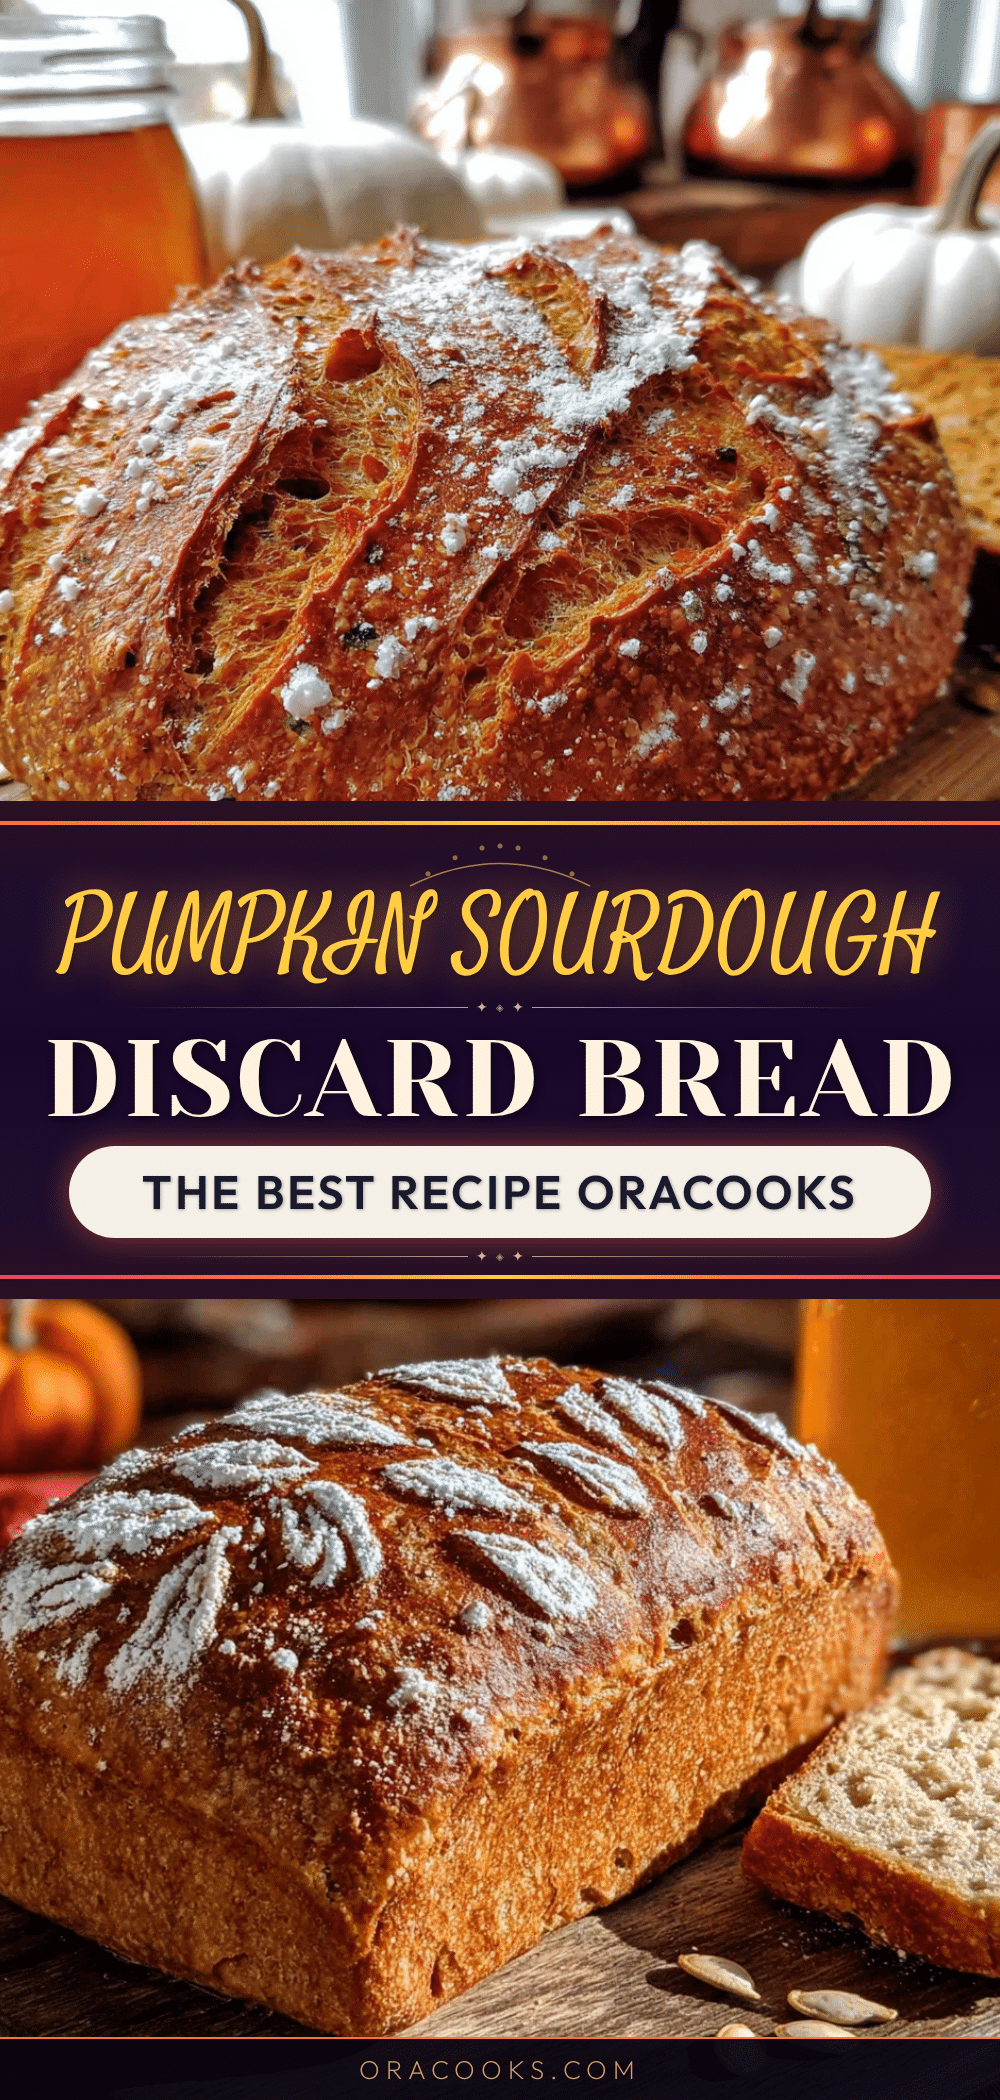
Best Easy Homemade Pumpkin Sourdough Discard Bread
This pumpkin sourdough discard bread is soft, tangy, and perfectly spiced for fall. It uses unfed sourdough discard and pumpkin puree to create a tender loaf with a crispy crust, no commercial yeast required.
- Prep Time: 15 minutes
- Cook Time: 45 minutes
- Total Time: 13 hours 45 minutes (includes overnight proofing)
- Yield: 12 servings 1x
- Category: Bread
- Cuisine: American
Ingredients
- 400g all-purpose flour (about 3 cups)
- 2 teaspoons pumpkin pie spice
- 8g fine sea salt (about 1½ teaspoons)
- 200g sourdough discard (about 1 cup)
- 200g pumpkin puree (about ¾ cup)
- 100g lukewarm water (about ⅓ cup plus 1 tablespoon)
- Optional: ¼ cup toasted pepitas or dried cranberries
Instructions
- In a large mixing bowl, whisk together 400g all-purpose flour, 2 teaspoons pumpkin pie spice, and 8g salt.
- In a separate bowl, mix 200g sourdough discard, 200g pumpkin puree, and 100g lukewarm water until mostly combined.
- Pour the wet mixture into the dry ingredients and mix until no dry flour remains. The dough will be shaggy and sticky. Cover and let rest for 30 minutes (autolyse).
- Perform stretch and folds: wet your hands, grab one side of the dough, stretch it up, and fold it over the top. Rotate the bowl a quarter turn and repeat. Do 4 stretches, cover, wait 15 minutes, then repeat another round of 4 stretches. The dough should feel smoother.
- Cover the bowl and let the dough bulk ferment at room temperature for 4-6 hours, until it has risen by about 50% and has small bubbles on the surface.
- Turn the dough out onto a lightly floured surface. Gently shape it into a round or oval loaf without deflating it too much.
- Place the dough seam-side up in a floured banneton or a bowl lined with a floured kitchen towel. Cover and refrigerate for 8-12 hours (cold proof).
- Place a Dutch oven in the oven and preheat to 450°F (230°C) for at least 30 minutes.
- Remove the dough from the fridge. Flip it onto a piece of parchment paper. Score the top with a razor blade or sharp knife.
- Carefully place the dough (with parchment) into the hot Dutch oven. Cover and bake for 30 minutes.
- Remove the lid and bake for another 15-20 minutes, until the crust is deep golden brown and the internal temperature reaches 200°F (93°C).
- Let the bread cool on a wire rack for at least 1 hour before slicing.
Notes
Don’t skip the cold proof—it develops flavor and structure. The dough will be sticky due to the pumpkin; resist adding extra flour. Use wet hands for stretch and folds. For best results, mix the dough in the evening, let it bulk ferment, shape, and cold proof overnight, then bake in the morning. Always score the dough to control expansion.
Nutrition
- Serving Size: 1 slice
- Calories: 180
- Sugar: 2
- Sodium: 160
- Fat: 1
- Carbohydrates: 36
- Fiber: 3
- Protein: 5
Keywords: pumpkin sourdough bread, sourdough discard recipe, pumpkin bread, fall baking, sourdough bread, no yeast bread, vegan bread


