Love this? Save it for later!
Share the inspiration with your friends
It was 10:47 PM on a rainy Wednesday, and I was staring into the fridge with the kind of tired that makes decisions feel impossible. The craving was specific—crispy, cheesy, satisfying—but the energy to stand over a skillet flipping individual quesadillas one by one? Absolutely not happening. I didn’t have the patience for a traditional assembly line, but I had a bag of shredded Mexican cheese, a stack of tortillas, and the sudden, slightly unhinged idea that maybe—just maybe—I could bake them all at once. I grabbed my biggest sheet pan, layered everything like I was building a strange, flat lasagna, and slid it into the oven. Twenty minutes later, I pulled out the most gloriously crispy, golden pan of quesadillas I’d ever made. Honestly, I stood there in the dim kitchen light, eating a slice directly off the pan, wondering why I hadn’t thought of this sooner. Maybe you’ve been there—that moment of culinary desperation that accidentally leads to a game-changer. This recipe stuck with me because it solved a problem I didn’t even know I had: how to get all the joy of a quesadilla without the fuss of making them one at a time.
Why You’ll Love This Recipe
After testing this method about six times (someone had to do it), I can confidently say these sheet pan quesadillas are the weeknight hero you didn’t know you needed. They’ve been family-approved, meal-prep tested, and honestly, they make traditional stovetop quesadillas feel like a chore.
- Quick & Easy: Comes together in under 30 minutes, with only about 5 minutes of active prep. Perfect for those evenings when you’re running on fumes.
- Simple Ingredients: No fancy grocery trips needed. You likely have tortillas, cheese, and some protein in your fridge right now.
- Perfect for Meal Prep: Makes 8 generous servings at once. Slice, store, and grab for lunches all week. They reheat beautifully, which is honestly the real test.
- Crowd-Pleaser: Kids devour them, adults love them, and everyone appreciates the crispy edges. I brought a batch to a potluck and watched them disappear in minutes.
- Unbelievably Delicious: The texture is next-level—crispy on both sides, perfectly melted cheese, and no soggy middles. The sheet pan method creates this incredible even browning that stovetop cooking just can’t match.
What makes this recipe different? It’s not just another quesadilla hack. I tested different temperatures, tortilla brands, and layering techniques to find the exact method that gives you that restaurant-quality crisp without any flipping or fussing. The secret? A specific oven temperature and a light oiling technique that creates golden, crunchy perfection every single time. This isn’t just convenient—it’s genuinely the best quesadilla texture I’ve ever achieved at home.
What Ingredients You Will Need
This recipe uses simple, wholesome ingredients to deliver bold flavor and satisfying texture without the fuss. Most of these are pantry staples, which is exactly what you want for a last-minute dinner win.
- Large flour tortillas (10-inch, about 8-10 tortillas) — I recommend Mission or La Banderita for best flexibility. Burrito-sized works best for layering.
- Shredded Mexican blend cheese (3 cups, about 340g) — The pre-shredded bags work fine here, but freshly shredded melts even better. Look for a blend with Monterey Jack, cheddar, and queso quesadilla.
- Cooked shredded chicken (2 cups, about 340g) — Rotisserie chicken is my go-to for convenience. You can also use leftover grilled chicken or even canned chicken in a pinch.
- Black beans (1 can, 15 oz or 425g, drained and rinsed) — Adds fiber and heartiness. Refried beans work too, just spread them thin.
- Corn kernels (1 cup, about 150g) — Frozen corn that’s been thawed works perfectly. Canned corn is fine too, just drain it well.
- Red bell pepper (1 medium, diced small) — Adds sweetness and color. Any color bell pepper works.
- Green onions (4-5, sliced) — For freshness and mild onion flavor. You can substitute with ¼ cup diced red onion if needed.
- Jalapeño (1, seeded and diced, optional) — For heat lovers. Leave it out for a milder version.
- Cumin (1 teaspoon) — Adds that warm, earthy Mexican flavor. I prefer McCormick for consistency.
- Chili powder (1 teaspoon) — For depth and mild heat. Use ancho chili powder for a smokier flavor.
- Garlic powder (½ teaspoon) — Don’t skip this—it adds savory backbone.
- Salt (½ teaspoon) — Enhances all the flavors.
- Olive oil or avocado oil spray (for crisping) — Essential for that golden crust. Avocado oil spray works best for high heat.
- Sour cream and salsa (for serving) — Optional but highly recommended.
Ingredient swap note: Use corn tortillas for a gluten-free option—just warm them slightly first so they don’t crack when layering. For a vegetarian version, skip the chicken and add an extra can of beans or some sautéed mushrooms.
Equipment Needed
You don’t need much for this recipe, which is part of the beauty. Here’s what you’ll want to have handy:
- Large sheet pan (13×18 inch or similar) — A rimmed baking sheet is essential to catch any cheese that melts off. I use my Nordic Ware half-sheet pan and it works perfectly.
- Parchment paper or silicone baking mat — Makes cleanup effortless and prevents sticking. Trust me, you don’t want to scrape melted cheese off a bare pan.
- Sharp knife or pizza cutter — For slicing the finished quesadillas into serving pieces. A pizza cutter makes the cleanest cuts.
- Mixing bowl — For combining your fillings. Any medium bowl works.
- Spatula — For spreading the filling evenly. A rubber spatula works great.
- Measuring cups and spoons — For accuracy, though this recipe is forgiving.
No special equipment required. If you don’t have a sheet pan, you can use a large rectangular baking dish—just adjust the layering to fit. I’ve even used two smaller baking sheets in a pinch.
Preparation Method
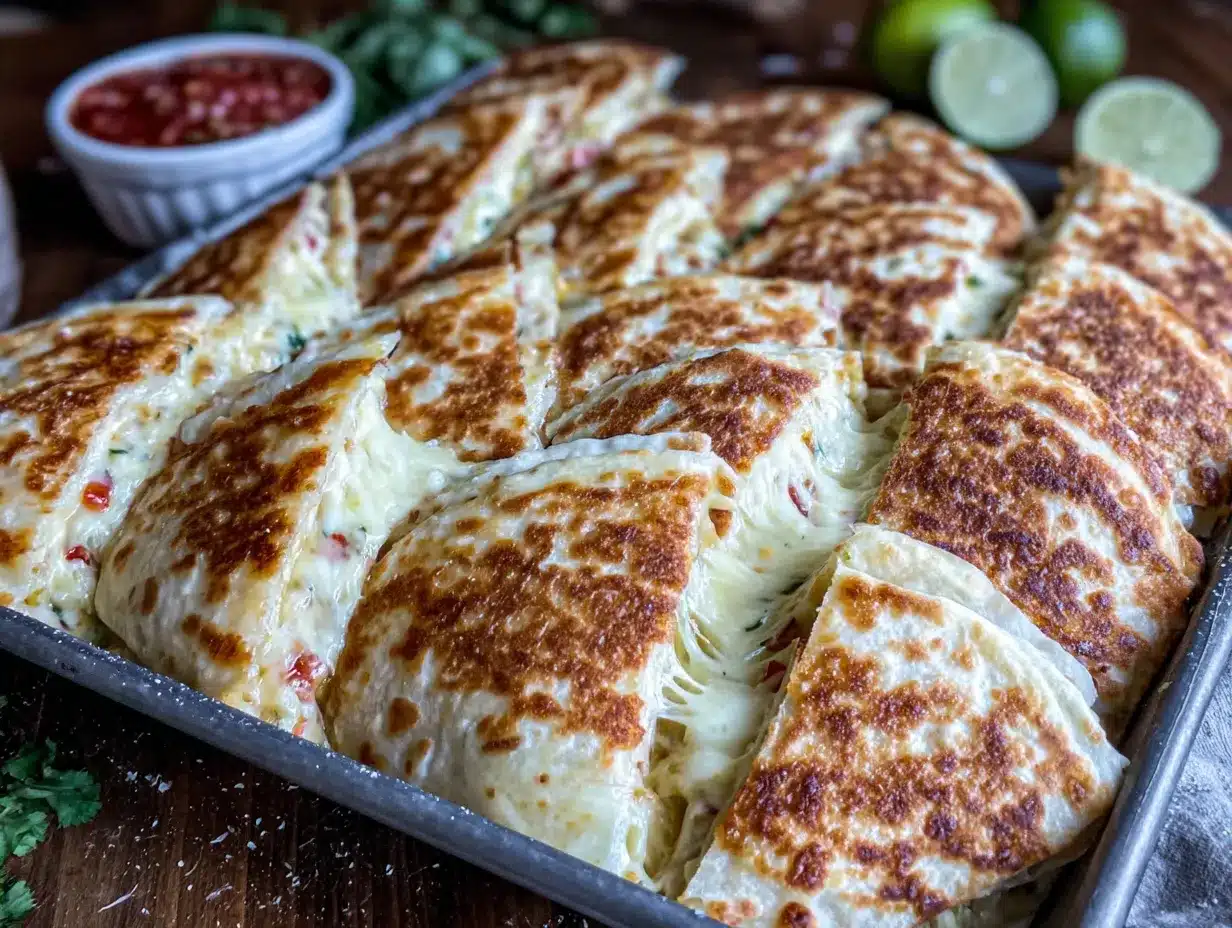
- Preheat your oven to 400°F (200°C). Line your sheet pan with parchment paper or a silicone baking mat. This step isn’t optional—the parchment prevents sticking and makes cleanup a breeze.
- Prepare your filling mixture. In a medium bowl, combine the shredded chicken, drained black beans, corn kernels, diced red bell pepper, sliced green onions, diced jalapeño (if using), cumin, chili powder, garlic powder, and salt. Stir until everything is evenly distributed. Taste the mixture—it should be well-seasoned since the tortillas and cheese are fairly neutral.
- Layer the first tortillas. Place 4-5 tortillas on the prepared sheet pan, overlapping them slightly to cover the entire surface. Think of it like shingling a roof—the edges should overlap by about an inch. This creates a solid base that won’t leak filling.
- Add the first cheese layer. Sprinkle about 1 cup of shredded cheese evenly over the tortilla base. Don’t skimp on this bottom layer—it helps hold everything together and creates that gooey texture.
- Spread the filling. Distribute the chicken and vegetable mixture evenly over the cheese layer. Use your spatula to spread it out to the edges—you want filling in every bite. Don’t pile it too thick in the center.
- Add the remaining cheese. Sprinkle another 1½ cups of cheese over the filling. This middle cheese layer is what makes every bite perfectly melty.
- Top with remaining tortillas. Place another 4-5 tortillas on top, again overlapping to cover the entire surface. Press down gently to help everything adhere. The top layer should mirror the bottom layer in coverage.
- Spray or brush with oil. Lightly spray the top tortillas with olive oil or avocado oil spray. This is crucial for that golden, crispy finish. Don’t skip it—dry tortillas won’t brown properly.
- Bake for 15-18 minutes. Place the sheet pan in the preheated oven and bake until the top is golden brown and crispy. At 15 minutes, check for color—you want deep golden spots across the surface. If it needs more time, add 2-3 minutes.
- Let rest for 5 minutes. Remove from the oven and let the quesadilla stack rest on the pan for 5 minutes. This allows the cheese to set slightly, making it easier to slice without everything oozing out.
- Slice and serve. Use a sharp knife or pizza cutter to slice into squares or triangles. I find squares work best for meal prep—they stack neatly in containers. Serve with sour cream, salsa, or your favorite dipping sauce.
Pro tip: If you want extra-crispy edges, carefully flip the entire quesadilla stack after 10 minutes of baking, spray the other side with oil, and bake for another 8-10 minutes. This gives you that diner-style crunch on both sides.
Cooking Tips & Techniques
After making these sheet pan quesadillas about a dozen times (my family is starting to raise eyebrows), I’ve learned a few things that make the difference between good and absolutely irresistible.
Don’t overfill. I learned this the hard way during my second test batch. Piling on too many fillings makes the quesadillas soggy and difficult to slice. Stick to the measurements—the tortillas need room to crisp up. If you want more filling, make two sheet pans instead of cramming everything into one.
Watch your oven temperature. Every oven runs slightly different. My first batch came out pale because I was too conservative. 400°F is the sweet spot—hot enough to crisp the tortillas without burning the cheese inside. If your oven runs hot, check at 12 minutes. If it runs cool, you might need the full 18 minutes.
Let the tortillas warm up. Cold tortillas straight from the fridge are brittle and crack when you try to layer them. Let them sit at room temperature for 10 minutes before assembling. If you’re in a rush, microwave them for 15 seconds wrapped in a damp paper towel.
Use the right cheese. Pre-shredded cheese has anti-caking agents that prevent it from melting as smoothly. For the best texture, shred your own cheese from a block. It takes an extra 2 minutes and makes a noticeable difference in how creamy the inside gets.
Don’t skip the rest time. I know it’s tempting to slice immediately, but that 5-minute rest is non-negotiable. The cheese needs to set so your slices stay intact. I once rushed this step and ended up with a delicious but messy pile of quesadilla filling.
Variations & Adaptations
This recipe is incredibly flexible, which is why it’s become a weekly staple in my kitchen. Here are some variations I’ve tested and loved:
- Vegetarian Black Bean & Corn: Skip the chicken and add an extra can of black beans plus 1 cup of sautéed mushrooms. The mushrooms add that meaty texture you’ll miss from the chicken. I make this version at least twice a month.
- Breakfast Quesadilla: Swap the chicken for scrambled eggs, add crispy bacon or chorizo, and use cheddar cheese. Serve with salsa verde for a morning twist. This is my go-to for weekend brunch when I’m feeding a crowd.
- Southwest Steak: Use thinly sliced flank steak instead of chicken, add roasted green chiles, and swap the Mexican cheese for pepper jack. The extra heat is fantastic with the steak.
- Spicy Buffalo Chicken: Toss the shredded chicken in ¼ cup buffalo sauce before assembling. Add crumbled blue cheese and celery slices for that classic buffalo wing experience. My husband requests this version weekly.
- Gluten-Free Option: Use large corn tortillas or gluten-free flour tortillas. Corn tortillas are smaller, so you’ll need more of them to cover the pan. Warm them first to prevent cracking.
For a low-carb version, use low-carb tortillas and increase the chicken and vegetable fillings. The method stays exactly the same—just adjust the tortilla count based on size.
Serving & Storage Suggestions
These sheet pan quesadillas are incredibly versatile when it comes to serving. Here’s how I handle both immediate enjoyment and long-term storage.
For immediate serving: Slice into squares and serve warm with sides of sour cream, salsa, guacamole, and pickled jalapeños. The contrast of the warm, crispy quesadilla with cool sour cream is absolutely perfect. I also love serving them with a simple side salad dressed with lime vinaigrette.
For meal prep: Let the quesadillas cool completely on the sheet pan before slicing. Once cool, cut into individual portions and store in airtight containers layered with parchment paper between stacks. They’ll keep in the refrigerator for up to 5 days.
Reheating instructions: For best results, reheat in a 350°F oven or air fryer for 5-7 minutes until crispy again. The microwave works in a pinch (about 1 minute per serving), but the tortillas will be soft rather than crispy. If using the microwave, place a paper towel under the quesadilla to absorb excess moisture.
Freezer instructions: These freeze beautifully for up to 3 months. Wrap individual slices in plastic wrap, then place in a freezer bag. To reheat, thaw in the refrigerator overnight, then crisp in a 350°F oven for 8-10 minutes. I always make a double batch specifically for freezer storage—they’re a lifesaver on busy weeks.
Flavor development note: Honestly, these taste even better the next day. The flavors meld together overnight, and the reheating process gives the tortillas an extra-crispy texture. Don’t be surprised if you find yourself looking forward to leftovers.
Nutritional Information & Benefits
Here’s the estimated nutritional breakdown per serving (based on 8 servings, using chicken, black beans, and Mexican cheese blend):
- Calories: Approximately 380-420 per serving
- Protein: 22-25g
- Carbohydrates: 32-36g
- Fat: 18-22g
- Fiber: 5-7g
These sheet pan quesadillas offer a balanced meal with protein from the chicken and cheese, fiber from the black beans and vegetables, and healthy carbohydrates from the tortillas. The black beans are particularly beneficial—they’re packed with soluble fiber that helps with digestion and keeps you feeling full longer.
Dietary considerations: This recipe can be made gluten-free by using corn tortillas. For a lower-calorie option, use reduced-fat cheese and increase the vegetable fillings. The recipe is naturally nut-free and egg-free. If you’re watching sodium, use low-sodium black beans and reduce the added salt.
I love that this recipe feels indulgent while still being nourishing. It’s the kind of meal that satisfies a craving without leaving you feeling heavy or sluggish.
Conclusion
These sheet pan quesadillas have honestly changed how I approach weeknight dinners. What started as a late-night experiment born from exhaustion has become my most-requested recipe—and the one I turn to whenever I need something delicious, efficient, and genuinely satisfying. The beauty of this method is that it takes everything you love about quesadillas and makes them infinitely more practical without sacrificing any of the flavor or texture.
I’d love to hear how these turn out for you! Try them with your favorite fillings, experiment with different cheese blends, and make this recipe your own. Drop a comment below and let me know what variations you tried—I’m always looking for new ideas to test in my kitchen. And if you’re looking for another easy weeknight dinner, you might enjoy my crispy garlic chicken recipe or these black bean tacos for more quick meal inspiration. Happy cooking, friends!
Frequently Asked Questions
Can I use corn tortillas instead of flour?
Yes, absolutely! Corn tortillas work great for a gluten-free option. Just keep in mind they’re smaller and more prone to cracking, so warm them slightly before layering and use more tortillas to cover the pan. The texture will be slightly different—more rustic and authentic—but just as delicious.
How do I prevent the quesadillas from getting soggy?
The key is not overfilling and making sure your filling ingredients aren’t too wet. Drain and rinse your black beans thoroughly, and if using frozen corn, thaw and pat it dry with a paper towel before adding. Also, don’t skip the oil spray on top—it creates a barrier that helps the tortillas crisp instead of steam.
Can I make these ahead of time for a party?
Definitely! You can assemble the entire quesadilla stack on the sheet pan up to 24 hours in advance, cover it tightly with plastic wrap, and refrigerate. When you’re ready to serve, just pop it in the oven—you may need to add 3-5 minutes to the baking time since it’s starting from cold.
What’s the best way to reheat leftovers?
For the crispiest results, use an oven or air fryer at 350°F for 5-7 minutes. The microwave works but will give you a softer texture. If you’re meal prepping for the week, I recommend reheating in the oven—it takes a few extra minutes but the texture is so much better.
Can I use different proteins?
Absolutely! Ground beef, shredded pork, carnitas, or even tofu all work beautifully. Just make sure whatever protein you use is fully cooked before assembling. For ground beef, brown it with taco seasoning for extra flavor. For tofu, press and crumble it, then sauté with spices before adding to the filling mixture.
Pin This Recipe!
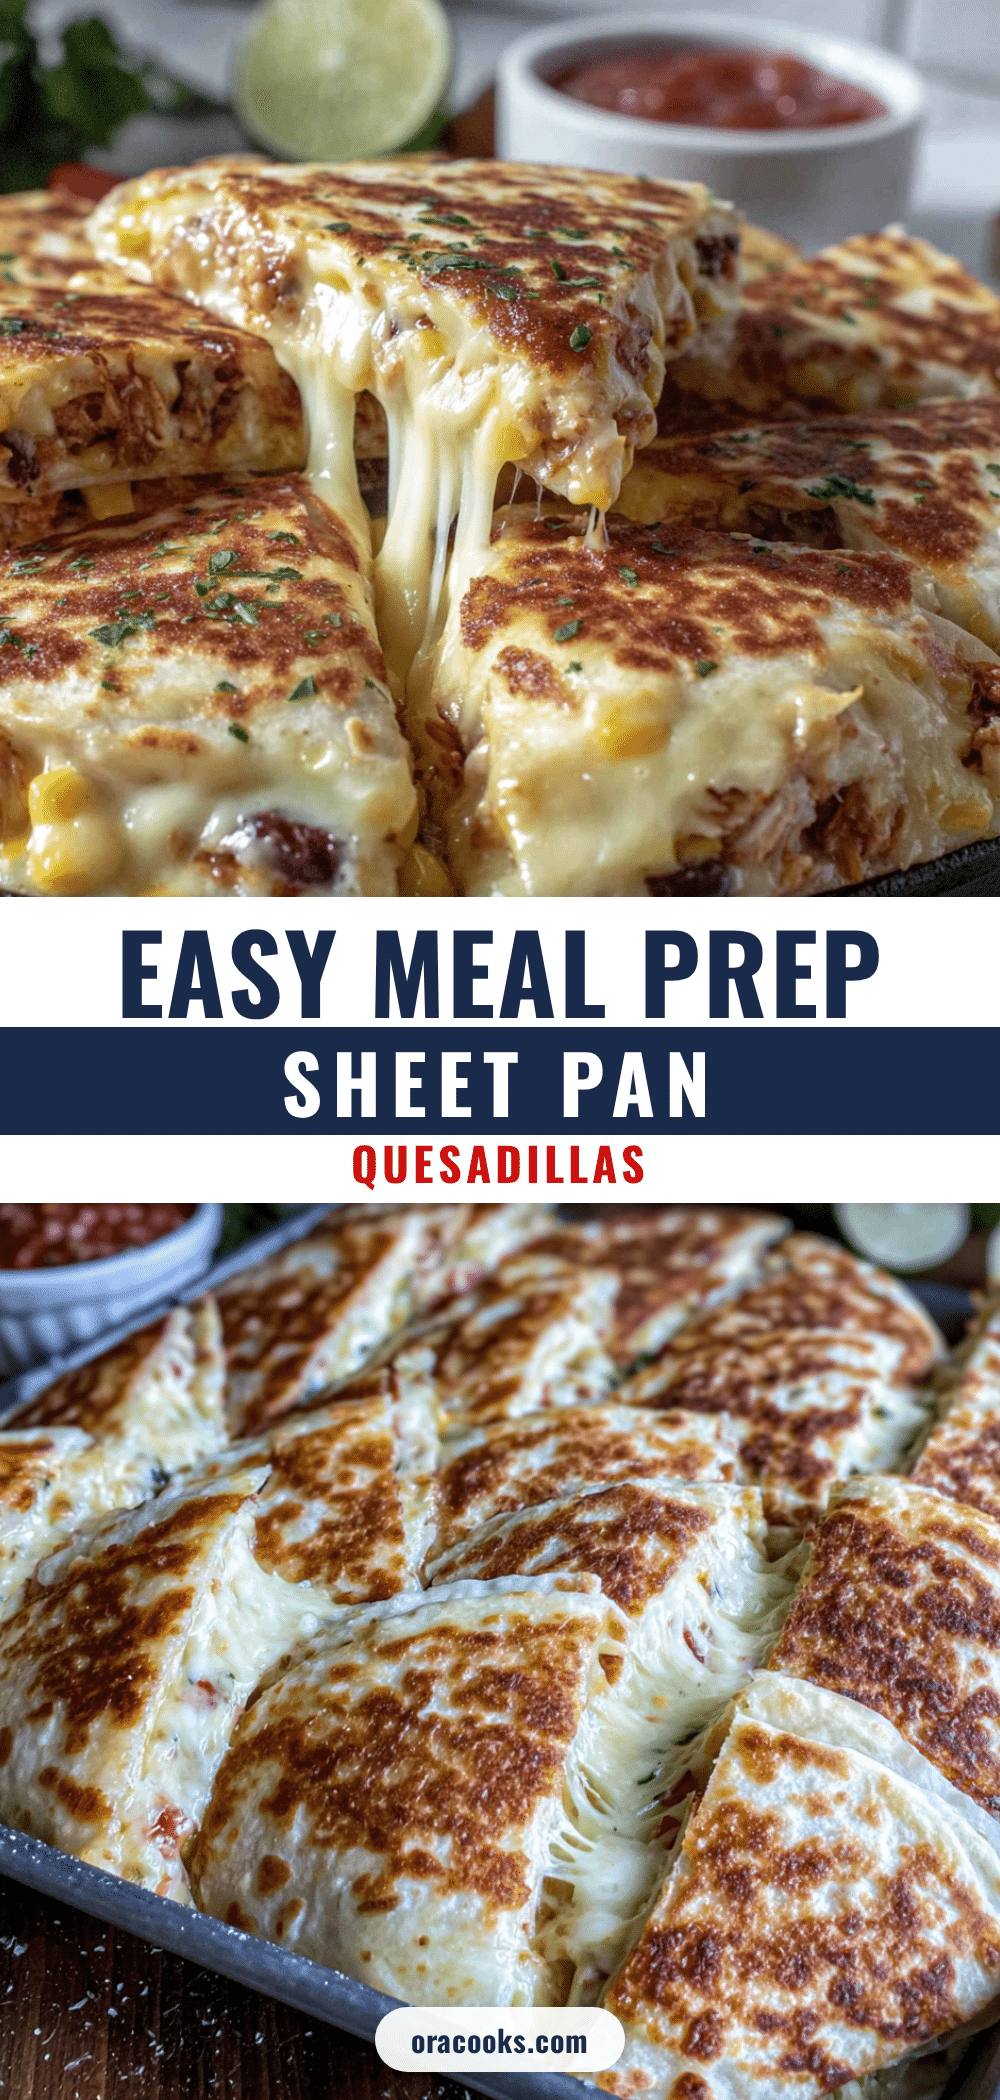
Best Easy Sheet Pan Quesadillas for Meal Prep

These sheet pan quesadillas are the weeknight hero you didn’t know you needed. They come together in under 30 minutes with only about 5 minutes of active prep, making them perfect for meal prep or feeding a crowd.
- Prep Time: 5 minutes
- Cook Time: 18 minutes
- Total Time: 23 minutes
- Yield: 8 servings 1x
- Category: Main Course
- Cuisine: Mexican
Ingredients
- 8–10 large flour tortillas (10-inch)
- 3 cups shredded Mexican blend cheese (about 340g)
- 2 cups cooked shredded chicken (about 340g)
- 1 can black beans (15 oz or 425g, drained and rinsed)
- 1 cup corn kernels (about 150g)
- 1 medium red bell pepper, diced small
- 4–5 green onions, sliced
- 1 jalapeño, seeded and diced (optional)
- 1 teaspoon cumin
- 1 teaspoon chili powder
- ½ teaspoon garlic powder
- ½ teaspoon salt
- Olive oil or avocado oil spray
- Sour cream and salsa (for serving, optional)
Instructions
- Preheat your oven to 400°F (200°C). Line your sheet pan with parchment paper or a silicone baking mat.
- In a medium bowl, combine the shredded chicken, drained black beans, corn kernels, diced red bell pepper, sliced green onions, diced jalapeño (if using), cumin, chili powder, garlic powder, and salt. Stir until everything is evenly distributed.
- Place 4-5 tortillas on the prepared sheet pan, overlapping them slightly to cover the entire surface.
- Sprinkle about 1 cup of shredded cheese evenly over the tortilla base.
- Distribute the chicken and vegetable mixture evenly over the cheese layer.
- Sprinkle another 1½ cups of cheese over the filling.
- Place another 4-5 tortillas on top, again overlapping to cover the entire surface. Press down gently.
- Lightly spray the top tortillas with olive oil or avocado oil spray.
- Bake for 15-18 minutes until the top is golden brown and crispy.
- Let rest for 5 minutes on the pan.
- Slice into squares or triangles using a sharp knife or pizza cutter. Serve with sour cream, salsa, or your favorite dipping sauce.
Notes
For extra-crispy edges, carefully flip the entire quesadilla stack after 10 minutes of baking, spray the other side with oil, and bake for another 8-10 minutes. Don’t overfill to avoid sogginess. Let tortillas warm to room temperature before assembling to prevent cracking. Shred your own cheese for best melting. The 5-minute rest after baking is essential for clean slices.
Nutrition
- Serving Size: 1 serving (about 1/8
- Calories: 400
- Sugar: 4
- Sodium: 680
- Fat: 20
- Saturated Fat: 8
- Carbohydrates: 34
- Fiber: 6
- Protein: 23
Keywords: sheet pan quesadillas, meal prep quesadillas, easy quesadillas, baked quesadillas, chicken quesadillas, black bean quesadillas, weeknight dinner


