Love this? Save it for later!
Share the inspiration with your friends
I had claimed to hate cake pops for years. Years. It wasn’t even a strong opinion—it was a quiet, stubborn refusal that I’d defend with the same energy someone uses to insist they don’t like a movie they’ve never actually seen. Cake pops seemed fussy. Too precious. The kind of dessert that shows up at a party looking adorable but tasting like dry crumbs held together by desperation and too much frosting. I wasn’t interested.
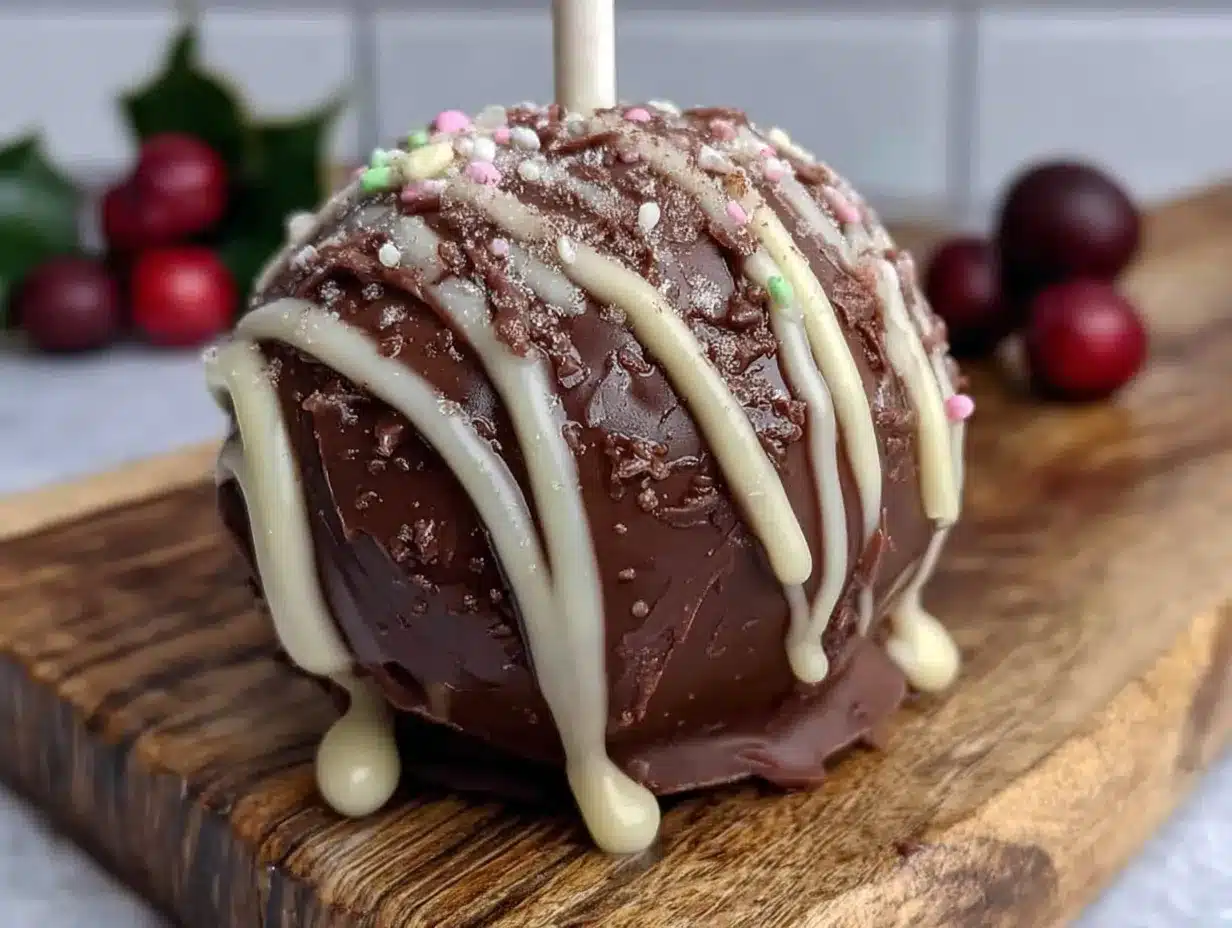
Then last December, my friend Margo showed up at our annual cookie swap with a bakery box that she set down with this look—you know the one. The look that says *I know you’re about to say something, so don’t.* She lifted the lid, and there they were. Little spheres of something dark and festive, dipped in white chocolate and drizzled with red and green stripes that looked almost too perfect to eat. I watched everyone grab two. I watched my own hand reach for one before I’d even decided to try it.
That first bite caught me off guard. The cake was moist—not that sad, compact texture I’d braced for—and the white chocolate shell cracked in a way that felt satisfying. The drizzle wasn’t just for show; it added this little burst of sweetness that balanced the rich cake inside. I ate three before anyone noticed. Margo just smiled. She knew.
So here’s the thing about these festive Christmas cake pops with white chocolate drizzle. They’re not fussy in the way I assumed. They’re actually forgiving. They’re the kind of recipe that looks like you spent hours laboring over each one, but honestly? The hardest part is waiting for the chocolate to set. I’ve been making them every holiday season since that cookie swap, and I’ve messed up plenty—forgot to chill the balls long enough, melted the white chocolate too fast, drizzled with a shaky hand while my toddler tugged at my sleeve. They still turned out beautiful. They still disappeared.
Maybe you’ve been skeptical about cake pops too. I get it. But this version—made with real cake, not shortcuts, and that gorgeous white chocolate drizzle—might just change your mind. It changed mine.
Why You’ll Love This Recipe
Let me tell you why these festive Christmas cake pops with white chocolate drizzle have become my go-to holiday treat. I’ve tested this recipe at least a dozen times across three different ovens (and one very unreliable toaster oven during a kitchen renovation), and I can promise you it works.
- Simple Ingredients : You likely have most of these in your pantry right now. No specialty baking mixes or hard-to-find decorations. Just butter, sugar, flour, eggs, and good-quality white chocolate.
- Perfect for Holiday Gatherings : These little pops are the star of cookie swaps, Christmas parties, and gift plates. They travel well and look impressive without requiring a pastry degree.
- Crowd-Pleaser : I’ve watched kids bypass entire platters of cookies to grab these. Adults do the same, just with more subtlety. They’re bite-sized, which means people eat more than they planned—and nobody regrets it.
- Unbelievably Delicious : The texture is what gets everyone. Moist cake on the inside, a thin crisp shell of white chocolate, and that drizzle that adds just enough extra sweetness. It’s comfort food that looks fancy.
- Forgiving Process : I’ve made these while distracted, while multitasking, while helping with homework. The recipe forgives a lot. Too much frosting? Still works. Chilled too long? Let them sit a few minutes. It’s hard to mess up.
What makes this recipe different from the dozens of others I’ve tried is the balance. The cake isn’t too sweet because the white chocolate provides plenty of sweetness on its own. The crumb holds together without feeling heavy. And that drizzle—it’s not just decorative. It adds texture and a little visual drama that makes people say “wait, you made these?”
This is the kind of recipe that makes you close your eyes after the first bite. It’s holiday baking without the stress, and honestly? That’s exactly what December needs.
What Ingredients You Will Need
This recipe uses simple, wholesome ingredients to deliver that festive flavor and beautiful presentation. Most are pantry staples, which means you can whip up a batch without a last-minute trip to the store.
For the Cake
- 1 ½ cups all-purpose flour (spooned and leveled—don’t scoop directly from the bag)
- 1 cup granulated sugar
- ½ cup unsalted butter, softened (I use Land O’Lakes for consistent results)
- 2 large eggs, room temperature (cold eggs can seize the batter)
- ½ cup whole milk (adds richness; 2% works too)
- 1 ½ teaspoons baking powder
- ½ teaspoon salt
- 1 teaspoon vanilla extract
- ½ teaspoon almond extract (this is my secret—it makes the cake taste bakery-level)
For the Frosting Binder
- ¼ cup unsalted butter, softened
- 1 cup powdered sugar, sifted (clumps are the enemy here)
- 2 tablespoons heavy cream (or milk if that’s what you have)
- ½ teaspoon vanilla extract
For the Coating and Decoration
- 12 ounces white chocolate melting wafers (I prefer Ghirardelli—they melt smoothly and set with a nice shine)
- 1 tablespoon coconut oil or vegetable shortening (helps thin the chocolate for dipping)
- Red and green candy melts (about 2 ounces each, for the drizzle)
- Festive sprinkles (optional, but highly recommended for extra holiday cheer)
- Lollipop sticks (at least 20, just in case some break)
A quick note on ingredient selection: use real butter, not margarine. The flavor difference is noticeable, and since this recipe isn’t complicated, each ingredient matters. For the white chocolate, avoid white chips—they don’t melt as smoothly and can seize. Melting wafers or a good-quality white chocolate bar chopped into pieces will give you that clean, crackable shell.
If you’re dairy-free, you can substitute the butter with a plant-based alternative and use oat milk instead of whole milk. The texture will be slightly different—a bit less tender—but still delicious. I’ve tested this with oat milk and it worked fine, just don’t skip the almond extract since it adds depth that the dairy-free version needs.
Equipment Needed
You don’t need a professional bakery setup for these festive Christmas cake pops with white chocolate drizzle. Here’s what I use:
- 9×13-inch baking pan (or two 8-inch rounds—whatever you have)
- Electric hand mixer or stand mixer (a whisk and strong arm work too, but your arm will thank you for the mixer)
- Large mixing bowls (at least two)
- Measuring cups and spoons
- Rubber spatula (for scraping every bit of batter)
- Cooling rack
- Large bowl or food processor (for crumbling the cake—your hands work fine too)
- Cookie scoop or tablespoon (for uniform balls)
- Baking sheet lined with parchment paper
- Lollipop sticks (available at craft stores or online)
- Microwave-safe bowls (for melting chocolate)
- Small piping bags or zip-top bags (for the drizzle)
- Styrofoam block or upside-down colander (to hold the pops while they set)
I’ve made these without a food processor—just crumbled the cake by hand and mixed the frosting in with a fork. It took longer but worked fine. The cookie scoop is worth buying if you make these often; it keeps the balls uniform so they dip evenly. For the Styrofoam block, I use an old piece I’ve had for years, but a colander turned upside down works in a pinch. Just poke holes through parchment paper draped over it.
Preparation Method
Let me walk you through this step by step. I’ve included time estimates and sensory cues so you know exactly what to look for.
Step 1: Bake the Cake (About 30 minutes)
Preheat your oven to 350°F (175°C). Grease your 9×13-inch pan with butter or non-stick spray. In a large bowl, cream together the softened butter and sugar until light and fluffy—about 3 minutes with an electric mixer. You’re looking for a pale, airy texture that feels like soft sand. Add the eggs one at a time, beating well after each. Stir in the vanilla and almond extracts.
In a separate bowl, whisk together the flour, baking powder, and salt. Add this dry mixture to the wet ingredients in three additions, alternating with the milk. Start and end with the flour mixture. Mix just until combined—overmixing makes the cake tough. Pour the batter into your prepared pan and spread it even. Bake for 25-30 minutes, or until a toothpick inserted in the center comes out clean or with a few moist crumbs. The top should be golden and spring back when lightly touched.
Step 2: Cool and Crumble (About 1 hour)
Let the cake cool in the pan for 10 minutes, then transfer to a wire rack to cool completely. This is crucial—warm cake won’t crumble properly and will make the frosting melt. Once completely cool, break the cake into large chunks and place them in a large bowl. Use your hands or a fork to crumble the cake into fine, even crumbs. You want no large pieces remaining. This takes about 5 minutes of focused work. Put on a podcast or your favorite holiday playlist.
Step 3: Make the Frosting Binder (About 5 minutes)
In a separate bowl, beat the softened butter until smooth. Add the sifted powdered sugar, heavy cream, and vanilla extract. Beat until the frosting is smooth and spreadable. It should be thick but not stiff—think the consistency of thick peanut butter. If it’s too dry, add another tablespoon of cream. Too wet, add a bit more powdered sugar.
Step 4: Combine and Form Balls (About 15 minutes)
Add the frosting to the crumbled cake. Mix with your hands or a spatula until the mixture holds together when pressed. You should be able to squeeze a handful and have it keep its shape without crumbling. If it falls apart, add another tablespoon of frosting. If it feels greasy, you’ve added too much—sprinkle in a bit more cake crumbs if you have them.
Using a cookie scoop or tablespoon, portion the mixture into balls about 1.5 inches in diameter. Roll each one between your palms until smooth. Place them on a parchment-lined baking sheet. You should get about 20-24 balls. Refrigerate for at least 1 hour—overnight is even better. Chilled balls are much easier to dip.
Step 5: Insert Sticks (About 5 minutes)
Remove the chilled cake balls from the fridge. Melt about 2 tablespoons of white chocolate wafers in the microwave (15-second intervals, stirring between each). Dip the tip of each lollipop stick into the melted chocolate, then insert it about halfway into a cake ball. This acts like glue, keeping the stick secure. Return the pops to the fridge for another 15 minutes to set the chocolate inside.
Step 6: Melt and Dip (About 20 minutes)
Melt the remaining white chocolate wafers with the coconut oil in a microwave-safe bowl. Heat in 30-second bursts, stirring thoroughly after each. Stop when the chocolate is mostly melted—the residual heat will finish the job. Stir until smooth. The mixture should be thin enough to coat the back of a spoon. If it’s too thick, add a tiny bit more coconut oil.
Hold a cake pop by the stick and dip it into the melted white chocolate, covering the ball completely. Gently tap the stick against the side of the bowl to let excess chocolate drip off. Don’t shake it—that creates air bubbles. Place the dipped pop into your Styrofoam block or colander. Repeat with all pops. Let them set at room temperature for about 10 minutes, or until the chocolate is firm to the touch.
Step 7: Create the Drizzle (About 10 minutes)
Melt the red and green candy melts separately, each in a small microwave-safe bowl. Transfer each color to a small piping bag or a zip-top bag with a tiny corner snipped off. Drizzle the melted candy over the set white chocolate coating in zigzag patterns or simple lines. Add sprinkles immediately if using, before the drizzle sets. Let everything set completely—about 20 minutes at room temperature.
Cooking Tips & Techniques
I’ve learned a few things the hard way so you don’t have to. Here’s what I wish someone had told me before my first attempt at festive Christmas cake pops with white chocolate drizzle.
Don’t skip the chilling steps. I know it’s tempting to rush, but warm cake balls will slide right off the stick into the chocolate. I lost three pops my first time because I only chilled them for 20 minutes. They fell apart mid-dip, and I ended up with chocolate soup full of cake crumbs. Give them the full hour at minimum.
White chocolate is temperamental. It seizes if it gets even a drop of water in it. Make sure your bowls are completely dry. If your chocolate turns grainy or stiff, you’ve overheated it or introduced moisture. You can try stirring in a teaspoon of coconut oil to smooth it out, but sometimes it’s better to start fresh. I keep an extra bag of wafers on hand just in case.
Tap, don’t shake. When you’re letting excess chocolate drip off, tap the stick gently against the bowl. Shaking or spinning creates air bubbles that leave holes in the coating. Those holes aren’t the end of the world—you can patch them with a little extra chocolate—but they’re not pretty.
Work in batches. If your kitchen is warm, the white chocolate might start thickening as you work. Pop it back in the microwave for 10 seconds to loosen it up. I keep a small bowl of warm water nearby and set the bowl of chocolate over it to keep it fluid.
The drizzle is forgiving. I have shaky hands. My first drizzle looked like a toddler’s art project. But here’s the thing—uneven drizzle looks rustic and charming. It’s Christmas. Imperfection is part of the charm. Just go with it.
Multitask strategically. While the cake is baking, wash your dishes. While the cake balls chill, prep your drizzle bags. Time management makes this recipe feel easy rather than overwhelming.
Variations & Adaptations
One of the best things about this recipe is how easily it adapts. Here are some variations I’ve tried and loved.
Chocolate Base: Swap the vanilla cake for chocolate. Use ⅓ cup cocoa powder in place of ⅓ cup of the flour. The white chocolate drizzle against dark chocolate is stunning—like a snowy night.
Red Velvet: Add 1 tablespoon of cocoa powder and 1 teaspoon of red food coloring to the batter. The red cake peeking through the white coating is incredibly festive. I made these for a Christmas brunch and they vanished.
Peppermint Crunch: Crush a few candy canes and sprinkle them over the drizzle while it’s still wet. The peppermint adds a fresh, cool flavor that pairs beautifully with white chocolate. Just be prepared for tiny candy cane crumbs everywhere—they get into everything.
Gluten-Free Version: Substitute the all-purpose flour with a 1:1 gluten-free baking blend. I’ve used Bob’s Red Mill with good results. The texture is slightly more crumbly, so handle the balls gently when dipping.
Vegan Adaptation: Use plant-based butter, flax eggs (1 tablespoon ground flaxseed + 3 tablespoons water per egg), and oat milk. For the frosting, use vegan butter and powdered sugar with a splash of oat milk. The white chocolate needs to be dairy-free—Enjoy Life makes good options. The texture won’t be identical, but it’s still delicious.
Flavor Twists: Add a teaspoon of orange zest to the cake batter for a citrusy note. Or swap the almond extract for coconut extract and add shredded coconut to the crumb mixture. I tried a gingerbread version once—added 1 teaspoon of ginger and ½ teaspoon of cinnamon—and it was a hit.
Serving & Storage Suggestions
These festive Christmas cake pops with white chocolate drizzle are best served at room temperature. The coating should be firm but not hard, and the cake inside should feel tender, not cold. If you’ve refrigerated them, let them sit out for 15-20 minutes before serving.
For presentation, I arrange them in a tall glass jar or a small vase. They look like a bouquet of holiday treats. You can also stand them in a Styrofoam block covered with festive wrapping paper or a small piece of fabric. For gift-giving, wrap each pop individually in a clear cellophane bag tied with a ribbon. They make wonderful hostess gifts or additions to cookie plates.
Storage is straightforward. Keep them in an airtight container in the refrigerator for up to one week. The white chocolate coating helps seal in moisture, so they stay fresh longer than you’d expect. If you’re stacking them, place a layer of parchment paper between each layer to prevent the drizzle from sticking.
Freezing works well too. Place the undipped cake balls on a baking sheet and freeze until solid, then transfer to a freezer bag. They’ll keep for up to three months. When you’re ready to serve, thaw them in the refrigerator overnight, then dip and decorate as usual. The texture remains excellent.
Flavors actually improve after a day or two. The cake absorbs the frosting more fully, and the overall texture becomes more cohesive. I sometimes make the cake balls a day ahead and dip them the morning of an event.
Nutritional Information & Benefits
Let’s be honest—these are a treat, not a health food. But here’s the approximate nutritional breakdown for one cake pop (based on 24 servings):
- Calories: 185
- Fat: 9g
- Carbohydrates: 24g
- Sugar: 17g
- Protein: 2g
- Fiber: 0.5g
The white chocolate provides calcium, and the butter contains vitamin A. The almond extract adds a touch of vitamin E. But really, these are about joy and celebration, not daily nutrition. They’re a once-a-season indulgence, and that’s perfectly okay.
If you’re watching sugar intake, you can reduce the sugar in the cake by ¼ cup without affecting the texture much. The white chocolate adds plenty of sweetness, so the cake doesn’t need to be overly sweet. I’ve also made a version using a sugar substitute in the cake, and while the texture was slightly denser, it worked fine.
For allergen considerations: this recipe contains dairy, eggs, gluten, and soy (in the white chocolate). Use the substitutions mentioned in the variations section for dietary needs.
Conclusion
These festive Christmas cake pops with white chocolate drizzle have become my non-negotiable holiday tradition. They’re the recipe I bring to every gathering, the one people ask for by name, the one that makes me feel like I’ve actually accomplished something in the kitchen. And honestly? They’re fun to make. There’s something meditative about rolling the cake balls, something satisfying about watching the white chocolate set into that perfect shell.
I hope you give them a try. Don’t stress about perfection—my first batch looked rough, and they still disappeared. Customize them however you like. Add sprinkles, change the drizzle colors, experiment with flavors. Make them your own.
I’d love to hear how yours turn out. Drop a comment below and let me know what variations you tried, or tag me in your photos. There’s nothing better than seeing these little pops bringing joy to someone else’s holiday table. Happy baking, and may your kitchen stay warm and your chocolate stay smooth.
Frequently Asked Questions
Can I use a boxed cake mix instead of making the cake from scratch?
Absolutely. Bake the cake according to the package directions, let it cool completely, and proceed with crumbling and adding the frosting binder. The flavor won’t be quite as rich, but it’s a great shortcut when you’re short on time. I’ve done it many times during busy holiday weeks.
Why did my white chocolate seize up?
White chocolate is sensitive to heat and moisture. If it becomes grainy or stiff, you likely overheated it or introduced a drop of water. Always use dry bowls and utensils, and heat in short bursts, stirring frequently. If it seizes, try stirring in a teaspoon of coconut oil—sometimes that saves it. Otherwise, start fresh.
How far in advance can I make these?
You can make the cake balls up to three days ahead and store them in the refrigerator. Dip and decorate them the day before or the morning of your event. They’ll stay fresh in an airtight container in the fridge for up to a week. Undipped cake balls freeze beautifully for up to three months.
My cake balls keep falling off the sticks. What am I doing wrong?
This usually happens when the cake balls aren’t chilled enough or when the stick isn’t secured with melted chocolate. Make sure you dip the stick tip in melted white chocolate before inserting it into the cake ball, and chill the assembled pops for at least 15 minutes before dipping. If they still fall off, try making the balls slightly smaller and denser.
Can I use dark chocolate instead of white chocolate?
Yes, and it’s delicious. Dark chocolate pairs beautifully with the sweet cake. Use the same melting method, and consider adding a white chocolate drizzle on top for contrast. The dark chocolate will set faster and be slightly less forgiving, so work quickly.
Pin This Recipe!
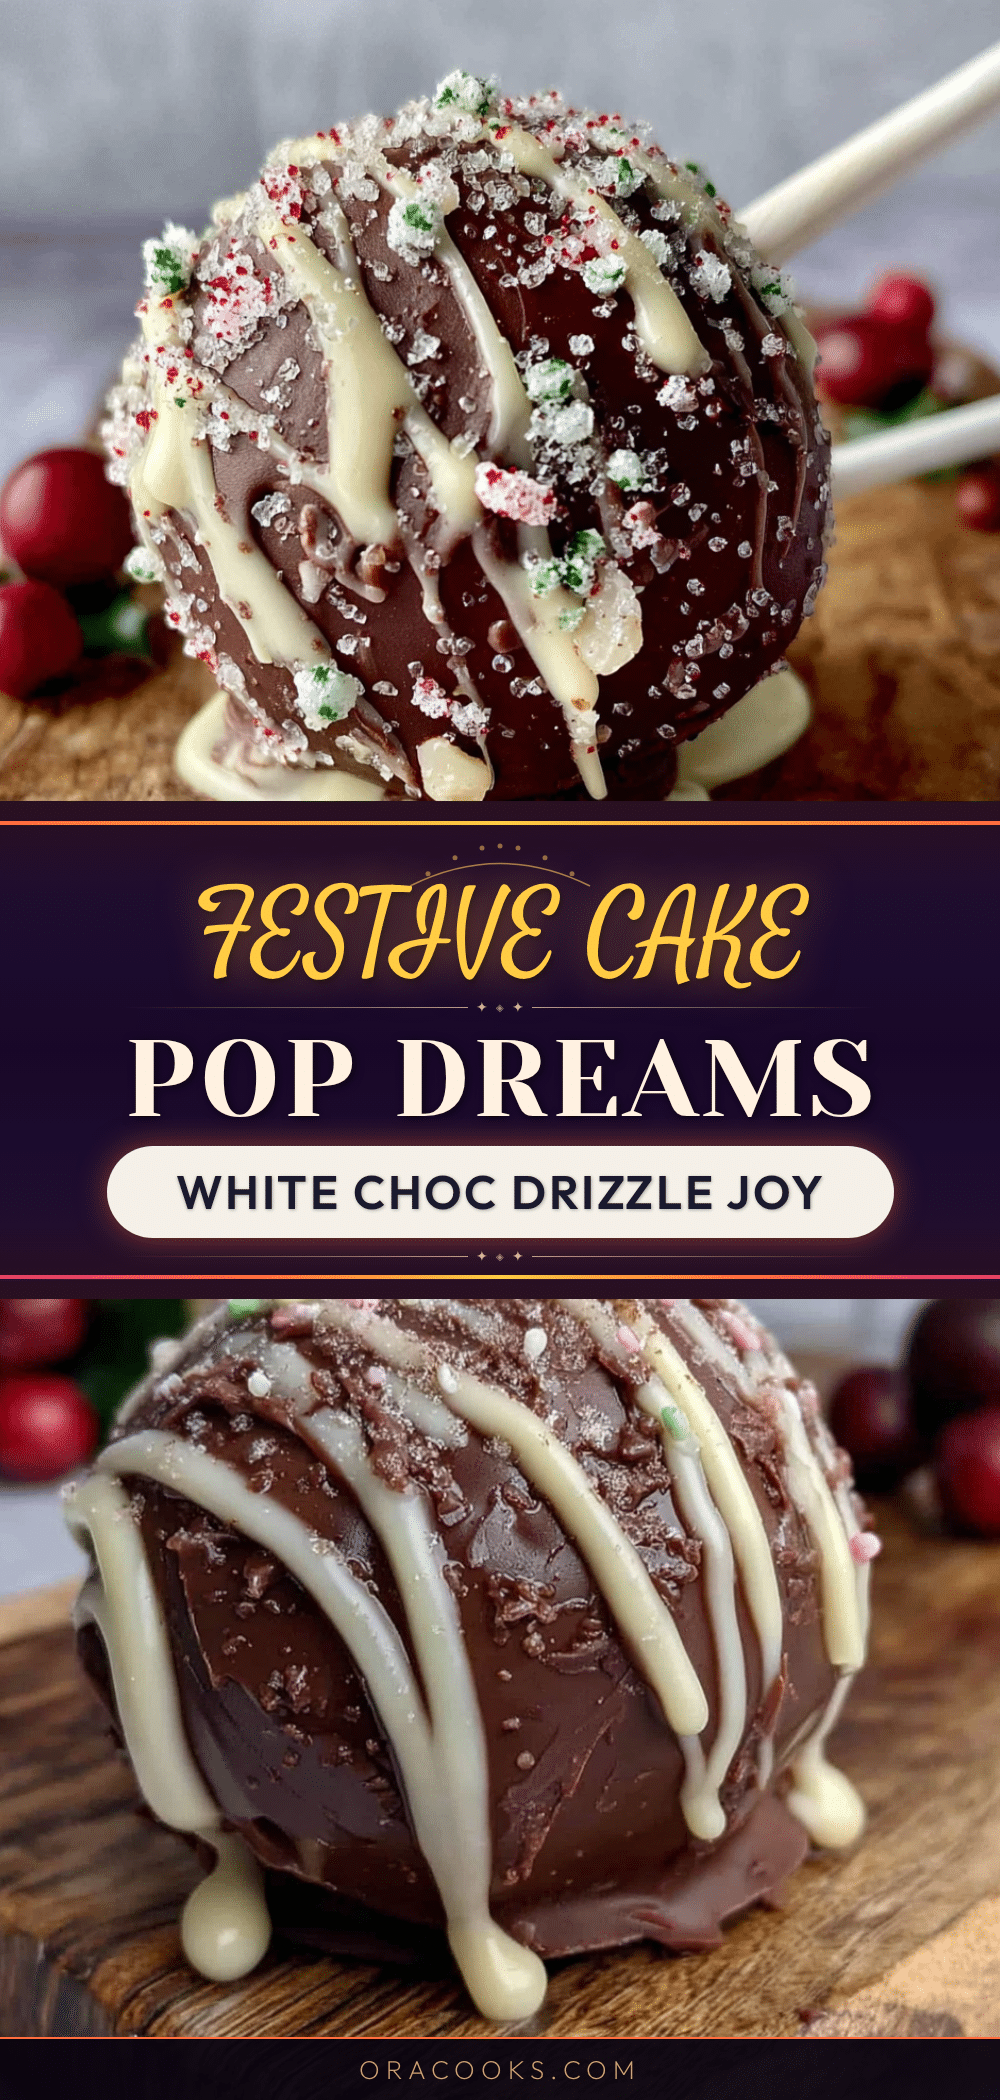
Best Festive Christmas Cake Pops Easy White Chocolate Drizzle Recipe

These festive Christmas cake pops with white chocolate drizzle are moist, delicious, and surprisingly forgiving to make. Perfect for holiday gatherings, they look impressive but come together with simple ingredients and a straightforward process.
- Prep Time: 1 hour 30 minutes
- Cook Time: 30 minutes
- Total Time: 2 hours 30 minutes
- Yield: 20-24 servings 1x
- Category: Dessert
- Cuisine: American
Ingredients
- 1 ½ cups all-purpose flour (spooned and leveled)
- 1 cup granulated sugar
- ½ cup unsalted butter, softened
- 2 large eggs, room temperature
- ½ cup whole milk
- 1 ½ teaspoons baking powder
- ½ teaspoon salt
- 1 teaspoon vanilla extract
- ½ teaspoon almond extract
- ¼ cup unsalted butter, softened (for frosting binder)
- 1 cup powdered sugar, sifted
- 2 tablespoons heavy cream
- ½ teaspoon vanilla extract (for frosting binder)
- 12 ounces white chocolate melting wafers
- 1 tablespoon coconut oil or vegetable shortening
- 2 ounces red candy melts (for drizzle)
- 2 ounces green candy melts (for drizzle)
- Festive sprinkles (optional)
- Lollipop sticks (at least 20)
Instructions
- Preheat oven to 350°F (175°C). Grease a 9×13-inch baking pan.
- In a large bowl, cream together ½ cup softened butter and 1 cup sugar until light and fluffy, about 3 minutes.
- Add eggs one at a time, beating well after each. Stir in vanilla and almond extracts.
- In a separate bowl, whisk together flour, baking powder, and salt. Add to wet ingredients in three additions, alternating with milk. Mix just until combined.
- Pour batter into prepared pan and spread evenly. Bake for 25-30 minutes, until a toothpick inserted in center comes out clean or with a few moist crumbs.
- Cool cake in pan for 10 minutes, then transfer to a wire rack to cool completely.
- Once cool, crumble cake into fine, even crumbs in a large bowl.
- For frosting binder: Beat ¼ cup softened butter until smooth. Add sifted powdered sugar, heavy cream, and ½ teaspoon vanilla. Beat until smooth and spreadable (consistency of thick peanut butter).
- Add frosting to crumbled cake and mix until mixture holds together when pressed.
- Using a cookie scoop or tablespoon, portion mixture into 1.5-inch balls. Roll smooth and place on parchment-lined baking sheet. Refrigerate for at least 1 hour.
- Melt 2 tablespoons white chocolate wafers in microwave (15-second intervals). Dip tip of each lollipop stick into melted chocolate, then insert halfway into a cake ball. Return to fridge for 15 minutes.
- Melt remaining white chocolate wafers with coconut oil in microwave-safe bowl in 30-second bursts, stirring until smooth.
- Hold a cake pop by the stick and dip into melted white chocolate, covering completely. Tap stick gently against bowl to remove excess. Place in Styrofoam block or colander to set. Repeat with all pops. Let set at room temperature for 10 minutes.
- Melt red and green candy melts separately. Transfer each to a small piping bag or zip-top bag with a tiny corner snipped off.
- Drizzle melted candy over set white chocolate coating in zigzag patterns or lines. Add sprinkles immediately if using. Let set completely, about 20 minutes.
Notes
Don’t skip chilling steps; white chocolate is temperamental—avoid moisture; tap stick gently to remove excess chocolate; work in batches if kitchen is warm; uneven drizzle adds rustic charm.
Nutrition
- Serving Size: 1 cake pop
- Calories: 185
- Sugar: 17
- Sodium: 95
- Fat: 9
- Saturated Fat: 5
- Carbohydrates: 24
- Fiber: 0.5
- Protein: 2
Keywords: Christmas cake pops, white chocolate drizzle, festive dessert, holiday baking, cake pops recipe


