Love this? Save it for later!
Share the inspiration with your friends
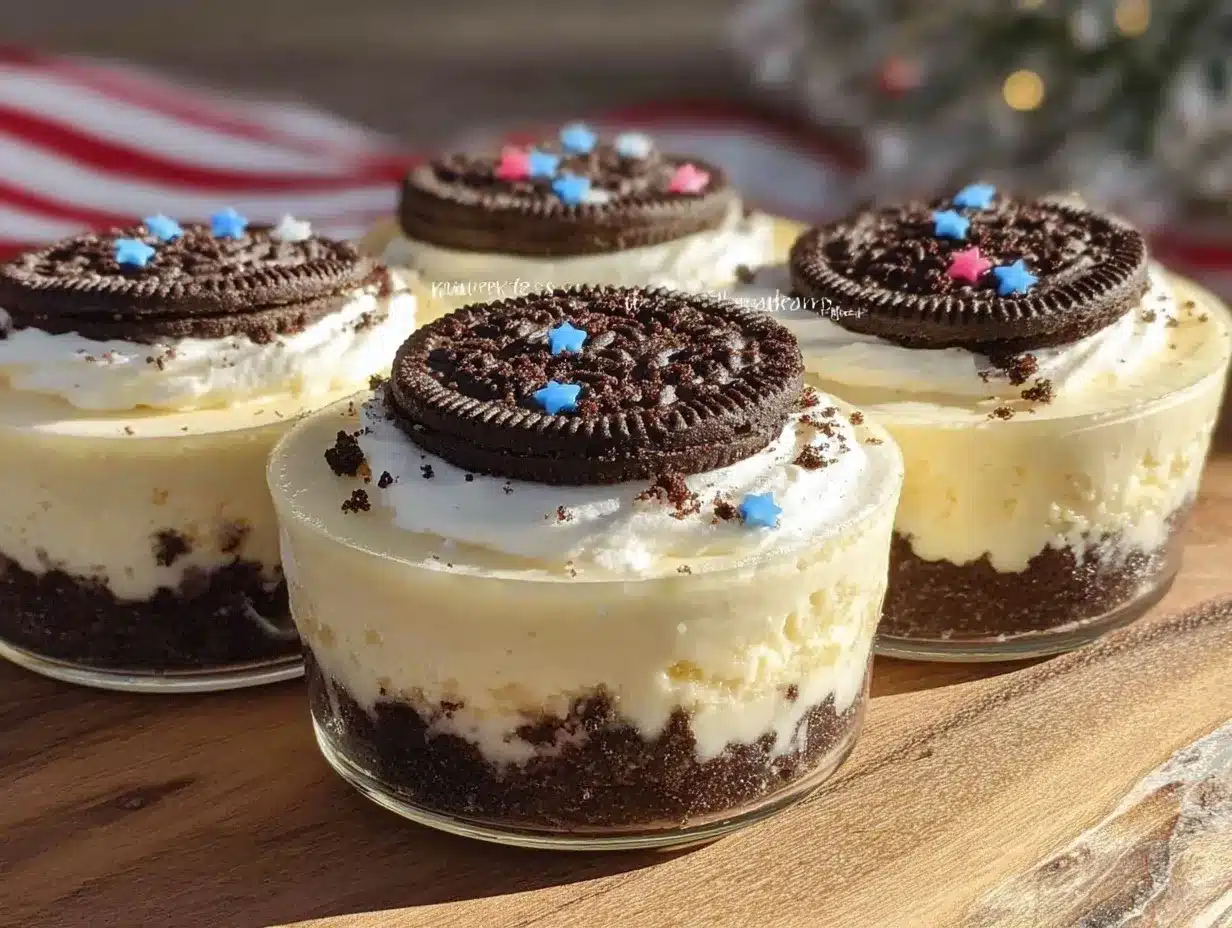
“You won’t believe how simple this is,” my friend Jenna said, sliding a tiny cup across the kitchen counter. It was a random Thursday evening, and honestly, I was expecting some complicated dessert saga. Instead, I found myself holding an Easy 3-Ingredient No-Bake Oreo Cheesecake Cup that tasted like a slice of heaven with zero fuss. Jenna was whipping these up for a last-minute book club, and I was instantly hooked. The funny thing? She told me she’d forgotten half her usual baking supplies and just threw together what she had on hand.
That night, between the chatter and laughter, I learned that sometimes the best recipes come from pure improvisation. No mixer, no oven, no time-consuming steps—just three simple ingredients transforming into a rich, creamy dessert that felt way fancier than it was. You know that feeling when you accidentally stumble on a recipe that’s both ridiculously easy and crowd-pleasing? Yeah, this is it.
Since then, I’ve made these Oreo cheesecake cups more times than I can count (including a chaotic Sunday afternoon when my blender died mid-batch). Whether you’re pressed for time or just craving something sweet without the mess, these cups are a total lifesaver. Let me tell you, once you try this recipe, it’s going to be your go-to for quick desserts that impress without stress.
Why You’ll Love This Recipe
- Quick & Easy: Ready in under 15 minutes, perfect for busy evenings or unexpected guests.
- Simple Ingredients: Uses only three pantry staples you probably already have—no need for a special store run.
- Perfect for Any Occasion: Ideal for potlucks, casual get-togethers, or just treating yourself on a whim.
- Crowd-Pleaser: The Oreo crunch combined with creamy cheesecake filling gets rave reviews from kids and adults alike.
- Unbelievably Delicious: Smooth, creamy, and just the right balance of sweet and chocolatey—comfort food at its finest.
This isn’t your typical cheesecake recipe that requires hours of chilling or dozens of ingredients. What sets this apart is the no-bake technique paired with crushed Oreos, giving you that signature cookie-and-cream flavor without any fuss. Honestly, I love how forgiving it is—you can tweak the Oreo amount or cream cheese softness and still get incredible results. Plus, no oven means less heat in the kitchen, which is a blessing during warmer months.
The texture is silky smooth, thanks to the softened cream cheese whipped with sweetened condensed milk, while Oreo crumbs add just the right crunch. I’ve made this recipe countless times, and it always brings a smile—whether it’s for a casual weeknight treat or a last-minute dessert emergency.
What Ingredients You Will Need
This recipe uses simple, wholesome ingredients to deliver bold flavor and satisfying texture without the fuss. You’ll find these are all pantry staples or easy to grab from any grocery store.
- Oreos: About 20 cookies, crushed (reserve a few whole ones for garnish if you like). I recommend the classic Oreo brand for that perfect balance of sweet cream and chocolate cookie.
- Cream Cheese: 8 ounces (225 grams), softened to room temperature. This is the heart of the cheesecake flavor. For best results, use full-fat cream cheese like Philadelphia. It whips up silky smooth and rich.
- Sweetened Condensed Milk: 1 cup (300 ml). This adds sweetness and creaminess without extra sugar. I usually go for the standard brand, but if you want a dairy-free option, you can try coconut condensed milk.
Optional additions you might consider:
- Vanilla extract (1 teaspoon) for a subtle flavor boost.
- Pinch of salt to balance sweetness.
If you’re looking for a gluten-free twist, substitute the Oreos with gluten-free chocolate sandwich cookies. Or, for a lower-sugar version, try reduced-fat cream cheese and a sugar-free condensed milk alternative, though the texture might be slightly different.
Equipment Needed
- Mixing Bowl: A medium-sized bowl for blending the cream cheese and condensed milk. Glass or metal works great.
- Electric Mixer or Hand Whisk: An electric hand mixer makes whipping easier, but a sturdy whisk works if you don’t mind a bit more arm work.
- Food Processor or Plastic Bag & Rolling Pin: For crushing Oreos. A food processor is faster, but you can pop the cookies into a sealed plastic bag and crush them with a rolling pin or heavy bottle.
- Serving Cups: Small glasses, ramekins, or even mason jars work well for individual servings.
- Spatula: To fold ingredients and scrape the bowl clean.
I’ve tried making these cups with just a whisk and a bag of Oreos crushed by hand, and while it takes a bit more effort, it’s totally doable. For budget-friendly options, a sturdy fork can replace the rolling pin for crushing cookies, and any small cup will do for serving.
Preparation Method
- Crush the Oreos (5 minutes): Place about 20 Oreos in a food processor and pulse until finely crushed but still with some texture. No processor? No problem. Put the cookies in a zip-top bag, seal tightly, and crush using a rolling pin or heavy bottle until you get a sandy crumb consistency with some small chunks for crunch.
- Prepare the Cream Cheese Mixture (8 minutes): In a mixing bowl, add 8 ounces (225 grams) of softened cream cheese. Beat with an electric mixer or whisk until smooth and creamy, no lumps. Slowly pour in 1 cup (300 ml) of sweetened condensed milk while continuing to mix. If you want, add 1 teaspoon vanilla extract and a pinch of salt here for extra flavor. The mixture should be silky and slightly thick.
- Fold in the Crushed Oreos (2 minutes): Gently fold about 3/4 of the crushed Oreos into the cream cheese mixture using a spatula. Mix just until combined—don’t overmix or you’ll lose the texture contrast.
- Assemble the Cups (5 minutes): Spoon the mixture evenly into your serving cups or ramekins. Top each with the reserved crushed Oreos or a whole Oreo for decoration. This adds a nice visual and extra crunch.
- Chill (at least 2 hours): Place the cups in the fridge for at least two hours to let them set and thicken. If you’re in a hurry, 30 minutes to 1 hour can work, but longer chilling improves texture and flavor melding.
Pro tip: If the cream cheese isn’t softened enough, you might get lumps—just be patient and beat longer, or warm it in short bursts in the microwave (10 seconds) until soft but not melted. Also, don’t skip chilling; it’s what transforms this from a loose mixture to a luscious, spoonable cheesecake cup.
Cooking Tips & Techniques
One of the best things about this recipe is how forgiving it is, but here are some tips I learned the hard way:
- Softening Cream Cheese Properly: I once tried rushing this step by microwaving the block too long—ended up with a gloopy mess. Leave it out at room temp for about 30 minutes instead; it’ll whip up perfectly smooth.
- Crushing Oreos: Don’t pulverize the cookies into powder. Keep some chunkiness for texture contrast. A few bigger pieces in the mix make every bite interesting.
- Folding Gently: Overmixing after adding Oreos can make the mixture too runny and the cookies soggy. Fold just enough to combine.
- Chilling Time: Patience is your friend here. The longer you chill, the better the cups hold their shape and develop flavor. I usually make mine the night before.
- Multitasking: While chilling, you can prep toppings or whip up a quick chocolate drizzle to jazz up the presentation.
Remember, this recipe is ideal when you keep it simple but precise. I’ve found that small tweaks—like adding a pinch of salt or vanilla—make a big difference in flavor depth. And honestly, the no-bake method means less stress and more time to enjoy with friends or family.
Variations & Adaptations
Feel free to mix things up depending on your mood or dietary needs:
- Fruit Twist: Add a layer of fresh strawberries or raspberries on top before chilling. The tartness pairs beautifully with the sweet, creamy filling.
- Peanut Butter Oreo Cups: Swirl in 2 tablespoons of creamy peanut butter with the cream cheese mixture for a nutty flavor. It’s a personal favorite I discovered by accident one lazy afternoon.
- Vegan Version: Use vegan cream cheese and coconut condensed milk, and substitute Oreos with a vegan-friendly cookie brand. The texture changes a bit but still satisfies that cheesecake craving.
- Chocolate Drizzle: Melt some dark chocolate and drizzle on top before serving for an extra indulgent touch.
- Mini Cheesecake Bites: Instead of cups, press the mixture into a lined mini muffin tin and chill for bite-sized treats.
One time, I tried adding a splash of coffee to the mixture for a mocha flavor—it was a hit at a casual brunch. Don’t hesitate to get creative with what you have on hand!
Serving & Storage Suggestions
These Oreo cheesecake cups are best served chilled, straight from the fridge. The creamy texture and cookie crunch feel extra refreshing cool. For presentation, garnish with a whole Oreo or a sprinkle of crushed cookies just before serving.
Pair them with a hot cup of coffee or a cold glass of milk for a classic combo. If you’re serving at a party, stacking them on a tiered tray looks charming and keeps things easy for guests to grab.
To store, cover each cup tightly with plastic wrap or transfer to an airtight container. They keep well refrigerated for up to 4 days. For longer storage, you can freeze them for up to a month—just thaw in the fridge overnight before enjoying.
When reheating (if you must), a few seconds in the microwave will soften the texture but beware of melting the cookies. Usually, they’re best cold, and the flavors actually deepen after a day or two in the fridge.
Nutritional Information & Benefits
Each serving of these no-bake Oreo cheesecake cups contains approximately:
| Calories | 320 |
|---|---|
| Fat | 20g |
| Carbohydrates | 30g |
| Protein | 5g |
The cream cheese provides a good source of calcium and protein, while the Oreos add a bit of indulgent sweetness. This recipe is gluten-free if you use gluten-free cookies. It’s definitely a treat, so best enjoyed in moderation.
From a wellness perspective, I love that this recipe skips refined flour and complex sweeteners, relying mainly on sweetened condensed milk for sweetness. It’s a simple dessert that satisfies cravings without an overwhelming ingredient list.
Conclusion
If you’ve been searching for a dessert that’s fuss-free, delicious, and hits all the right comfort food notes, these Easy 3-Ingredient No-Bake Oreo Cheesecake Cups are exactly what you need. Honestly, they’ve saved me on more than one occasion when I wanted something sweet but had zero energy for baking.
Feel free to tweak the amount of Oreos, add your favorite toppings, or try one of the variations I mentioned. The best part? It’s nearly impossible to mess up. I love how this recipe brings people together—whether it’s a quiet night in or a lively potluck with friends.
Give it a try and let me know how your batch turns out. Your kitchen might get a little messy (mine always does), but I promise it’s worth every crumb!
FAQs
Can I make these cheesecake cups ahead of time?
Absolutely! They’re perfect for making a day ahead. Just keep them covered in the fridge, and they’ll be ready to serve when you are.
What if I don’t have sweetened condensed milk?
You can try making your own by simmering regular milk and sugar until thickened, but for ease, buying canned sweetened condensed milk is best.
Can I use other types of cookies instead of Oreos?
Yes! Chocolate wafer cookies or even graham crackers can work, though the flavor and texture will differ slightly.
How long do these cheesecake cups last in the fridge?
They stay fresh and delicious for up to 4 days when stored in an airtight container.
Is it possible to double or triple the recipe?
Sure thing! Just multiply the ingredients accordingly and mix in a larger bowl. Larger batches chill just as well.
Pin This Recipe!
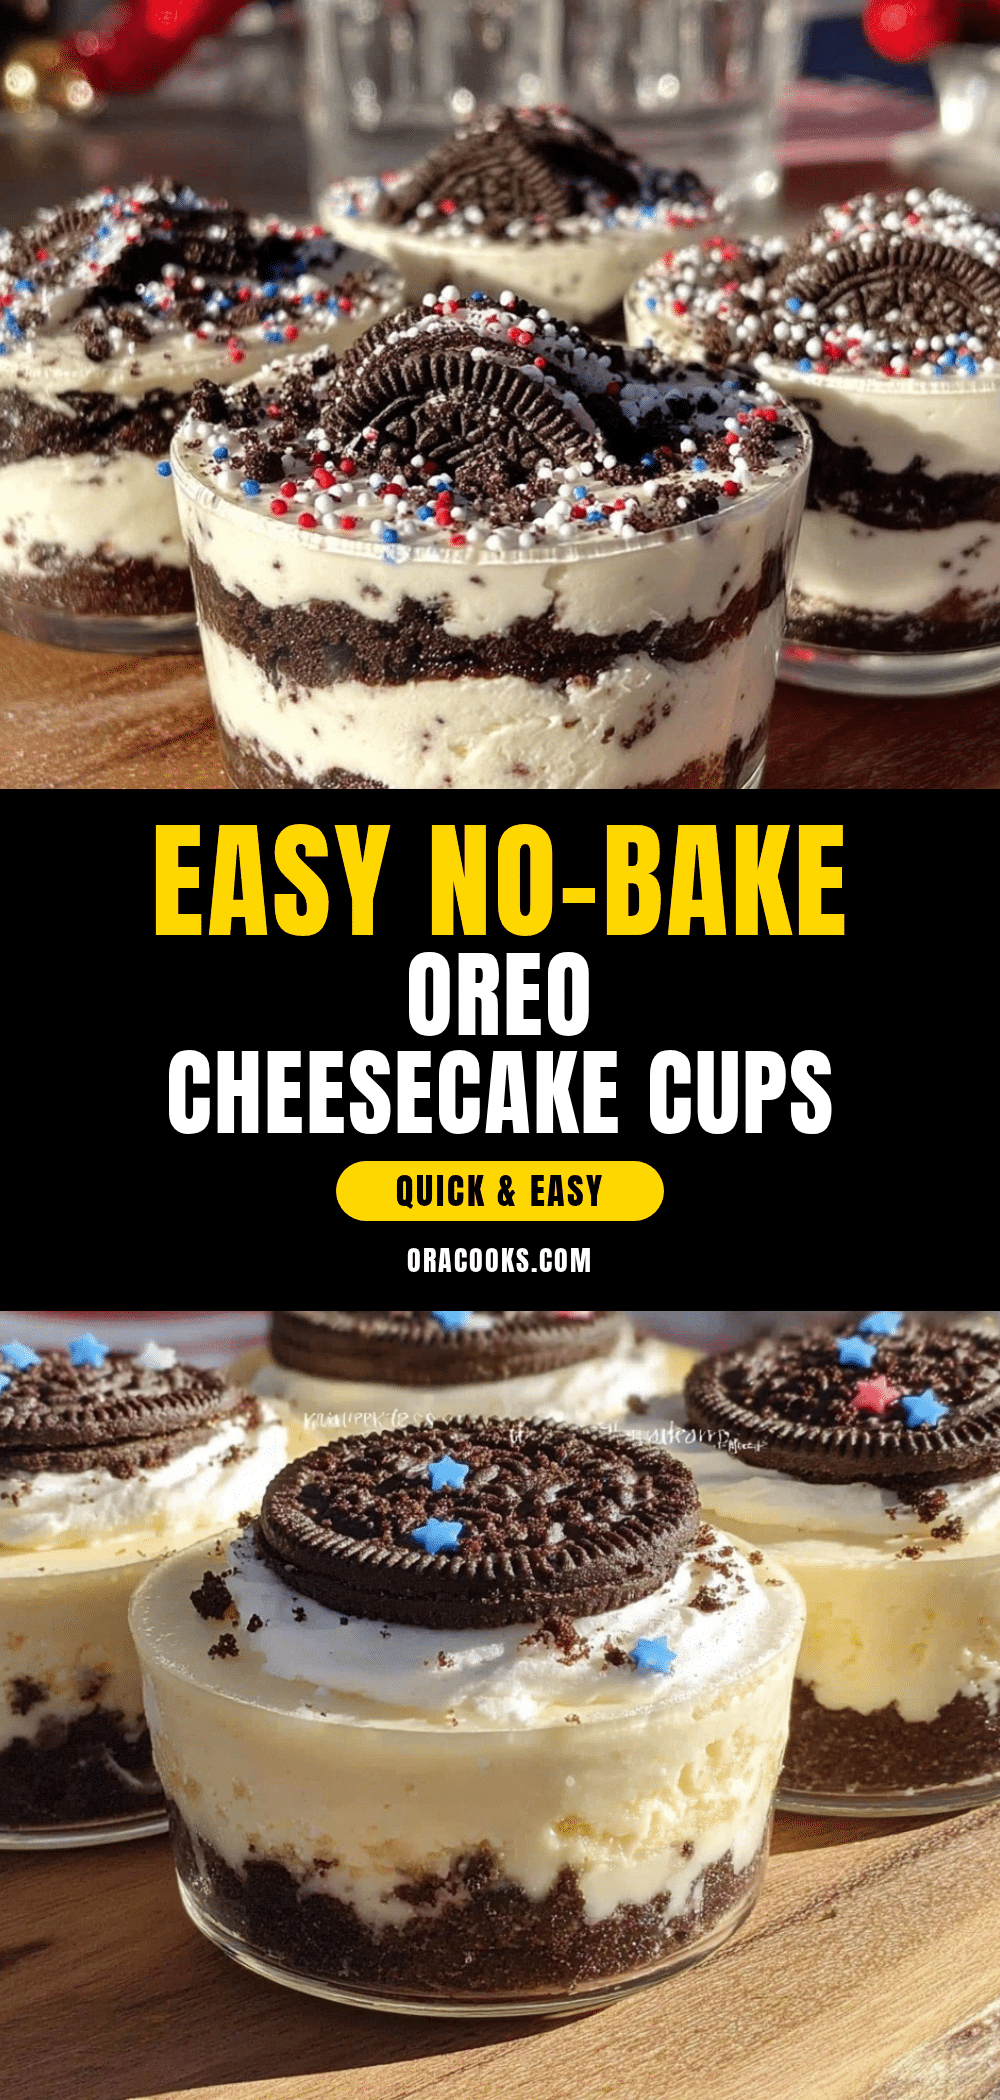
Easy 3-Ingredient No-Bake Oreo Cheesecake Cups
A quick and simple no-bake dessert featuring crushed Oreos, creamy cream cheese, and sweetened condensed milk, perfect for last-minute treats or casual get-togethers.
- Prep Time: 15 minutes
- Cook Time: 0 minutes
- Total Time: 2 hours 15 minutes
- Yield: 6 servings 1x
- Category: Dessert
- Cuisine: American
Ingredients
- About 20 Oreos, crushed (reserve a few whole ones for garnish if desired)
- 8 ounces (225 grams) cream cheese, softened to room temperature
- 1 cup (300 ml) sweetened condensed milk
- Optional: 1 teaspoon vanilla extract
- Optional: Pinch of salt
Instructions
- Crush about 20 Oreos using a food processor or place in a zip-top bag and crush with a rolling pin until sandy with some chunks remaining.
- In a mixing bowl, beat 8 ounces of softened cream cheese until smooth and creamy.
- Slowly add 1 cup of sweetened condensed milk while mixing continuously. Add vanilla extract and salt if using.
- Gently fold in about 3/4 of the crushed Oreos until just combined.
- Spoon the mixture evenly into serving cups or ramekins and top with reserved crushed Oreos or whole Oreos for garnish.
- Chill in the refrigerator for at least 2 hours to set before serving.
Notes
Do not overmix after adding Oreos to maintain texture contrast. Chill for at least 2 hours for best results. Softening cream cheese properly is key to a smooth mixture. Variations include adding vanilla, salt, peanut butter, or fruit toppings. Use gluten-free cookies for a gluten-free version.
Nutrition
- Serving Size: 1 cup (approximate i
- Calories: 320
- Fat: 20
- Carbohydrates: 30
- Protein: 5
Keywords: no-bake, Oreo, cheesecake, quick dessert, easy recipe, 3-ingredient, no oven, creamy, crowd-pleaser