Love this? Save it for later!
Share the inspiration with your friends
I hadn’t even made it past the front door. My neighbor, Sarah, wasn’t trying to impress anyone—I’d just stopped by to return her tupperware, and the smell of warm cinnamon and toasted sugar hit me before I could say hello. She was standing at her kitchen counter, completely nonchalant, scooping golden, crunchy pumpkin seeds onto a sheet of parchment paper like it was nothing. I mean, honestly, it stopped me cold. I’ve roasted pumpkin seeds a hundred times, but they never smelled like that.
“Oh, those?” she said when I asked, barely looking up. “Just a little snack I threw together from the pumpkins the kids carved.” Just a little snack. Let me tell you, there was nothing “little” about them. They were perfectly crispy, coated in a sweet cinnamon glaze that shattered when you bit into them, and I couldn’t stop eating them while she talked about her garden. Maybe you’ve been there—standing in someone else’s kitchen, watching them casually make something extraordinary, and thinking, I need to figure out how to do that.
That day, I begged her for the method, and she shrugged and rattled off a few steps between sips of coffee. It took me three batches to get it exactly right, but now these crispy cinnamon sugar pumpkin seeds are my go-to fall snack. They’re the kind of thing that makes you reach for “just one more” until the bowl is empty. Honestly, they’re better than any pumpkin seed I’ve ever bought at a store, and they’ve become a tradition I look forward to every autumn.
Why You’ll Love This Recipe
These crispy cinnamon sugar pumpkin seeds aren’t just another snack—they’re the snack that disappears first at every gathering. I’ve tested this method more times than I can count, and I can tell you with confidence: this is the version you’ll come back to year after year.
- Quick & Easy: From start to finish, these come together in about 45 minutes. Most of that time is hands-off baking, so you can tidy up the kitchen or put your feet up while they get perfectly crunchy.
- Simple Ingredients: You probably already have everything in your pantry—pumpkin seeds, butter, sugar, cinnamon, and a pinch of salt. No fancy grocery trips required.
- Perfect for Fall Gatherings: These are a hit at Halloween parties, Thanksgiving dinners, cozy movie nights, or just as a snack while you’re carving pumpkins with the kids. They’re also fantastic for gifting in little jars.
- Crowd-Pleaser: I’ve served these to kids, adults, and even friends who swore they didn’t like pumpkin seeds. Every single person went back for seconds. The sweet cinnamon coating is just that good.
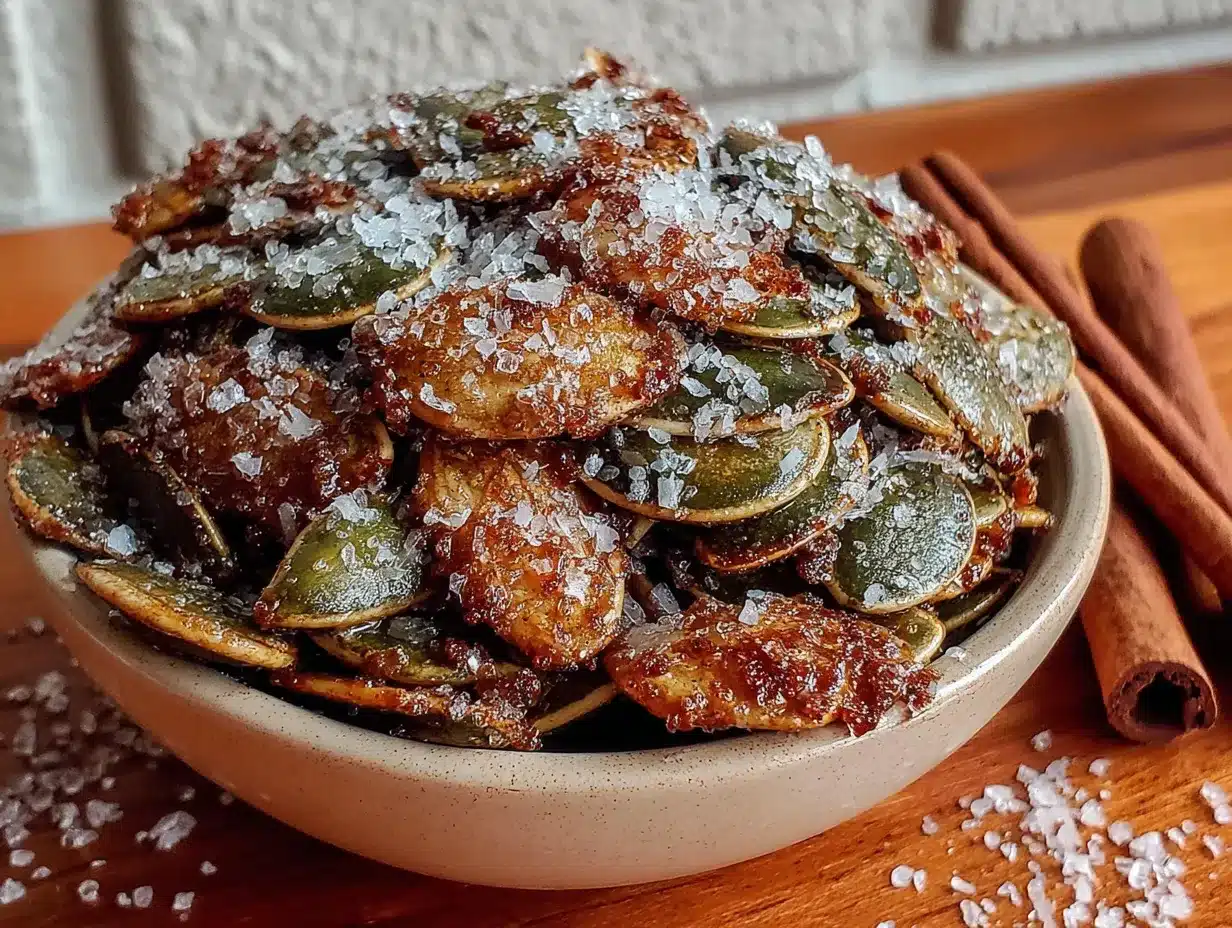
- Unbelievably Delicious: The texture is what gets me every time—crispy on the outside with a slight crunch that doesn’t feel like you’re chewing on cardboard. The cinnamon sugar caramelizes just enough to create a delicate, shatter-like coating that’s pure comfort.
What makes this recipe different from all the others? It’s the technique. Most recipes tell you to just toss seeds with sugar and bake, but that often leads to soggy or burnt results. I figured out that boiling the seeds first helps them crisp up evenly, and tossing them in melted butter before the sugar coating ensures every single seed gets that glossy, cinnamon-spiced finish. It’s not just another version—it’s the best version I’ve ever made.
This recipe is the kind that makes you close your eyes after the first bite. It’s comfort food reimagined—healthier, faster, and with the same soul-soothing satisfaction as your favorite fall treat. Perfect for impressing guests without stress, or turning a simple pumpkin carving afternoon into something memorable.
What Ingredients You Will Need
This recipe uses simple, wholesome ingredients to deliver bold flavor and satisfying crunch without any fuss. Here’s what you’ll need to gather before you start:
For the Pumpkin Seeds
- 1 cup fresh pumpkin seeds (also called pepitas if using hulled seeds; for this recipe, I prefer the whole seeds straight from a pumpkin, rinsed and patted dry)
- 4 cups water (for boiling the seeds—this step is a game-changer for crispiness)
- 1 teaspoon salt (for the boiling water; use fine sea salt or table salt)
For the Cinnamon Sugar Coating
- 3 tablespoons unsalted butter, melted (I recommend Kerrygold or a good quality European butter for richer flavor; you can use salted butter and skip the extra salt)
- ¼ cup granulated sugar (organic cane sugar works beautifully here)
- 1 teaspoon ground cinnamon (I prefer Saigon cinnamon for its warm, bold flavor—it makes a noticeable difference)
- ¼ teaspoon salt (if using unsalted butter; adjust to taste if using salted butter)
- 1 teaspoon vanilla extract (optional, but it adds a lovely depth that complements the cinnamon)
Ingredient Tips & Substitutions
- Pumpkin seeds: You can use seeds from any winter squash—butternut, acorn, or even spaghetti squash work well. Just make sure to rinse off all the pumpkin guts and pat them very dry before starting. If you’re using store-bought raw pepitas (hulled seeds), skip the boiling step and just toss them directly with the butter and sugar mixture, then bake for a shorter time, about 15-18 minutes.
- Butter: For a dairy-free version, substitute with coconut oil or a plant-based butter. The flavor will be slightly different but still delicious. I’ve tried it with refined coconut oil and it worked perfectly.
- Sugar: You can swap granulated sugar with coconut sugar for a less refined option, though the color will be darker and the crunch slightly less pronounced. Brown sugar also works but may make the seeds slightly chewier—still tasty, just different.
- Cinnamon: Feel free to experiment with pumpkin pie spice instead of straight cinnamon for a more complex flavor profile. I’ve done this and it’s wonderful for holiday gatherings.
Equipment Needed
You don’t need a fancy kitchen to make these crispy cinnamon sugar pumpkin seeds. Here’s what you’ll want to have on hand:
- Large pot (for boiling the seeds—a 4-quart pot is perfect)
- Colander or fine-mesh strainer (for draining the boiled seeds)
- Baking sheet (a standard half-sheet pan works great; line it with parchment paper for easy cleanup)
- Parchment paper (or a silicone baking mat; this prevents sticking and makes the caramelized sugar easy to remove)
- Mixing bowls (one medium for the butter mixture, one small for the sugar-cinnamon mix)
- Measuring cups and spoons (accuracy matters here, especially for the cinnamon and salt)
- Kitchen towel or paper towels (for drying the seeds thoroughly after rinsing)
- Spatula (for stirring the seeds on the baking sheet halfway through roasting)
I’ve made these with a dollar-store baking sheet and they turned out just fine. The parchment paper is the real hero here—trust me, you don’t want to scrape caramelized sugar off a bare pan. If you don’t have parchment, a well-greased silicone mat is your next best option.
Preparation Method
Follow these steps carefully, and you’ll have the crispiest, most addictive cinnamon sugar pumpkin seeds you’ve ever tasted. I’ve learned through trial and error, so trust the process.
- Preheat your oven to 325°F (165°C). Line a baking sheet with parchment paper and set it aside. Getting the oven to the right temperature is crucial—too hot and the sugar will burn before the seeds crisp up.
- Clean the pumpkin seeds. Separate the seeds from the pumpkin pulp. Place them in a colander and rinse under cold running water, using your fingers to rub off any stringy bits. It’s okay if a little pulp remains—it adds flavor. Pat the seeds very dry with a clean kitchen towel or paper towels. Pro tip: The drier they are before boiling, the better they’ll crisp.
- Boil the seeds. In a large pot, bring 4 cups of water and 1 teaspoon of salt to a rolling boil. Add the pumpkin seeds and boil for exactly 10 minutes. This step is non-negotiable—it softens the outer shell just enough so they crisp up beautifully in the oven instead of turning into little rocks. You’ll notice the seeds start to look slightly translucent around the edges.
- Drain and dry again. Pour the seeds into a colander and let them drain well. Spread them out on a clean kitchen towel and pat them as dry as you can. Don’t skip this—excess moisture will steam the seeds instead of roasting them. Let them sit for 5 minutes while you prepare the coating.
- Make the cinnamon sugar mixture. In a small bowl, whisk together the ¼ cup granulated sugar, 1 teaspoon ground cinnamon, and ¼ teaspoon salt. Set aside. In a separate medium bowl, combine the 3 tablespoons melted butter and 1 teaspoon vanilla extract (if using). Stir to combine.
- Coat the seeds. Add the dried, boiled seeds to the bowl with the melted butter. Toss well until every seed is coated. Then, sprinkle the cinnamon sugar mixture over the seeds and toss again until they’re evenly covered. I use my hands for this—it’s messy but ensures every seed gets coated.
- Spread on baking sheet. Pour the coated seeds onto the prepared baking sheet and spread them into a single, even layer. Try not to overlap them too much, or they’ll steam instead of roast. Your kitchen should smell amazing at this point.
- Bake. Place the baking sheet in the preheated oven and bake for 25-30 minutes, stirring halfway through with a spatula. At the 15-minute mark, give them a good stir to ensure even browning. Keep an eye on them during the last 5 minutes—they can go from golden to burnt quickly. They’re done when they’re deep golden brown and smell intensely toasty.
- Cool completely. Remove the baking sheet from the oven and let the seeds cool on the pan for at least 15 minutes. They will continue to crisp up as they cool. Don’t rush this step—warm seeds are chewy, but cooled seeds are perfectly crunchy. Resist the urge to eat them right away, I know it’s hard.
- Break apart and serve. Once completely cool, break apart any clusters that have formed. They should separate easily into individual seeds with a satisfying snap. Transfer to a bowl and try not to eat the entire batch in one sitting.
Cooking Tips & Techniques
Over the years, I’ve made plenty of mistakes with pumpkin seeds. I’ve burnt them, made them chewy, and ended up with sugar that crystallized into a sticky mess. Here’s what I’ve learned so you don’t have to repeat my failures.
Don’t skip the boil. I know it seems like an extra step, but boiling the seeds in salted water is the secret to getting that perfectly crispy texture. It softens the outer hull so the interior can dry out evenly. Without it, you’ll end up with seeds that are either burnt on the outside and raw on the inside, or tough and chewy. Trust me on this one.
Dry your seeds thoroughly. After boiling, make sure you pat them as dry as possible. Any lingering moisture will turn into steam in the oven, and steam is the enemy of crispiness. I’ve learned to spread them on a towel and let them air-dry for 5-10 minutes before coating them. It makes a real difference.
Watch the oven like a hawk. Sugar burns fast. In the last five minutes of baking, the seeds can go from perfectly golden to acrid and black. I always set a timer for 20 minutes, then check them every 2-3 minutes after that. If your oven runs hot, start checking at 18 minutes. Your nose is your best tool—when you smell that deep, toasty cinnamon aroma, they’re probably done.
Let them cool completely. I cannot stress this enough. Warm seeds will be soft and slightly chewy. As they cool, the sugar coating hardens and the seeds become shatteringly crisp. If you eat them too early, you’ll be disappointed. Give them at least 15-20 minutes of undisturbed cooling time. I usually make them a few hours before I plan to serve them so they’re at peak crunch.
Stir halfway through. This ensures even browning. The seeds on the edges of the pan tend to cook faster than those in the middle, so a quick stir at the 15-minute mark redistributes them. I use a thin metal spatula to flip them around gently.
Variations & Adaptations
Once you’ve mastered the basic recipe, feel free to get creative. Here are some variations I’ve tried and loved:
- Spicy Cinnamon Sugar: Add ¼ teaspoon of cayenne pepper or chipotle powder to the sugar mixture. The heat balances beautifully with the sweet cinnamon, creating a sweet-and-spicy snack that’s addictive. I made this for a football party and they disappeared in minutes.
- Maple Cinnamon: Replace the granulated sugar with 3 tablespoons of maple syrup and reduce the melted butter to 2 tablespoons. Toss the boiled seeds with the maple-butter mixture, then sprinkle with cinnamon and a pinch of salt. Bake at 300°F (150°C) for 25-30 minutes, stirring halfway. These are a little stickier but have a wonderful depth of flavor.
- Chocolate Cinnamon: After the seeds have cooled completely, drizzle them with melted dark chocolate (about ¼ cup) and let it set. The combination of crunchy cinnamon seeds and rich chocolate is absolutely decadent. I like to sprinkle a little flaky sea salt on top for contrast.
- Pumpkin Pie Spice Version: Swap the cinnamon for 1½ teaspoons of pumpkin pie spice (or a mix of cinnamon, nutmeg, ginger, and cloves). This variation is perfect for Thanksgiving and tastes like autumn in a bowl.
- Savory-Sweet Hybrid: Reduce the sugar to 2 tablespoons and add ½ teaspoon of smoked paprika and ¼ teaspoon of garlic powder to the cinnamon sugar mixture. The result is a unique snack that works on salads or eaten by the handful.
I’ve personally tried the maple cinnamon version and it’s become my go-to for fall brunches. The maple flavor is subtle but unmistakable, and it pairs wonderfully with a hot cup of coffee.
Serving & Storage Suggestions
These crispy cinnamon sugar pumpkin seeds are versatile and can be enjoyed in so many ways. Here’s how I like to serve and store them.
Serving: Serve them at room temperature in a big bowl for snacking. They’re perfect on their own, but I also love sprinkling them over vanilla ice cream for a crunchy topping, or adding them to a fall charcuterie board alongside apples, sharp cheddar, and dried cranberries. They’re also fantastic on top of a simple green salad with a maple vinaigrette—the sweetness and crunch add so much texture.
Storage: Store any leftovers (if there are any!) in an airtight container at room temperature. They’ll stay crispy for up to 2 weeks, though I’ve never had them last that long. If you live in a humid climate, you might notice they soften slightly after a few days. To re-crisp them, spread them on a baking sheet and pop them in a 300°F (150°C) oven for 5 minutes. Let them cool completely before storing again.
Freezing: You can freeze these seeds for up to 3 months. Place them in a freezer-safe bag or container, squeeze out as much air as possible, and seal. To serve, let them thaw at room temperature for about 15 minutes, then re-crisp in the oven if needed. I’ve done this with big batches around Halloween and they taste just as fresh at Thanksgiving.
Flavor development: Interestingly, the cinnamon flavor tends to mellow and deepen after a day or two. I actually prefer them on day two—the sugar coating has fully set and the spices have had time to meld. Just something to keep in mind if you’re making them ahead for a party.
Nutritional Information & Benefits
While these are definitely a treat, pumpkin seeds themselves are packed with nutrition. Here’s a rough estimate per serving (about ¼ cup of finished seeds):
- Calories: 180-200
- Fat: 14g (mostly healthy unsaturated fats from the seeds and butter)
- Carbohydrates: 12g (including 8g sugar from the coating)
- Protein: 7g
- Fiber: 2g
- Iron: 15% of the Daily Value
- Magnesium: 20% of the Daily Value
- Zinc: 15% of the Daily Value
Pumpkin seeds are a fantastic source of magnesium, which supports muscle function and sleep quality. They’re also rich in antioxidants like vitamin E and carotenoids. The cinnamon adds its own benefits—it’s known for helping regulate blood sugar and has anti-inflammatory properties. Of course, the sugar and butter add calories, but as a seasonal snack enjoyed in moderation, these are a much better choice than processed candies or chips.
Dietary considerations: This recipe is naturally gluten-free and can be made dairy-free by using coconut oil instead of butter. It’s also egg-free and nut-free, making it a safe option for many common allergies. If you’re watching your sugar intake, try the maple version with a smaller amount of natural sweetener.
Conclusion
These crispy cinnamon sugar pumpkin seeds have become a non-negotiable part of my fall routine. They’re the snack I look forward to making every year when the pumpkins start appearing on doorsteps, and they never fail to bring a smile to people’s faces. There’s something so satisfying about turning what would otherwise be compost into something so delicious—it feels like a little kitchen magic.
I hope you give this recipe a try, and I hope you make it your own. Maybe you’ll add a pinch of cayenne, or drizzle them with chocolate, or just enjoy them exactly as written. Whatever you do, don’t skip the boiling step, and definitely don’t eat them straight out of the oven—I learned that lesson the hard way!
If you make these, I’d love to hear about it. Leave a comment below and let me know how they turned out, or share your own twist on the recipe. Happy pumpkin season, and happy snacking!
Frequently Asked Questions
Can I use store-bought raw pumpkin seeds instead of fresh ones?
Absolutely! If you’re using raw, hulled pepitas from a store, skip the boiling step entirely. Just toss them directly with the melted butter and cinnamon sugar mixture, then bake at 325°F (165°C) for 15-18 minutes, stirring halfway through. They’ll cook faster because they’re smaller and don’t have the tough outer hull.
Why did my pumpkin seeds turn out chewy instead of crispy?
This usually happens for one of two reasons: either you skipped the boiling step, or you didn’t dry them thoroughly enough after boiling. The boiling softens the hull so moisture can escape during roasting, and thorough drying ensures they roast instead of steam. If they’re still chewy after cooling, pop them back in a 300°F (150°C) oven for 5-10 minutes and let them cool again.
Can I make these in an air fryer?
Yes, you can! After boiling and coating the seeds, place them in the air fryer basket in a single layer. Cook at 300°F (150°C) for 12-15 minutes, shaking the basket every 5 minutes. Keep a close eye on them since air fryers run hot. They’ll be done when they’re golden and fragrant. Let them cool completely before eating.
How do I get the cinnamon sugar to stick better?
The key is making sure the seeds are coated in melted butter first before adding the sugar mixture. The butter acts as a glue. Also, toss the seeds with the sugar while they’re still warm from the boiling step—the warmth helps the butter stay liquid and the sugar adheres more evenly. If you’re still having trouble, you can mix the sugar and cinnamon directly into the melted butter before tossing with the seeds.
Can I double this recipe?
Definitely! Just make sure to use two baking sheets so the seeds are in a single layer. If you crowd them, they’ll steam instead of roast. Rotate the pans halfway through baking (swap top and bottom racks) to ensure even cooking. You may need to add a few extra minutes to the baking time since more moisture is in the oven.
Pin This Recipe!
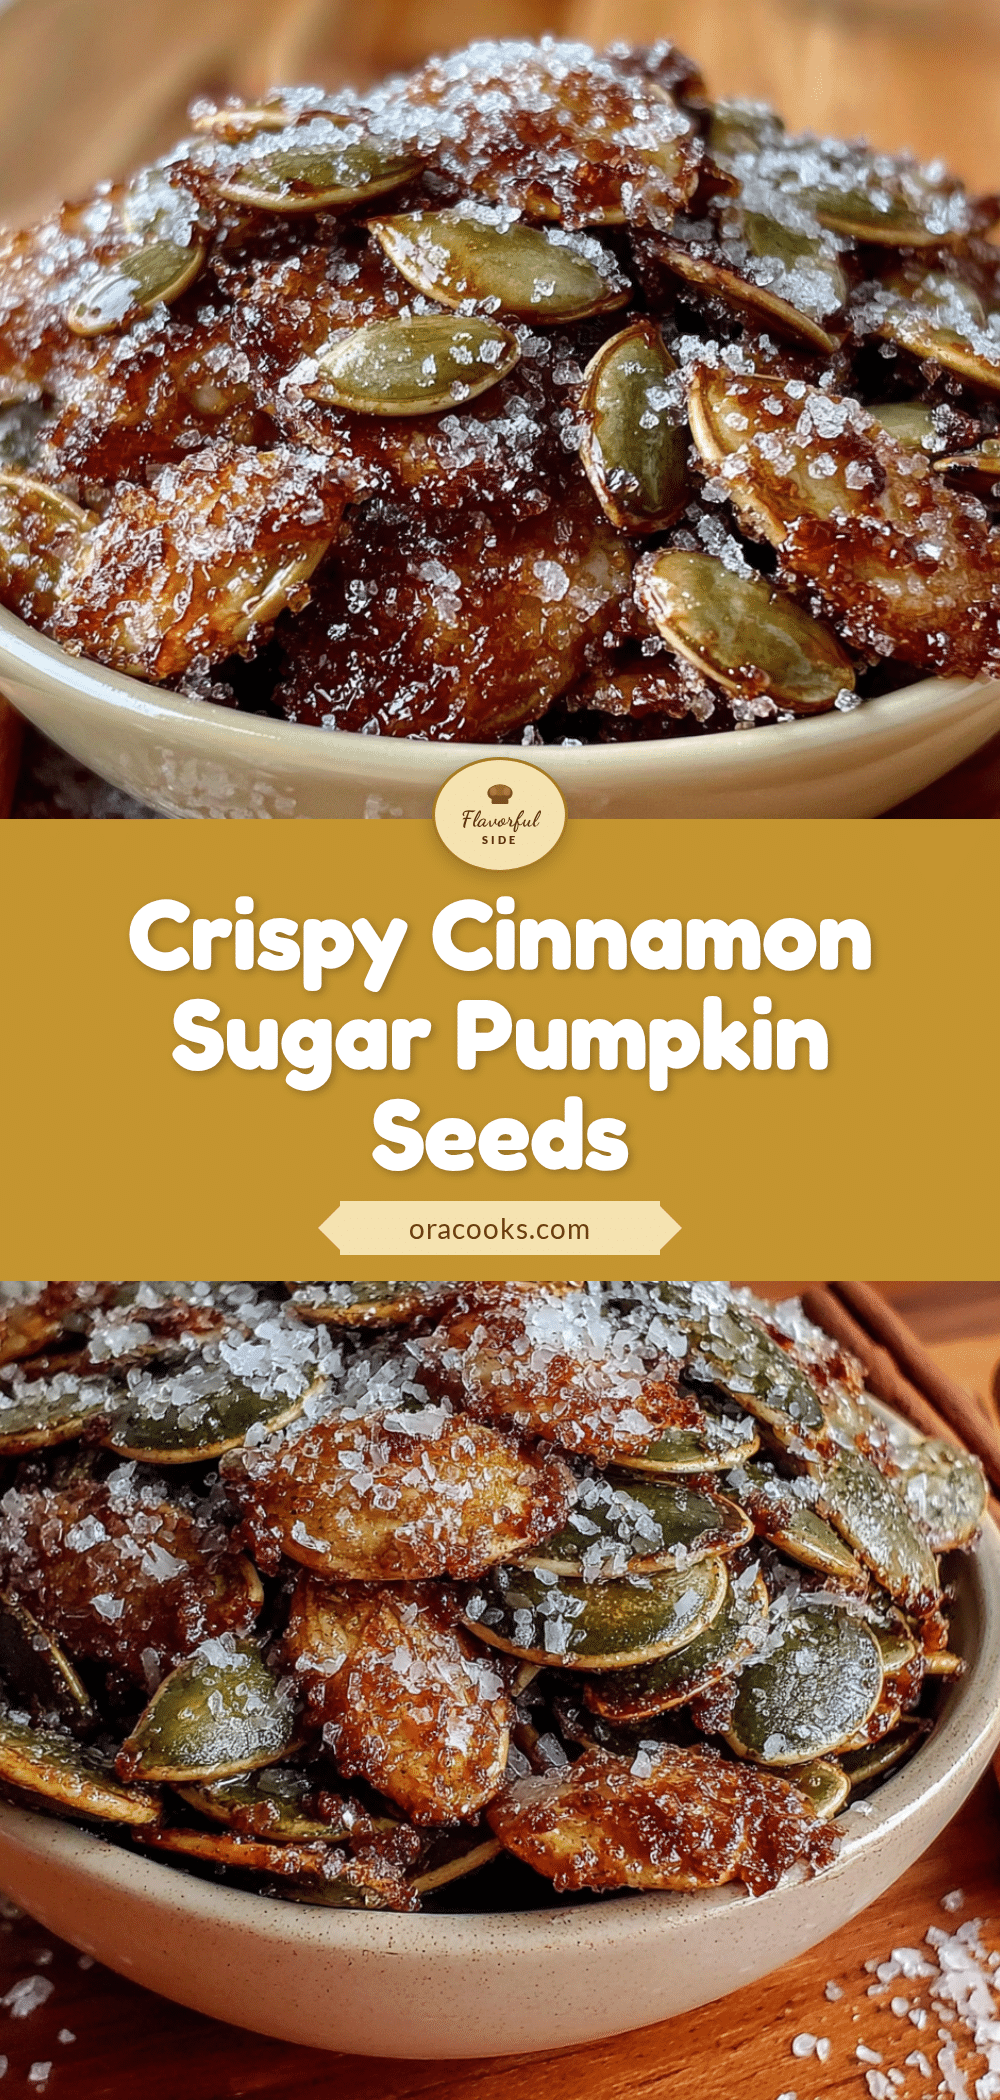
Easy Homemade Crispy Cinnamon Sugar Pumpkin Seeds
Perfectly crispy pumpkin seeds coated in a sweet cinnamon glaze that shatters when you bite into them. This easy fall snack comes together in about 45 minutes and is a crowd-pleaser at any gathering.
- Prep Time: 15 minutes
- Cook Time: 30 minutes
- Total Time: 45 minutes
- Yield: 4 servings 1x
- Category: Snack
- Cuisine: American
Ingredients
- 1 cup fresh pumpkin seeds
- 4 cups water
- 1 teaspoon salt (for boiling)
- 3 tablespoons unsalted butter, melted
- 1/4 cup granulated sugar
- 1 teaspoon ground cinnamon
- 1/4 teaspoon salt (for coating, if using unsalted butter)
- 1 teaspoon vanilla extract (optional)
Instructions
- Preheat your oven to 325°F (165°C). Line a baking sheet with parchment paper and set aside.
- Clean the pumpkin seeds: Separate seeds from pumpkin pulp, rinse under cold water, and pat very dry with a clean towel.
- Boil the seeds: In a large pot, bring 4 cups of water and 1 teaspoon of salt to a rolling boil. Add the pumpkin seeds and boil for exactly 10 minutes.
- Drain and dry again: Drain the seeds in a colander, then spread on a clean kitchen towel and pat dry. Let sit for 5 minutes.
- Make the cinnamon sugar mixture: In a small bowl, whisk together 1/4 cup granulated sugar, 1 teaspoon ground cinnamon, and 1/4 teaspoon salt. In a separate medium bowl, combine 3 tablespoons melted butter and 1 teaspoon vanilla extract (if using).
- Coat the seeds: Add the dried, boiled seeds to the bowl with the melted butter and toss well. Sprinkle the cinnamon sugar mixture over the seeds and toss again until evenly coated.
- Spread on baking sheet: Pour the coated seeds onto the prepared baking sheet and spread into a single, even layer.
- Bake: Place the baking sheet in the preheated oven and bake for 25-30 minutes, stirring halfway through with a spatula. They are done when deep golden brown and fragrant.
- Cool completely: Remove from the oven and let the seeds cool on the pan for at least 15 minutes. They will continue to crisp up as they cool.
- Break apart and serve: Once completely cool, break apart any clusters and transfer to a bowl.
Notes
Don’t skip the boiling step—it ensures crispiness. Dry seeds thoroughly after boiling to avoid steaming. Watch the oven closely in the last 5 minutes to prevent burning. Let seeds cool completely before eating for maximum crunch.
Nutrition
- Serving Size: 1/4 cup
- Calories: 190
- Sugar: 8
- Sodium: 200
- Fat: 14
- Saturated Fat: 5
- Carbohydrates: 12
- Fiber: 2
- Protein: 7
Keywords: cinnamon sugar pumpkin seeds, crispy pumpkin seeds, fall snack, roasted pumpkin seeds, easy pumpkin seed recipe


