Love this? Save it for later!
Share the inspiration with your friends
There used to be a tiny health food store on the corner of 7th and Main that made these incredible peanut butter protein balls. They weren’t fancy—just rolled oats, peanut butter, and a few other things—but they were the only thing that got me through my 3 PM slump. When they closed last spring (a kombucha shop took its place, of course), I actually stood outside and felt a little pang of loss. I mean, I know it’s just a snack, but those little energy balls had become a ritual.
After about six tries—some were too sticky, one batch crumbled into a sad pile of oat dust—I finally got it. Honestly, this version might even be better than the original. It’s got that perfect chewy texture, just the right amount of sweetness, and it comes together in about ten minutes. No baking, no fuss, no fancy ingredients.
I started making them on Sunday afternoons while listening to a podcast, and by Tuesday they’re already half gone. Maybe you’ve been there—that moment when you need something quick, filling, and actually good for you, but you don’t want to turn on the oven or wash a dozen dishes. That’s exactly why these energy balls exist. They’re the snack you reach for when you want something that feels like a treat but fuels you like a meal.
The first time I made a successful batch, I dropped one on the floor and my dog got to it before I could blink. He gave me this look like, “Why have you been hiding these from me?” And honestly, that sealed it. If a snack can win over a picky golden retriever and a tired food blogger, it’s a keeper. I keep coming back to this recipe because it’s simple without being boring, and it makes me feel like I’ve got my act together—even on days when I definitely don’t.
Why You’ll Love This Recipe
Let me tell you why these no-bake peanut butter protein energy balls have become a staple in my kitchen. I’ve tested this recipe at least a dozen times, tweaking the ratios and trying different add-ins, and this version is the one I keep coming back to. It’s not just another energy ball recipe—it’s the one that actually works.
- Quick & Easy: These come together in under 15 minutes. No oven, no stovetop, no complicated steps. Just mix, roll, and eat.
- Simple Ingredients: You probably have everything in your pantry right now. Oats, peanut butter, honey, chocolate chips—that’s it. No weird health food store finds required.
- Perfect for Meal Prep: Make a batch on Sunday and you’ve got snacks for the whole week. They’re great for lunchboxes, post-workout fuel, or that 3 PM energy crash.
- Crowd-Pleaser: I’ve brought these to potlucks, kid’s soccer games, and office meetings. They disappear faster than anything else on the table.
- Unbelievably Delicious: The texture is spot-on—chewy, a little crunchy from the chocolate chips, and perfectly sweet without being overwhelming. It’s the kind of snack that makes you close your eyes after the first bite.
What makes this recipe different from the rest? It’s the ratio. I spent a lot of time figuring out the perfect balance of wet to dry ingredients so the balls hold together without being sticky or dry. The secret is letting the mixture sit for five minutes before rolling—it gives the oats time to absorb the moisture and creates that perfect, rollable texture. This isn’t just another version of energy balls; it’s the version that actually works every single time.
These energy balls are comfort food reimagined—healthier, faster, but with the same soul-soothing satisfaction. They’re perfect for impressing guests without stress, or turning a simple snack into something memorable. Honestly, once you make these, you’ll never buy store-bought energy bars again.
What Ingredients You Will Need
This recipe uses simple, wholesome ingredients to deliver bold flavor and satisfying texture without the fuss. Most of these are pantry staples, so you can whip up a batch anytime the craving hits.
For the Energy Balls
- 1 cup rolled oats (use certified gluten-free oats if needed; old-fashioned oats work best for texture)
- 1/2 cup creamy peanut butter (I prefer natural peanut butter with no added sugar or oil—just peanuts and salt. Skippy or Jif work too, but the texture will be slightly different)
- 1/3 cup honey (or maple syrup for a vegan option; the honey adds a floral sweetness that I love)
- 1/4 cup mini chocolate chips (I use Enjoy Life brand for a dairy-free option, but any semi-sweet or dark chocolate chips work great)
- 1/4 cup ground flaxseed (adds fiber and omega-3s; you can substitute chia seeds or omit if you don’t have them)
- 1 teaspoon vanilla extract (pure vanilla extract makes a difference, but imitation works in a pinch)
- Pinch of sea salt (optional, but it really brings out the peanut butter flavor)
Ingredient Tips & Substitutions
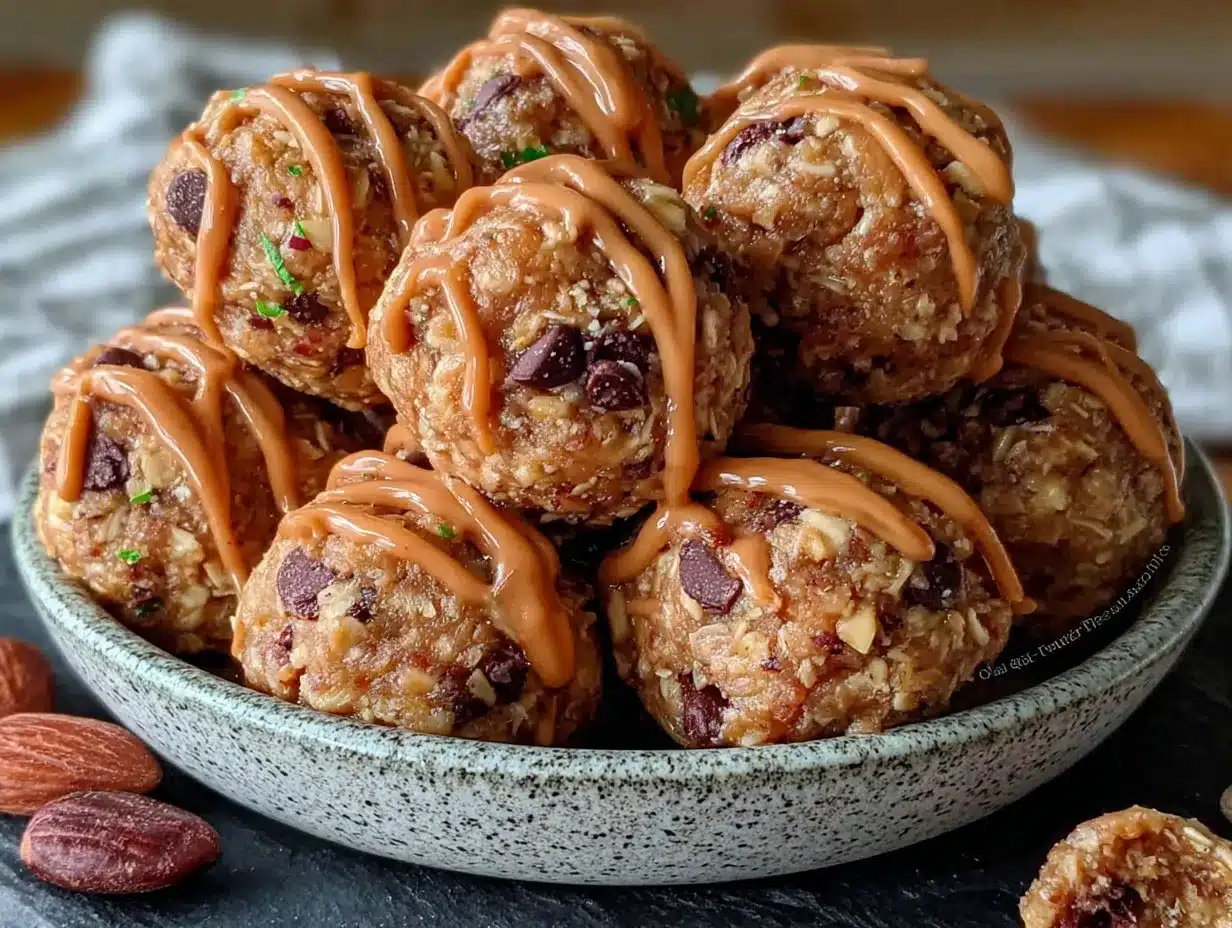
For the best texture, use rolled oats instead of quick oats. Quick oats tend to get mushy and don’t hold their shape as well. If you only have quick oats, pulse them a few times in a food processor to create a more consistent texture.
If you’re allergic to peanuts, sunflower seed butter or almond butter work beautifully. Just note that almond butter can be a bit oilier, so you might need to add a tablespoon more oats to compensate. For a nut-free version, try sunflower seed butter—it has a similar consistency to peanut butter and pairs well with chocolate.
I recommend using mini chocolate chips because they distribute more evenly throughout the mixture. If you only have regular-sized chips, give them a rough chop before adding them to the bowl. Or, if you’re feeling adventurous, try white chocolate chips or butterscotch chips for a different flavor profile.
For a lower-sugar option, reduce the honey to 1/4 cup and add an extra tablespoon of peanut butter. The balls will be slightly less sweet but still delicious. You can also use sugar-free chocolate chips if you’re watching your sugar intake.
Ground flaxseed is my secret ingredient—it adds a subtle nutty flavor and helps bind the mixture together. If you don’t have flaxseed, chia seeds work well too. Just be aware that chia seeds will add a little crunch and might make the mixture slightly thicker.
Equipment Needed
One of the best things about this recipe is that you don’t need much equipment. Here’s what you’ll need:
- Large mixing bowl (any size works, but a medium-to-large bowl gives you room to mix without spillage)
- Measuring cups and spoons (for accuracy; I’ve learned the hard way that eyeballing ingredients in energy balls can lead to disaster)
- Rubber spatula or wooden spoon (for mixing; a spatula works best for scraping the sides of the bowl)
- Parchment paper or wax paper (for lining a baking sheet or plate while the balls chill)
- Baking sheet or large plate (to hold the balls while they set in the fridge)
- Cookie scoop or tablespoon (for uniform balls; a 1.5-tablespoon scoop is perfect, but a regular spoon works too)
If you don’t have a cookie scoop, just use your hands to form the balls. I actually prefer doing it by hand because I can feel the texture and adjust if needed. Just make sure your hands are slightly damp to prevent sticking.
For storage, you’ll need an airtight container. I use a glass meal prep container with a tight-fitting lid, but any container works. If you’re planning to freeze them, use a freezer-safe bag or container.
A food processor isn’t necessary for this recipe, but if you want a smoother texture, you can pulse the oats a few times before adding the other ingredients. Just be careful not to over-process—you want some texture, not oat flour.
Preparation Method
This recipe is almost embarrassingly easy, but I’ll walk you through every step so you get perfect results every time. Trust me, I’ve made every mistake in the book so you don’t have to.
- Combine the dry ingredients. In a large mixing bowl, add 1 cup rolled oats, 1/4 cup ground flaxseed, and a pinch of sea salt. Stir them together with a fork or spatula so everything is evenly distributed. This step takes about 30 seconds but makes a difference in the final texture.
- Add the wet ingredients. To the same bowl, add 1/2 cup creamy peanut butter, 1/3 cup honey, and 1 teaspoon vanilla extract. Don’t add the chocolate chips yet—we’ll add them last so they don’t get crushed during mixing.
- Mix everything together. Use a rubber spatula or wooden spoon to combine all the ingredients. Start by stirring in a circular motion, then switch to a folding motion to make sure everything is incorporated. The mixture will look crumbly at first—don’t panic. Keep mixing, and it will come together. This usually takes about 1-2 minutes of vigorous stirring.
- Let the mixture rest. Here’s the trick that took me three failed batches to figure out: let the mixture sit for 5 minutes before rolling. This gives the oats time to absorb the moisture from the peanut butter and honey, which makes the balls hold together much better. Set a timer and walk away. I usually use this time to line a baking sheet with parchment paper.
- Fold in the chocolate chips. After the mixture has rested, add 1/4 cup mini chocolate chips. Gently fold them in until they’re evenly distributed. Be careful not to overmix, or the chocolate chips might start to melt from the warmth of your hands.
- Roll into balls. Using a cookie scoop or a tablespoon, portion out the mixture. Roll each portion between your palms to form a smooth ball. If the mixture sticks to your hands, dampen your palms slightly with water. You should get about 18-20 balls, depending on how big you make them. I like mine to be about 1.5 tablespoons each—big enough to be satisfying, but small enough to pop in your mouth in two bites.
- Chill for at least 30 minutes. Place the balls on the parchment-lined baking sheet or plate. Refrigerate for at least 30 minutes to allow them to firm up. If you’re in a hurry, you can pop them in the freezer for 15 minutes instead. The chill time is crucial—it helps the balls hold their shape and gives the flavors time to meld together.
- Enjoy! Once they’re chilled, they’re ready to eat. Store any leftovers in an airtight container in the refrigerator for up to two weeks—if they last that long.
Pro tip: If the mixture feels too dry and crumbly after resting, add a teaspoon of honey or peanut butter and mix again. If it feels too sticky, add a tablespoon of oats. The perfect texture should be slightly tacky but not wet, and it should hold together when pressed between your fingers.
Cooking Tips & Techniques
Over the course of testing this recipe, I’ve learned a few things the hard way. Here are my best tips for perfect energy balls every time.
The rest time is non-negotiable. I know it’s tempting to skip the 5-minute rest, but trust me on this. The first time I made these, I was impatient and started rolling immediately. The balls fell apart in my hands, and I ended up with a crumbly mess. Letting the mixture sit allows the oats to absorb the liquid ingredients, creating a cohesive dough that’s easy to work with. Set a timer if you have to.
Use room temperature ingredients. Cold peanut butter is harder to mix and doesn’t incorporate as well. If your peanut butter has been in the fridge, let it sit on the counter for 15-20 minutes before starting. Same goes for honey—if it’s crystallized, warm it up gently by placing the jar in a bowl of warm water for a few minutes.
Don’t overmix the chocolate chips. I learned this one when I made a batch for a party and ended up with streaky brown balls (not the look I was going for). Fold the chocolate chips in gently, just until they’re distributed. Overmixing can cause the chips to melt slightly and create a muddy appearance.
Wet hands are your friend. If the mixture sticks to your palms while rolling, just dampen your hands with a little water. This creates a barrier between the sticky dough and your skin, making the rolling process much smoother. Just don’t use too much water, or the balls might become soggy.
Make them uniform for even chilling. Using a cookie scoop ensures all your balls are the same size, which means they’ll chill at the same rate. If you’re making them by hand, try to keep them consistent. I usually aim for golf ball-sized portions.
One mistake I made: I once tried to double the recipe and mixed everything in a bowl that was way too small. Half the ingredients ended up on my counter. Use a large enough bowl—trust me, your counter will thank you.
Variations & Adaptations
One of the best things about this recipe is how versatile it is. Here are some of my favorite variations that I’ve tested over the years.
Chocolate Peanut Butter Dream
Add 2 tablespoons of cocoa powder to the dry ingredients for a double-chocolate version. Reduce the oats by 2 tablespoons to compensate for the added dry ingredient. This version tastes like a healthy brownie batter—dangerously delicious.
Tropical Twist
Replace the chocolate chips with 1/4 cup dried coconut flakes and 1/4 cup chopped dried pineapple. Use almond butter instead of peanut butter for a lighter flavor. This variation is perfect for summer and tastes like a tropical vacation in snack form.
Vegan Option
Swap the honey for maple syrup or agave nectar. Use dairy-free chocolate chips (like Enjoy Life brand). Everything else stays the same. The texture will be slightly different—maple syrup is thinner than honey, so you might need to add an extra tablespoon of oats to compensate.
Nut-Free Version
Use sunflower seed butter instead of peanut butter. The flavor is slightly different—more earthy—but it pairs beautifully with the chocolate and honey. Just be aware that sunflower seed butter can react with baking soda if you’re using it in other recipes, but since this is no-bake, you’re totally fine.
Protein-Packed
Add 2 tablespoons of your favorite protein powder (vanilla or chocolate works best). Reduce the oats by 2 tablespoons to keep the texture right. This version is perfect for post-workout recovery or a filling breakfast on the go.
Spiced Chai
Add 1 teaspoon of pumpkin pie spice or chai spice blend to the dry ingredients. Replace the chocolate chips with chopped dried figs or dates. This variation is cozy and warming—perfect for fall.
I once tried a matcha version with white chocolate chips, and honestly, it was a disaster. The matcha made everything bitter, and the white chocolate got lost. Sometimes experiments don’t work out, and that’s okay! Stick with the variations I’ve tested, and you’ll be happy.
Serving & Storage Suggestions
These energy balls are best enjoyed cold or at room temperature. I personally love them straight from the fridge—the texture is firmer and the flavors are more pronounced. If you prefer a softer texture, let them sit at room temperature for 5-10 minutes before eating.
They make a fantastic pre- or post-workout snack. I grab one on my way out the door for a run, and it gives me just enough energy without weighing me down. They’re also perfect for lunchboxes—kids love them, and they’re much healthier than packaged snacks.
For a pretty presentation, arrange the balls on a platter with fresh fruit and nuts. They’re great for parties, brunches, or holiday gatherings. I brought them to a New Year’s Eve party last year, and they were gone within the first hour.
Storage instructions:
- Refrigerator: Store in an airtight container for up to 2 weeks. Place a piece of parchment paper between layers to prevent sticking.
- Freezer: These freeze beautifully! Place the balls in a single layer on a baking sheet and freeze for 1 hour. Then transfer to a freezer-safe bag or container. They’ll keep for up to 3 months. Thaw in the refrigerator overnight or at room temperature for 15-20 minutes.
- Counter: You can keep them at room temperature for 2-3 days, but they’ll be softer and more prone to falling apart. I don’t recommend it for longer than that, especially in warm weather.
The flavors actually develop and deepen after a day or two in the fridge. I think they taste even better on day two than on day one—the oats have fully softened, and the peanut butter and honey have melded together beautifully. So don’t be afraid to make them ahead of time!
Nutritional Information & Benefits
These energy balls are packed with good-for-you ingredients that actually taste amazing. Here’s the approximate nutritional breakdown per ball (based on 18 balls):
- Calories: 145
- Protein: 5g
- Fat: 8g
- Carbohydrates: 16g
- Fiber: 3g
- Sugar: 9g
The peanut butter provides healthy fats and protein to keep you full and satisfied. The oats are a great source of complex carbohydrates for sustained energy—none of that sugar crash you get from processed snacks. The flaxseed adds omega-3 fatty acids and extra fiber, which is great for digestion. And the dark chocolate chips? They’re packed with antioxidants and make you feel like you’re eating dessert for a snack.
This recipe is naturally dairy-free if you use dairy-free chocolate chips. It’s also vegetarian and can easily be made vegan with the maple syrup swap. It’s nut-free if you use sunflower seed butter. The only common allergen is peanuts, but that’s easily substituted.
From a wellness perspective, I love that these energy balls give me something to reach for when I’m craving something sweet but want to make a better choice. They’re not a health food—they’re a real food snack that happens to be good for you. And honestly, that’s the kind of balance I try to bring to my kitchen.
Frequently Asked Questions
Can I use quick oats instead of rolled oats?
You can, but the texture will be different. Quick oats are more finely ground and will create a softer, almost mushy texture. Rolled oats give the energy balls a nice chewiness. If quick oats are all you have, pulse them a few times in a food processor to create a more consistent texture.
My mixture is too dry and crumbly. What did I do wrong?
This usually happens if your peanut butter is too thick or if you used a different type of nut butter. Try adding an extra tablespoon of honey or peanut butter and mixing again. If that doesn’t work, add a teaspoon of water at a time until the mixture holds together when pressed.
Can I make these without honey?
Absolutely! Maple syrup, agave nectar, or brown rice syrup all work well as substitutes. Keep in mind that different sweeteners have different consistencies—maple syrup is thinner than honey, so you might need to add an extra tablespoon of oats to compensate.
How long do these energy balls last?
In the refrigerator, they’ll stay fresh for up to 2 weeks in an airtight container. In the freezer, they’ll keep for up to 3 months. I usually make a double batch and freeze half for later—they’re perfect for those days when you need a quick snack but don’t want to make a mess in the kitchen.
Can I add protein powder to this recipe?
Yes! Add 2 tablespoons of your favorite protein powder and reduce the oats by 2 tablespoons. Vanilla or chocolate protein powder works best. Just be aware that different protein powders absorb moisture differently—if the mixture seems too dry, add a splash of milk or an extra teaspoon of honey.
Conclusion
These easy no-bake peanut butter protein energy balls are the kind of recipe that becomes a staple—the one you make on autopilot because you know it works. They’re quick, they’re forgiving, and they deliver every single time. Whether you’re looking for a post-workout snack, a lunchbox treat, or just something to get you through that 3 PM slump, these little guys have got your back.
I love that this recipe is a starting point, not a rulebook. Add your favorite mix-ins, swap in different nut butters, make them your own. The best recipes are the ones that adapt to your life, and these energy balls do exactly that. They’ve gotten me through busy weeks, lazy Sundays, and everything in between.
So go ahead—give them a try. And when you do, I’d love to hear about it. Drop a comment below and tell me what variations you came up with, or share a photo of your batch on social media. There’s nothing quite like knowing someone else is enjoying a recipe that started in my tiny kitchen. Happy snacking!
Pin This Recipe!
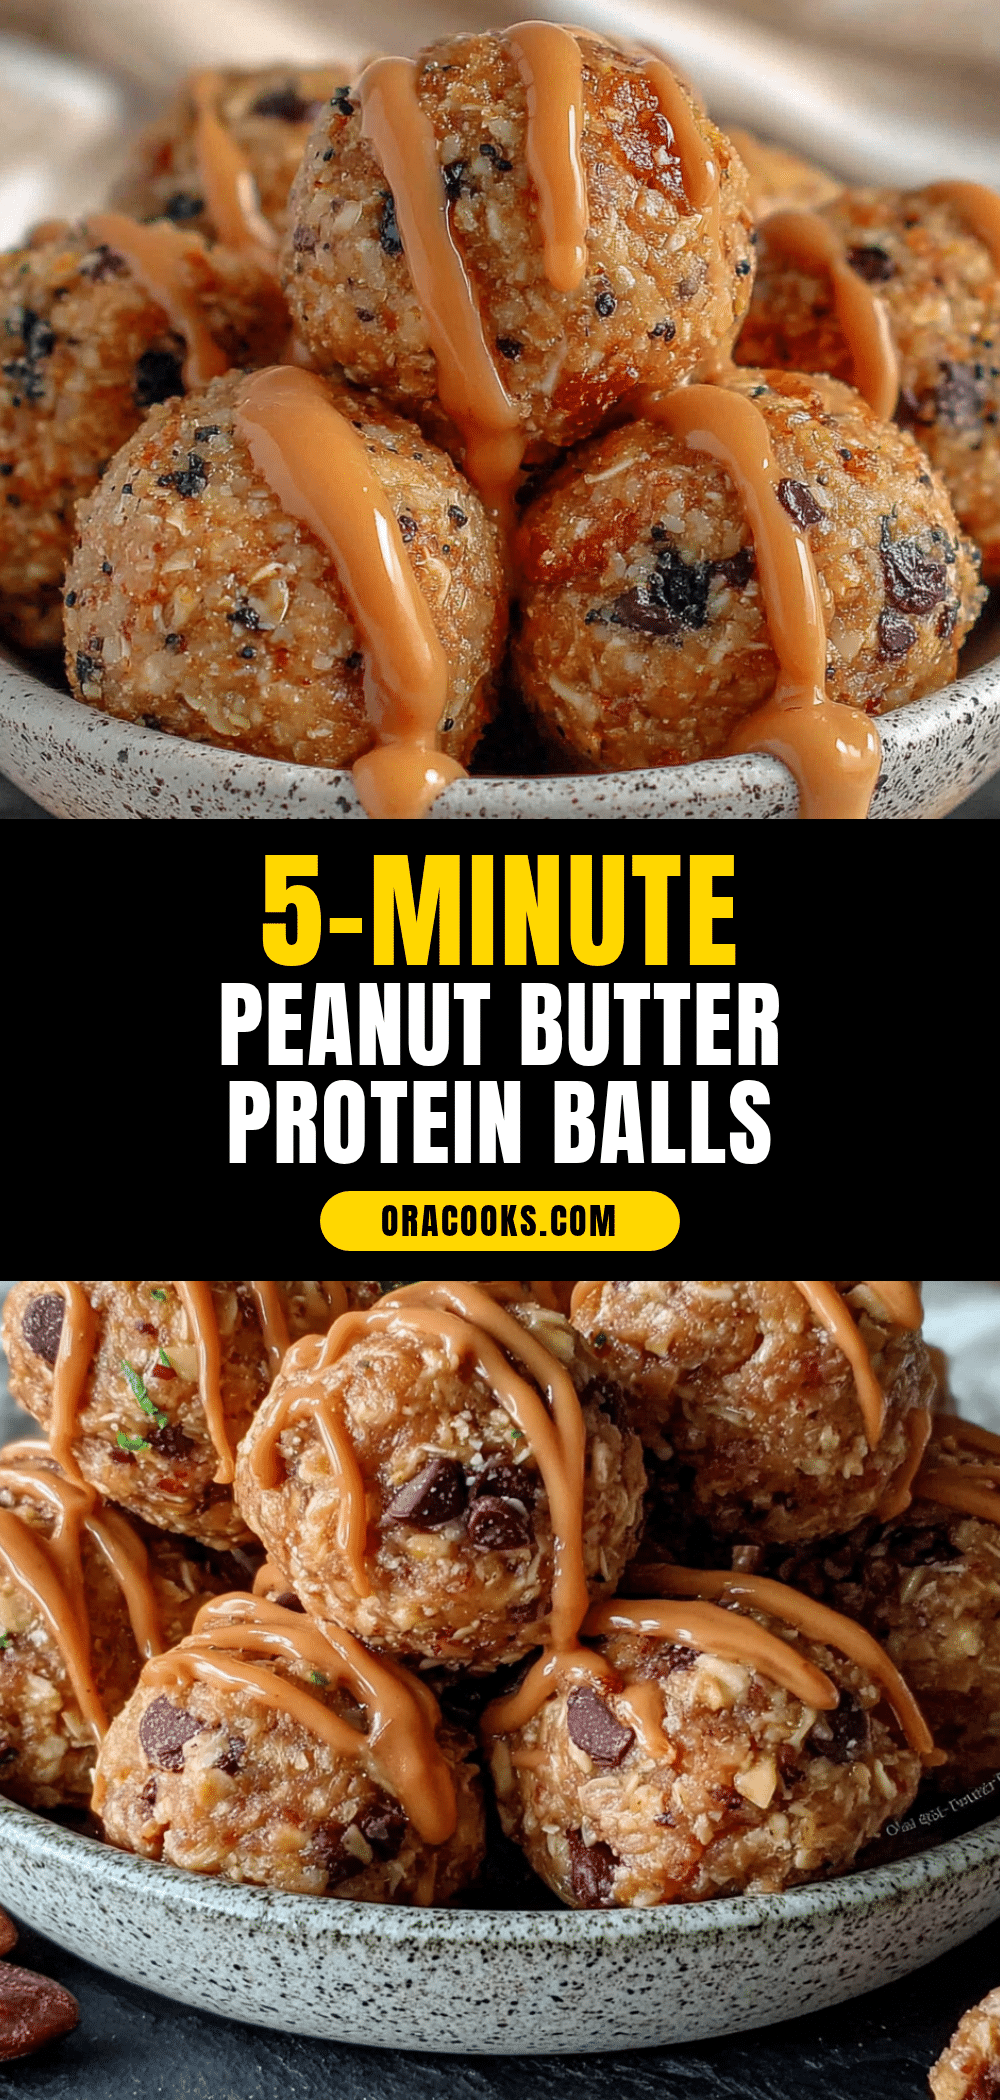
Easy No-Bake Peanut Butter Protein Energy Balls – Best Snack

These no-bake peanut butter protein energy balls are the perfect snack for a quick energy boost. Made with simple pantry ingredients like rolled oats, peanut butter, honey, and chocolate chips, they come together in under 15 minutes and are ideal for meal prep.
- Prep Time: 10 minutes
- Cook Time: 0 minutes
- Total Time: 40 minutes (including 30 minutes chilling)
- Yield: 18-20 balls 1x
- Category: Snack
- Cuisine: American
Ingredients
- 1 cup rolled oats (use certified gluten-free oats if needed)
- 1/2 cup creamy peanut butter (natural preferred, no added sugar or oil)
- 1/3 cup honey (or maple syrup for vegan option)
- 1/4 cup mini chocolate chips (dairy-free if needed)
- 1/4 cup ground flaxseed (or chia seeds)
- 1 teaspoon vanilla extract
- Pinch of sea salt (optional)
Instructions
- Combine the dry ingredients: In a large mixing bowl, add 1 cup rolled oats, 1/4 cup ground flaxseed, and a pinch of sea salt. Stir together with a fork or spatula until evenly distributed.
- Add the wet ingredients: To the same bowl, add 1/2 cup creamy peanut butter, 1/3 cup honey, and 1 teaspoon vanilla extract. Do not add chocolate chips yet.
- Mix everything together: Use a rubber spatula or wooden spoon to combine all ingredients. Start with a circular motion, then switch to a folding motion. The mixture will look crumbly at first; keep mixing for 1-2 minutes until it comes together.
- Let the mixture rest: Let the mixture sit for 5 minutes before rolling. This allows the oats to absorb moisture, making the balls hold together better. Use this time to line a baking sheet with parchment paper.
- Fold in the chocolate chips: After resting, add 1/4 cup mini chocolate chips. Gently fold them in until evenly distributed. Be careful not to overmix to prevent melting.
- Roll into balls: Using a cookie scoop or tablespoon, portion out the mixture. Roll each portion between your palms to form smooth balls. If sticky, dampen hands slightly with water. You should get about 18-20 balls (about 1.5 tablespoons each).
- Chill for at least 30 minutes: Place balls on parchment-lined baking sheet or plate. Refrigerate for at least 30 minutes to firm up. For a quicker option, freeze for 15 minutes.
- Enjoy! Once chilled, they are ready to eat. Store leftovers in an airtight container in the refrigerator for up to two weeks.
Notes
For best texture, use rolled oats instead of quick oats. Let the mixture rest for 5 minutes before rolling to allow oats to absorb moisture. If mixture is too dry, add a teaspoon of honey or peanut butter. If too sticky, add a tablespoon of oats. Wet hands slightly to prevent sticking when rolling. Store in refrigerator for up to 2 weeks or freeze for up to 3 months.
Nutrition
- Serving Size: 1 ball
- Calories: 145
- Sugar: 9
- Sodium: 60
- Fat: 8
- Saturated Fat: 2
- Carbohydrates: 16
- Fiber: 3
- Protein: 5
Keywords: no-bake energy balls, peanut butter protein balls, healthy snack, gluten-free snack, meal prep snack, easy energy balls


