Love this? Save it for later!
Share the inspiration with your friends
This was supposed to be a classic vanilla custard ice cream. I had the egg yolks separated, the cream measured, and a whole afternoon blocked off to babysit a temperamental stovetop custard. My neighbor, bless her heart, rang the doorbell right as I was whisking, holding a pie she’d just baked. We got to talking—you know how it goes—and I completely forgot about the cream mixture on the stove. By the time I smelled something off, it was too late. The custard had curdled into a sweet, lumpy mess.
I stood there, staring at the disaster, honestly ready to scrap the whole idea. But then I spotted a can of sweetened condensed milk in the pantry and a bag of flaky sea salt on the counter. A ridiculous thought popped into my head: what if I just skipped the custard entirely and went full no-churn? I mean, I had heavy cream, I had caramel sauce from last week’s baking project, and I had nothing left to lose. So I dumped everything into a bowl, whipped it up, and crossed my fingers. What came out was nothing like the plan—and better.
That first bite was a revelation. The ice cream was so creamy, so ridiculously smooth, with ribbons of salted caramel running through every scoop. No ice crystals, no fuss, no eggy custard. It was the kind of happy accident that makes you wonder why you ever bothered with the complicated method in the first place. Maybe you’ve been there—a kitchen fail that turned into a win. This recipe is that story, frozen and ready to scoop.
Why You’ll Love This Recipe
Let me tell you, after years of testing ice cream bases (and failing plenty), this no-churn version is the one I keep coming back to. It’s not just good—it’s the kind of dessert that makes you close your eyes after the first bite. Here’s why it works so well:
- No Ice Cream Maker Required: You don’t need any fancy equipment. Just a bowl, a mixer, and a freezer. That’s it.
- Simple Ingredients: No eggs, no custard, no tempering. Just cream, sweetened condensed milk, caramel sauce, and salt. You probably have most of this in your kitchen right now.
- Perfect for Hot Days: This ice cream comes together in about 15 minutes of active work. The hardest part is waiting for it to freeze.
- Crowd-Pleaser: I’ve served this at summer barbecues and holiday dinners. Kids and adults alike go back for seconds. It’s always the first bowl to empty.
- Unbelievably Creamy: The combination of heavy cream and sweetened condensed milk creates a texture that’s richer and smoother than most store-bought brands. No ice crystals, no graininess.
What makes this recipe different from the rest is the caramel. I use a homemade salted caramel sauce, but even a good store-bought one works beautifully. The key is folding it in gently so you get those gorgeous ribbons throughout. It’s comfort food reimagined—faster, easier, but with the same soul-soothing satisfaction. Perfect for impressing guests without stress, or turning a simple Tuesday into something memorable.
What Ingredients You Will Need
This recipe relies on a few simple, wholesome ingredients to deliver that rich, creamy texture and bold salted caramel flavor. Most are pantry staples, and I’ve included notes on substitutions where they work well.
For the Ice Cream Base
- 2 cups heavy cream (cold, straight from the fridge—this is crucial for volume)
- 1 can (14 ounces) sweetened condensed milk (I prefer Eagle Brand or Borden for consistent sweetness)
- 1 teaspoon vanilla extract (pure, not imitation, for the best flavor)
- 1/4 teaspoon fine sea salt (balances the sweetness and enhances the caramel)
For the Salted Caramel Swirl
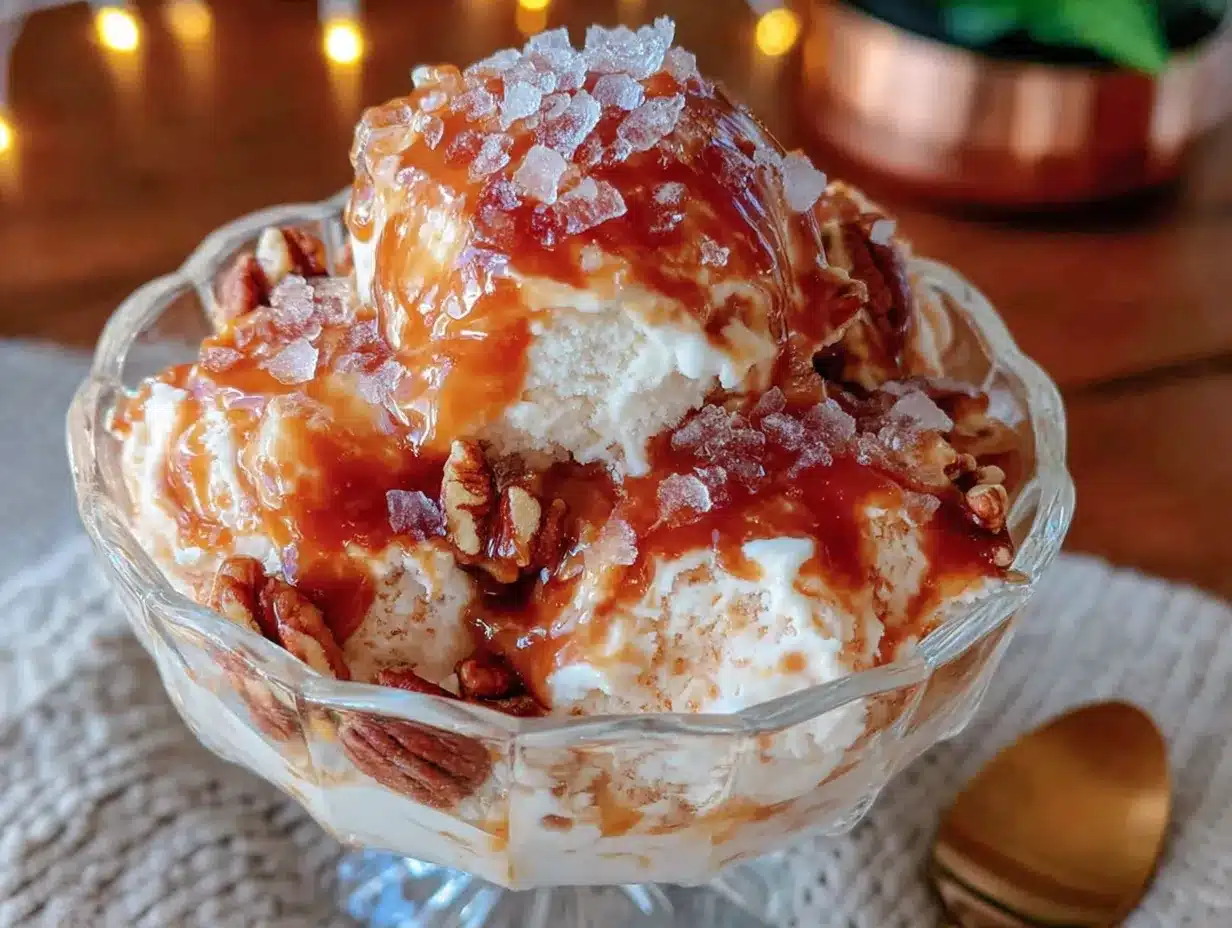
- 3/4 cup homemade or store-bought salted caramel sauce (I love Stonewall Kitchen or Trader Joe’s brand if I’m short on time)
- 1/2 teaspoon flaky sea salt (like Maldon—adds that perfect crunch and pop of salt)
Ingredient Selection Tips: Look for heavy cream with at least 36% milk fat for the best volume and stability. Sweetened condensed milk is non-negotiable here—do not substitute with evaporated milk, as it lacks the sugar and thickness needed for the no-churn texture. For the caramel, a thick, pourable sauce works better than a runny one; it creates distinct ribbons instead of sinking to the bottom.
Substitution Guidance: If you’re dairy-free, use full-fat canned coconut cream (chilled overnight) in place of heavy cream, and a dairy-free sweetened condensed milk alternative. The texture will be slightly different but still delicious. For a less sweet version, use a “light” sweetened condensed milk, though the texture may be slightly softer.
Equipment Needed
You don’t need much for this recipe, which is part of its charm. Here’s what you’ll want to have on hand:
- Large mixing bowl (metal or glass—chill it for 10 minutes in the freezer for better whipped cream volume)
- Electric hand mixer or stand mixer with whisk attachment (a hand mixer is fine, but a stand mixer makes it even easier)
- Rubber spatula (for folding the caramel into the base without overmixing)
- 9×5-inch loaf pan or 2-quart freezer-safe container (metal pans freeze faster and more evenly)
- Plastic wrap or parchment paper (to press directly onto the surface and prevent ice crystals)
- Measuring cups and spoons
Personal Experience: I’ve made this with both a hand mixer and a stand mixer. The stand mixer whips the cream faster, but a hand mixer works just as well—just be patient and watch for stiff peaks. If you don’t have an electric mixer, you can whisk by hand, but it’ll take a solid 8-10 minutes of arm work. Trust me, the electric mixer is worth it.
Preparation Method
This recipe is incredibly straightforward, but a few details make all the difference. Follow these steps for a perfectly creamy, ribbon-filled ice cream.
- Chill your bowl and beaters: Pop your mixing bowl and beaters into the freezer for 10-15 minutes. This helps the cream whip up faster and hold its volume longer. While you wait, let your caramel sauce come to room temperature if it’s been refrigerated.
- Whip the cream: Pour the cold heavy cream into the chilled bowl. Beat on medium-high speed until stiff peaks form—about 3-4 minutes with a stand mixer, 5-6 minutes with a hand mixer. You’re looking for peaks that stand straight up when you lift the beaters. Pro tip: Don’t over-whip, or you’ll end up with butter. Stop as soon as it looks firm and glossy.
- Fold in the condensed milk and vanilla: In a separate small bowl, whisk together the sweetened condensed milk, vanilla extract, and fine sea salt. Gently fold this mixture into the whipped cream using a rubber spatula. Use a light hand—fold just until no white streaks remain. Overmixing will deflate the cream and make the ice cream dense.
- Create the caramel swirl: Spoon about one-third of the ice cream base into your loaf pan. Drizzle a third of the caramel sauce over the top. Sprinkle a pinch of flaky sea salt. Repeat with the remaining base, caramel, and salt, creating three layers. Here’s the trick: Use a butter knife or skewer to gently swirl the caramel through the base. Don’t over-swirl—you want distinct ribbons, not a uniform color. Two or three figure-eight motions are enough.
- Cover and freeze: Press a piece of plastic wrap directly onto the surface of the ice cream (this prevents ice crystals from forming). Cover the pan with a lid or another layer of plastic wrap. Freeze for at least 6 hours, but preferably overnight. The ice cream needs time to set fully for that perfect scoopable texture.
- Serve: Let the ice cream sit at room temperature for 5-10 minutes before scooping. This softens it just enough for easy scooping without melting. Sensory cue: You’ll know it’s ready when the surface looks slightly glossy and a spoon glides through without resistance.
Troubleshooting Tip: If your ice cream turns out icy, it likely means the cream wasn’t whipped enough, or the surface wasn’t covered properly. Always press plastic wrap directly onto the surface before freezing. If it’s too hard to scoop, let it sit out for 10-15 minutes—it’ll soften up beautifully.
Cooking Tips & Techniques
Over the years, I’ve learned a few things the hard way. Here are my best tips for nailing this recipe every time:
- Temperature matters: Cold cream whips better. Warm cream won’t hold its volume. If your kitchen is hot, chill the bowl, beaters, and even the cream for an extra 10 minutes.
- Don’t skip the salt: The flaky sea salt on top isn’t just for looks. It creates little bursts of savory that make the caramel taste even sweeter. It’s the whole salted caramel magic.
- Caramel consistency: If your caramel sauce is too runny, it will sink to the bottom of the pan. Thicker sauce creates better ribbons. If you’re using store-bought, look for a “salted caramel dessert sauce” rather than a thin syrup.
- Multitasking strategy: Make the caramel sauce the day before (if homemade) so it’s ready to go. The actual ice cream assembly takes about 15 minutes, so I often do it while dinner is cooking.
- My biggest failure: The first time I made this, I used warm caramel straight from the stove. It melted the whipped cream instantly, and I ended up with a soupy mess. Let your caramel cool to room temperature before folding it in. Lesson learned.
Variations & Adaptations
This recipe is incredibly versatile. Here are a few ways to switch it up based on your mood or dietary needs:
- Chocolate Salted Caramel: Add 1/4 cup unsweetened cocoa powder to the condensed milk mixture before folding into the cream. The chocolate and caramel combination is heavenly.
- Vegan Version: Use full-fat coconut cream (chilled overnight) in place of heavy cream, and a dairy-free sweetened condensed coconut milk. The texture is slightly less creamy but still delicious. I’ve tested this with Nature’s Charm brand, and it works well.
- Peanut Butter Swirl: Warm 1/4 cup creamy peanut butter with 2 tablespoons caramel sauce, then swirl it into the base. It adds a nutty, salty depth that’s incredible.
- Seasonal Twist: In the fall, add 1 teaspoon pumpkin pie spice to the base and use a maple caramel sauce. In summer, fold in 1 cup crushed salted pretzels for a sweet-salty crunch.
- Low-Sugar Option: Use a sugar-free sweetened condensed milk alternative, and a sugar-free caramel sauce. The texture will be slightly softer, but the flavor is still great.
Personal Variation: My favorite adaptation is adding 1/2 cup toasted chopped pecans to the base before swirling in the caramel. The crunch against the creamy, salty-sweet ice cream is absolutely addictive. I make this version every Thanksgiving.
Serving & Storage Suggestions
This ice cream is best served slightly softened, straight from the freezer. Here’s how to make it shine:
- Serving Temperature: Let it sit at room temperature for 5-10 minutes before scooping. This softens it to that perfect, creamy consistency without melting.
- Presentation: Scoop into chilled bowls or sugar cones. Drizzle with a little extra caramel sauce and a pinch of flaky sea salt for a gorgeous finish. Add a dollop of whipped cream if you’re feeling indulgent.
- Pairings: This ice cream is amazing on its own, but it also pairs beautifully with warm desserts. Serve it alongside a slice of warm apple pie, a brownie, or a chocolate chip cookie. The hot-cold contrast is incredible.
- Storage: Keep the ice cream in an airtight container, with plastic wrap pressed directly onto the surface. It will keep for up to 2 weeks in the freezer. After that, it may start to develop ice crystals, but it’s still safe to eat.
- Reheating (for leftovers): If the ice cream becomes too hard, let it sit at room temperature for 10-15 minutes. Do not microwave it—that will melt it unevenly.
Flavor Development: Interestingly, the flavor deepens after a day or two in the freezer. The caramel and salt meld together, creating an even more complex, balanced taste. So don’t be afraid to make it a day ahead.
Nutritional Information & Benefits
Let’s be real—this is a treat, not a health food. But here’s a rough estimate per serving (based on 8 servings):
- Calories: Approximately 380-420
- Fat: 26g
- Carbohydrates: 36g
- Protein: 4g
- Sugar: 32g
- Sodium: 220mg
Health Benefits of Key Ingredients: Heavy cream contains fat-soluble vitamins A, D, E, and K. Sweetened condensed milk provides calcium and protein. The salt, in moderation, helps with electrolyte balance. That said, this is a dessert meant for enjoyment, not daily consumption.
Dietary Considerations: This recipe is gluten-free and contains no eggs. It is not dairy-free, vegan, or low-carb in its standard form. For dairy-free or vegan options, see the variations section above. Potential allergens include dairy and, depending on your caramel sauce, possibly soy or nuts.
Personal Perspective: I believe in balance. This ice cream is a celebration dessert—something to enjoy on a hot summer night, a birthday, or a holiday. It’s not about guilt; it’s about savoring a moment. One scoop won’t derail your wellness goals, I promise.
Conclusion
This no-churn salted caramel ice cream is proof that the best recipes often come from happy accidents. It’s creamy, it’s indulgent, and it’s surprisingly simple to make. No ice cream maker, no complicated techniques—just a few ingredients and a little patience.
I love this recipe because it reminds me that perfection isn’t the goal. My failed custard taught me that sometimes the shortcut is actually the better path. This ice cream has become my go-to for summer gatherings, lazy weekends, and any day that calls for a little sweetness.
Now it’s your turn. Give this recipe a try, and don’t be afraid to customize it to your taste. Add your favorite mix-ins, adjust the salt level, or try a different caramel sauce. I’d love to hear how it turns out! Drop a comment below and let me know your favorite variation. And if you share a photo on Pinterest, tag me—I can’t wait to see your creations.
Happy scooping!
Frequently Asked Questions
Can I use low-fat cream or milk instead of heavy cream?
No, heavy cream is essential for the no-churn texture. Low-fat cream or milk won’t whip up to stiff peaks, and the ice cream will turn out icy and thin. Stick with heavy cream for the best results.
How long does this ice cream need to freeze?
At least 6 hours, but overnight is ideal. The longer it freezes, the firmer and more scoopable it becomes. If you’re in a hurry, 4 hours might work, but the texture will be softer.
Can I use store-bought caramel sauce?
Absolutely! A good-quality store-bought salted caramel sauce works perfectly. Just make sure it’s thick and pourable, not a thin syrup. Brands like Stonewall Kitchen or Trader Joe’s are great options.
Why did my ice cream turn out icy?
Icy ice cream usually means the cream wasn’t whipped enough, or the surface wasn’t covered properly. Always whip to stiff peaks, and press plastic wrap directly onto the surface before freezing. Also, make sure your caramel sauce is at room temperature—warm sauce can melt the cream.
Can I add mix-ins like chocolate chips or nuts?
Yes! Fold in up to 1 cup of mix-ins (like toasted pecans, chocolate chips, or crushed pretzels) after swirling in the caramel. Just be gentle so you don’t deflate the base. I love adding toasted pecans for extra crunch.
Pin This Recipe!
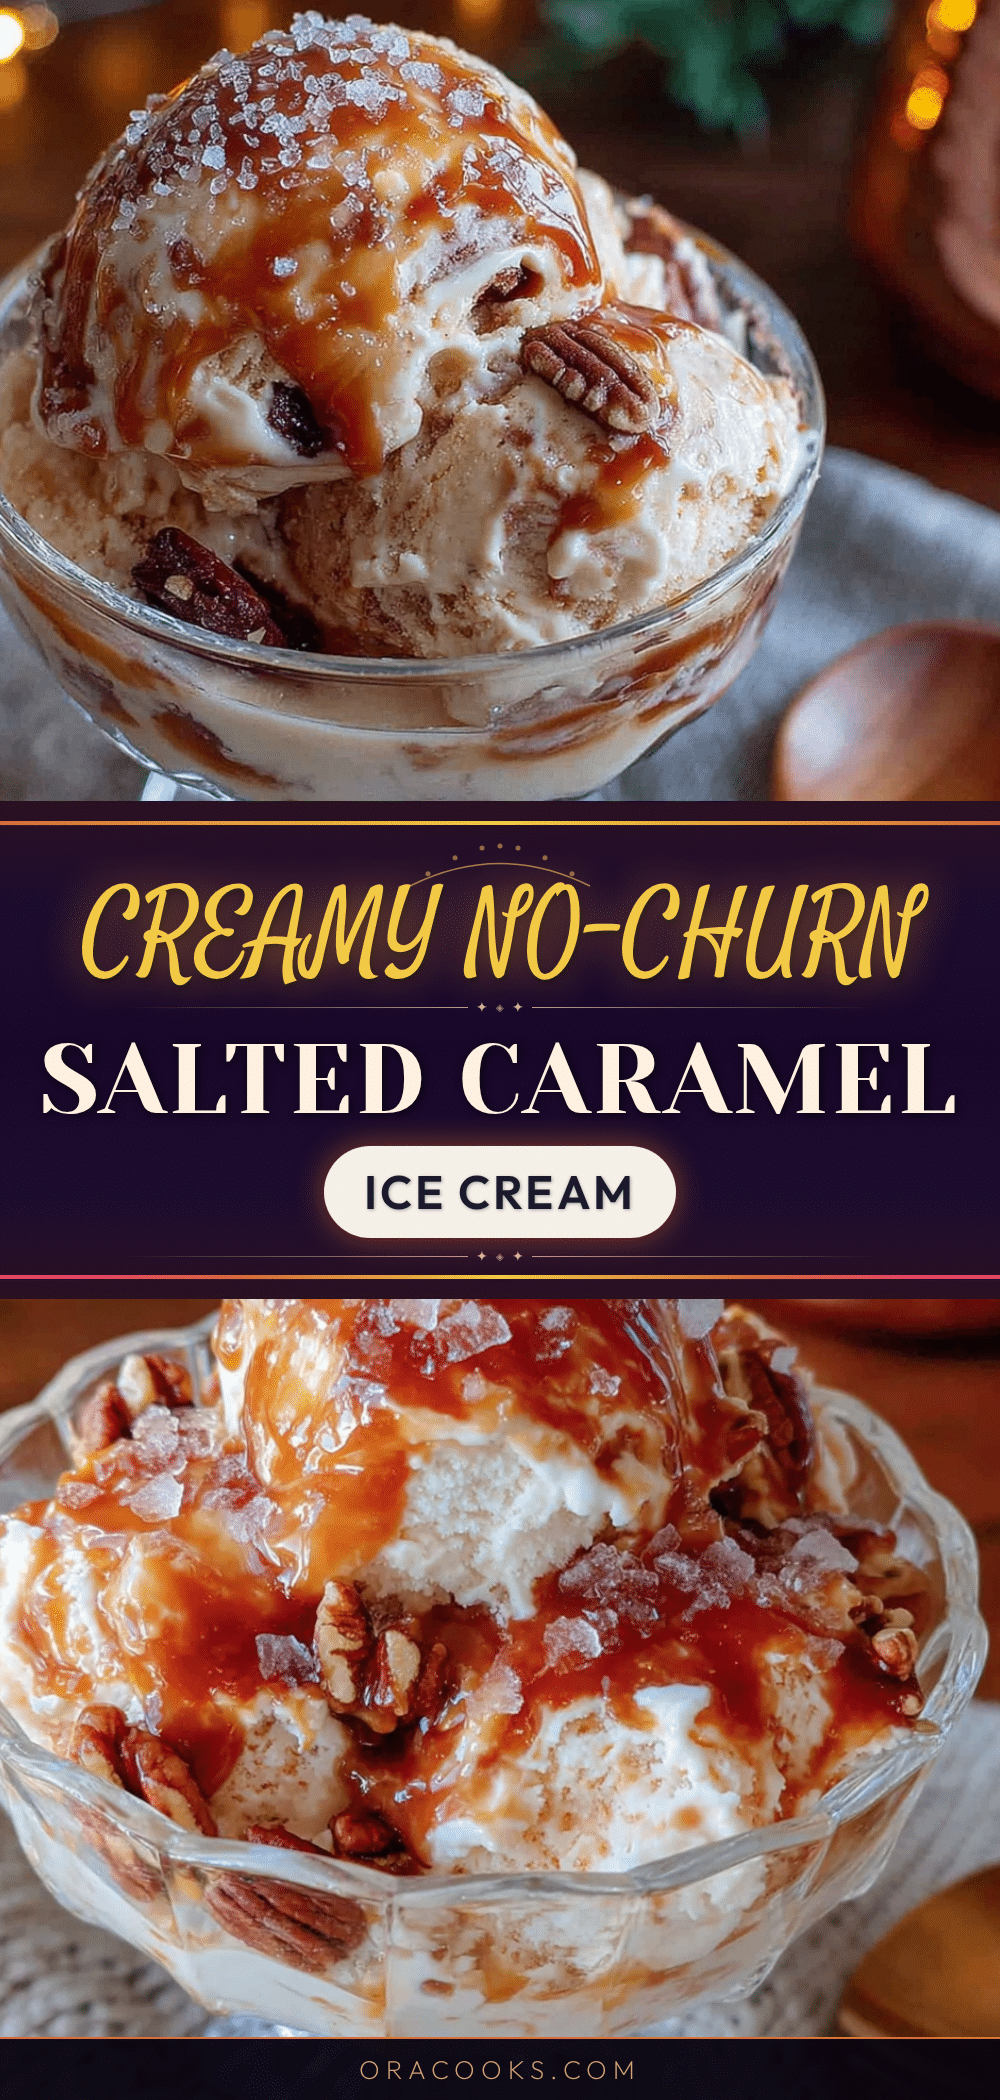
Easy No-Churn Salted Caramel Ice Cream Recipe

This no-churn salted caramel ice cream is incredibly creamy and smooth, with ribbons of salted caramel running through every scoop. No ice cream maker required, just a bowl, a mixer, and a freezer.
- Prep Time: 15 minutes
- Cook Time: 0 minutes
- Total Time: 6 hours 15 minutes (includes freezing time)
- Yield: 8 servings 1x
- Category: Dessert
- Cuisine: American
Ingredients
- 2 cups heavy cream (cold)
- 1 can (14 ounces) sweetened condensed milk
- 1 teaspoon vanilla extract (pure)
- 1/4 teaspoon fine sea salt
- 3/4 cup homemade or store-bought salted caramel sauce
- 1/2 teaspoon flaky sea salt (like Maldon)
Instructions
- Chill your bowl and beaters in the freezer for 10-15 minutes. Let caramel sauce come to room temperature if refrigerated.
- Pour cold heavy cream into the chilled bowl. Beat on medium-high speed until stiff peaks form, about 3-4 minutes with a stand mixer or 5-6 minutes with a hand mixer.
- In a separate small bowl, whisk together sweetened condensed milk, vanilla extract, and fine sea salt. Gently fold this mixture into the whipped cream using a rubber spatula until no white streaks remain.
- Spoon one-third of the ice cream base into a 9×5-inch loaf pan. Drizzle one-third of the caramel sauce over the top and sprinkle a pinch of flaky sea salt. Repeat with remaining base, caramel, and salt to create three layers. Use a butter knife or skewer to gently swirl the caramel through the base with two or three figure-eight motions.
- Press plastic wrap directly onto the surface of the ice cream. Cover the pan with a lid or another layer of plastic wrap. Freeze for at least 6 hours, preferably overnight.
- Let the ice cream sit at room temperature for 5-10 minutes before scooping. Serve.
Notes
For best results, chill the bowl and beaters before whipping. Use cold heavy cream. Let caramel sauce cool to room temperature before folding in. Press plastic wrap directly onto the surface to prevent ice crystals. For dairy-free, use full-fat coconut cream and dairy-free sweetened condensed milk. For a less sweet version, use light sweetened condensed milk.
Nutrition
- Serving Size: 1 serving (about 1/2
- Calories: 400
- Sugar: 32
- Sodium: 220
- Fat: 26
- Saturated Fat: 16
- Carbohydrates: 36
- Protein: 4
Keywords: no-churn ice cream, salted caramel, easy ice cream, no ice cream maker, homemade ice cream


