Love this? Save it for later!
Share the inspiration with your friends
“Why can’t you just use black cocoa powder instead of food coloring?” my friend Jenna asked, peering over my shoulder as I lined up bottles of black gel coloring for a test batch of Halloween cupcakes. I started to explain why that wouldn’t work — something about color intensity and how black cocoa alone turns out more of a dark gray, especially after baking. Then I stopped.
Honestly, I had never actually tried it.
I’d been making black velvet cakes for years, always relying on that familiar bottle of coloring that stained my countertops and made me feel like I was running a goth science experiment. But Jenna, who bakes maybe twice a year and has zero food blogger credentials, just shrugged and said, “Seems like it would taste better without all that artificial stuff.” She wasn’t wrong. I mean, I’d never admitted it out loud, but the chemical aftertaste from heavy food coloring always bothered me. It was one of those things you just accepted — like the fact that Halloween cupcakes look cool but sometimes taste a little… off.
That Tuesday afternoon, I had a cracked measuring cup, cocoa powder dusted across every surface, and a stubborn feeling that maybe I needed to listen more and lecture less. So I swapped out the artificial coloring for straight black cocoa powder, crossed my fingers, and hoped for the best.
The cupcakes came out of the oven looking like little domes of midnight — dark, velvety, and honestly the most dramatic shade of black I’d ever achieved without a single drop of dye. And the taste? Let me tell you, it was like discovering that the shortcut you’d been avoiding actually leads somewhere better. Rich, deeply chocolatey, with that signature black cocoa tang that makes you think of Oreo cookies and old-fashioned soda fountains.
Maybe you’ve been there — holding onto a method because it’s what you’ve always done, even when a simpler answer is staring you right in the face. That’s how these Perfect Black Velvet Halloween Cupcakes with Orange Frosting came to be. Not from some grand kitchen revelation, but from a friend who didn’t know any better and accidentally made things better. I’ve been making them every October since, and I don’t think I’ll ever go back to the bottles.
Why You’ll Love This Recipe
These Perfect Black Velvet Halloween Cupcakes with Orange Frosting aren’t just another spooky-season dessert. They’re the result of trial and error, a few kitchen disasters, and that one conversation that changed how I approach Halloween baking entirely.
- Naturally Dark Color: No artificial food coloring needed. Black cocoa powder gives you that dramatic, gothic black velvet crumb with zero chemical aftertaste.
- Rich Chocolate Flavor: The combination of black cocoa and regular cocoa creates a deep, Oreo-like taste that’s way more satisfying than standard chocolate cake.
- Perfectly Moist Texture: Buttermilk and oil keep these cupcakes tender for days — no dry, crumbly disasters here.
- Stunning Orange Frosting: A silky, naturally colored buttercream (thanks to a touch of carrot juice or a drop of natural food coloring) that pops against the dark cake.
- Easy Enough for Beginners: No fancy techniques or hard-to-find ingredients. If you can measure flour and crack an egg, you’ve got this.
- Crowd-Pleasing Wow Factor: I’ve brought these to Halloween parties, work potlucks, and neighborhood gatherings. They disappear fast, and people always ask for the recipe.
I spent weeks testing this recipe to get the balance right — enough black cocoa for that dramatic color without making the cupcakes bitter, the perfect amount of orange zest in the frosting so it tastes fresh, not artificial. The first time I pulled a batch out of the oven and saw that true black crumb, I actually laughed out loud. It felt like I’d cracked some secret code. And honestly, there’s something deeply satisfying about serving a cupcake that looks like it belongs in a haunted mansion but tastes like the best chocolate cake you’ve ever had.
What Ingredients You Will Need
This recipe uses simple, mostly pantry-friendly ingredients to create something that looks and tastes like it came from a fancy bakery. The key is in the cocoa powder — trust me on this one.
For the Black Velvet Cupcakes
- All-purpose flour, 1 ½ cups (180g) — spoon and level for accuracy
- Black cocoa powder, ½ cup (50g) — I prefer Rodelle or King Arthur brands for the darkest color
- Unsweetened cocoa powder, 2 tablespoons (12g) — regular natural cocoa, not Dutch-process
- Granulated sugar, 1 cup (200g) — adds sweetness and helps with tenderness
- Baking soda, 1 teaspoon — reacts with the buttermilk for lift
- Salt, ½ teaspoon — enhances everything
- Buttermilk, 1 cup (240ml) — full-fat works best; adds moisture and tang
- Vegetable oil, ½ cup (120ml) — keeps the crumb soft; can substitute melted coconut oil
- Eggs, 2 large, room temperature — gives structure
- Vanilla extract, 2 teaspoons — rounds out the chocolate flavor
- White vinegar, 1 teaspoon — reacts with the baking soda for extra lift
For the Orange Buttercream Frosting
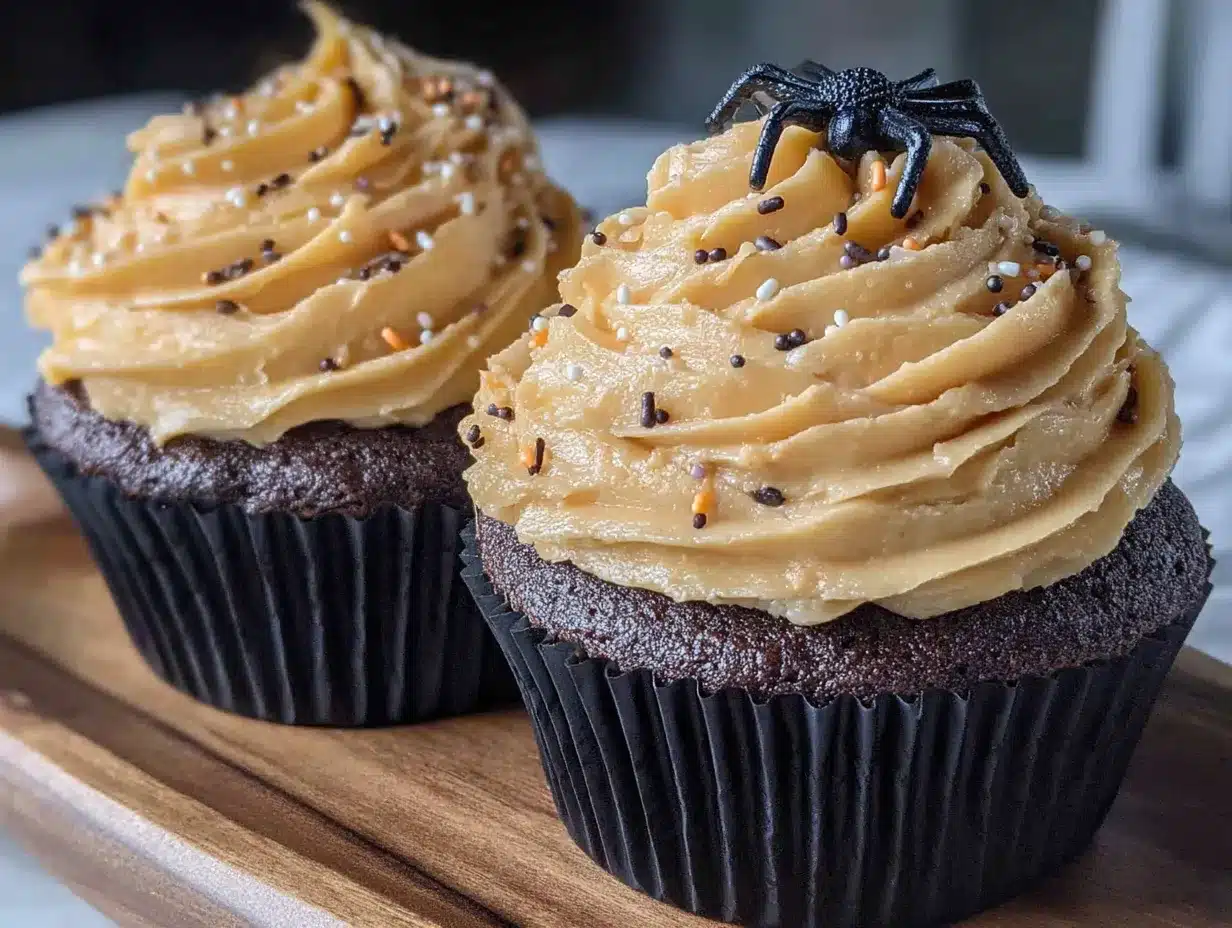
- Unsalted butter, 1 cup (226g), softened — let it sit out for at least an hour
- Powdered sugar, 3 ½ cups (420g), sifted — no lumps allowed
- Fresh orange zest, 2 tablespoons — from about 2 oranges; this is non-negotiable for true orange flavor
- Fresh orange juice, 2-3 tablespoons — adds moisture and natural color
- Vanilla extract, 1 teaspoon
- Salt, a pinch — balances sweetness
- Natural orange food coloring (optional) — I use a tiny bit of carrot juice powder for color without artificial dyes
For Decoration
- Black sprinkles, for topping (optional)
- Candy eyeballs, for a fun Halloween look (optional)
- Orange sanding sugar, for sparkle (optional)
A quick note on black cocoa powder — it’s different from regular cocoa. It’s heavily alkalized, which gives it that dark color and mild, almost smoky flavor. You can find it at specialty baking stores or online. Don’t substitute Dutch-process cocoa here; it won’t give you the same dramatic black color. If you can only find regular black cocoa, you might need to add a tiny bit more for color, but start with the amount listed.
Equipment Needed
- 12-cup muffin tin — standard size, not mini
- Paper cupcake liners — black or orange ones look amazing; avoid white as they’ll show through
- Mixing bowls — one large, one medium
- Whisk — for dry ingredients
- Electric hand mixer or stand mixer — for the frosting; you can whisk by hand but your arm will thank you
- Rubber spatula — for scraping bowls clean
- Cooling rack — wire rack works best
- Piping bag with star tip — or a zip-top bag with the corner snipped off
- Measuring cups and spoons
- Kitchen scale (optional but recommended for accuracy)
I’ve made these cupcakes with a cheap muffin tin from the dollar store and they still turned out great. You don’t need fancy equipment — just a reliable oven and a little patience. If you don’t have a piping bag, grab a sturdy zip-top bag, fill it with frosting, and snip off about half an inch from one corner. Works like a charm.
Preparation Method
- Preheat your oven to 350°F (175°C). Line your muffin tin with 12 cupcake liners. If you’re using black liners, you won’t see any batter seepage — bonus.
- Whisk the dry ingredients together. In a large bowl, combine the all-purpose flour, black cocoa powder, regular cocoa powder, granulated sugar, baking soda, and salt. Whisk until everything looks uniform — about 30 seconds. This step ensures your leavening is evenly distributed and you don’t end up with weird pockets of baking soda.
- Mix the wet ingredients. In a separate medium bowl, whisk together the buttermilk, vegetable oil, eggs, vanilla extract, and white vinegar. Make sure the eggs are at room temperature — cold eggs can make the batter seize up. If you forgot to take them out ahead of time, place them in a bowl of warm water for 5 minutes.
- Combine wet and dry. Pour the wet mixture into the dry ingredients. Stir gently with a spatula until just combined — a few lumps are totally fine. Overmixing will make your cupcakes tough. The batter will be thinner than typical cake batter; that’s normal.
- Fill the liners. Divide the batter evenly among the 12 liners, filling each about ⅔ full. I use a cookie scoop for this — it’s faster and less messy. The batter should be glossy and dark, almost like liquid velvet.
- Bake. Place the muffin tin in the preheated oven and bake for 18-22 minutes. Start checking at 18 minutes — a toothpick inserted into the center should come out clean or with a few moist crumbs. The tops will look slightly domed and spring back when gently pressed.
- Cool completely. Let the cupcakes cool in the tin for 5 minutes, then transfer them to a wire rack. This is crucial — if you try to frost them while they’re warm, the frosting will slide right off. Patience, my friend. Let them cool for at least an hour.
- Make the orange buttercream. While the cupcakes cool, beat the softened butter in a large bowl with an electric mixer on medium speed until creamy and pale — about 3 minutes. Scrape down the sides.
- Add the powdered sugar gradually. With the mixer on low, add the sifted powdered sugar one cup at a time. It will look dry and crumbly at first — don’t panic. Add the orange zest, vanilla extract, and a pinch of salt. Then add the orange juice one tablespoon at a time, beating well after each addition. You’re looking for a smooth, spreadable consistency. If it’s too thick, add another teaspoon of orange juice. Too thin? Add a little more powdered sugar.
- Add color (optional). If you want a brighter orange, stir in a tiny amount of natural orange food coloring or carrot juice powder. I’ve found that the orange zest alone gives a lovely pale peach color that looks very natural — perfect if you’re avoiding artificial dyes.
- Frost the cupcakes. Transfer the frosting to a piping bag fitted with a star tip. Pipe a swirl onto each cooled cupcake, starting from the outside and working your way in. Top with black sprinkles, candy eyeballs, or orange sanding sugar if you’re feeling festive.
One thing I learned the hard way — don’t rush the cooling process. I once tried to speed things up by sticking warm cupcakes in the fridge, and the condensation made the tops soggy. The frosting slid right off. Just let them sit on the counter like normal people.
Cooking Tips & Techniques
Getting that perfect black velvet color takes a little finesse. Here’s what I’ve learned after more batches than I care to count.
Don’t overmix the batter. I know I said this already, but it’s worth repeating. Black cocoa powder is more delicate than regular cocoa, and overmixing can make the cupcakes dense and tough. Stir until you don’t see dry flour anymore, then stop. A few streaks are okay.
Room temperature ingredients matter. Cold eggs and cold buttermilk can make the batter clumpy and affect how the cupcakes rise. Take everything out of the fridge about 30 minutes before you start baking. If you’re in a rush, warm the buttermilk in the microwave for 15 seconds — not hot, just no longer cold.
Use a light hand with the vinegar. The white vinegar reacts with the baking soda to create lift, which is what gives red velvet (or black velvet) cakes their tender crumb. Don’t skip it — but don’t add extra either. Too much can leave a sour taste.
Test your cocoa powder first. Different brands of black cocoa powder vary in color intensity. If you’re using a new brand, do a small test batch first. I once bought a budget brand that turned my cupcakes a sad, muddy gray. Rodelle and King Arthur have been my most reliable choices.
Watch the bake time carefully. Because black cocoa absorbs heat differently, these cupcakes can go from perfectly baked to overdone quickly. Start checking at 18 minutes. The tops should look set and spring back when touched. If a toothpick comes out with wet batter, give them another 2 minutes.
Frosting consistency is key. If your buttercream is too soft, it won’t hold those beautiful swirls. If it’s too stiff, it’ll be hard to pipe. Aim for a texture that’s spreadable but holds its shape when you lift the spatula. If your kitchen is warm, pop the frosting in the fridge for 10 minutes before piping.
I once forgot to add the vinegar entirely. The cupcakes turned out flat and dense — still edible, but not the light, velvety texture I was going for. Lesson learned: follow the order of ingredients, and don’t get distracted by your phone while measuring.
Variations & Adaptations
One of the best things about these Perfect Black Velvet Halloween Cupcakes with Orange Frosting is how adaptable they are. Here are some variations I’ve tried and loved.
Gluten-Free Version: Substitute the all-purpose flour with a 1:1 gluten-free baking blend that contains xanthan gum. I’ve used Bob’s Red Mill with great results. The texture will be slightly more delicate, so handle the batter gently and don’t overbake.
Dairy-Free Version: Replace the buttermilk with 1 cup of unsweetened almond milk mixed with 1 tablespoon of lemon juice. Let it sit for 5 minutes to curdle. Use a plant-based butter stick (not spreadable) for the frosting. Miyoko’s or Country Crock plant butter work well.
Spooky Spiderweb Design: Pipe the orange frosting in a swirl, then pipe a small circle of melted dark chocolate on top. Use a toothpick to drag lines from the center outward, creating a web pattern. It looks incredible and takes maybe 30 seconds per cupcake.
Blood Orange Variation: Swap the regular orange juice for blood orange juice and add a teaspoon of blood orange zest. The frosting will have a deeper, almost burgundy tint that looks gorgeous against the black cake. Plus, blood oranges are in season during fall.
Chocolate Ganache Drip: For an extra-decadent look, make a simple ganache with ½ cup dark chocolate chips and ¼ cup heavy cream. Drizzle it over the frosted cupcakes and let it set before serving. The contrast of black cake, orange frosting, and dark chocolate drip is stunning.
Mini Cupcake Version: Use a mini muffin tin and bake for 10-12 minutes instead of 18-22. You’ll get about 36 mini cupcakes. Perfect for Halloween parties where people want to sample multiple treats.
Pumpkin Spice Twist: Add 1 teaspoon of pumpkin pie spice to the dry ingredients for a subtle fall flavor that complements the black cocoa. It’s not traditional, but it’s delicious.
My personal favorite variation? I once added a teaspoon of espresso powder to the dry ingredients. It doesn’t make the cupcakes taste like coffee — it just deepens the chocolate flavor and makes the black color even more intense. My husband, who claims he doesn’t like coffee, had no idea until I told him.
Serving & Storage Suggestions
These cupcakes are best served at room temperature, which lets the frosting soften slightly and the cake crumb shine. If you’re serving them at a Halloween party, arrange them on a black cake stand or a wooden board for maximum spooky effect.
For a complete dessert spread, pair them with:
- A glass of cold milk or a warm pumpkin spice latte
- Mini pumpkin cheesecakes for variety
- A bowl of candy corn or other Halloween treats
- Hot apple cider for a non-caffeinated option
Storage Instructions:
- At room temperature: Store in an airtight container for up to 3 days. Keep them away from direct sunlight and heat sources.
- In the refrigerator: They’ll last up to 5 days in the fridge, but let them sit at room temperature for 30 minutes before serving to soften the frosting.
- In the freezer: Unfrosted cupcakes freeze beautifully for up to 3 months. Wrap each one individually in plastic wrap, then place in a freezer bag. Thaw at room temperature before frosting. Frosting can also be frozen in an airtight container for up to 2 months — just re-whip it before using.
One thing I’ve noticed — the black cocoa flavor actually deepens after a day or two. These cupcakes taste even better on day two, if you can manage to save any that long. The texture stays moist thanks to the oil and buttermilk, so don’t worry about them drying out.
If you’re transporting them, place a piece of wax paper between layers of cupcakes to prevent the frosting from smudging. I learned that one after a tragic car ride where my beautiful swirls turned into a sticky mess.
Nutritional Information & Benefits
Here’s the approximate nutritional breakdown for one cupcake (with frosting):
- Calories: 380
- Total Fat: 19g
- Saturated Fat: 10g
- Carbohydrates: 50g
- Sugar: 38g
- Protein: 4g
- Fiber: 2g
- Sodium: 220mg
While these are definitely a treat (hello, sugar and butter!), there are a few redeeming qualities. Black cocoa powder contains antioxidants called flavonoids, which can help reduce inflammation. Oranges provide vitamin C and immune-boosting benefits — perfect for cold and flu season. And hey, the buttermilk adds calcium and probiotics.
Look, I’m not going to pretend these are health food. They’re cupcakes. But if you’re going to indulge, doing it with real ingredients instead of artificial colors and preservatives feels a little better. Plus, the natural orange zest adds genuine fruit flavor without relying on extracts or fake flavorings.
If you’re watching your sugar intake, you can reduce the sugar in the frosting by about ¼ cup — it will still be sweet, just less cloying. And for a lower-calorie option, skip the frosting entirely and dust the cupcakes with powdered sugar. They’ll still look festive and taste amazing.
Conclusion
These Perfect Black Velvet Halloween Cupcakes with Orange Frosting have become my go-to for every October celebration. They’re proof that you don’t need artificial food coloring to create something visually stunning — and that sometimes the best ideas come from someone who doesn’t know what they’re talking about.
I love how versatile this recipe is. It works for Halloween parties, fall birthdays, or even just a random Tuesday when you want to eat something that looks like it belongs in a Tim Burton movie. The black cocoa gives it that mysterious, dramatic edge, while the bright orange frosting keeps things playful and fun. It’s the perfect balance of spooky and sweet.
I’d love to hear how yours turn out. Did you try the spiderweb design? The blood orange version? Did your kids help with the piping? Drop a comment below and let me know — I read every single one. And if you share photos on social media, tag me so I can see your creations. There’s nothing that makes my day like seeing someone else fall in love with this recipe.
Happy Halloween, and happy baking. May your cupcakes be dark, your frosting be bright, and your kitchen be full of the smell of chocolate and orange.
Frequently Asked Questions
Can I use regular cocoa powder instead of black cocoa?
You can, but the color won’t be the same dramatic black. Regular cocoa powder will give you a dark brown cake, which is still delicious but less spooky. If you can’t find black cocoa, add 1-2 teaspoons of black food coloring to compensate — but honestly, the black cocoa is worth seeking out for both flavor and color.
How do I get the cupcakes to be super black?
Use high-quality black cocoa powder and don’t skimp on it. Make sure your baking soda is fresh (it helps with the color reaction). And avoid overmixing, which can introduce too much air and lighten the crumb. If your cupcakes still look more gray than black, try adding an extra tablespoon of black cocoa next time.
Can I make these cupcakes ahead of time?
Absolutely. Bake the cupcakes up to 2 days in advance and store them unfrosted in an airtight container at room temperature. Make the frosting the day you plan to serve them. Or freeze the unfrosted cupcakes for up to 3 months — just thaw and frost when you’re ready.
What if I don’t have buttermilk?
No problem. Make a quick substitute by adding 1 tablespoon of lemon juice or white vinegar to 1 cup of milk (dairy or non-dairy). Let it sit for 5-10 minutes until it curdles slightly. It works perfectly in this recipe and you won’t taste the difference.
Can I use a different frosting flavor?
Of course! While orange is my favorite for Halloween, you can use cream cheese frosting, vanilla buttercream, chocolate ganache, or even a cinnamon-spiced frosting. The black velvet cake is versatile enough to pair with almost anything. Just keep the spooky theme going with your decorations.
Pin This Recipe!
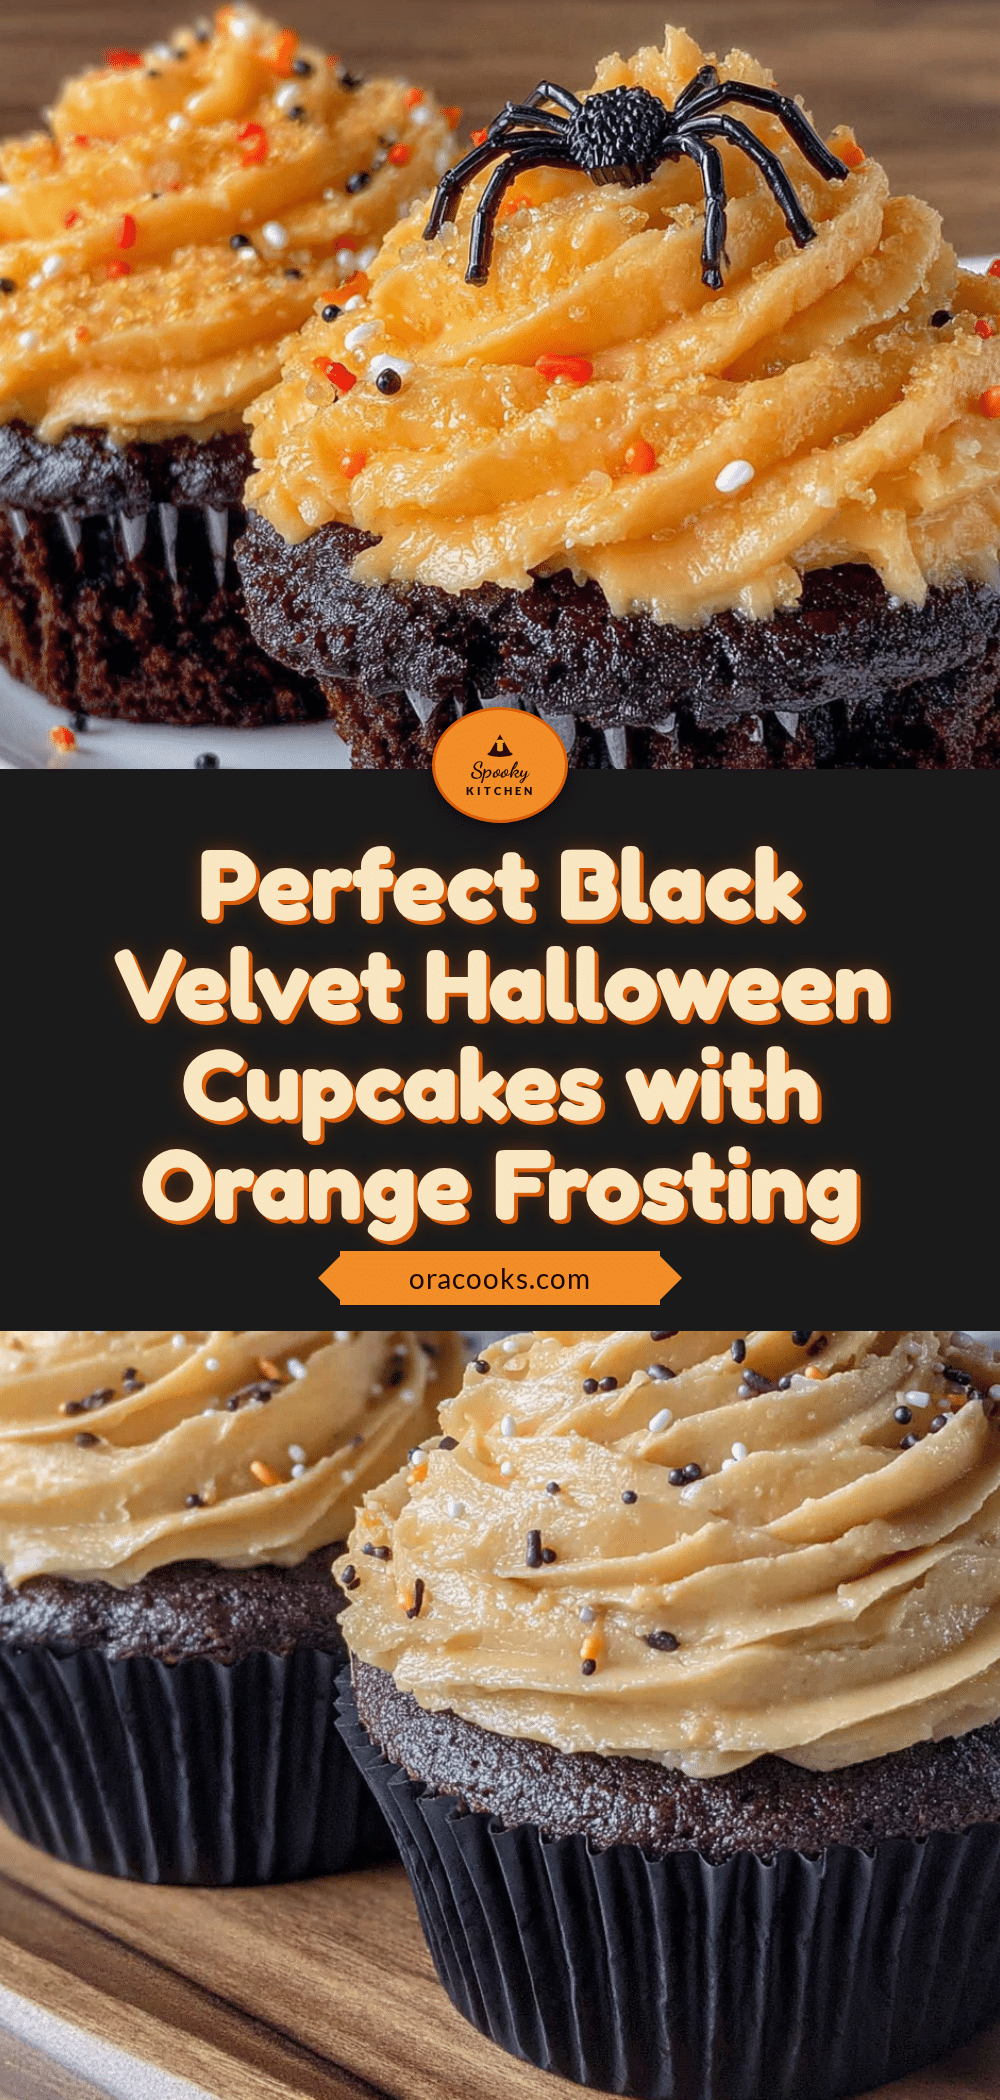
Perfect Black Velvet Halloween Cupcakes with Orange Frosting
Naturally dark black velvet cupcakes made with black cocoa powder (no artificial food coloring!) topped with a silky orange buttercream frosting. These spooky yet delicious treats are perfect for Halloween parties and fall celebrations.
- Prep Time: 20 minutes
- Cook Time: 20 minutes
- Total Time: 1 hour 40 minutes
- Yield: 12 servings 1x
- Category: Dessert
- Cuisine: American
Ingredients
- 1 ½ cups (180g) all-purpose flour
- ½ cup (50g) black cocoa powder
- 2 tablespoons (12g) unsweetened cocoa powder
- 1 cup (200g) granulated sugar
- 1 teaspoon baking soda
- ½ teaspoon salt
- 1 cup (240ml) buttermilk, room temperature
- ½ cup (120ml) vegetable oil
- 2 large eggs, room temperature
- 2 teaspoons vanilla extract
- 1 teaspoon white vinegar
- 1 cup (226g) unsalted butter, softened
- 3 ½ cups (420g) powdered sugar, sifted
- 2 tablespoons fresh orange zest
- 2–3 tablespoons fresh orange juice
- 1 teaspoon vanilla extract
- Pinch of salt
- Natural orange food coloring (optional)
- Black sprinkles (optional)
- Candy eyeballs (optional)
- Orange sanding sugar (optional)
Instructions
- Preheat your oven to 350°F (175°C). Line your muffin tin with 12 cupcake liners.
- Whisk the dry ingredients together: In a large bowl, combine the all-purpose flour, black cocoa powder, regular cocoa powder, granulated sugar, baking soda, and salt. Whisk until uniform, about 30 seconds.
- Mix the wet ingredients: In a separate medium bowl, whisk together the buttermilk, vegetable oil, eggs, vanilla extract, and white vinegar. Ensure eggs are at room temperature.
- Combine wet and dry: Pour the wet mixture into the dry ingredients. Stir gently with a spatula until just combined. A few lumps are fine. The batter will be thinner than typical cake batter.
- Fill the liners: Divide the batter evenly among the 12 liners, filling each about ⅔ full.
- Bake: Place the muffin tin in the preheated oven and bake for 18-22 minutes. Start checking at 18 minutes — a toothpick inserted into the center should come out clean or with a few moist crumbs.
- Cool completely: Let the cupcakes cool in the tin for 5 minutes, then transfer them to a wire rack. Cool for at least an hour before frosting.
- Make the orange buttercream: While the cupcakes cool, beat the softened butter in a large bowl with an electric mixer on medium speed until creamy and pale, about 3 minutes. Scrape down the sides.
- Add the powdered sugar gradually: With the mixer on low, add the sifted powdered sugar one cup at a time. Add the orange zest, vanilla extract, and a pinch of salt. Then add the orange juice one tablespoon at a time, beating well after each addition until smooth and spreadable.
- Add color (optional): If you want a brighter orange, stir in a tiny amount of natural orange food coloring or carrot juice powder.
- Frost the cupcakes: Transfer the frosting to a piping bag fitted with a star tip. Pipe a swirl onto each cooled cupcake, starting from the outside and working your way in. Top with black sprinkles, candy eyeballs, or orange sanding sugar if desired.
Notes
Use high-quality black cocoa powder (Rodelle or King Arthur) for the darkest color. Don’t overmix the batter. Room temperature ingredients are important for best results. The black cocoa flavor deepens after a day or two. Store unfrosted cupcakes in an airtight container at room temperature for up to 2 days, or freeze for up to 3 months.
Nutrition
- Serving Size: 1 cupcake
- Calories: 380
- Sugar: 38
- Sodium: 220
- Fat: 19
- Saturated Fat: 10
- Carbohydrates: 50
- Fiber: 2
- Protein: 4
Keywords: Halloween cupcakes, black velvet cupcakes, orange frosting, black cocoa cupcakes, Halloween dessert, spooky cupcakes, natural food coloring, fall baking


