Love this? Save it for later!
Share the inspiration with your friends
There used to be a tiny bakery tucked behind a florist shop on a side street in Portland that made the most incredible rosemary focaccia. When they closed suddenly during the pandemic, I honestly felt a little lost. I mean, it sounds dramatic to mourn bread, but that focaccia was something else—crispy on the bottom, airy in the middle, with this perfect salty-herby crust that made you forget whatever else you were doing that day. After about seven tries—and some truly sad, dense bricks of bread—I finally got it. And the secret? Sourdough discard. Who knew the stuff you’d normally toss could make focaccia this good?
Let me tell you, that first successful batch came out of the oven on a rainy Tuesday night, and I nearly cried. The smell alone brought me right back to that little bakery. My husband walked in and said, “Did you actually do it?” I had flour on my jeans, a blob of dough on my glasses, and I didn’t care at all. This recipe isn’t fussy or complicated—it’s the kind of bread you can make after work without losing your mind. And honestly, if you’ve ever stared at your jar of sourdough discard wondering what to do with it, this is your answer.
Maybe you’ve been there too—that moment when you open your fridge and see that jar of discard staring back at you, and you feel guilty about tossing it but have no idea what to make. This focaccia solves that problem, and it does it fast. No long fermentation, no complicated folding technique. Just good bread that tastes like you spent all day on it when you really didn’t. That’s my favorite kind of recipe, honestly. The one that makes you look like a hero with minimal effort.
Why You’ll Love This Recipe
This isn’t just another focaccia recipe floating around the internet. I’ve tested this one over and over, tweaking hydration levels, proofing times, and oven temperatures until it was just right. Here’s why I think you’ll fall for it too:
- Quick & Easy: From mixing to eating in under 3 hours. No overnight proof, no complicated steps. Perfect for those days when you decide at 4 PM you want fresh bread for dinner.
- Uses Sourdough Discard: Finally, a way to use that discard without feeding it first. This recipe was literally designed for the stuff sitting in your fridge right now.
- Simple Ingredients: Flour, water, olive oil, salt, rosemary, and your discard. That’s it. No fancy grocery store trips required.
- Foolproof Texture: That perfect combo of crispy bottom, soft airy interior, and salty-herby top. Every single time.
- Perfect for Weeknights: Comes together fast enough for a Tuesday dinner but looks impressive enough for guests. It’s the bread you bring to a potluck and everyone asks for the recipe.
- Crowd-Pleaser: I’ve served this to kids, picky eaters, and bread snobs. It disappears every single time.
What makes this recipe different from all the other focaccia recipes out there? It’s the discard. The natural acidity from the fermented discard gives the bread this subtle tang that pairs perfectly with the rosemary and olive oil. Plus, it helps create that airy, open crumb without needing a super wet dough that’s impossible to handle. I’ve tried making focaccia with just yeast, and while it’s good, it’s not this good. The discard adds depth that you just can’t get any other way.
This is the kind of bread that makes you close your eyes after the first bite. It’s comfort food at its finest—simple, satisfying, and soul-warming. Whether you’re impressing dinner guests or just treating yourself on a quiet night, this focaccia delivers.
What Ingredients You Will Need
This recipe uses simple, wholesome ingredients to create something truly special. Most of these are probably in your kitchen right now, which is exactly how I like my recipes.
For the Dough:
- All-purpose flour — 3 cups (360g). I prefer King Arthur Flour for consistent results, but any brand works. Bread flour also works if you want a chewier texture.
- Sourdough discard — 1 cup (240g), unfed and straight from the fridge. This is the star of the show. It doesn’t need to be active or bubbly—that’s the whole point of using discard.
- Warm water — 1 cup (240ml), about 90-100°F. Too hot will kill the yeast, too cold will slow things down. Think warm bath water temperature.
- Olive oil — ¼ cup (60ml) plus extra for the pan and topping. Use good quality here—it really matters for flavor. I like California Olive Ranch for everyday baking.
- Active dry yeast — 1 teaspoon. This gives the discard a little boost so we don’t have to wait all day. Instant yeast works too—just mix it right in with the flour.
- Salt — 1½ teaspoons. I use fine sea salt. If you’re using kosher salt, you might need a bit more.
- Honey or sugar — 1 teaspoon. Just a tiny bit to feed the yeast and help with browning. Totally optional if you’re watching sugar intake.
For the Topping:
- Fresh rosemary — 2 tablespoons, finely chopped. Dried rosemary works in a pinch, but fresh is really better here. The flavor is more vibrant and less piney.
- Flaky sea salt — 1 teaspoon, for sprinkling on top. Maldon is my go-to, but any flaky salt works. Don’t skip this—it’s what makes that perfect salty crust.
- Extra olive oil — 2-3 tablespoons, for drizzling before baking. Be generous here—the oil helps create that crispy bottom and golden crust.
A few notes on ingredients: Your sourdough discard should be at room temperature for best results, so take it out about 30 minutes before you start. If your discard is really thick, you might need to add an extra tablespoon of water to the dough. And if you’re using a gluten-free flour blend, I can’t promise this will work the same way—focaccia really needs that gluten structure to get the right texture.
For substitutions, you can swap the honey for maple syrup or just leave it out entirely. The yeast will still work, it might just take a few extra minutes to get bubbly. If rosemary isn’t your thing, try thyme, oregano, or even everything bagel seasoning. I’ve done a version with roasted garlic and black pepper that was absolutely killer.
Equipment Needed
You don’t need a lot of fancy equipment for this recipe, which is one of the reasons I love it so much. Here’s what you’ll need:
- Large mixing bowl — Any bowl works, but I prefer a wide ceramic bowl because it’s easier to mix without making a mess. My grandmother’s old Pyrex bowl is my lucky focaccia bowl.
- 9×13-inch baking pan — Metal or glass both work. Metal gives a slightly crispier bottom, while glass lets you see the browning. I’ve used both with great results.
- Measuring cups and spoons — For accuracy, especially with the flour and water. A kitchen scale is even better if you have one.
- Wooden spoon or dough scraper — For mixing the dough. A rubber spatula works too. Honestly, I’ve used my hands more times than I can count.
- Plastic wrap or a damp kitchen towel — For covering the dough while it rises. Reusable beeswax wrap works great too.
- Small bowl — For mixing the rosemary and oil topping.
- Pastry brush — For brushing oil on the dough. Not strictly necessary—you can drizzle and spread with your fingers—but it makes the job neater.
If you don’t have a 9×13 pan, you can use a cast iron skillet or a round cake pan. The shape will be different, but the bread will still be delicious. Just keep an eye on the baking time—thicker dough in a smaller pan will need a few extra minutes.
Preparation Method
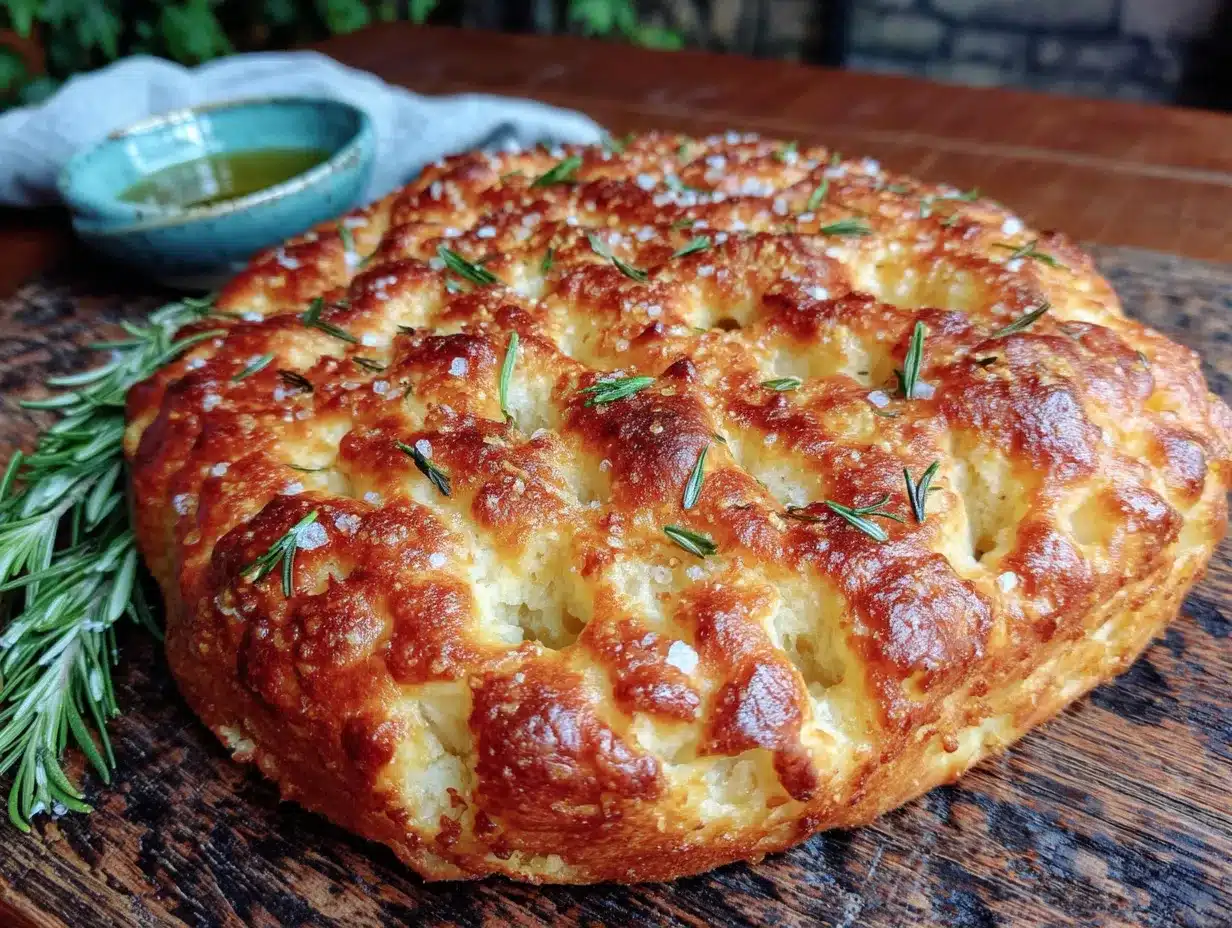
Alright, let’s make some bread. I promise this is easier than you think.
- Activate the yeast (5 minutes): In your large mixing bowl, combine the warm water, honey, and active dry yeast. Give it a gentle stir and let it sit for 5 minutes until it gets foamy and bubbly. If nothing happens after 10 minutes, your yeast might be dead—start over with fresh yeast. I learned this the hard way after wasting an entire batch of dough.
- Mix the dough (3 minutes): Add the sourdough discard, olive oil, and salt to the yeast mixture. Stir until combined. Then add the flour all at once and mix with a wooden spoon until a shaggy dough forms. It will look rough and sticky—that’s exactly what you want. Don’t be tempted to add more flour at this point.
- First rest (20 minutes): Cover the bowl with plastic wrap or a damp towel and let it rest for 20 minutes. This is called the autolyse phase, and it helps the flour absorb the water and develop gluten without you having to do any work. Use this time to clean up your workspace or chop your rosemary.
- Stretch and fold (2 minutes per fold): After the rest, do a series of stretch and folds. Wet your hands slightly to prevent sticking, then grab one side of the dough, stretch it up, and fold it over the center. Rotate the bowl and repeat 4 times total, stretching from each side. Cover and rest 20 minutes. Repeat this process 2 more times. You’ll feel the dough getting smoother and more elastic with each fold.
- Bulk fermentation (45-60 minutes): Cover the bowl and let the dough rise at room temperature until it’s doubled in size. This usually takes about 45-60 minutes, depending on how warm your kitchen is. The dough should look puffy and have bubbles on the surface.
- Prepare the pan (5 minutes): While the dough rises, pour about 2 tablespoons of olive oil into your 9×13 pan. Use your fingers to spread it all over the bottom and up the sides. Don’t be shy with the oil—this is what gives focaccia that amazing crispy bottom.
- Transfer and stretch (5 minutes): Gently scrape the dough into the oiled pan. Don’t punch it down—you want to keep those air bubbles. Let the dough rest for 10 minutes, then use your fingertips to gently stretch it toward the edges of the pan. If it springs back, let it rest another 10 minutes and try again. Be patient here—rushing will tear the dough.
- Second proof (30-40 minutes): Cover the pan loosely with plastic wrap and let the dough rise again until it’s puffy and has doubled in height. This goes faster than the first rise, so keep an eye on it. While it proofs, preheat your oven to 425°F (220°C).
- Dimple the dough (2 minutes): Here’s the fun part. Generously drizzle olive oil over the top of the dough. Then use your fingertips to press deep dimples all over the surface—right down to the bottom of the pan. Don’t be timid about this. Those dimples are where the oil pools and creates those crispy, golden spots that make focaccia so addictive.
- Add the toppings (2 minutes): Sprinkle the chopped rosemary evenly over the dough, followed by the flaky sea salt. If you’re adding any other toppings like garlic or cherry tomatoes, now’s the time.
- Bake (20-25 minutes): Place the pan on the middle rack of your preheated oven. Bake for 20-25 minutes until the top is deep golden brown and the bottom sounds hollow when you tap it. The internal temperature should reach about 200°F (93°C) if you want to be precise.
- Cool and serve (10 minutes): Let the focaccia cool in the pan for 5 minutes, then transfer to a wire rack. If you try to cut it too soon, the steam will make it soggy. I know it’s hard to wait, but trust me on this. After 10 minutes, slice it up and enjoy while it’s still warm.
Cooking Tips & Techniques
After making this recipe more times than I can count, I’ve picked up a few tricks that make a real difference. Here’s what I wish someone had told me when I started:
Don’t skip the stretch and folds. I know it seems like an extra step, but this is what gives focaccia its airy, open crumb. Without it, you’ll end up with dense, flat bread. The dough will feel sticky and messy at first, but after those three rounds of folding, it transforms into something smooth and elastic. It’s honestly satisfying to watch.
Temperature matters more than you think. If your kitchen is cold (below 70°F), your dough will take longer to rise. I’ve had winter batches take almost double the time. If your kitchen runs cold, try proofing the dough in your oven with just the light on—it creates a warm, draft-free environment that’s perfect for rising.
The biggest mistake I made? Using too much flour when handling the dough. I used to dust my hands and work surface like crazy, which made the dough tough and dry. Wet hands are actually better for handling sticky dough. Keep a small bowl of water nearby and dip your fingers before touching the dough. Game changer.
For the crispiest bottom, use a metal pan. Glass and ceramic are fine, but metal conducts heat better and gives you that satisfying crunch. If you only have glass, increase the oven temperature by 25°F and watch it closely to prevent burning.
Multitasking tip: While the dough does its first proof, prep your toppings and clean your dishes. By the time you’re ready to shape, your kitchen will be tidy and your rosemary will be chopped. It makes the whole process feel less chaotic.
Variations & Adaptations
One of the best things about this focaccia is how adaptable it is. Here are some variations I’ve tried and loved:
Garlic and Herb Focaccia: Slice 4-5 garlic cloves thinly and press them into the dimples along with the rosemary. The garlic roasts into these sweet, mellow pockets of flavor that are absolutely addictive. I made this for a dinner party once and three people asked for the recipe.
Tomato and Olive Focaccia: Before baking, press halved cherry tomatoes and pitted kalamata olives into the dough. The tomatoes burst and create these little pockets of juice, while the olives add a briny punch. This version is perfect for summer when tomatoes are at their peak.
Cheese Lover’s Focaccia: Sprinkle ½ cup of grated Parmesan or pecorino over the top before baking. The cheese melts into the surface and creates this incredible crispy, cheesy crust. I’ve also tried it with crumbled feta, which adds a nice tangy contrast.
Gluten-Free Adaptation: I’ll be honest—this is tricky. Gluten-free flours don’t develop the same structure, so the texture will be different. If you want to try, use a gluten-free all-purpose blend that contains xanthan gum, and expect a denser, more cake-like result. It won’t be the same, but it can still be delicious in its own way.
Sweet Version: Skip the rosemary and salt, and instead top the focaccia with cinnamon sugar and a drizzle of honey. It’s basically a giant, shareable pastry. Perfect for brunch with a cup of coffee.
Serving & Storage Suggestions
This focaccia is best served warm, straight from the oven, with a little extra olive oil for dipping. But let’s be real—it’s also amazing at room temperature, cold from the fridge, or even toasted the next day.
Serving ideas: Slice it in half horizontally and use it for sandwiches—it makes incredible paninis. Serve it alongside soup or salad for a complete meal. Or just tear off pieces and eat it while standing at the counter. No judgment here.
Storage: Keep leftover focaccia in an airtight container at room temperature for up to 3 days. Don’t refrigerate it—the fridge actually makes bread go stale faster. If your kitchen is hot and humid, you can store it in a paper bag to prevent the crust from getting soggy.
Freezing: This focaccia freezes beautifully. Wrap it tightly in plastic wrap, then aluminum foil, and freeze for up to 3 months. To reheat, pop it directly in a 350°F oven for 10-15 minutes until warm and crispy. Don’t microwave it—that makes the texture rubbery.
Reheating tip: For that just-baked freshness, sprinkle a few drops of water on the crust before reheating in the oven. The steam helps revive the texture. It sounds weird, but it works.
The flavors actually develop a bit overnight, so day-old focaccia has a more pronounced tang from the discard. I honestly love it just as much the next morning, toasted with butter and a sprinkle of salt.
Nutritional Information & Benefits
Let’s be honest—focaccia is bread, and bread is meant to be enjoyed. That said, this version has a few nutritional perks worth mentioning.
Estimated per serving (1/8 of the recipe):
- Calories: 220
- Carbohydrates: 35g
- Protein: 5g
- Fat: 7g
- Fiber: 1.5g
- Sodium: 350mg
The sourdough discard brings some benefits: The fermentation process breaks down phytic acid, which makes the minerals in the flour more bioavailable. Some people find sourdough easier to digest than regular bread, though everyone’s different. Plus, the discard adds a little protein and fiber that you wouldn’t get from plain flour.
Dietary considerations: This recipe is vegetarian and can be made vegan by using maple syrup instead of honey. It’s not gluten-free, but I’ve included notes on how to adapt it if needed. The olive oil provides healthy monounsaturated fats, and the rosemary is packed with antioxidants.
I’m not a nutritionist, and I don’t believe in demonizing food. This is bread—it’s meant to be enjoyed as part of a balanced diet. If you’re watching your salt intake, you can reduce the flaky salt on top. If you’re counting carbs, maybe save this for a special occasion. But honestly? Life’s too short to skip good bread.
Conclusion
This quick sourdough discard focaccia with rosemary has become a staple in my kitchen, and I have a feeling it will become one in yours too. It’s the kind of recipe that solves two problems at once—using up that discard that’s been staring at you from the fridge, and giving you incredible bread without spending all day in the kitchen.
I love how forgiving this recipe is. You can rush it a little, let it rest a little longer, use slightly more or less flour—and it still turns out delicious. That’s the beauty of working with sourdough discard. It’s already fermented, so it’s more tolerant of imperfection than a straight yeast recipe would be.
Give it a try this week. Play around with the toppings, make it your own, and let me know how it goes. Did you add garlic? Throw in some olives? Forget the rosemary and go rogue with everything bagel seasoning? I want to hear about it. Drop a comment below or tag me in your photos—I love seeing what you all come up with.
And if you’re looking for more ways to use up that sourdough discard, check out my sourdough discard crackers or these fluffy sourdough discard pancakes. Both are quick, easy, and use the same fridge-direct discard. Happy baking, friends!
Frequently Asked Questions
Can I make this without a stand mixer?
Absolutely. This recipe is designed to be made by hand. The stretch and fold method replaces kneading, so you don’t need any special equipment. Just a bowl and your hands.
My dough is really sticky. Is that normal?
Yes! Focaccia dough is intentionally sticky—that’s what gives it that airy, open crumb. Resist the urge to add more flour. Wet your hands slightly when handling it, and trust the process.
Can I use discard that’s been in the fridge for weeks?
Absolutely. That’s the beauty of this recipe. Old, dark, hooch-covered discard works perfectly. Just stir it well before measuring. If it smells really funky (like nail polish remover), give it a quick rinse by stirring in fresh water and draining—but honestly, I’ve used discard that was months old with no issues.
Why didn’t my focaccia get those big air bubbles?
Several things could be at play. Your dough might not have proofed long enough, you might have punched it down too aggressively when transferring to the pan, or your oven might not be hot enough. Next time, try extending the second proof by 15 minutes and be extra gentle when handling the dough.
Can I double this recipe?
Yes! Double everything and bake it in a half-sheet pan (about 13×18 inches). You might need to add 5-10 minutes to the baking time. Keep an eye on the color and look for that deep golden brown.
Pin This Recipe!
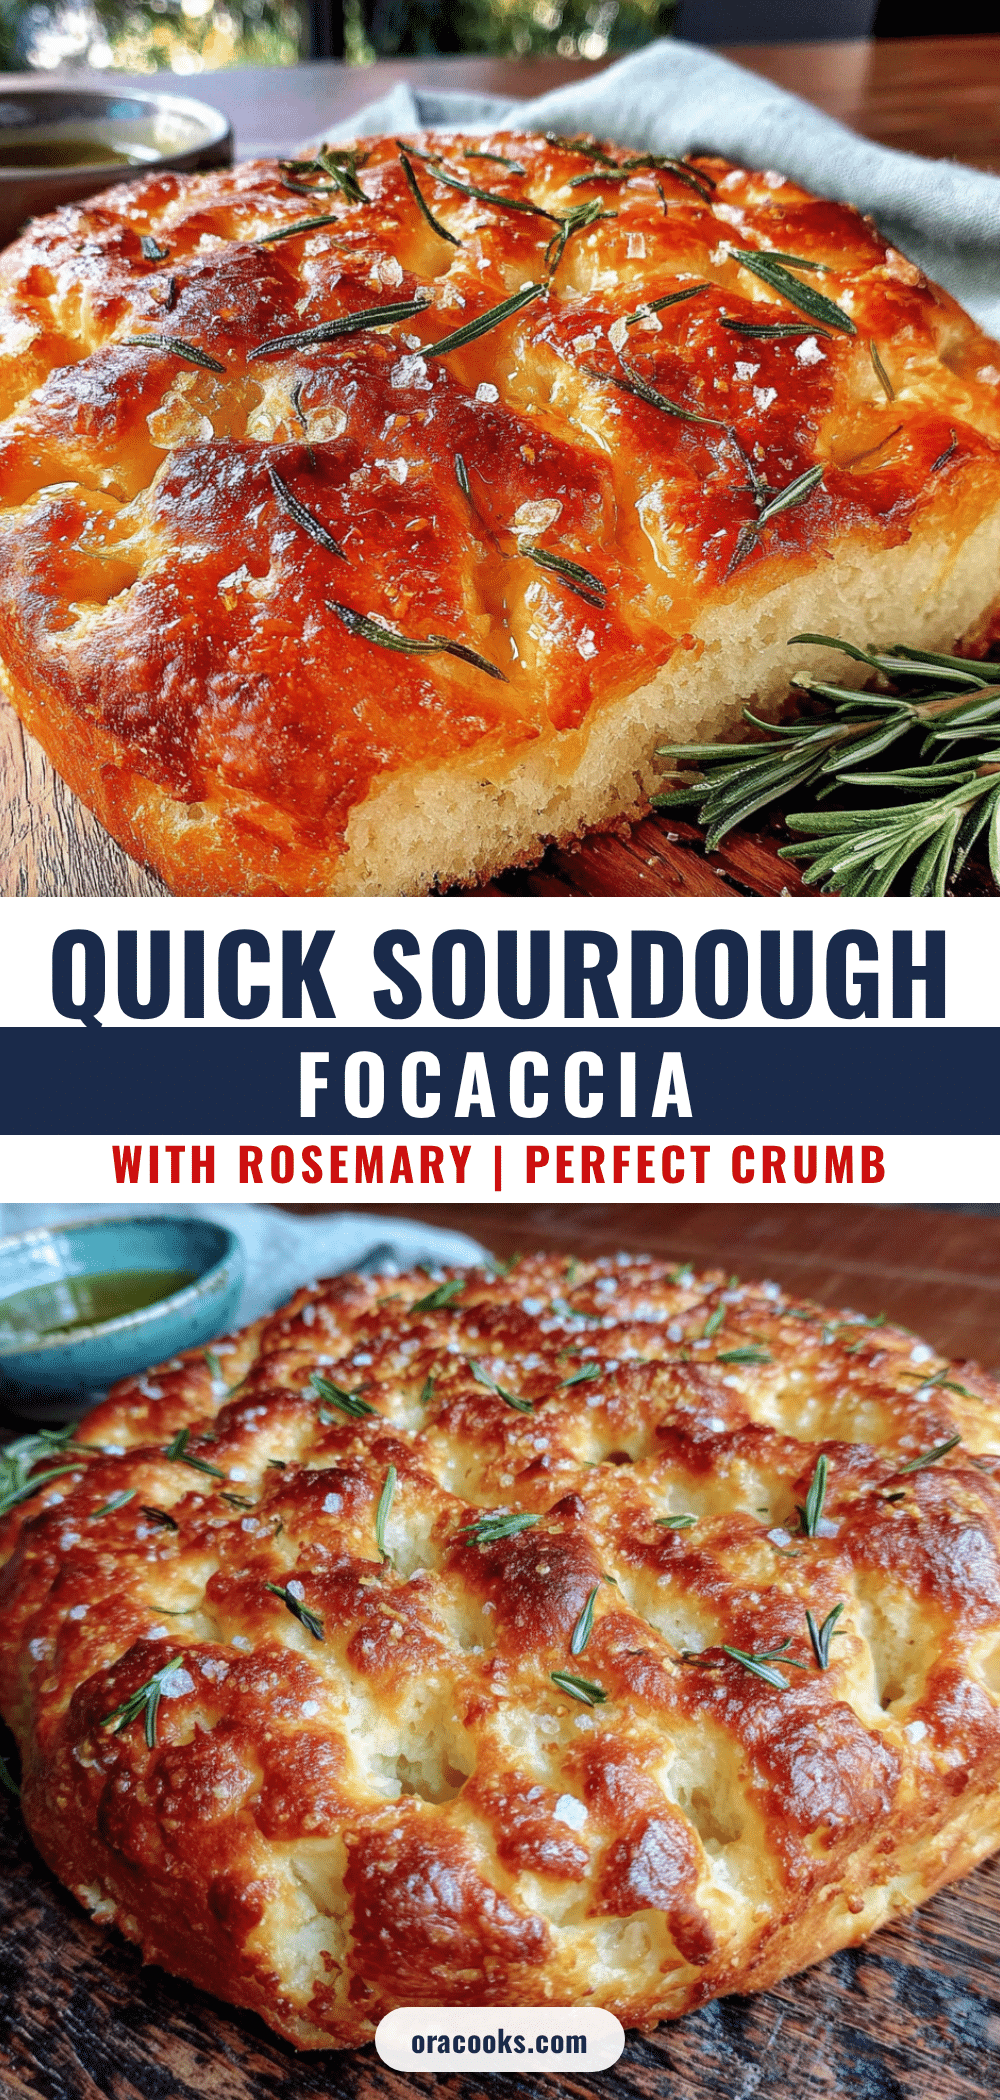
Perfect Quick Sourdough Discard Focaccia with Rosemary
This quick sourdough discard focaccia with rosemary is crispy on the bottom, airy in the middle, with a perfect salty-herby crust. Made with simple ingredients and ready in under 3 hours, it’s the perfect way to use up your sourdough discard without any fuss.
- Prep Time: 15 minutes
- Cook Time: 25 minutes
- Total Time: 2 hours 45 minutes
- Yield: 8 servings 1x
- Category: Bread
- Cuisine: Italian
Ingredients
- 3 cups (360g) all-purpose flour
- 1 cup (240g) sourdough discard, unfed and straight from the fridge
- 1 cup (240ml) warm water (90-100°F)
- 1/4 cup (60ml) olive oil, plus extra for pan and topping
- 1 teaspoon active dry yeast
- 1 1/2 teaspoons fine sea salt
- 1 teaspoon honey or sugar
- 2 tablespoons fresh rosemary, finely chopped
- 1 teaspoon flaky sea salt (for topping)
- 2–3 tablespoons extra olive oil (for drizzling before baking)
Instructions
- Activate the yeast: In a large mixing bowl, combine warm water, honey, and active dry yeast. Stir gently and let sit for 5 minutes until foamy and bubbly.
- Mix the dough: Add sourdough discard, olive oil, and salt to the yeast mixture. Stir until combined. Add flour all at once and mix with a wooden spoon until a shaggy dough forms.
- First rest: Cover the bowl with plastic wrap or a damp towel and let rest for 20 minutes (autolyse phase).
- Stretch and fold: Wet your hands slightly. Grab one side of the dough, stretch it up, and fold it over the center. Rotate the bowl and repeat 4 times total. Cover and rest 20 minutes. Repeat this process 2 more times.
- Bulk fermentation: Cover the bowl and let the dough rise at room temperature until doubled in size, about 45-60 minutes.
- Prepare the pan: Pour about 2 tablespoons of olive oil into a 9×13-inch pan. Spread it all over the bottom and up the sides.
- Transfer and stretch: Gently scrape the dough into the oiled pan. Let rest 10 minutes, then use your fingertips to gently stretch it toward the edges. If it springs back, rest another 10 minutes and try again.
- Second proof: Cover the pan loosely with plastic wrap and let the dough rise until puffy and doubled in height, about 30-40 minutes. Meanwhile, preheat oven to 425°F (220°C).
- Dimple the dough: Generously drizzle olive oil over the top. Use your fingertips to press deep dimples all over the surface, right down to the bottom of the pan.
- Add toppings: Sprinkle chopped rosemary evenly over the dough, followed by flaky sea salt.
- Bake: Place pan on the middle rack and bake for 20-25 minutes until deep golden brown on top and the bottom sounds hollow when tapped. Internal temperature should reach about 200°F (93°C).
- Cool and serve: Let cool in the pan for 5 minutes, then transfer to a wire rack. After 10 minutes, slice and enjoy warm.
Notes
For the crispiest bottom, use a metal pan. If your kitchen is cold (below 70°F), dough will take longer to rise. Wet hands are better for handling sticky dough. Don’t skip the stretch and folds—they create the airy crumb. For best results, use fresh rosemary and good quality olive oil.
Nutrition
- Serving Size: 1/8 of recipe
- Calories: 220
- Sugar: 1
- Sodium: 350
- Fat: 7
- Saturated Fat: 1
- Carbohydrates: 35
- Fiber: 1.5
- Protein: 5
Keywords: sourdough discard, focaccia, rosemary, quick bread, easy bread, discard recipe


