Love this? Save it for later!
Share the inspiration with your friends
I had refused to make chocolate chip cookies without chilling the dough for years. A solid decade, honestly. I was that person—the one who would roll her eyes at recipes promising “no-chill” results, muttering something about corners being cut and science being ignored. Then last Tuesday, at 9:47 PM, with a butter softening on the counter that I’d forgotten to put out earlier, I found myself staring at my kitchen scale with a desperate kind of hope. My neighbor had just texted that she was coming over in forty minutes to borrow my cake stand (she hosts a monthly book club), and I hadn’t seen her in months. I wanted to have something warm to offer her—something that said “I’m glad you’re stopping by” without actually having to say it.
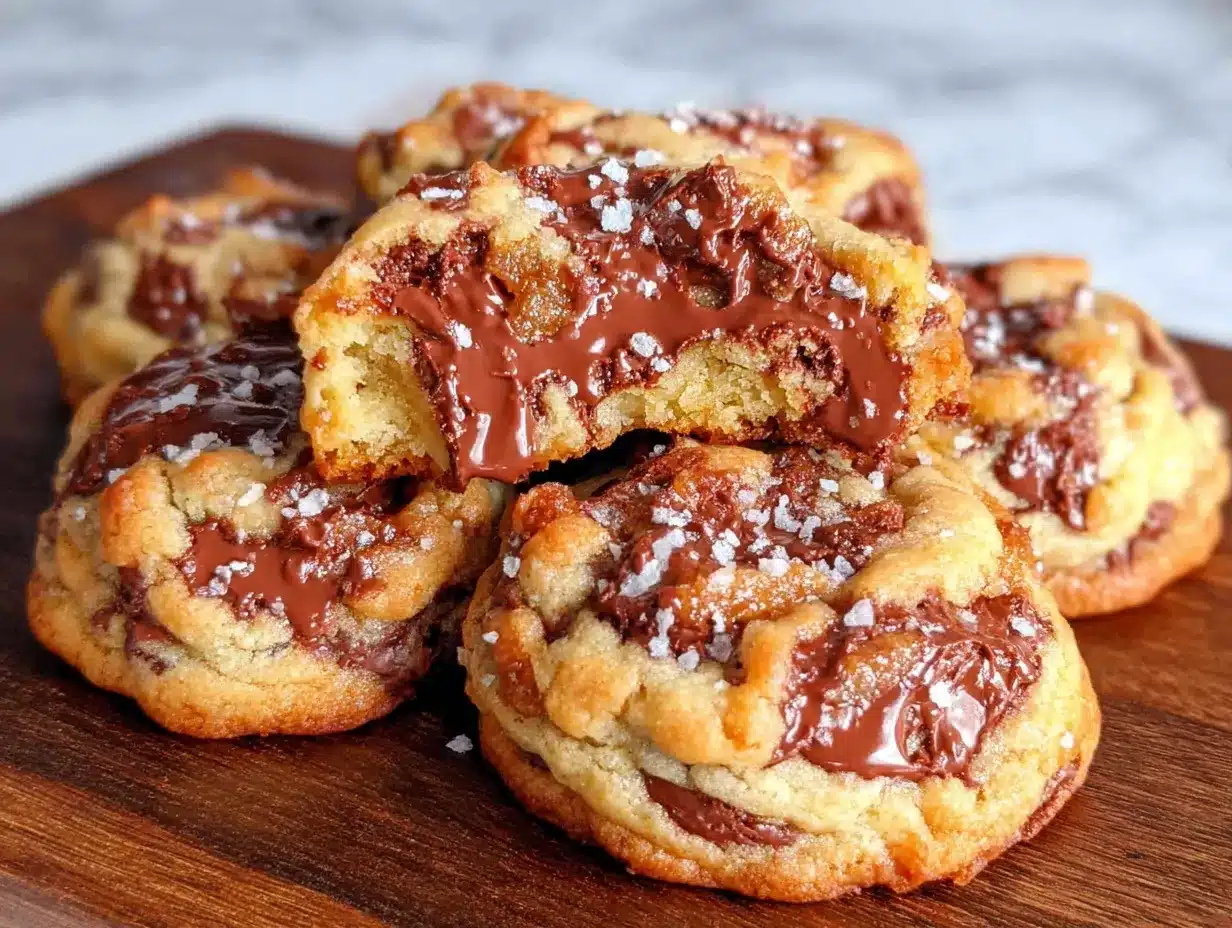
So I broke my own rule. I mixed up a tiny batch of dough, scooped it onto a baking sheet without a single minute of refrigeration, and slid it into the oven with my eyes half-closed, bracing for disappointment. The timer beeped. I pulled out these golden, crinkly-topped little discs of perfection. And then—I kid you not—I ate three before she even rang the bell. Maybe you’ve been there, stubbornly clinging to a kitchen rule that’s served you well, only to realize there’s another way that works just as beautifully. These perfect small-batch chocolate chip cookies changed my mind about what’s possible when you’re short on time but still craving that fresh-from-the-oven magic. They’re the kind of cookies that make you wonder why you ever waited around for dough to chill in the first place.
Why You’ll Love This Recipe
Let me tell you why these small-batch chocolate chip cookies have earned a permanent spot in my weeknight rotation. I’ve tested this recipe at least a dozen times—varying the butter temperature, the resting time, even the brand of chocolate chips—and every single time, the results have been consistently, almost annoyingly good.
- No Chilling Required: From bowl to oven in under 15 minutes. The dough goes straight from mixing to scooping, which means you’re never more than 20 minutes away from a warm cookie.
- Perfect for Two (or Just You): This recipe makes exactly six cookies. No leftovers tempting you from the counter, no giant batch that goes stale before you finish it. It’s portion control disguised as a baking project.
- Pantry Ingredients: Butter, sugar, an egg, flour, baking soda, salt, and chocolate chips. That’s it. You probably have everything right now.
- Crispy Edges, Gooey Centers: The texture is honestly better than some chilled dough cookies I’ve made. The edges get that perfect caramelized crunch while the centers stay soft and almost underbaked-looking.
- Emergency Dessert Hero: Unexpected guests? Late-night craving? Bad day that demands immediate chocolate intervention? This is your recipe.
What makes these different from every other no-chill cookie recipe out there is the technique. I use melted butter instead of softened, which creates that chewy texture without needing to rest the dough. And I let the dough sit for exactly five minutes after mixing—just enough for the flour to hydrate—before scooping. It’s a small tweak, but it makes all the difference between a flat, greasy cookie and one that looks like it came from a bakery case.
These cookies are the kind that make you close your eyes after the first bite. They’re comfort food at its most immediate—no planning, no waiting, just pure, warm, chocolate-studded satisfaction in under half an hour.
What Ingredients You Will Need
This recipe uses simple, everyday ingredients to create cookies that taste anything but ordinary. The magic is in how they come together, not in obscure specialty items.
- Unsalted butter, melted (4 tablespoons / 57g): Melted butter is the secret weapon here. It creates a chewier texture than creamed butter and eliminates the need for chilling. I use Kerrygold when I have it—the higher butterfat content gives a richer flavor—but any good unsalted butter works. Melt it gently in the microwave or on the stovetop, then let it cool for a minute so it doesn’t cook the egg.
- Granulated sugar (3 tablespoons / 38g): White sugar contributes to those crispy, caramelized edges. It spreads more than brown sugar, which is exactly what we want for that thin, lacy look.
- Light brown sugar, packed (3 tablespoons / 38g): Brown sugar brings moisture and that deep, molasses-tinged flavor. Make sure it’s packed firmly into the measuring spoon. If your brown sugar has turned into a brick, microwave it with a damp paper towel for 15 seconds to soften it.
- One large egg yolk (save the white for breakfast tomorrow): Using just the yolk gives you richness and tenderness without the excess moisture that would make the cookies spread too much. The white would add water and create a cakier texture—we don’t want that here.
- Vanilla extract (½ teaspoon): Pure vanilla extract makes a noticeable difference. Imitation vanilla works in a pinch, but the real stuff adds a floral, complex note that elevates the whole cookie. I always reach for Nielsen-Massey when I’m treating myself.
- All-purpose flour (½ cup + 1 tablespoon / 75g): Spoon and level your flour—don’t scoop directly from the bag, or you’ll pack in too much and end up with dry, cakey cookies. The extra tablespoon beyond the half-cup is crucial for structure without chilling.
- Baking soda (¼ teaspoon): This provides the lift and helps with browning. Make sure it’s fresh—if it’s been open for more than six months, it loses potency.
- Salt (¼ teaspoon): Salt balances the sweetness and enhances the chocolate flavor. I use fine sea salt for the dough and sometimes sprinkle a little flaky Maldon on top right after baking.
- Semi-sweet chocolate chips (⅓ cup / 60g): I prefer Ghirardelli 60% cacao chips for their balanced sweetness and good meltability. You can also chop a bar of chocolate for more varied chocolate pools throughout the cookie.
Equipment Needed
You don’t need a fancy bakery setup for these cookies. Here’s what you’ll need:
- Mixing bowls: One medium bowl for the wet ingredients, one small bowl for the dry. I use a set of glass nesting bowls—they’re cheap, microwave-safe, and easy to clean.
- Whisk: For combining the wet ingredients smoothly. A fork works in a pinch, but a whisk incorporates the egg yolk into the butter more evenly.
- Rubber spatula or wooden spoon: For folding in the flour and chocolate chips. The spatula is gentler and helps avoid overmixing.
- Cookie scoop or two spoons: A 1.5-tablespoon scoop gives you uniform cookies that bake evenly. If you don’t have one, use two spoons to portion the dough.
- Baking sheet: A light-colored, rimmed baking sheet works best. Dark sheets absorb more heat and can over-brown the bottoms.
- Parchment paper or silicone baking mat: Parchment is my preference—it’s disposable and ensures the cookies slide off easily. A silicone mat works too, but the cookies might spread slightly more.
- Cooling rack: Essential for stopping the carry-over cooking process and keeping the bottoms crisp.
If you’re just starting out, don’t overthink the equipment. I made these for months with a fork, a cereal bowl, and a beat-up baking sheet before I invested in better tools. The cookies still turned out great.
Preparation Method
- Preheat your oven to 350°F (175°C) and position a rack in the center. Line your baking sheet with parchment paper. Getting the oven fully preheated is important—these cookies bake fast, and a cooler oven will make them spread too much.
- Melt the butter in a microwave-safe bowl for about 30 seconds, or in a small saucepan over low heat. You want it fully liquid but not hot—if it’s steaming, let it sit for a minute. Hot butter will scramble your egg yolk, and nobody wants chunks of cooked egg in their cookie dough.
- In a medium bowl, whisk together the melted butter, granulated sugar, and brown sugar until smooth and glossy. This takes about 30 seconds of vigorous whisking. The mixture should look like wet sand—grainy but cohesive. Don’t worry if it separates slightly; that’s normal.
- Add the egg yolk and vanilla extract to the butter-sugar mixture. Whisk until fully combined, about 15 seconds. The mixture will thicken slightly and become paler in color. You should smell the vanilla immediately—that’s how you know it’s incorporated.
- In a small separate bowl, whisk together the flour, baking soda, and salt. This ensures the leavening and salt are evenly distributed. I use a fork for this because it’s faster and creates less mess than a whisk.
- Add the dry ingredients to the wet ingredients all at once. Switch to your rubber spatula and fold gently until just combined—about 10 to 15 strokes. A few streaks of flour are okay at this point. Overmixing develops gluten, which makes cookies tough and bread-like instead of tender.
- Fold in the chocolate chips with the spatula, reserving a few to press onto the tops of the dough balls later. The dough will be soft and slightly greasy-looking—that’s perfect. If it seems too sticky to handle, let it rest for 2 minutes; the flour will absorb more moisture.
- Let the dough rest for exactly 5 minutes. This is non-negotiable. During this short rest, the flour hydrates fully, which helps the cookies hold their shape without chilling. Set a timer—I’ve forgotten this step and ended up with flat, greasy pancakes instead of cookies.
- Scoop the dough into 6 equal portions, about 1.5 tablespoons each. Place them on the prepared baking sheet, spacing them at least 2 inches apart. These cookies spread—give them room to breathe. Press a few reserved chocolate chips into the tops of each dough ball for that bakery-style look.
- Bake for 9 to 11 minutes, rotating the sheet halfway through. The cookies are done when the edges are golden brown and the centers look slightly underbaked and puffy. They will continue to set as they cool. For softer, gooier cookies, pull them at 9 minutes. For crunchier edges, go to 11.
- Let the cookies cool on the baking sheet for 5 minutes. This step is crucial—the cookies are too fragile to move immediately. After 5 minutes, transfer them to a wire rack to cool completely. Or, you know, eat one warm. I won’t tell anyone.
Cooking Tips & Techniques
I learned most of these lessons the hard way—through batches of cookies that spread into one giant sheet, or came out dry and crumbly, or just tasted… fine. Here’s what I wish someone had told me earlier.
Weigh your ingredients if you can. I know, I know—it feels fussy. But flour is notoriously inconsistent when measured by volume. One person’s “cup” can be 20% more than another’s. A kitchen scale costs about fifteen dollars and will make your baking infinitely more consistent. For this recipe, 75 grams of flour is the sweet spot.
Don’t skip the rest. That five-minute pause after mixing the dough is the single most important step in this no-chill recipe. It allows the flour to absorb the liquid ingredients, which thickens the dough and prevents excessive spreading. I once got distracted by a phone call and let the dough rest for twenty minutes—the cookies were actually better, slightly thicker and chewier.
Use a light-colored baking sheet. Dark sheets absorb more heat and can cause the bottoms of your cookies to burn before the tops are done. If you only have a dark sheet, reduce the oven temperature by 25°F and watch the cookies carefully.
Rotate the pan halfway through baking. Ovens have hot spots—it’s just a fact. Halfway through baking, spin the sheet 180 degrees. This ensures even browning and prevents one side of the batch from over-crisping while the other side is still pale.
Underbake slightly. The most common mistake I see (and made myself for years) is overbaking. Cookies continue to cook from residual heat after they come out of the oven. Pull them when the centers look slightly puffy and underdone—they’ll settle into perfectly gooey centers as they cool on the pan.
Let them cool on the pan. Moving hot cookies to a rack immediately can cause them to break or deflate. Give them five minutes on the hot sheet to set up, then transfer. This is also when the carry-over cooking finishes the centers.
Variations & Adaptations
One of the best things about this recipe is how easily it adapts to whatever you have on hand or whatever you’re craving. Here are some variations I’ve tested and loved:
Double Chocolate: Replace 1 tablespoon of the flour with 1 tablespoon of unsweetened cocoa powder. Use white chocolate chips or milk chocolate chips instead of semi-sweet. The cookies come out dark and fudgy, almost brownie-like.
Nutty Crunch: Add ¼ cup of toasted, chopped pecans or walnuts along with the chocolate chips. Toast them first in a dry pan for 3-4 minutes until fragrant—it makes a huge difference in flavor. I accidentally used untoasted nuts once and the cookies were fine, but that toasty depth was missing.
Gluten-Free Version: Substitute the all-purpose flour with a good 1-to-1 gluten-free baking flour blend (I like Bob’s Red Mill or King Arthur). Add an extra tablespoon of the blend—gluten-free flours absorb moisture differently. The texture will be slightly more delicate, but the flavor is spot-on.
Sea Salt Finish: Sprinkle a few flakes of flaky sea salt (like Maldon) on top of each dough ball right before baking. The salt crystals create little bursts of salinity that contrast beautifully with the sweet, buttery cookie. This is my personal favorite variation—I do it almost every time now.
Brown Butter Swap: Brown the butter before using it. Melt the butter in a small saucepan over medium heat, swirling occasionally, until it turns amber and smells nutty—about 3-4 minutes. Let it cool slightly before using. The cookies will have a deeper, almost toffee-like flavor. Fair warning: brown butter cookies spread a tiny bit more, so keep an eye on them.
Serving & Storage Suggestions
These cookies are at their absolute best warm from the oven, when the chocolate is still molten and the edges are crisp. Serve them with a cold glass of milk, a scoop of vanilla ice cream, or alongside a cup of strong coffee for a perfect afternoon treat.
If you have leftovers (unlikely, but possible), store them in an airtight container at room temperature for up to 3 days. To restore that just-baked texture, microwave a single cookie for 10 seconds—it softens the center and melts the chocolate chips back to gooey perfection.
For longer storage, freeze the baked cookies in a single layer on a baking sheet, then transfer them to a freezer bag. They’ll keep for up to 3 months. Thaw at room temperature for about 15 minutes, or microwave for 15 seconds straight from frozen.
You can also freeze the unbaked dough. Scoop the dough balls onto a parchment-lined baking sheet and freeze until solid, then transfer to a freezer bag. When you’re ready to bake, add 2-3 minutes to the baking time—no need to thaw first. This is my secret weapon for spontaneous cookie emergencies.
One note: these cookies lose their crisp edges after a day or two. The centers stay soft, but the texture changes. That’s why I love that this recipe makes just six—you eat them at their peak and move on.
Nutritional Information & Benefits
Per cookie (based on 6 cookies per batch): approximately 220 calories, 12g fat (7g saturated), 45mg cholesterol, 28g carbohydrates, 2g protein, 1g fiber, 18g sugar. These are estimates—actual values depend on your specific ingredients.
While these are definitely a treat, there are a few bright spots. Dark chocolate (especially 60% cacao or higher) contains antioxidants called flavonoids that support heart health. The butter provides vitamin A, and the egg yolk is a good source of choline, which is important for brain function. Plus, the portion-controlled batch size means you’re less likely to overindulge compared to a full-size recipe.
For those with dietary restrictions: this recipe contains gluten, dairy, and eggs. I’ve included a gluten-free variation above. For a dairy-free version, substitute the butter with a high-quality vegan butter stick (not the spreadable kind in a tub—it has too much water). Miyoko’s or Country Crock Plant Butter work well.
I believe in enjoying treats in moderation without guilt. These cookies are made with real ingredients, from-scratch love, and the intention of bringing a little joy to your day. That counts for something.
Conclusion
These perfect small-batch chocolate chip cookies have become my go-to for so many reasons—they’re fast, they use ingredients I always have, and they deliver that nostalgic, warm-cookie feeling without any of the fuss. Whether you’re baking for one, sharing with a friend, or just need a little sweetness in your evening, this recipe is here for you.
I’d love to hear how they turn out for you. Did you add sea salt? Swap in white chocolate? Eat three before they cooled? Drop a comment below and let me know your favorite variation—I’m always looking for new ideas to test in my kitchen. And if you snap a photo, tag me so I can see your beautiful cookies.
Go ahead, preheat that oven. Your cookies are waiting.
Frequently Asked Questions
Can I double this recipe?
Absolutely. Double all the ingredients and use a whole egg instead of just the yolk (the white adds a bit of structure). The baking time stays the same—just make sure your baking sheet isn’t overcrowded.
Why did my cookies spread too much?
Most likely your butter was too hot when you added the sugar, or you skipped the five-minute rest. Make sure the melted butter is just warm, not hot, and don’t rush that resting step. Also check that your baking soda is fresh—old baking soda loses its ability to provide structure.
Can I use margarine instead of butter?
I don’t recommend it. Margarine has a higher water content than butter, which leads to more spreading and a less flavorful cookie. If you need a dairy-free option, use a vegan butter stick as mentioned above.
How do I get bakery-style cookies at home?
Two tricks: press a few extra chocolate chips into the tops of the dough balls before baking (this gives that picture-perfect look), and sprinkle a pinch of flaky sea salt on top right when they come out of the oven. The salt makes them look and taste professional.
Can I make these cookies ahead for a party?
Yes! Make the dough, scoop it into balls, and refrigerate on a baking sheet for up to 24 hours. Bake straight from the fridge, adding 1-2 minutes to the baking time. The flavor actually deepens overnight as the ingredients meld together.
Pin This Recipe!
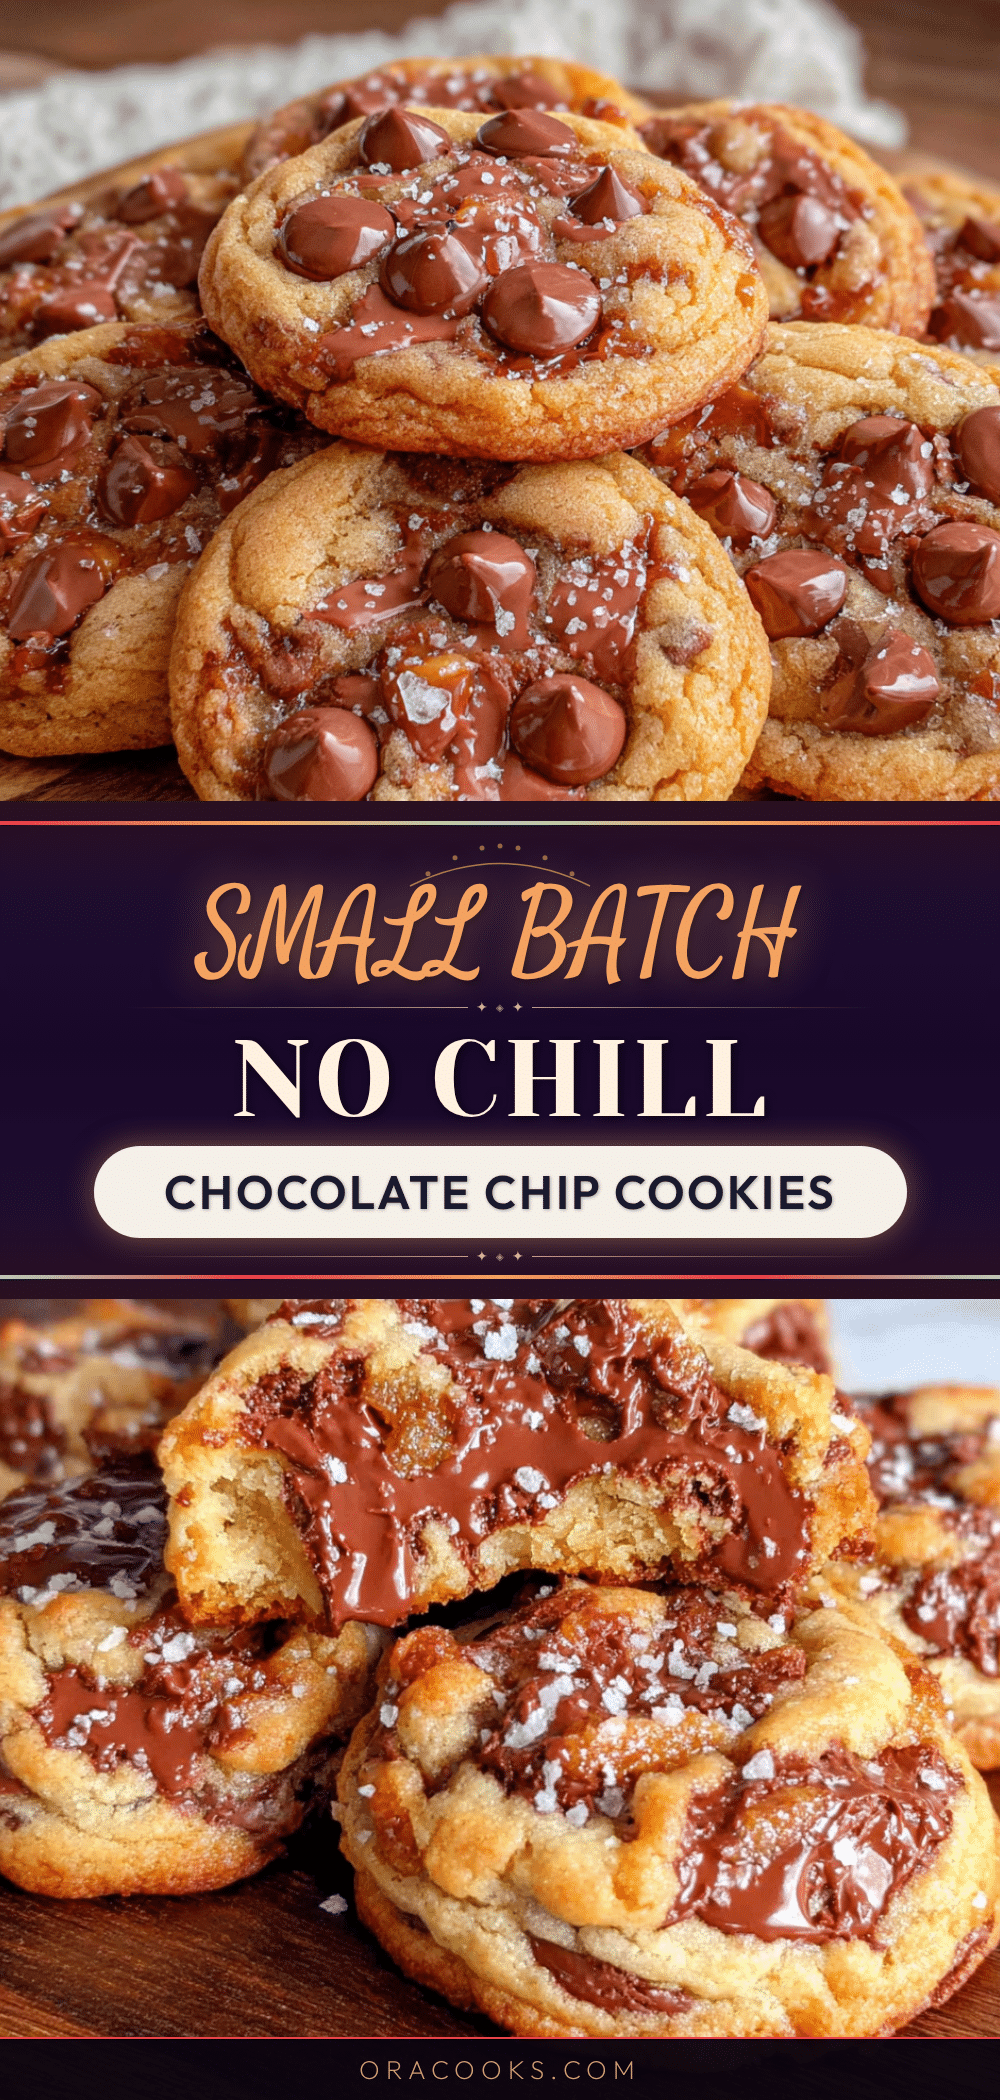
Perfect Small-Batch Cookies: No-Chill Chocolate Chip

These perfect small-batch chocolate chip cookies changed my mind about what’s possible when you’re short on time but still craving that fresh-from-the-oven magic. They’re the kind of cookies that make you wonder why you ever waited around for dough to chill in the first place.
- Prep Time: 15 minutes
- Cook Time: 9-11 minutes
- Total Time: 25 minutes
- Yield: 6 cookies 1x
- Category: Dessert
- Cuisine: American
Ingredients
- 4 tablespoons (57g) unsalted butter, melted
- 3 tablespoons (38g) granulated sugar
- 3 tablespoons (38g) light brown sugar, packed
- 1 large egg yolk
- ½ teaspoon vanilla extract
- ½ cup + 1 tablespoon (75g) all-purpose flour
- ¼ teaspoon baking soda
- ¼ teaspoon salt
- ⅓ cup (60g) semi-sweet chocolate chips
Instructions
- Preheat your oven to 350°F (175°C) and position a rack in the center. Line your baking sheet with parchment paper.
- Melt the butter in a microwave-safe bowl for about 30 seconds, or in a small saucepan over low heat. Let it cool for a minute if hot.
- In a medium bowl, whisk together the melted butter, granulated sugar, and brown sugar until smooth and glossy, about 30 seconds.
- Add the egg yolk and vanilla extract to the butter-sugar mixture. Whisk until fully combined, about 15 seconds.
- In a small separate bowl, whisk together the flour, baking soda, and salt.
- Add the dry ingredients to the wet ingredients all at once. Fold gently with a rubber spatula until just combined, about 10 to 15 strokes.
- Fold in the chocolate chips, reserving a few to press onto the tops of the dough balls later.
- Let the dough rest for exactly 5 minutes.
- Scoop the dough into 6 equal portions, about 1.5 tablespoons each. Place them on the prepared baking sheet, spacing them at least 2 inches apart. Press a few reserved chocolate chips into the tops.
- Bake for 9 to 11 minutes, rotating the sheet halfway through. The cookies are done when the edges are golden brown and the centers look slightly underbaked and puffy.
- Let the cookies cool on the baking sheet for 5 minutes, then transfer to a wire rack to cool completely.
Notes
Weigh your ingredients for best results. Don’t skip the 5-minute rest. Use a light-colored baking sheet. Rotate the pan halfway through baking. Underbake slightly for gooey centers. Let cookies cool on the pan for 5 minutes before transferring.
Nutrition
- Serving Size: 1 cookie
- Calories: 220
- Sugar: 18
- Fat: 12
- Saturated Fat: 7
- Carbohydrates: 28
- Fiber: 1
- Protein: 2
Keywords: small-batch cookies, no-chill chocolate chip cookies, quick cookies, easy cookies, chocolate chip cookies for two


