Love this? Save it for later!
Share the inspiration with your friends
I had sworn off pumpkin muffins. For years. Every single one I tried was either a soggy, spiced disappointment or a dry, crumbly disc that crumbled the second you looked at it wrong. I’d convinced myself that the whole pumpkin baked-goods trend was a marketing ploy designed to sell overpriced lattes and disappointing pastries. My stance was firm. My disappointment was deep.
Then, last October, my friend Maria showed up at my door with a paper bag. “Just try one,” she said, practically shoving it into my hands. I was polite—I took a bite. And then I stopped being polite. I looked at the muffin in my hand, then back at her, and she was already smiling that smug, I-told-you-so smile. “What did you *do* to this?” I asked, my mouth half-full. The thing was impossibly moist, perfectly domed, and studded with melty chocolate in every single bite. It wasn’t a pumpkin muffin. It was a revelation.
I spent the next week in my own kitchen, trying to crack the code. I wanted that same texture—light, tender, and almost creamy—without a laundry list of weird ingredients or a food processor that takes ten minutes to clean. I wanted one bowl. I wanted a recipe I could make on a Tuesday night while my coffee was brewing, you know? After a few failed batches (one was so flat I used it as a hockey puck), I finally nailed it. This is that recipe. Honestly, it’s the only pumpkin chocolate chip muffin recipe you’ll ever need.
Why You’ll Love This Recipe
This isn’t just another muffin recipe. This is the one that will have your friends asking for the recipe before they’ve even finished their first one. It’s the kind of baking that makes you look like a pro with almost zero effort. Let me tell you why it works.
- One Bowl, No Fuss: No creaming butter and sugar separately. No dirtying three bowls just to get the dry ingredients mixed. Everything goes into one bowl, you whisk it together, and you’re done. The cleanup is almost as satisfying as the eating.
- Perfectly Moist & Tender: The secret is a smart balance of oil and pumpkin puree. This combo keeps the crumb incredibly soft for days, not just out of the oven. You won’t get that dry, crumbly texture that plagues so many pumpkin recipes.
- Packed with Chocolate: We’re not being shy here. Every bite has a little pocket of melted chocolate. It balances the warm, earthy pumpkin spice perfectly. It’s the kind of chocolate-to-muffin ratio that feels intentional, not stingy.
- Incredibly Easy to Double: Hosting a brunch or a potluck? This recipe scales up beautifully. You can make a dozen for your family or three dozen for a crowd with the same simple method. It’s a total crowd-pleaser.
- That Picture-Perfect Dome: We all want that bakery-style domed top, right? This recipe delivers it without any weird tricks. You get a beautiful, golden-brown top that’s slightly crisp on the edges and pillowy soft in the center.
This is the kind of recipe that makes you feel like a hero. It’s the one you pull out for a last-minute bake sale, a cozy weekend breakfast, or when you just need a little comfort. It’s simple, it’s reliable, and it’s unbelievably delicious.
What Ingredients You Will Need
This recipe relies on simple, pantry-friendly ingredients to create something truly special. The magic is in how they work together, not in a long list of exotic items. Here’s what you’ll need and a few notes on how to choose them.
- All-Purpose Flour: The structure of our muffin. I use standard all-purpose flour for the best, most reliable texture. For a lighter muffin, you can spoon the flour into your measuring cup and level it off, rather than scooping directly from the bag (which packs it down).
- Granulated Sugar: Provides sweetness and helps create that tender crumb. It also aids in browning the tops to that perfect golden color.
- Light Brown Sugar: This is my secret weapon for moisture and depth. The molasses in brown sugar adds a subtle caramel flavor that pairs beautifully with pumpkin and spice. Pack it firmly into your measuring cup.
- Pumpkin Puree: Make sure you get 100% pure pumpkin puree, not pumpkin pie filling. The filling has added sugar and spices that will throw off the balance of the recipe. Libby’s is my go-to brand for consistent results, but any store brand of pure pumpkin works great.
- Vegetable Oil: Keeps the muffins incredibly moist for days. You can use canola or any neutral-flavored oil. Don’t substitute melted butter here—oil is what gives these muffins their signature tender, soft texture that lasts.
- Large Eggs: They bind everything together and add richness. Make sure they are at room temperature so they emulsify into the batter smoothly, creating a uniform texture.
- Vanilla Extract: A splash of pure vanilla extract rounds out all the flavors. It’s a small addition that makes a big difference in the overall taste.
- Pumpkin Pie Spice: The heart of the flavor. You can use a store-bought blend or make your own with cinnamon, nutmeg, ginger, and cloves. I like using a generous two teaspoons for a warm, assertive spice profile.
- Baking Soda & Baking Powder: This dynamic duo gives the muffins their lift. The baking soda reacts with the acid in the brown sugar, while the baking powder provides an extra boost for a tall, domed top.
- Salt: Don’t skip it! Salt enhances all the other flavors and prevents the muffins from tasting flat. A pinch of kosher salt is all you need.
- Semi-Sweet Chocolate Chips: My personal favorite for a balanced sweetness. The semi-sweet chips aren’t too sugary, so they let the pumpkin and spice shine. You can use milk chocolate or dark chocolate chips depending on your preference. I love using a mix of regular-sized chips and mini chips for chocolate in every bite.
Equipment Needed
The beauty of this recipe is that it doesn’t require a fancy kitchen setup. You probably have everything you need already. Here’s what you’ll need to pull these beauties together.
- One Large Mixing Bowl: This is your main workstation. A standard 4-quart bowl is perfect.
- A Whisk and a Rubber Spatula: The whisk is for combining the wet and dry ingredients, and the spatula is for folding in the chocolate chips and scraping the bowl clean. A wooden spoon works too, but a spatula is gentler on the batter.
- Standard 12-Cup Muffin Tin: This is what you’ll bake the muffins in. A light-colored metal pan works best for even browning. Dark pans can cause the bottoms to brown too quickly.
- Paper Muffin Liners: These make for easy cleanup and pretty muffins. I prefer the unbleached ones, but any standard liner will do. For a bakery-style look, you can also grease the pan generously and skip the liners.
- Measuring Cups and Spoons: For accuracy. Liquid measuring cups for the oil and vanilla, and dry measuring cups for the flour and sugar.
- Cooling Rack: Essential for letting the muffins cool completely without getting soggy on the bottom. If you don’t have one, you can carefully balance the muffin tin on its side to allow air to circulate.
Preparation Method
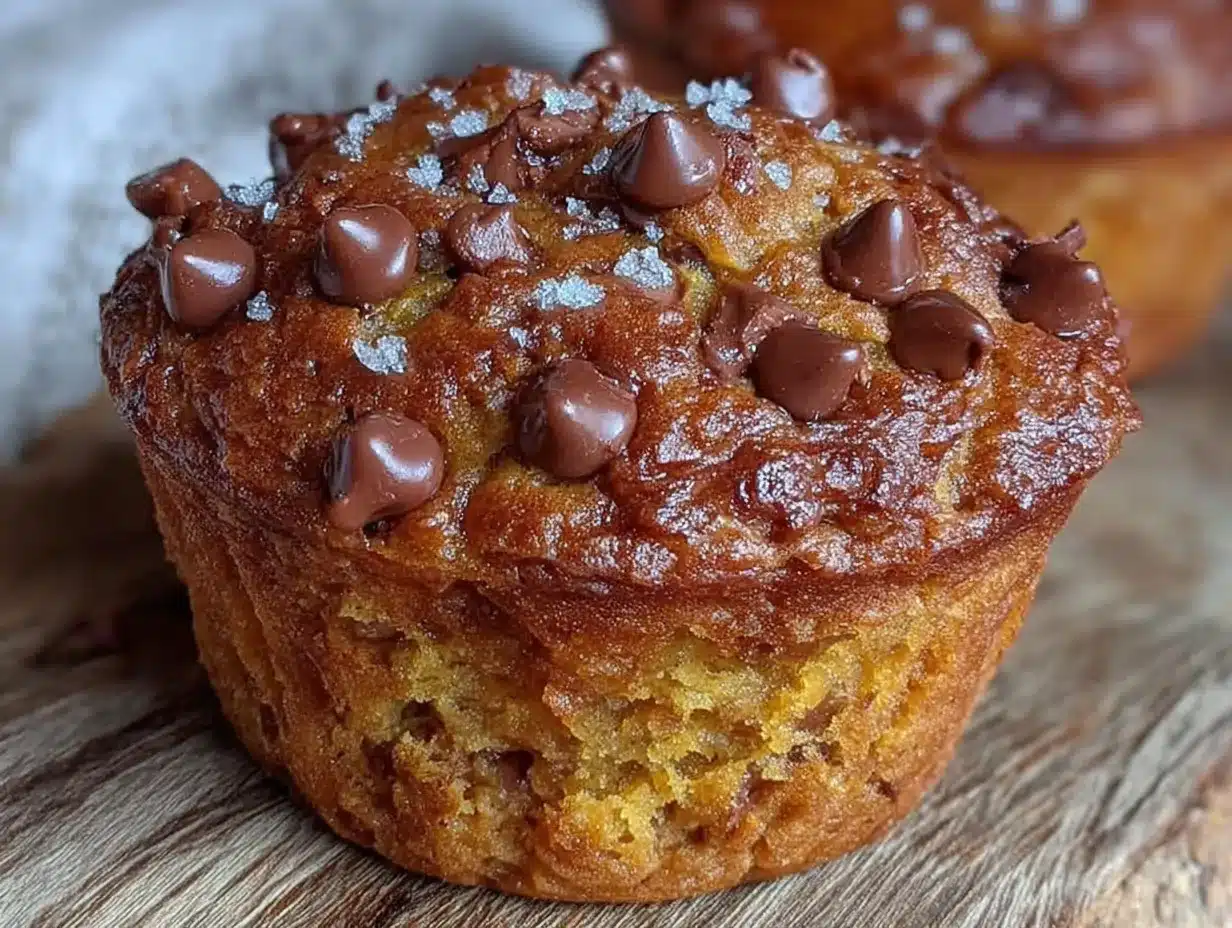
Alright, let’s get to the good part. This is where the magic happens. Follow these steps, and you’ll have a batch of the best pumpkin chocolate chip muffins you’ve ever made. I promise it’s easier than you think.
- Preheat and Prep: First things first, preheat your oven to 425°F (220°C). This high initial temperature is the secret to getting those tall, domed tops. Line your 12-cup muffin tin with paper liners. If you’re out of liners, just grease the cups well with butter or non-stick spray.
- Combine the Wet Ingredients: In your large mixing bowl, whisk together the 1 cup (245g) of pumpkin puree, 1/2 cup (120ml) of vegetable oil, 2 large eggs, 1 teaspoon of vanilla extract, 1/2 cup (100g) of granulated sugar, and 1/2 cup (100g) of packed light brown sugar. Whisk until everything is smooth and well combined. It should look like a thick, glossy, orange batter. Don’t worry if it’s a little lumpy—that’s fine.
- Add the Dry Ingredients: Now, add the 1 ¾ cups (220g) of all-purpose flour, 2 teaspoons of pumpkin pie spice, 1 teaspoon of baking powder, 1 teaspoon of baking soda, and ½ teaspoon of salt directly into the bowl with the wet mixture. Do not mix yet. Just sprinkle them on top.
- Mix Gently: Using your whisk, stir the dry ingredients into the wet ingredients. Stir just until you no longer see streaks of flour. It’s okay if there are a few small lumps—over-mixing is the enemy of a tender muffin. A few streaks of flour are better than a tough, dense muffin.
- Fold in the Chocolate: Switch to your rubber spatula. Add 1 cup (175g) of semi-sweet chocolate chips to the batter. Gently fold them in with just a few strokes. Be careful not to overwork the batter. You want the chips evenly distributed, not broken up into a chocolate mess.
- Fill the Muffin Cups: Use a large cookie scoop or a spoon to divide the batter evenly among the 12 muffin cups. Fill them all the way to the top—almost overflowing. This is key for that bakery-style dome. The batter will be thick, so don’t be shy.
- The Baking Trick: Place the muffin tin in the preheated 425°F (220°C) oven. Bake for 5 minutes. Then, without opening the oven door, reduce the temperature to 350°F (175°C). Bake for another 13-15 minutes, or until a toothpick inserted into the center of a muffin comes out clean or with a few moist crumbs. The high heat blast gives them lift, and the lower temperature finishes them through without burning the tops.
- Cool and Enjoy: Let the muffins cool in the pan for 5 minutes. This allows them to set up. Then, carefully transfer them to a wire rack to cool completely. If you can resist, let them cool for at least 10 minutes before diving in. The chocolate chips will be molten hot right out of the oven!
Cooking Tips & Techniques
I’ve made this recipe more times than I can count, and I’ve learned a few things along the way. These tips will help you get perfect results every single time, even if it’s your first time baking muffins.
- The Room Temperature Egg Rule: I know it’s a pain, but using a room-temperature egg really does make a difference. A cold egg can seize the batter, making it tough. Just place your egg in a bowl of warm water for 5 minutes before you start. It’s a small step with a big payoff.
- Don’t Over-Mix, Seriously: This is the number one mistake people make. Once you add the flour, you have to be gentle. Over-mixing develops the gluten, which leads to dense, rubbery muffins. Mix until it’s just combined. A few lumps are your friend. I once over-mixed a batch because I was distracted by the phone, and they came out like little hockey pucks. Never again.
- The High-Heat Start is Non-Negotiable: I know it’s tempting to just set the oven to 350°F and walk away, but that initial 5-minute blast at 425°F is what creates that gorgeous, sky-high dome. It sets the edges quickly, forcing the center to rise up. Don’t skip it.
- Use a Cookie Scoop for Even Muffins: For perfectly uniform muffins that all bake at the same rate, use a large cookie scoop (about 3 tablespoons) to portion the batter. It’s faster and cleaner than using two spoons.
- Check for Doneness with a Toothpick: Every oven runs a little differently. Start checking your muffins at the 13-minute mark of the second bake. Insert a toothpick into the center of a muffin. If it comes out clean or with a few moist crumbs, they’re done. If it’s wet batter, give them another minute or two.
Variations & Adaptations
One of the best things about this recipe is how flexible it is. You can easily tweak it to fit your dietary needs or just to mix things up. Here are a few of my favorite ways to change it up.
- Make it Gluten-Free: I’ve tested this with a 1:1 gluten-free baking flour blend (like Bob’s Red Mill or King Arthur), and it works beautifully. Use the same amount as the all-purpose flour. The texture is slightly more delicate, but still incredibly moist and delicious.
- Spice it Up: If you want a more intense pumpkin flavor, add an extra ½ teaspoon of pumpkin pie spice. For a little heat, try adding a pinch of cayenne pepper or some chopped crystallized ginger. It adds a surprising warmth that’s amazing with the chocolate.
- Go Nutty: Swap out half of the chocolate chips for ½ cup of chopped pecans or walnuts. Toast them first for a deeper, nuttier flavor. It adds a fantastic crunch that contrasts with the soft muffin crumb.
- Dairy-Free Version: This recipe is almost dairy-free already! Just make sure your chocolate chips are dairy-free (many semi-sweet brands are). The oil and pumpkin puree keep it perfectly moist without any butter or milk.
- Mini Muffins: For a party or a snack, make mini muffins. Use a mini muffin tin and bake at 350°F (175°C) for 10-12 minutes. You’ll get about 36 mini muffins from this recipe. They’re perfect for popping in your mouth!
Serving & Storage Suggestions
These muffins are wonderful at any temperature, but I have a few favorite ways to serve them. And because they stay moist for days, they’re perfect for making ahead.
- Serving Temperature: They are absolutely divine warm from the oven, when the chocolate chips are still melty. Let them cool for at least 10 minutes so you don’t burn your tongue! They are equally delicious at room temperature the next day with a cup of coffee.
- Presentation for a Crowd: If you’re serving these at a brunch or a gathering, arrange them on a pretty cake stand. For an extra touch, you can dust them lightly with powdered sugar or drizzle a simple vanilla glaze over the tops. It makes them look like they came from a fancy bakery.
- What to Serve Alongside: These muffins are fantastic on their own, but they pair beautifully with a hot cup of coffee, a chai latte, or a cold glass of milk. For a brunch spread, serve them alongside scrambled eggs and fresh fruit for a balanced meal.
- Storing Leftovers: Store any leftover muffins in an airtight container at room temperature for up to 4 days. The pumpkin and oil keep them incredibly soft. I actually think they taste even better on day two, as the flavors have had time to meld together.
- Freezing for Later: These muffins freeze like a dream. Let them cool completely, then place them in a single layer in a freezer-safe bag or container. They will keep for up to 3 months. To thaw, just leave them on the counter for an hour or microwave one for 20-30 seconds for a quick treat.
Nutritional Information & Benefits
While I’m all about the taste, it’s nice to know that these muffins have a few redeeming qualities, too. Pumpkin is a powerhouse of nutrition, and we’re using smart ingredients to keep things balanced.
- Estimated Values (Per Muffin): Calories: 285, Fat: 14g, Carbohydrates: 38g, Fiber: 2g, Sugar: 21g, Protein: 4g. These are estimates and can vary based on the specific ingredients you use.
- The Power of Pumpkin: Pumpkin puree is packed with Vitamin A, which is great for your eyes and immune system. It’s also a good source of fiber, which helps keep you feeling full and satisfied. It’s basically a vegetable masquerading as a dessert!
- Dietary Considerations: This recipe is easily adaptable. It can be made gluten-free with a simple flour swap and is naturally dairy-free if you use dairy-free chocolate chips. It’s a great option for people with common food sensitivities.
- A Balanced Indulgence: I’m not going to call these a health food, but they are a smarter choice than a lot of bakery muffins. They have less sugar than many recipes and use heart-healthy oil instead of butter. It’s a treat you can feel good about enjoying.
Conclusion
So there you have it. My one-bowl solution to all your pumpkin cravings. This recipe went from a skeptical experiment to a staple in my kitchen, and I have a feeling it will become one in yours, too. It’s the kind of baking that feels effortless but delivers results that make you look like you spent hours in the kitchen.
I love that I can whip up a batch on a whim, using ingredients I almost always have on hand. I love the way my kitchen smells when they’re baking—like fall in a warm hug. And I really love the look on people’s faces when they take that first bite. It’s pure joy in a paper liner.
Now it’s your turn. Give these a try, and don’t be afraid to make them your own. Add more chocolate, throw in some nuts, or double the spice. I’d love to hear how they turn out for you! Leave a comment below and tell me about your muffin adventures. Happy baking, friends!
Frequently Asked Questions
Can I use pumpkin pie filling instead of pumpkin puree?
No, I wouldn’t recommend it. Pumpkin pie filling is pre-sweetened and spiced, which will throw off the balance of the recipe. Stick with 100% pure pumpkin puree for the best results. Your muffins will turn out too sweet and the texture might be off.
Why did my muffins turn out dense and flat?
This usually happens for one of two reasons: over-mixing the batter or using an oven that isn’t hot enough. Remember to mix just until the flour disappears, and don’t skip that initial 5-minute blast at 425°F. That high heat is crucial for the dome.
Can I use melted butter instead of oil?
You can, but the texture will change. Oil creates a more tender, moist crumb that stays soft for days. Butter will make them a little firmer and more cake-like. If you do use butter, make sure it’s cooled slightly so it doesn’t cook the eggs.
How do I make these muffins vegan?
To make these vegan, you can substitute the eggs with flax eggs (1 tablespoon ground flaxseed + 3 tablespoons water per egg, let sit for 5 minutes). Also, make sure to use dairy-free chocolate chips. The rest of the recipe is already vegan-friendly!
Can I add other mix-ins besides chocolate chips?
Absolutely! This batter is a great base for many mix-ins. Try dried cranberries, chopped pecans or walnuts, white chocolate chips, or even a swirl of cream cheese. Just keep the total amount of mix-ins to about 1 ½ cups so the batter isn’t overloaded.
Pin This Recipe!
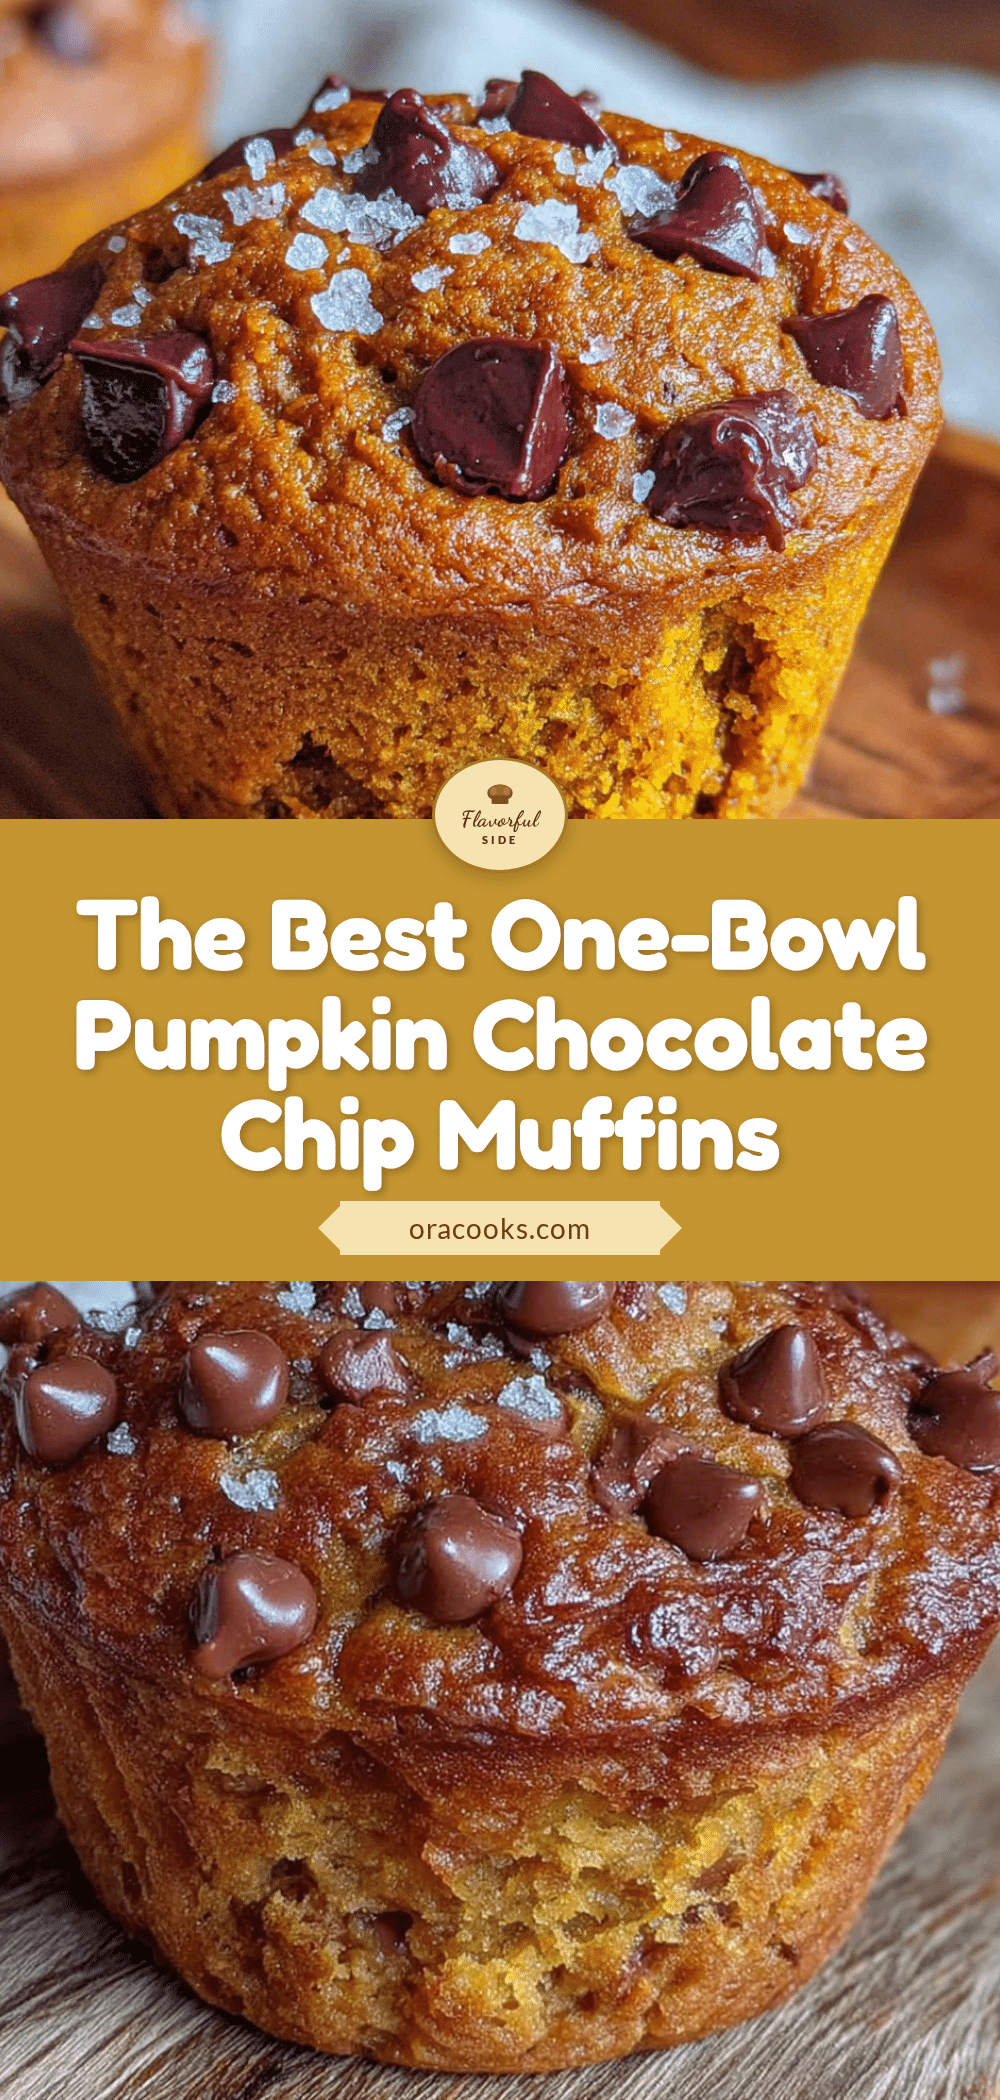
Best One-Bowl Pumpkin Chocolate Chip Muffins (Easy Recipe)
These incredibly moist, perfectly domed pumpkin chocolate chip muffins are made in one bowl with simple ingredients. They’re packed with melty chocolate in every bite and stay soft for days.
- Prep Time: 15 minutes
- Cook Time: 18-20 minutes
- Total Time: 35 minutes
- Yield: 12 muffins 1x
- Category: Dessert, Breakfast
- Cuisine: American
Ingredients
- 1 cup (245g) pumpkin puree
- 1/2 cup (120ml) vegetable oil
- 2 large eggs, room temperature
- 1 teaspoon vanilla extract
- 1/2 cup (100g) granulated sugar
- 1/2 cup (100g) packed light brown sugar
- 1 3/4 cups (220g) all-purpose flour
- 2 teaspoons pumpkin pie spice
- 1 teaspoon baking powder
- 1 teaspoon baking soda
- 1/2 teaspoon salt
- 1 cup (175g) semi-sweet chocolate chips
Instructions
- Preheat oven to 425°F (220°C). Line a 12-cup muffin tin with paper liners or grease well.
- In a large mixing bowl, whisk together pumpkin puree, vegetable oil, eggs, vanilla extract, granulated sugar, and brown sugar until smooth.
- Add flour, pumpkin pie spice, baking powder, baking soda, and salt on top of the wet mixture. Do not mix yet.
- Gently whisk dry ingredients into wet ingredients until just combined. A few lumps are okay; do not over-mix.
- Switch to a rubber spatula and fold in chocolate chips with a few strokes until evenly distributed.
- Divide batter evenly among the 12 muffin cups, filling them to the top.
- Bake at 425°F for 5 minutes, then reduce oven temperature to 350°F (175°C) without opening the door. Bake for another 13-15 minutes, or until a toothpick inserted in the center comes out clean or with a few moist crumbs.
- Let muffins cool in the pan for 5 minutes, then transfer to a wire rack to cool completely. Enjoy warm or at room temperature.
Notes
For best results, use room temperature eggs. Do not over-mix the batter. The high-heat start at 425°F is crucial for domed tops. Store in an airtight container at room temperature for up to 4 days. Freeze for up to 3 months.
Nutrition
- Serving Size: 1 muffin
- Calories: 285
- Sugar: 21
- Sodium: 280
- Fat: 14
- Saturated Fat: 4
- Carbohydrates: 38
- Fiber: 2
- Protein: 4
Keywords: pumpkin chocolate chip muffins, one bowl muffins, easy pumpkin muffins, moist pumpkin muffins, fall baking


