Love this? Save it for later!
Share the inspiration with your friends
I swore I wasn’t going to make themed treats this Halloween. It was mid-October, I had a deadline looming, and honestly, the last thing I needed was another project involving powdered sugar and candy eyes. I told myself I was above it all—too busy, too practical, too focused on “real” baking. Then my neighbor’s kid knocked on my door holding a store-bought pumpkin-shaped cookie that looked sadder than a deflated balloon, and I felt my resolve crack. By the time I found myself staring at a package of pre-made sugar cookie dough in the grocery aisle on a Tuesday afternoon, the battle was already lost.
This Easy Mummy Halloween Cookie Cake happened by accident, the way most good things do. I had planned to make individual cookies, but the dough felt too soft and my hands were too sticky, and somewhere between the second and third batch I just… smooshed it all into one pan. I figured I’d call it a “cookie bar” and move on. But then I saw the bag of candy eyes sitting on my counter, and a lightbulb flickered. What if I made it look like a mummy? I mean, it was already flat and rectangular—perfect for wrapping. I grabbed the white chocolate, melted it in a rush, and drizzled it in a panic while the timer beeped at me.
The result was a mess. A delicious, ridiculous, completely charming mess. The white chocolate dripped unevenly, the eyes slid off-center, and I had to resist the urge to fix every imperfection. But you know what? That’s exactly what a mummy should look like—a little lopsided, a little goofy, wrapped up like it just rolled out of bed after a long nap. Now I make this Easy Mummy Halloween Cookie Cake every year, and it never looks the same twice. That’s the point. Maybe you’ve been there too—overcomplicating Halloween treats when what you really need is something simple, forgiving, and fun enough to make you laugh at yourself. This is that recipe.
Why You’ll Love This Recipe
Let me tell you why this Easy Mummy Halloween Cookie Cake has become my go-to for every spooky season gathering. It’s not just about the cute factor—though honestly, the mummy face gets me every time. This recipe solves the biggest problem with Halloween baking: the struggle between wanting something impressive and having zero time or energy to pull it off.
- Quick & Easy: From start to finish, you’re looking at about 30 minutes. That includes the baking time. No chilling dough, no rolling out shapes, no piping bags. Just mix, press, bake, and decorate.
- Simple Ingredients: You probably have most of this stuff in your pantry right now. Butter, sugar, flour, eggs, vanilla—the usual suspects. No weird extracts or specialty flours required.
- Perfect for Halloween Parties: This cookie cake travels beautifully, serves a crowd, and doubles as a centerpiece. Kids and adults both lose their minds over the mummy design.
- Crowd-Pleaser: I’ve brought this to three different Halloween events now, and every single time, someone asks for the recipe. It’s that soft, chewy, buttery goodness that hits every comfort-food craving.
- Unbelievably Delicious: The texture is where this thing shines. It’s crisp around the edges but soft and almost gooey in the center, like the best part of a sugar cookie multiplied by ten.
What makes this recipe different from the dozens of other Halloween desserts out there? It’s the balance. Most Halloween treats lean either too sweet or too dry. This one hits that perfect middle ground—sweet enough to feel like a treat, but not so sugary that you crash after two bites. Plus, the white chocolate “bandages” add a creamy richness that contrasts beautifully with the buttery cookie base.
This Easy Mummy Halloween Cookie Cake isn’t just good—it’s the kind of dessert that makes people close their eyes after the first bite. It’s Halloween fun without the Halloween stress, and honestly, isn’t that what we all need in October?
What Ingredients You Will Need
This recipe uses simple, everyday ingredients to create something that looks way more complicated than it actually is. Here’s what you’ll need to gather before you start.
For the Cookie Cake Base
- 1 cup (2 sticks) unsalted butter, softened — I use Land O’Lakes because it gives the most consistent texture. Make sure it’s at room temperature, not melted. You want it soft enough to hold a fingerprint but not greasy.
- 1 cup granulated sugar — Regular white sugar works best here. Brown sugar would make it too dense and change the color.
- 1 large egg, room temperature — Cold eggs can make the batter seize up. Leave it on the counter for 15 minutes if you forgot to plan ahead.
- 1 teaspoon vanilla extract — Pure vanilla extract is worth the splurge here. Imitation works fine, but the real stuff adds a depth that makes the cookie taste bakery-quality.
- 2 cups all-purpose flour — Spoon and level it. Don’t scoop directly from the bag or you’ll end up with a dry, crumbly cookie cake.
- 1/2 teaspoon baking powder — This gives the cookie just enough lift without making it cakey.
- 1/4 teaspoon salt — Don’t skip this. Salt balances the sweetness and makes the flavors pop.
For the Mummy Decoration
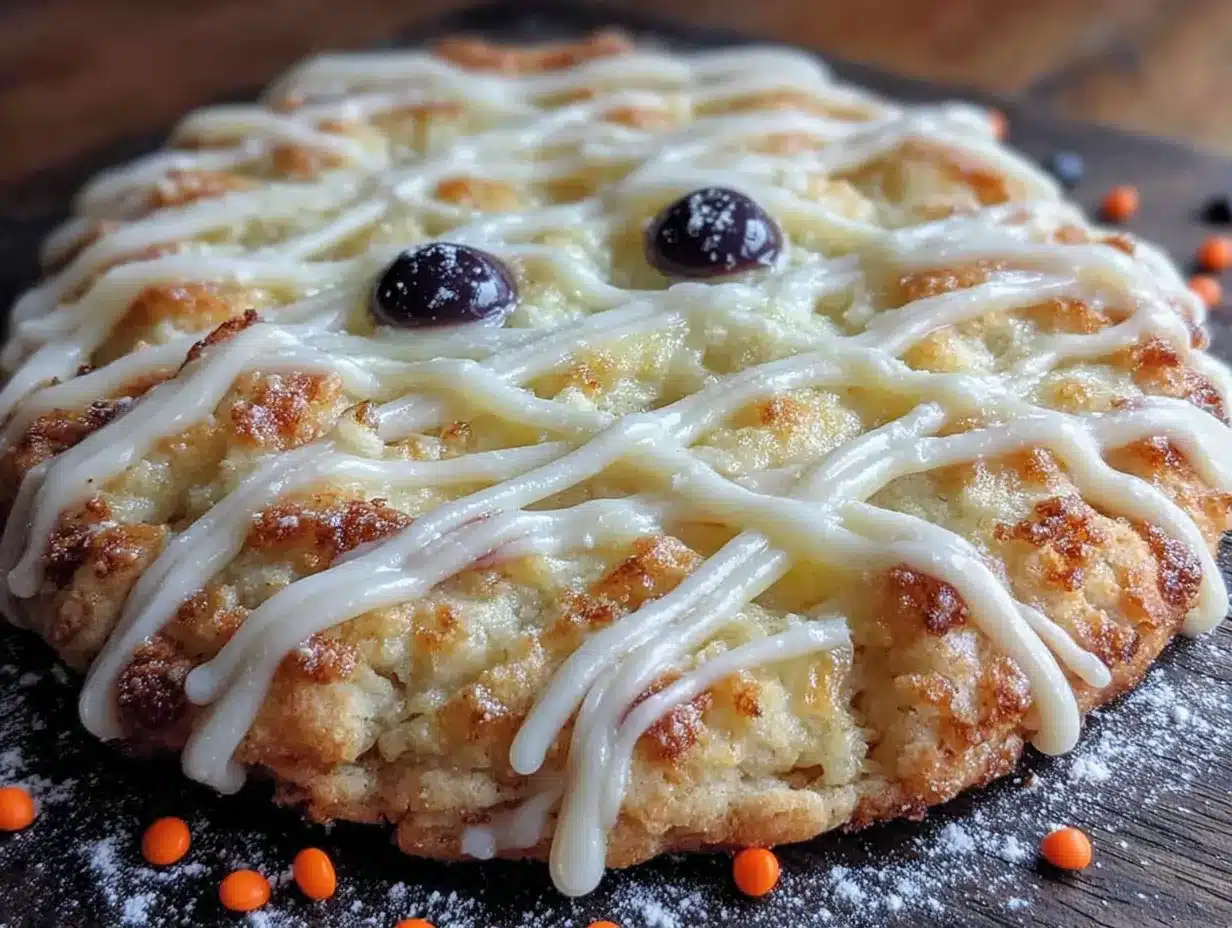
- 1 cup white chocolate chips or melting wafers — I prefer Ghirardelli white chocolate chips for their smooth melt. Wilton candy melts work too if you want a more stable drizzle.
- 1 tablespoon coconut oil or vegetable shortening — This thins the white chocolate just enough to drizzle without clumping. (Adds that perfect drizzly consistency)
- 2 tablespoons powdered sugar, for dusting — Optional, but it gives the mummy that “freshly wrapped” look.
- Candy eyes — You’ll need about 8 to 10 pairs. I buy Wilton candy eyes in bulk because they stick better than the generic brands.
Ingredient Swap Ideas: If you’re dairy-free, swap the butter for a plant-based stick butter like Earth Balance. The texture will be slightly softer, but it still works. For a gluten-free version, use a 1:1 gluten-free flour blend like King Arthur Measure for Measure—just add an extra tablespoon of flour to compensate for the lack of gluten structure.
Equipment Needed
You don’t need a fancy bakery setup for this one. Here’s what you’ll actually use:
- 9-inch round or square baking pan — I use a 9-inch round cake pan for the classic cookie cake look. A square pan works too, just adjust the baking time by a few minutes.
- Parchment paper — Non-negotiable. Line your pan with it so the cookie cake lifts out cleanly. I’ve made the mistake of greasing the pan directly, and the bottom burned while the center stayed raw.
- Electric mixer (hand or stand) — A hand mixer is fine. I actually prefer it because there’s less cleanup. If you’re using a stand mixer, use the paddle attachment.
- Large mixing bowl — Any bowl works, but a wider bowl makes creaming the butter and sugar easier.
- Spatula — For scraping down the sides and pressing the dough into the pan.
- Small microwave-safe bowl — For melting the white chocolate. A glass measuring cup works great because the spout makes drizzling easier.
- Cooling rack — Lets the cookie cake cool evenly so the white chocolate doesn’t melt off.
If you don’t have a 9-inch pan, an 8-inch pan works—just bake it 5 to 7 minutes longer and expect a thicker cookie cake. I’ve used a disposable aluminum pan in a pinch, and it worked fine, though the edges got a little darker.
Preparation Method
Let’s walk through this step by step. Trust me, it’s easier than it looks.
- Preheat your oven to 350°F (175°C). Line your 9-inch pan with parchment paper, leaving some overhang on two sides. This creates “handles” that let you lift the cookie cake out later.
- Cream the butter and sugar together. In your large mixing bowl, beat the softened butter and granulated sugar on medium speed for about 2 to 3 minutes. You’re looking for a light, fluffy texture—pale yellow and almost whipped-looking. Scrape down the sides of the bowl halfway through. Don’t rush this step; properly creamed butter and sugar is what gives the cookie cake that tender, melt-in-your-mouth texture.
- Add the egg and vanilla. Crack the egg into the bowl, add the vanilla, and beat on low until just combined. About 30 seconds. Overmixing here can make the cookie tough. The batter should look smooth and slightly glossy.
- Mix the dry ingredients separately. In a small bowl, whisk together the flour, baking powder, and salt. This ensures the baking powder is evenly distributed so you don’t get weird puffy spots in your cookie cake.
- Combine wet and dry ingredients. Add the flour mixture to the wet mixture in two additions, mixing on low after each. Stop as soon as the flour disappears. You should have a soft, slightly sticky dough that holds together when pressed. If it feels too dry, add a teaspoon of milk. If it’s too sticky, add a tablespoon of flour.
- Press the dough into the pan. Transfer the dough to your prepared pan. Use your fingertips or the back of a spoon to press it into an even layer. Wet your fingers slightly if the dough sticks to you. The layer should be about 1/2 inch thick. Don’t press too hard or the cookie cake will be dense.
- Bake for 18 to 22 minutes. Start checking at 18 minutes. The edges should be golden brown and the center should look set but still slightly soft. A toothpick inserted in the center should come out with a few moist crumbs—not wet batter. Overbaking is the number one mistake here; the cookie cake continues to cook as it cools in the pan.
- Cool completely in the pan. Place the pan on a cooling rack and let it sit for at least 30 minutes. Do not attempt to decorate while it’s warm. The white chocolate will slide right off and you’ll have a sad, melted mess. I learned this the hard way.
- Lift the cookie cake out. Once completely cool, use the parchment paper handles to lift the cookie cake out of the pan and onto a serving plate or cutting board. Peel away the parchment paper gently.
- Melt the white chocolate. Place the white chocolate chips and coconut oil in a small microwave-safe bowl. Microwave in 20-second intervals, stirring after each, until smooth and fully melted. This usually takes about 60 to 90 seconds total. Don’t overheat or the chocolate will seize up and turn grainy.
- Drizzle the mummy “bandages.” Transfer the melted white chocolate to a small piping bag or a zip-top bag with the tip snipped off. If you don’t have either, just use a spoon—it’ll be messier but still cute. Drizzle the white chocolate back and forth across the cookie cake in uneven lines, leaving small gaps for the eyes. Don’t try to make it perfect. Mummies are supposed to look haphazard.
- Add the candy eyes. While the white chocolate is still wet, gently press the candy eyes into the gaps. Use two eyes per mummy face. I usually do 3 to 4 mummy faces on one cookie cake, but you can do as many as you want. Space them out evenly.
- Let the white chocolate set. Let the cookie cake sit at room temperature for about 20 minutes until the white chocolate is firm. If you’re in a hurry, pop it in the fridge for 10 minutes.
- Dust with powdered sugar (optional). Just before serving, lightly dust the cookie cake with powdered sugar using a fine-mesh sieve. It gives the mummies that “spooky” vibe.
Cooking Tips & Techniques
I’ve made this Easy Mummy Halloween Cookie Cake at least a dozen times now, and I’ve picked up a few tricks along the way. Here’s what I wish someone had told me before my first attempt.
Don’t overmix the dough. I cannot stress this enough. The more you mix, the more gluten develops, and the tougher your cookie cake gets. Mix until the flour just disappears, then stop. A few streaks of flour are fine—they’ll incorporate when you press the dough into the pan.
Use room temperature ingredients. Cold butter doesn’t cream properly, and cold egg can make the batter curdle. Leave everything out on the counter for 30 minutes before you start. I once used cold butter because I was impatient, and the dough turned out lumpy and uneven. The cookie cake still tasted fine, but the texture was off.
Watch the baking time like a hawk. Ovens vary wildly. My oven runs hot, so I start checking at 16 minutes. Your oven might need the full 22. The key is the visual cue: golden edges, set center, and a toothpick with moist crumbs. If you see wet batter, give it two more minutes and check again.
Let it cool completely before decorating. This is the tip I learned from my biggest failure. I was in a rush for a party, decorated the cookie cake while it was still warm, and the white chocolate turned into a puddle. The eyes sank into the cookie, and my mummies looked like they were melting into the floor. Not a good look. Patience pays off here.
Thin the white chocolate. White chocolate straight out of the bag can be too thick to drizzle nicely. A tablespoon of coconut oil or shortening makes it fluid enough to create those thin, bandage-like lines. If you skip this step, you’ll end up with thick globs that look more like a snowstorm than a mummy.
Work quickly with the candy eyes. The white chocolate sets faster than you think. Press the eyes in within 30 seconds of drizzling, or you’ll need to add more melted chocolate to make them stick. I usually drizzle one mummy section, add the eyes, then move to the next section.
Variations & Adaptations
This Easy Mummy Halloween Cookie Cake is surprisingly versatile. Here are a few ways I’ve adapted it over the years.
Chocolate Mummy Cookie Cake: Swap 1/4 cup of the flour with 1/4 cup unsweetened cocoa powder. The chocolate base pairs beautifully with the white chocolate bandages and makes the mummies look even more dramatic. I tried this version for a friend’s Halloween party, and it disappeared in 10 minutes.
Gluten-Free Version: Use a 1:1 gluten-free flour blend like King Arthur Measure for Measure. Add an extra tablespoon of flour to the dough because gluten-free blends tend to absorb less liquid. The texture will be slightly crumblier, but the flavor is still spot-on.
Vegan Adaptation: Replace the butter with vegan butter sticks, the egg with a flax egg (1 tablespoon ground flaxseed mixed with 3 tablespoons water), and use dairy-free white chocolate. I tested this version for a friend with dietary restrictions, and honestly, I couldn’t tell the difference.
Pumpkin Spice Twist: Add 1 teaspoon pumpkin pie spice to the dry ingredients and swap the vanilla for maple extract. This gives the cookie cake a fall-flavored base that tastes incredible with the white chocolate. Perfect for Thanksgiving-adjacent Halloween parties.
Individual Mummy Cookies: Instead of pressing the dough into a pan, scoop it into 2-tablespoon balls, flatten slightly, and bake for 10 to 12 minutes. Decorate each cookie individually. This takes more time but is great for cookie exchanges or party favors.
My personal favorite variation is the chocolate version with a pinch of cinnamon in the dough. Something about the warm spice with the creamy white chocolate feels like Halloween in a bite. Give it a try if you’re feeling adventurous.
Serving & Storage Suggestions
This Easy Mummy Halloween Cookie Cake is best served at room temperature. The texture is soft and chewy, and the white chocolate is perfectly set. If you serve it straight from the fridge, the cookie will be firmer and the white chocolate will be snappy—still delicious, but not as tender.
How to Serve: Slice the cookie cake into wedges like a pizza. Each wedge should have at least one mummy face. I like to place the whole cookie cake on a Halloween-themed platter and let guests cut their own slices. It makes a great centerpiece for a dessert table. Pair it with a glass of cold milk, a scoop of vanilla ice cream, or a warm pumpkin spice latte for the full fall experience.
Storage Instructions: Store leftover cookie cake in an airtight container at room temperature for up to 3 days. The white chocolate may soften slightly, but it’ll still look cute. If you need to stack slices, place a sheet of parchment paper between layers to prevent sticking.
Freezer Instructions: You can freeze the undecorated cookie cake for up to 2 months. Wrap it tightly in plastic wrap, then foil. When you’re ready to serve, thaw it at room temperature, then decorate with white chocolate and eyes. I’ve done this for pre-Halloween prep, and it works beautifully.
Reheating Tips: If you want that just-baked warmth, pop individual slices in the microwave for 10 to 15 seconds. The white chocolate will soften, but the cookie will taste like it came straight from the oven. Don’t reheat the whole cookie cake unless you want the decorations to slide off.
One thing I’ve noticed: the flavors actually get better on day two. The butter and vanilla meld together, and the cookie becomes even more tender. So don’t stress about making it the day before—it might actually be better that way.
Nutritional Information & Benefits
Let’s be real—this is a treat, not a health food. But here’s the estimated breakdown for one slice (based on 8 servings):
- Calories: 410
- Total Fat: 22g
- Saturated Fat: 13g
- Cholesterol: 65mg
- Sodium: 180mg
- Total Carbohydrates: 52g
- Dietary Fiber: 1g
- Sugars: 32g
- Protein: 4g
Health Highlights: On the bright side, this recipe uses real butter and eggs, which provide some vitamin A and protein. The white chocolate contains calcium and a small amount of antioxidants from cocoa butter. If you use the gluten-free or vegan variations, you can accommodate dietary needs without sacrificing flavor.
Dietary Considerations: This recipe contains gluten, dairy, and eggs. For allergen-friendly versions, see the variations section above. If you’re watching your sugar intake, you can reduce the granulated sugar to 3/4 cup—the cookie will be less sweet but still delicious.
My Personal Take: I believe in balance. This Easy Mummy Halloween Cookie Cake is a once-a-year treat for me, and I enjoy every single bite without guilt. Food is about joy, connection, and celebration. Halloween is the perfect excuse to indulge a little.
Conclusion
This Easy Mummy Halloween Cookie Cake is proof that you don’t need complicated techniques or fancy tools to create something memorable. It’s forgiving, flexible, and genuinely fun to make. Whether you’re baking with kids, hosting a Halloween party, or just want something sweet to celebrate the season, this recipe delivers every time.
I love this recipe because it reminds me to stop taking myself so seriously. The mummies never look perfect, and that’s exactly why they’re perfect. Life is messy, Halloween is silly, and sometimes the best thing you can do is press some dough into a pan, drizzle it with chocolate, and stick some googly eyes on it. That’s real magic right there.
Now I want to hear from you. Have you tried this Easy Mummy Halloween Cookie Cake? Did your mummies turn out goofy and wonderful? Drop a comment below and tell me about your decorating adventures. Share a photo if you’re feeling brave—I’d love to see your spooky creations. And if you have a variation I haven’t tried, please share it. I’m always looking for new ways to mess up a perfectly good cookie cake in the most delicious way possible.
Happy Halloween, friends. Go make something silly and sweet.
Frequently Asked Questions
Can I use store-bought cookie dough for this recipe?
Absolutely. If you’re short on time, a 16-ounce tube of refrigerated sugar cookie dough works perfectly. Just press it into the pan and bake according to the package directions. The texture will be slightly different, but the mummy decorations will still look adorable.
How do I prevent the white chocolate from seizing up?
White chocolate is temperamental. Always melt it in short bursts—20 seconds in the microwave, then stir. Never add water, even a drop, because it will cause the chocolate to seize into a grainy mess. The tablespoon of coconut oil helps keep it smooth and fluid.
Can I make this recipe ahead of time?
Yes! Bake the cookie cake up to 2 days in advance, store it at room temperature in an airtight container, and decorate it the day you plan to serve. You can also freeze the undecorated cookie cake for up to 2 months.
My cookie cake came out too dry. What went wrong?
Most likely, you overbaked it or overmeasured the flour. Spoon the flour into your measuring cup and level it off with a knife—don’t scoop directly from the bag. Also, check your oven temperature with an oven thermometer; many ovens run hotter than they say.
Can I use milk chocolate or dark chocolate instead of white chocolate?
You can, but the mummy effect won’t be as clear. Dark chocolate bandages on a golden cookie look more like spiderwebs than mummy wraps. If you want a chocolate version, try the chocolate cookie cake variation mentioned above and use white chocolate for the bandages—it’s the best of both worlds.
Pin This Recipe!
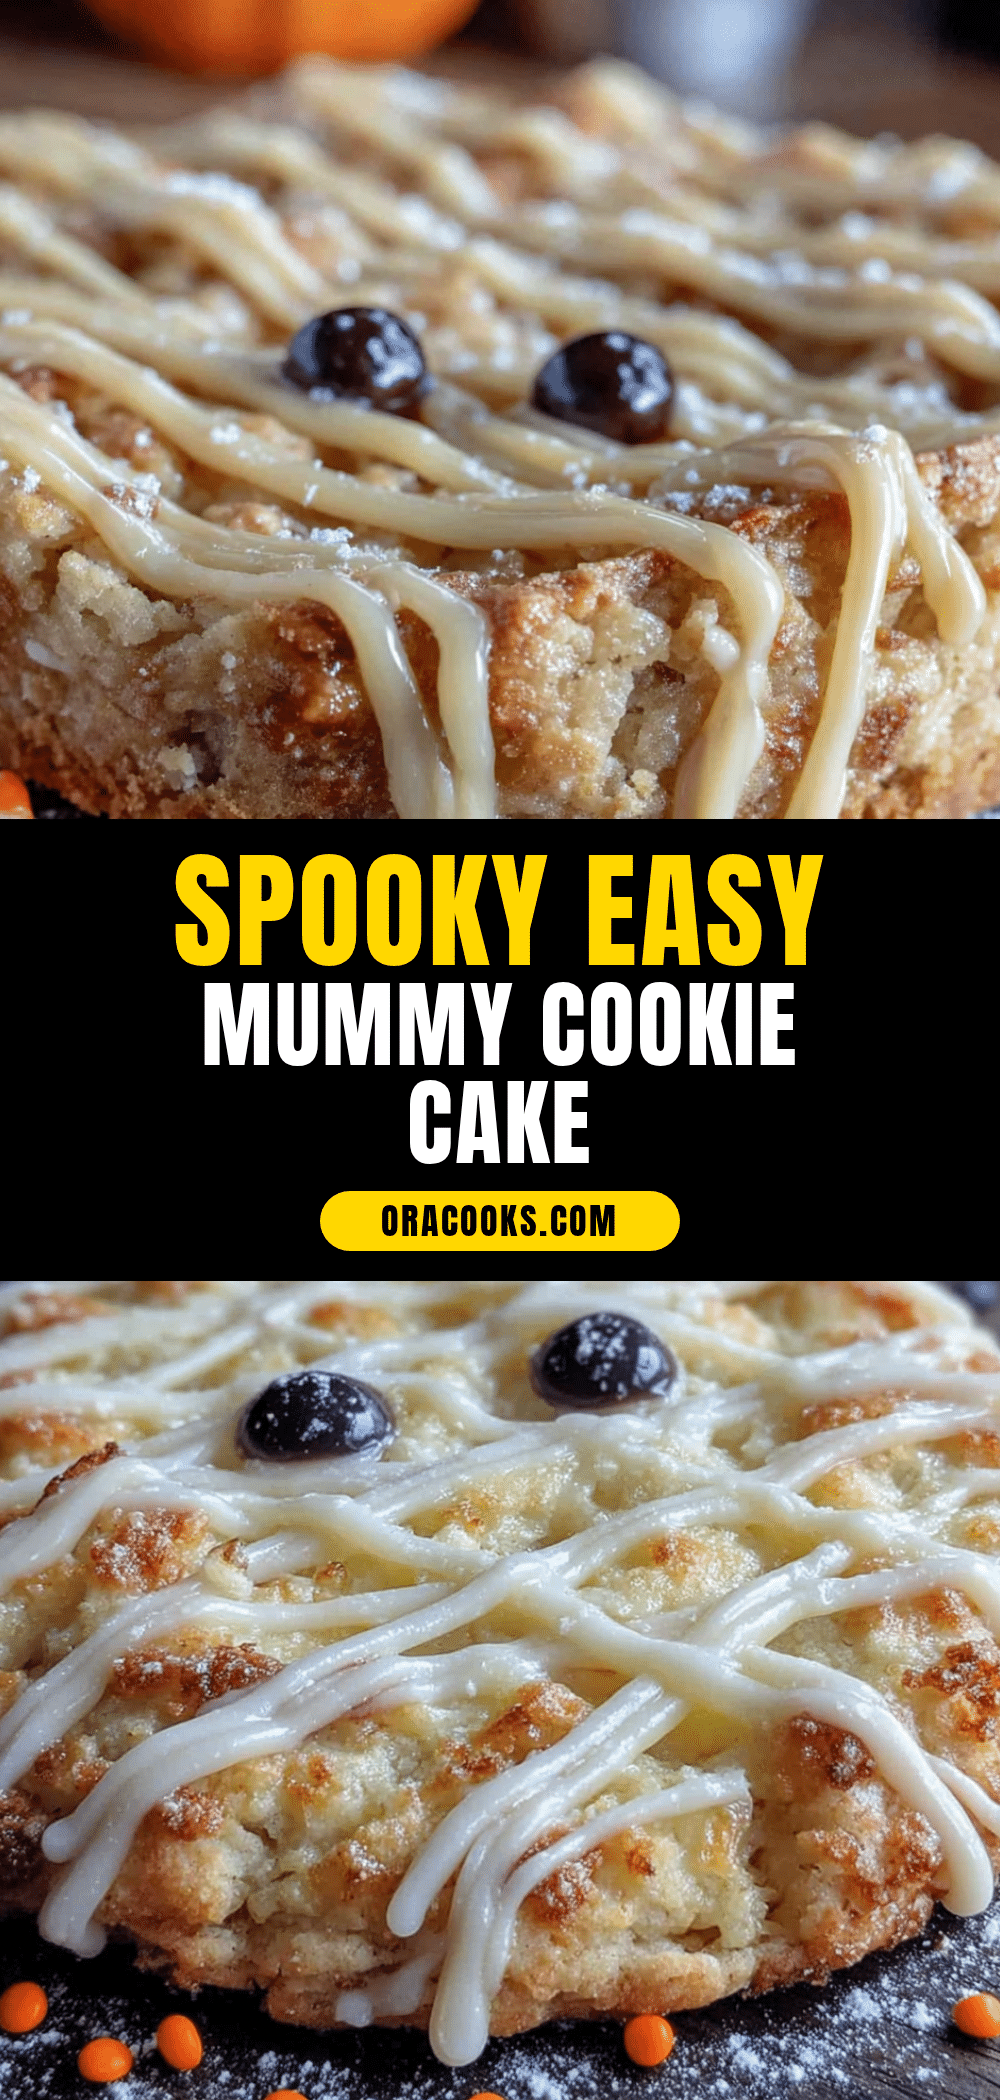
Easy Mummy Halloween Cookie Cake Recipe
A quick and easy Halloween dessert featuring a soft, chewy sugar cookie cake decorated with white chocolate mummy bandages and candy eyes. Perfect for parties and guaranteed to delight kids and adults alike.
- Prep Time: 15 minutes
- Cook Time: 20 minutes
- Total Time: 35 minutes
- Yield: 8 servings 1x
- Category: Dessert
- Cuisine: American
Ingredients
- 1 cup (2 sticks) unsalted butter, softened
- 1 cup granulated sugar
- 1 large egg, room temperature
- 1 teaspoon vanilla extract
- 2 cups all-purpose flour
- 1/2 teaspoon baking powder
- 1/4 teaspoon salt
- 1 cup white chocolate chips or melting wafers
- 1 tablespoon coconut oil or vegetable shortening
- 2 tablespoons powdered sugar (optional, for dusting)
- Candy eyes (about 8 to 10 pairs)
Instructions
- Preheat your oven to 350°F (175°C). Line your 9-inch pan with parchment paper, leaving some overhang on two sides.
- Cream the butter and sugar together in a large mixing bowl on medium speed for 2 to 3 minutes until light and fluffy.
- Add the egg and vanilla, beating on low until just combined (about 30 seconds).
- In a small bowl, whisk together the flour, baking powder, and salt.
- Add the flour mixture to the wet mixture in two additions, mixing on low after each until just combined. The dough should be soft and slightly sticky.
- Press the dough evenly into the prepared pan to about 1/2 inch thick.
- Bake for 18 to 22 minutes, until edges are golden and center is set but still soft. A toothpick inserted in the center should come out with moist crumbs.
- Cool completely in the pan on a cooling rack (at least 30 minutes).
- Lift the cookie cake out using the parchment handles and place on a serving plate.
- Melt the white chocolate chips and coconut oil in a microwave-safe bowl in 20-second intervals, stirring after each, until smooth.
- Transfer melted white chocolate to a piping bag or zip-top bag with a snipped tip, or use a spoon. Drizzle uneven lines across the cookie cake, leaving gaps for eyes.
- While the white chocolate is still wet, press candy eyes into the gaps to create mummy faces.
- Let the white chocolate set at room temperature for about 20 minutes (or 10 minutes in the fridge).
- Dust with powdered sugar just before serving, if desired.
Notes
Don’t overmix the dough to avoid toughness. Use room temperature ingredients for best texture. Watch baking time closely; ovens vary. Cool completely before decorating to prevent white chocolate from melting. Thin white chocolate with coconut oil for easy drizzling. Work quickly with candy eyes as white chocolate sets fast.
Nutrition
- Serving Size: 1 slice (1/8 of cook
- Calories: 410
- Sugar: 32
- Sodium: 180
- Fat: 22
- Saturated Fat: 13
- Carbohydrates: 52
- Fiber: 1
- Protein: 4
Keywords: Halloween cookie cake, mummy cookie cake, easy Halloween dessert, sugar cookie cake, Halloween baking


