Love this? Save it for later!
Share the inspiration with your friends
My neighbor, Carol, wasn’t trying to impress anyone that Tuesday afternoon. I’d stopped by to borrow a cup of sugar for a completely different project, and the smell hit me before I even got through the screen door. It was warm, spicy, and unmistakably like autumn had exploded in her kitchen.
Carol just shrugged when I asked what she was baking. “Oh, that’s just the pumpkin dump cake. It’s nothing fancy.” Nothing fancy? Let me tell you, the woman was being modest. The topping was this perfect, buttery, golden crust that crunched under the slightest pressure, and underneath was a layer of silky, spiced pumpkin that tasted like it had been simmering all day. She handed me a fork, and I stood there in her kitchen, eating it straight from the pan. Honestly, I didn’t even care about the sugar anymore.
The thing is, Carol didn’t have a fancy stand mixer or a drawer full of specialty pans. She just used a box of yellow cake mix, a can of pumpkin, and a few other everyday staples. She wasn’t trying to be a hero in the kitchen—she was just trying to get dessert on the table. And that’s exactly when the best recipes happen, you know? When you’re not trying so hard.
I kept coming back to that memory every time fall rolled around. Maybe you’ve been there—you taste something at a friend’s house, and it haunts you until you figure out how to make it yourself. So I went home, called Carol for her “recipe” (which was basically a list of ingredients with no measurements), and started testing. This easy pumpkin dump cake with yellow cake mix topping is the result of those tests. It’s the one that finally tasted just like that Tuesday afternoon in Carol’s kitchen. Warm, simple, and absolutely unforgettable.
Why You’ll Love This Recipe
This isn’t just another pumpkin dessert. This is the one that makes you close your eyes after the first bite. I’ve tested this recipe more times than I can count, tweaking the spice ratio and the baking time until it was absolutely perfect. Here’s why it stands out from the rest:
- Incredibly Easy: There’s no creaming butter and sugar. No sifting flour. You literally dump the ingredients into the pan. It’s the kind of recipe you can make with your eyes closed.
- Simple Ingredients: You probably have most of these in your pantry right now. A box of yellow cake mix, a can of pumpkin, some eggs, butter, and a few spices. No fancy grocery trips required.
- Perfect for Fall Gatherings: Whether it’s Thanksgiving, a potluck, or just a cozy Sunday at home, this cake feeds a crowd and disappears fast.
- Crowd-Pleaser: I’ve served this to kids, adults, and even picky relatives who “don’t like pumpkin.” They all go back for seconds. It’s magic.
- Unbelievably Delicious: The contrast between the crunchy, buttery cake mix topping and the soft, spiced pumpkin filling is next-level comfort food. It’s like a pumpkin pie and a crumble had a baby.
What makes this different from every other dump cake out there? It’s the technique. Most recipes tell you to just dump the dry cake mix on top and call it a day. But I’ve found that drizzling melted butter evenly over the top—and using a fork to gently poke it into the mix—creates that perfect, golden, crunchy crust. It’s a small tweak that makes a huge difference. This isn’t just another version—it’s my best version.
What Ingredients You Will Need
This recipe uses simple, wholesome ingredients to deliver bold flavor and satisfying texture without the fuss. Most of these are pantry staples, so you can whip this up anytime a craving hits.
- 1 can (15 oz) pumpkin puree (not pumpkin pie filling—make sure it’s 100% pure pumpkin. I prefer Libby’s for its consistent texture and flavor.)
- 1 can (12 oz) evaporated milk (adds richness and creaminess to the pumpkin layer. You can use full-fat or low-fat; both work well.)
- 1 cup granulated sugar (for sweetness. You can reduce to 3/4 cup if you prefer a less sweet dessert.)
- 3 large eggs (room temperature is best for even mixing. If you’re in a hurry, place them in a bowl of warm water for 5 minutes.)
- 2 teaspoons pumpkin pie spice (or make your own: 1 tsp cinnamon, 1/2 tsp ginger, 1/4 tsp nutmeg, 1/4 tsp cloves. This is where the cozy flavor comes from.)
- 1 teaspoon vanilla extract (pure vanilla extract adds warmth and depth. Imitation works in a pinch.)
- 1 box (15.25 oz) yellow cake mix (Duncan Hines or Betty Crocker both work great. Do not use a “butter recipe” or “pudding in the mix” version—they can change the texture.)
- 1 cup unsalted butter, melted (salted butter works too—just reduce the added salt in the pumpkin layer. Melt it slowly on the stove or in the microwave.)
- 1 cup chopped pecans or walnuts (optional) (adds a lovely crunch to the topping. I usually add them because I love the texture contrast.)
Ingredient Selection Tip: Look for a can of pumpkin that says “100% pure pumpkin” on the label. Pumpkin pie filling already has sugar and spices added, which will throw off the balance of this recipe. Trust me on this one—I learned the hard way.
Substitution Guidance: If you’re out of evaporated milk, you can use heavy cream or even whole milk (though the texture will be slightly less rich). For a dairy-free version, use coconut cream and a plant-based butter substitute. The topping won’t be quite as crunchy, but it will still be delicious.
Equipment Needed
You don’t need a fancy kitchen to make this cake. Here’s what you’ll need:
- 9×13-inch baking dish (glass or metal both work. Glass gives a slightly softer bottom, while metal creates a crisper edge.)
- Large mixing bowl (for the pumpkin filling. Any bowl will do.)
- Whisk or electric mixer (a whisk works fine, but an electric mixer makes the filling smoother in half the time.)
- Measuring cups and spoons (for accuracy. I’ve learned that eyeballing the spices can lead to a bland cake.)
- Spatula (for spreading the pumpkin mixture evenly. A rubber spatula is my go-to.)
- Small saucepan or microwave-safe bowl (for melting the butter. I prefer the stovetop because I can control the heat better.)
Personal Experience: I used to make this in a 9×9-inch dish, and it was always too thick in the middle. Switching to a 9×13 was a game-changer. The layers are more balanced, and the topping gets crispy all the way across. If you don’t have a 9×13, you can use two 8×8 pans and adjust the baking time down by 10 minutes.
Preparation Method
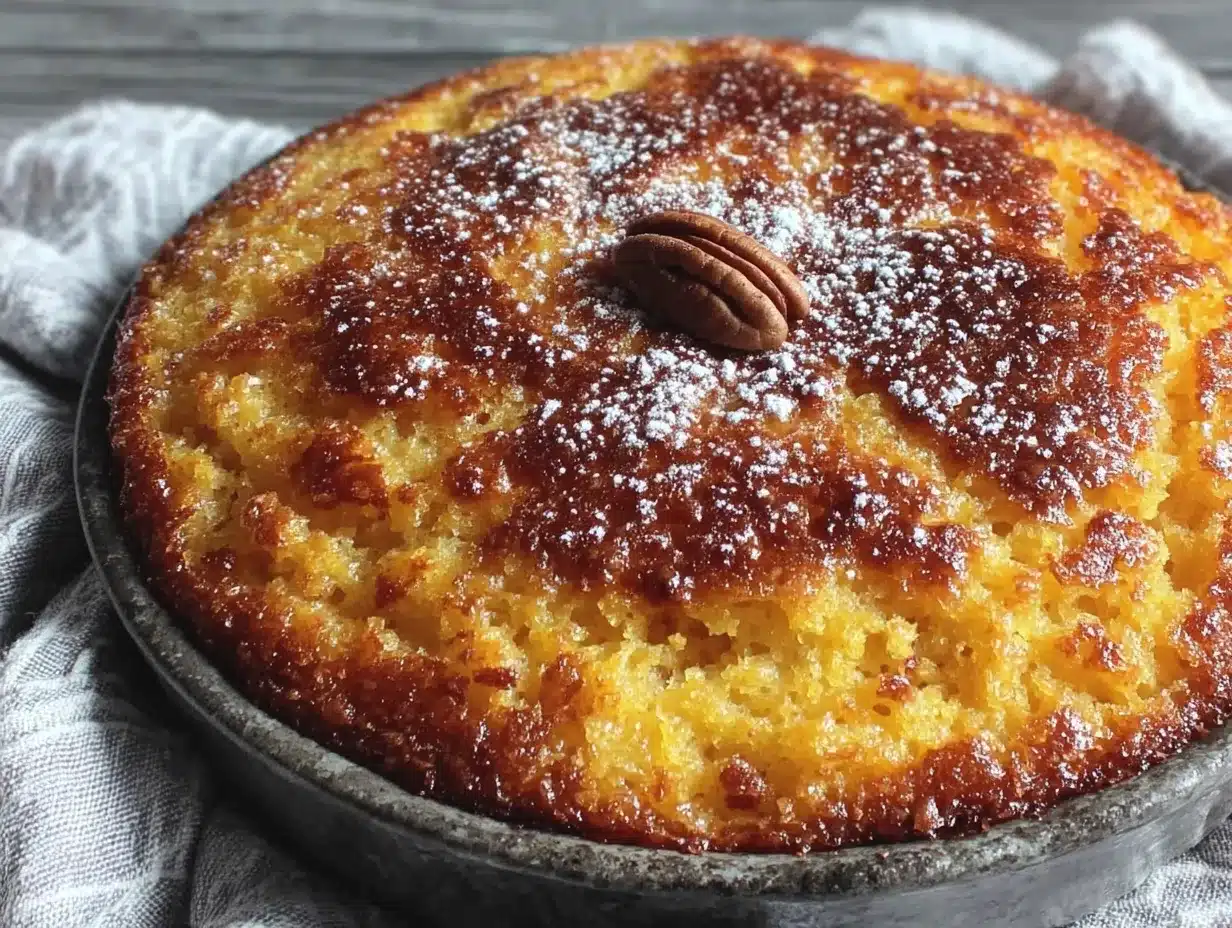
Let’s get baking. This recipe comes together in about 10 minutes of active time, then the oven does the rest.
- Preheat your oven to 350°F (175°C). Lightly grease your 9×13-inch baking dish with butter or non-stick spray. I like to use a paper towel to spread it evenly so there are no pools of oil.
- In a large mixing bowl, combine the pumpkin puree, evaporated milk, sugar, eggs, pumpkin pie spice, and vanilla extract. Whisk until smooth and fully combined. The mixture should be a uniform, silky orange color. If you see streaks of egg, keep whisking. (I once forgot to whisk properly and ended up with little cooked egg bits in the final cake—not ideal.)
- Pour the pumpkin mixture into the prepared baking dish. Use your spatula to spread it into an even layer. Make sure it reaches all the corners. The filling should be about 1/2 inch deep.
- Sprinkle the dry yellow cake mix evenly over the top of the pumpkin mixture. Don’t stir it in. Just let it sit on top like a blanket. This is what creates that magical crunchy topping. Make sure every inch is covered—if you see patches of pumpkin, add more cake mix.
- If using, sprinkle the chopped pecans or walnuts over the cake mix layer. This adds a lovely nutty crunch. I usually go heavy on the nuts because I love the texture, but it’s totally optional.
- Drizzle the melted butter evenly over the entire top layer. This is the most important step. Don’t just pour it all in one spot—use a spoon or a small ladle to drizzle it in a zigzag pattern. Then, use a fork to gently poke the butter into the cake mix. Don’t stir—just poke. This helps the butter soak in and creates those golden, crunchy patches.
- Bake for 45-50 minutes, or until the top is golden brown and the filling is bubbly around the edges. The center should be set but still slightly jiggly—it will firm up as it cools. If the top is browning too quickly (after about 30 minutes), tent the dish loosely with foil.
- Let the cake cool on a wire rack for at least 20 minutes before serving. This allows the filling to set properly. If you cut into it too soon, it will be soupy. I know it’s hard to wait, but trust me—it’s worth it.
Pro-Tip: The cake will puff up in the oven and then settle as it cools. Don’t panic if it looks a little puffy—that’s normal. The topping will become perfectly crisp as it cools.
Cooking Tips & Techniques
Over the years, I’ve made this cake more times than I can count. Here are the lessons I’ve learned (sometimes the hard way):
- Don’t overmix the pumpkin layer. Overmixing can incorporate too much air, which leads to a spongy texture instead of a silky one. Just whisk until combined.
- Use room temperature eggs. Cold eggs can seize the butter and create a lumpy filling. If you forgot to take them out of the fridge, place them in a bowl of warm water for 5 minutes.
- Watch the butter. I once used salted butter and forgot to adjust the salt in the recipe. The cake was edible, but the saltiness was distracting. Stick with unsalted if you can.
- The poke method is key. I can’t stress this enough. If you just pour the butter on top and leave it, you’ll end up with dry patches of cake mix. Poking it with a fork ensures even distribution and that perfect golden crust.
- Let it cool completely for clean slices. If you’re serving this at a party, make it the night before. It actually tastes better the next day—the flavors meld together beautifully.
Variations & Adaptations
This recipe is incredibly forgiving. Here are some ways to make it your own:
- Gluten-Free Version: Use a gluten-free yellow cake mix. I’ve tested this with King Arthur’s gluten-free mix, and it works perfectly. The topping might be slightly less crunchy, but the flavor is spot-on.
- Vegan Version: Substitute the evaporated milk with full-fat coconut cream, use flax eggs (1 tbsp ground flax + 3 tbsp water per egg), and use a vegan butter substitute. The texture will be slightly softer, but it’s still delicious.
- Spice It Up: Add 1/4 teaspoon of cayenne pepper or a pinch of black pepper to the pumpkin mixture. The heat plays beautifully with the sweet pumpkin and buttery topping.
- Chocolate Lover’s Twist: Sprinkle 1/2 cup of chocolate chips over the cake mix before adding the butter. The chocolate melts into the topping, creating gooey pockets of goodness.
- Apple Pumpkin Dump Cake: Layer 1 cup of diced apples (tossed with 1 tablespoon of sugar and 1/2 teaspoon of cinnamon) on top of the pumpkin mixture before adding the cake mix. The apples add a lovely tartness and texture.
Personal Variation: I once tried making this with a spice cake mix instead of yellow. It was good, but the spices in the mix clashed with the pumpkin pie spice. The yellow cake mix is the perfect neutral base—it lets the pumpkin shine.
Serving & Storage Suggestions
This cake is best served warm, but it’s also fantastic at room temperature. Here’s how to make the most of it:
- Serving Temperature: Serve warm with a scoop of vanilla ice cream or a dollop of whipped cream. The cold creaminess against the warm, crunchy topping is pure heaven.
- Presentation: Spoon it into bowls rather than slicing it—it’s a dump cake, after all. The rustic look is part of its charm. Sprinkle a little cinnamon on top for a pretty finish.
- Complementary Dishes: This cake pairs beautifully with a hot cup of coffee or a spiced chai latte. For a full fall spread, serve it alongside a savory dish like roasted turkey or butternut squash soup.
- Storage: Cover the dish tightly with plastic wrap or aluminum foil and store in the refrigerator for up to 5 days. The topping will soften over time, but it’s still delicious.
- Reheating: To bring back the crunch, reheat individual servings in the oven at 350°F for 5-7 minutes, or in the microwave for 30 seconds. The microwave is faster, but the oven restores the texture better.
- Freezing: You can freeze the baked and cooled cake for up to 3 months. Wrap it tightly in plastic wrap, then foil. Thaw in the refrigerator overnight and reheat in the oven.
Flavor Development Note: This cake actually tastes better the next day. The spices have time to meld, and the texture becomes even more cohesive. If you can, make it a day ahead.
Nutritional Information & Benefits
Here’s the approximate nutritional breakdown for one serving (based on 12 servings):
- Calories: 380
- Fat: 18g
- Carbohydrates: 52g
- Fiber: 3g
- Sugar: 32g
- Protein: 5g
Health Benefits: Pumpkin is packed with vitamin A (great for eye health) and fiber (good for digestion). The eggs add protein, and the nuts (if you use them) provide healthy fats. This isn’t a health food, but it’s a treat that uses real, whole ingredients.
Dietary Considerations: This recipe contains gluten, dairy, and eggs. For gluten-free or vegan options, see the variations section above. It’s also a great option for those who are nut-free if you skip the pecans.
Personal Wellness Perspective: I love that this dessert feels indulgent without being overly complicated. It’s the kind of treat you can enjoy on a cozy fall evening without feeling like you’ve overdone it. Everything in moderation, right?
Frequently Asked Questions
Can I use pumpkin pie filling instead of pure pumpkin?
No, I wouldn’t recommend it. Pumpkin pie filling already has sugar and spices added, which will make the cake overly sweet and throw off the spice balance. Stick with 100% pure pumpkin puree for the best results.
Why is my dump cake soupy in the middle?
This usually happens if you cut into it too soon. The filling needs at least 20 minutes to set after baking. If it’s still soupy after cooling, it might need a few more minutes in the oven. Bake until the edges are bubbly and the center is just set.
Can I make this in a slow cooker?
Yes! Grease the slow cooker, layer the ingredients as directed, and cook on low for 3-4 hours or on high for 1.5-2 hours. The topping won’t be as crunchy, but it will still be delicious. Let it sit with the lid off for 10 minutes before serving.
How do I get a crunchy topping every time?
The key is even butter distribution. Drizzle the melted butter slowly over the entire surface, then use a fork to gently poke it into the cake mix. Don’t stir—just poke. This creates those golden, crunchy patches that make this cake so addictive.
Can I use a different flavor of cake mix?
You can, but yellow cake mix is the best choice because it’s neutral and lets the pumpkin shine. Spice cake mix can work, but it might clash with the pumpkin pie spice. White cake mix is a good alternative if you want a slightly lighter flavor.
Conclusion
This easy pumpkin dump cake with yellow cake mix topping is more than just a dessert—it’s a memory in the making. It’s the kind of recipe that brings people together, whether you’re sharing it at a holiday table or sneaking a bite straight from the pan on a quiet Tuesday afternoon. The buttery, crunchy topping gives way to a silky, spiced pumpkin filling that tastes like pure comfort.
I hope you make this recipe your own. Add your favorite nuts, experiment with different spices, or try it with a scoop of ice cream. The best part about cooking is making a recipe fit your life. I’d love to hear how it turns out for you—drop a comment below and let me know your favorite variation. And if you share a photo on Pinterest, tag me so I can see your beautiful creation!
Happy baking, friend. This one’s a keeper.
Pin This Recipe!
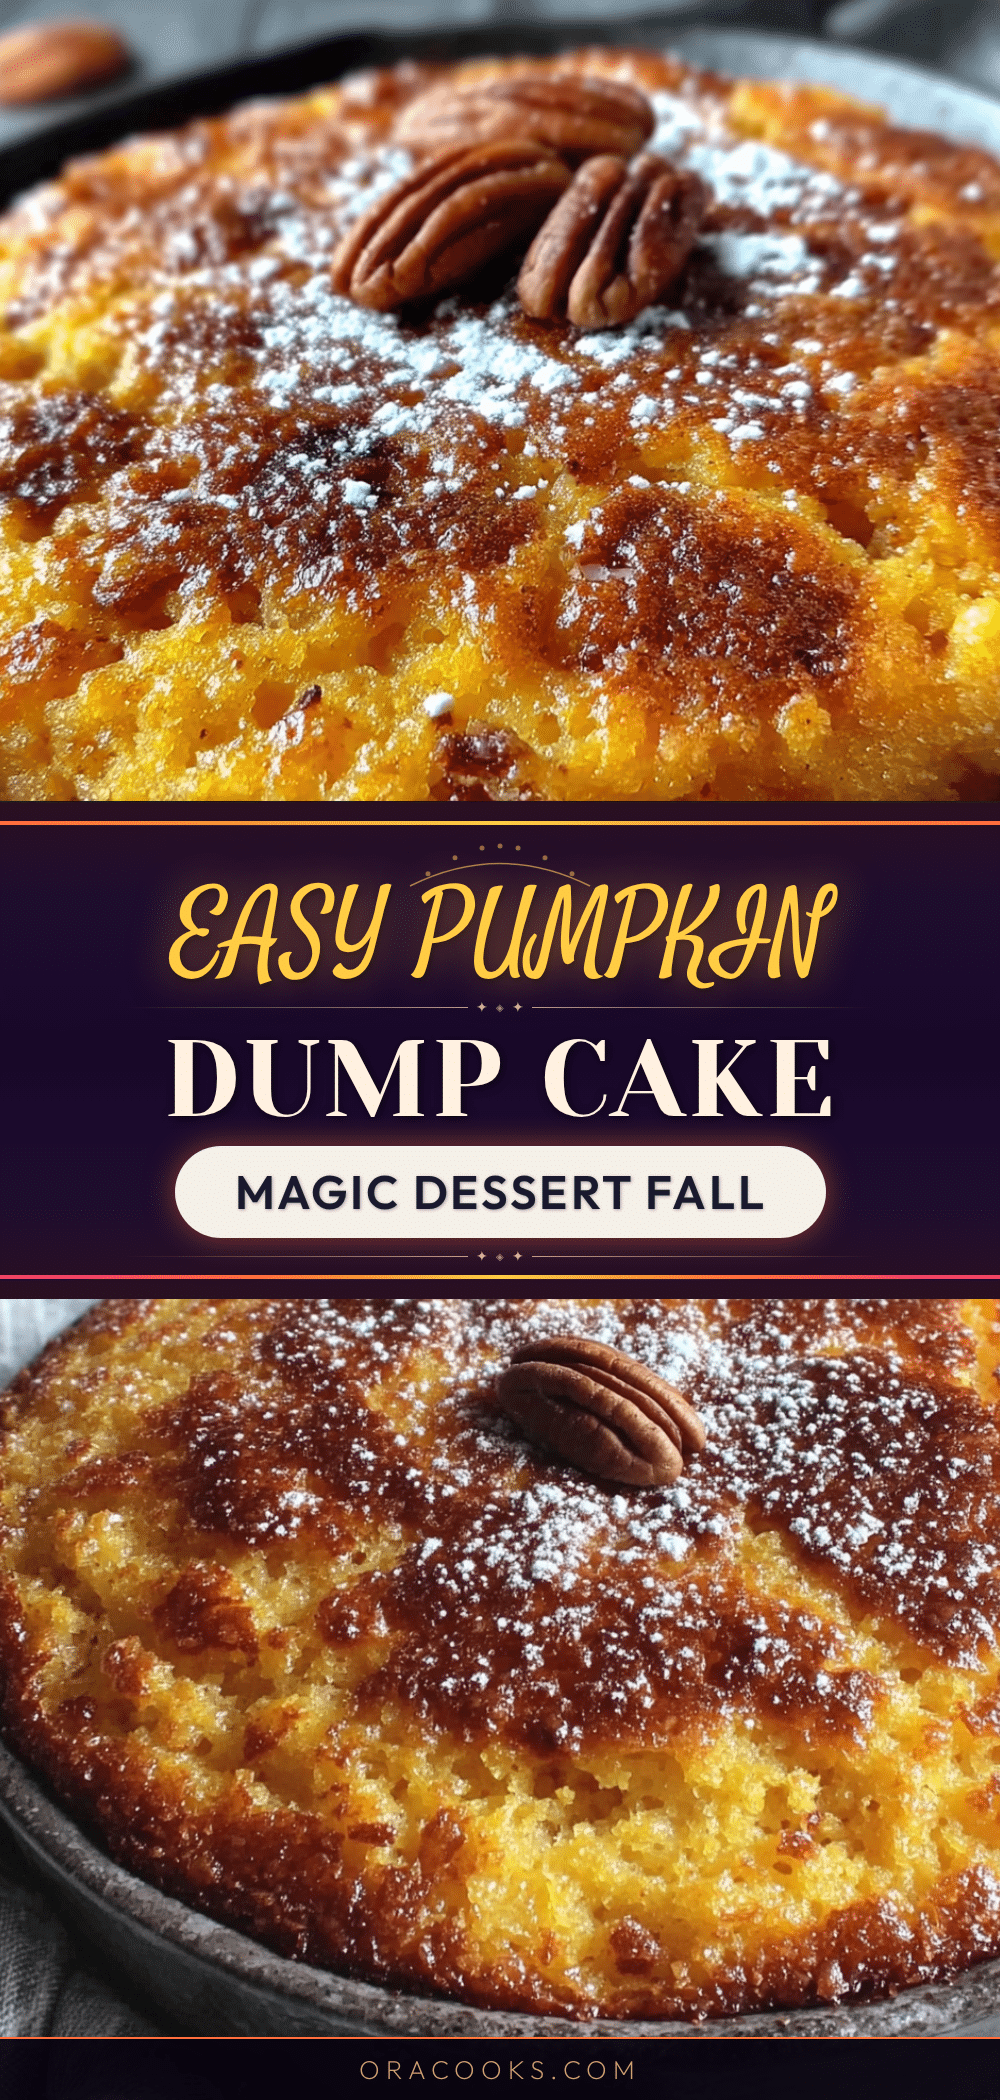
Easy Pumpkin Dump Cake with Perfect Golden Topping
This easy pumpkin dump cake features a buttery, golden cake mix topping over a silky, spiced pumpkin filling. It’s a simple, crowd-pleasing dessert perfect for fall gatherings.
- Prep Time: 10 minutes
- Cook Time: 45 minutes
- Total Time: 55 minutes
- Yield: 12 servings 1x
- Category: Dessert
- Cuisine: American
Ingredients
- 1 can (15 oz) pumpkin puree (not pumpkin pie filling)
- 1 can (12 oz) evaporated milk
- 1 cup granulated sugar
- 3 large eggs, room temperature
- 2 teaspoons pumpkin pie spice
- 1 teaspoon vanilla extract
- 1 box (15.25 oz) yellow cake mix
- 1 cup unsalted butter, melted
- 1 cup chopped pecans or walnuts (optional)
Instructions
- Preheat your oven to 350°F (175°C). Lightly grease a 9×13-inch baking dish with butter or non-stick spray.
- In a large mixing bowl, combine the pumpkin puree, evaporated milk, sugar, eggs, pumpkin pie spice, and vanilla extract. Whisk until smooth and fully combined.
- Pour the pumpkin mixture into the prepared baking dish and spread into an even layer.
- Sprinkle the dry yellow cake mix evenly over the top of the pumpkin mixture. Do not stir.
- If using, sprinkle the chopped pecans or walnuts over the cake mix layer.
- Drizzle the melted butter evenly over the entire top layer. Use a fork to gently poke the butter into the cake mix without stirring.
- Bake for 45-50 minutes, or until the top is golden brown and the filling is bubbly around the edges. If the top browns too quickly, tent with foil after 30 minutes.
- Let the cake cool on a wire rack for at least 20 minutes before serving.
Notes
For the best crunchy topping, drizzle melted butter evenly and poke it into the cake mix with a fork. Let the cake cool completely for clean slices; it tastes even better the next day.
Nutrition
- Serving Size: 1 serving
- Calories: 380
- Sugar: 32
- Sodium: 320
- Fat: 18
- Saturated Fat: 10
- Carbohydrates: 52
- Fiber: 3
- Protein: 5
Keywords: pumpkin dump cake, easy pumpkin dessert, fall dessert, pumpkin cake, dump cake


