Love this? Save it for later!
Share the inspiration with your friends
Introduction
The other day, I was waiting in line at a rather unexpected spot—the local hardware store—when the cashier, a quiet fellow named Greg, started chatting about this homemade elderberry syrup he swore by. Now, Greg was the last person I’d imagine giving health advice; he’s usually all about power tools and paint cans. But there he was, talking about how this immune-boosting elderberry syrup with warm spices was his secret weapon during cold season. Honestly, I was skeptical at first — I mean, who expects a handyman to have a go-to syrup recipe, right?
He pulled out a small jar from under the counter, cracked a smile, and said, “Try it once, and you’ll keep coming back.” It caught me off guard (and I forgot my wallet on the counter in the excitement). That night, I gathered the ingredients and gave it a whirl. The aroma of cinnamon and cloves filling my kitchen was oddly comforting, like a warm hug on a chilly evening. Maybe you’ve been there — caught between wanting to skip the pharmacy line and trying something natural that actually works.
Since then, this elderberry syrup has become a staple in my pantry, not just for its immune-boosting benefits but because it tastes deliciously cozy. Let me tell you, this isn’t your average elderberry concoction. It’s a little magic in a jar, inspired by an unlikely source and perfected in my own kitchen.
Why You’ll Love This Recipe
After making this immune-boosting homemade elderberry syrup with warm spices a handful of times, I’m convinced it’s one of the simplest and most effective remedies you can keep on hand. Here’s why it might just become your new favorite:
- Quick & Easy: You can have the syrup simmering within 10 minutes, and it’s ready to enjoy after a day of infusion.
- Simple Ingredients: No obscure health food store trips — basic elderberries, honey, and pantry spices like cinnamon and cloves.
- Perfect for Cold Seasons: Whether it’s flu, sniffles, or just to keep your defenses up, this syrup is a natural go-to.
- Crowd-Pleaser: Kids love the sweet, spiced flavor, and adults appreciate the warm, soothing notes.
- Unbelievably Delicious: The blend of elderberry with warm spices creates a flavor that’s far from medicinal — it’s comforting and rich.
What makes this elderberry syrup stand out is the balance of spices that gently warms the palate, making it feel like a seasonal treat rather than a bitter tonic. Plus, I’ve tried versions with just elderberries, but adding cinnamon sticks, ginger, and cloves really brings the flavor and the immune benefits together. It’s like wrapping yourself in a cozy blanket on a cold day — but in syrup form.
What Ingredients You Will Need
This immune-boosting homemade elderberry syrup recipe uses simple, wholesome ingredients to deliver bold flavor and comforting warmth without fuss. Each component plays a vital role:
- Dried elderberries (1 cup) – The star ingredient, packed with antioxidants and immune-supporting properties. I like to use Sambucol brand dried elderberries for consistency.
- Water (4 cups / 950 ml) – To simmer and extract the goodness from the berries.
- Cinnamon stick (1 large) – Adds warmth and a subtle sweetness.
- Whole cloves (4-5) – Provide a spicy depth and natural warming effect.
- Fresh ginger (1-inch piece, sliced) – For a gentle zing and extra immune support.
- Raw honey (½ to ¾ cup) – Sweetens naturally and adds antimicrobial benefits. Use local or Manuka honey if you want a health boost.
- Fresh lemon juice (2 tablespoons) – Brightens the flavor and offers vitamin C.
Substitution tip: If you want a vegan version, swap honey with maple syrup, though it slightly changes the flavor. For a gluten-free boost, all ingredients here are naturally gluten-free, so no worries.
Equipment Needed
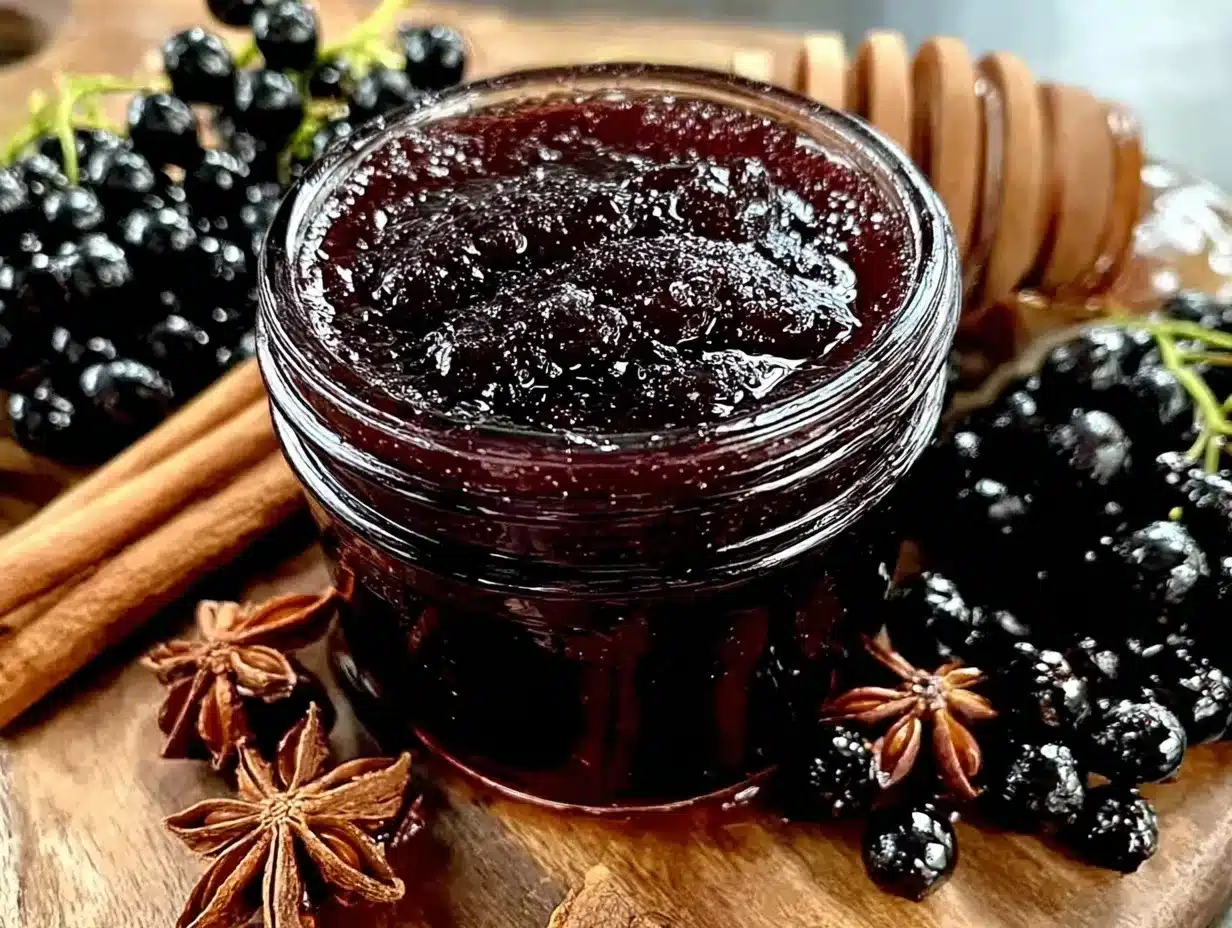
- A medium-sized saucepan – I use a 3-quart (3-liter) pot, which gives enough room for simmering without spills.
- A fine mesh strainer or cheesecloth – Essential for separating the elderberries and spices from the syrup. I prefer cheesecloth for a smoother pour.
- Measuring cups and spoons – For precise ingredient amounts.
- A stirring spoon – Wooden or silicone works best.
- Glass jars or bottles with tight lids – For storing the syrup in the fridge. Mason jars are perfect and easy to clean.
Pro tip: If you don’t have cheesecloth, a clean cotton kitchen towel works fine. Just be gentle when straining to avoid sediment. Also, keeping a dedicated syrup bottle handy makes dispensing easier, especially if you’re dosing kids.
Preparation Method
- Combine elderberries and spices: Place 1 cup (150 g) dried elderberries, 1 large cinnamon stick, 4-5 whole cloves, and 1-inch sliced fresh ginger into your saucepan. Add 4 cups (950 ml) of water.
- Simmer gently: Bring the mixture to a boil over medium-high heat, then reduce to a simmer. Let it simmer for about 45 minutes, uncovered. You’ll notice the liquid reducing and turning a deep purple color, and the aroma of spices will fill your kitchen.
- Strain the syrup: Remove from heat and let it cool slightly for 5 minutes. Then strain through a fine mesh sieve or cheesecloth into a heatproof bowl or jar. Press the solids gently to extract as much liquid as possible, but avoid pushing through bits of skin or seeds.
- Add honey and lemon: While the liquid is still warm (not boiling), stir in ½ to ¾ cup (120-180 ml) raw honey and 2 tablespoons (30 ml) fresh lemon juice. Adjust honey to your taste — I find ¾ cup works well for that perfect balance of sweet and tart.
- Cool and store: Pour the syrup into clean glass jars or bottles. Let it cool completely before sealing and refrigerating. The syrup will thicken slightly as it cools.
- Dosage suggestion: Take 1 tablespoon (15 ml) daily as a preventive measure, or up to 3 tablespoons (45 ml) during the first signs of a cold. Shake well before each use.
Watch the simmer closely, because if it boils too vigorously, some of the delicate flavors can escape, and the syrup might get bitter. Also, don’t forget to stir occasionally to prevent sticking. I once walked away for too long and ended up with a scorched batch — lesson learned!
Cooking Tips & Techniques
Making elderberry syrup requires a little patience, but it’s not complicated. Here are some tips that helped me perfect the recipe:
- Use dried elderberries over fresh: Fresh elderberries can be toxic if not prepared properly, so dried ones are safer and more concentrated.
- Simmer, don’t boil: A gentle simmer preserves the nutrients and flavors better than a rolling boil.
- Don’t add honey while boiling: Adding honey to hot liquid can destroy some of its beneficial enzymes, so stir it in once the syrup has cooled down a bit.
- Strain carefully: Pressing the berries too hard can release bitterness, so be gentle during straining.
- Store in the fridge: Homemade syrup lasts about 2-3 weeks refrigerated. If you want to keep it longer, freezing in ice cube trays works well.
- Multitasking tip: While the syrup simmers, prep your kitchen or whip up a batch of comforting homemade chicken soup to go with it.
Honestly, the first time I made this syrup, I was worried it would taste medicinal and harsh. The warm spices balance it beautifully, making it something I look forward to taking — which is key when you’re trying to boost your immune system consistently.
Variations & Adaptations
This elderberry syrup recipe is flexible and easy to customize based on your taste and dietary needs:
- Spice variations: Add a star anise pod or a pinch of ground nutmeg for a different spice profile.
- Alcohol-infused version: Stir in a splash of brandy or vodka after straining for a longer shelf life and a warming twist.
- Sweetener alternatives: Use maple syrup or agave nectar instead of honey for a vegan option.
- Flavor boosts: Toss in a few dried rose hips or orange peel during simmering for extra vitamin C and citrus notes.
- Adjusting thickness: Simmer longer for a thicker syrup or add a little water if too thick for your liking.
I once tried adding a touch of cayenne pepper for a spicy kick during a brutal cold season. It was surprisingly soothing, though not for everyone! Feel free to experiment — this recipe’s forgiving nature means you can make it truly your own.
Serving & Storage Suggestions
Serve this immune-boosting elderberry syrup by the spoonful straight from the jar, or mix it into warm water, tea, or even lemonade for a tasty drink. It’s fantastic stirred into hot chamomile or ginger tea when you need a little extra comfort.
Store the syrup in airtight glass containers in the refrigerator for up to three weeks. If you want to keep it longer, pour into ice cube trays and freeze — just pop out a cube or two when you need a quick dose. Reheat gently before serving; avoid boiling as that can degrade the honey’s goodness.
Over time, the flavors mellow and meld, so the syrup often tastes even better after a couple of days. I like to make a batch every few weeks during cold and flu season to have on hand for whenever that first tickle in the throat hits.
Nutritional Information & Benefits
This homemade elderberry syrup is a natural powerhouse for your immune system. Elderberries are rich in antioxidants, vitamins A and C, and have antiviral properties that can help reduce the severity and duration of colds and flu.
Raw honey adds antimicrobial qualities and soothes sore throats, while warm spices like cinnamon and ginger improve circulation and provide anti-inflammatory effects. Fresh lemon juice contributes an extra dose of vitamin C and brightens the flavor.
Each tablespoon (15 ml) contains approximately:
| Nutrient | Amount |
|---|---|
| Calories | 45 |
| Carbohydrates | 12 g |
| Vitamin C | 8 mg |
| Antioxidants | High (from elderberries) |
Note: This recipe contains honey and is not suitable for infants under one year old. It’s gluten-free and dairy-free, making it accessible for many dietary preferences.
Conclusion
This immune-boosting homemade elderberry syrup with warm spices is more than just a recipe — it’s a little ritual of self-care tucked into your routine. It’s easy to make, tastes wonderful, and offers real health benefits without complicated ingredients or fuss.
Feel free to tweak the spices and sweetness to match your taste, and maybe share a jar with a friend who could use a natural pick-me-up. Personally, I keep a batch ready all year round — it’s comfort in a bottle that I trust, especially when life gets hectic.
I’d love to hear how your version turns out or if you’ve added your own twist! Drop a comment below or share your experience, and let’s keep this simple, effective tradition going strong.
FAQs
Can I use fresh elderberries instead of dried?
Fresh elderberries can be toxic if not prepared properly, so it’s safer to use dried elderberries for syrup. If you find fresh ones, make sure they’re ripe, and cook thoroughly before use.
How long does homemade elderberry syrup last?
Stored in the refrigerator, it lasts about 2-3 weeks. For longer storage, freeze in ice cube trays for up to 3 months.
Can children take elderberry syrup?
Yes, but avoid giving honey-based syrup to children under one year old. Adjust doses according to age and always consult a pediatrician if unsure.
Is this syrup safe for people with allergies?
The recipe is naturally gluten-free and dairy-free. If allergic to any spices or honey, substitute accordingly (e.g., use maple syrup instead of honey).
What’s the best way to take elderberry syrup?
Take 1 tablespoon daily as a preventive measure or up to 3 tablespoons at the first sign of illness. You can take it straight or mix it into warm tea or water.
Pin This Recipe!
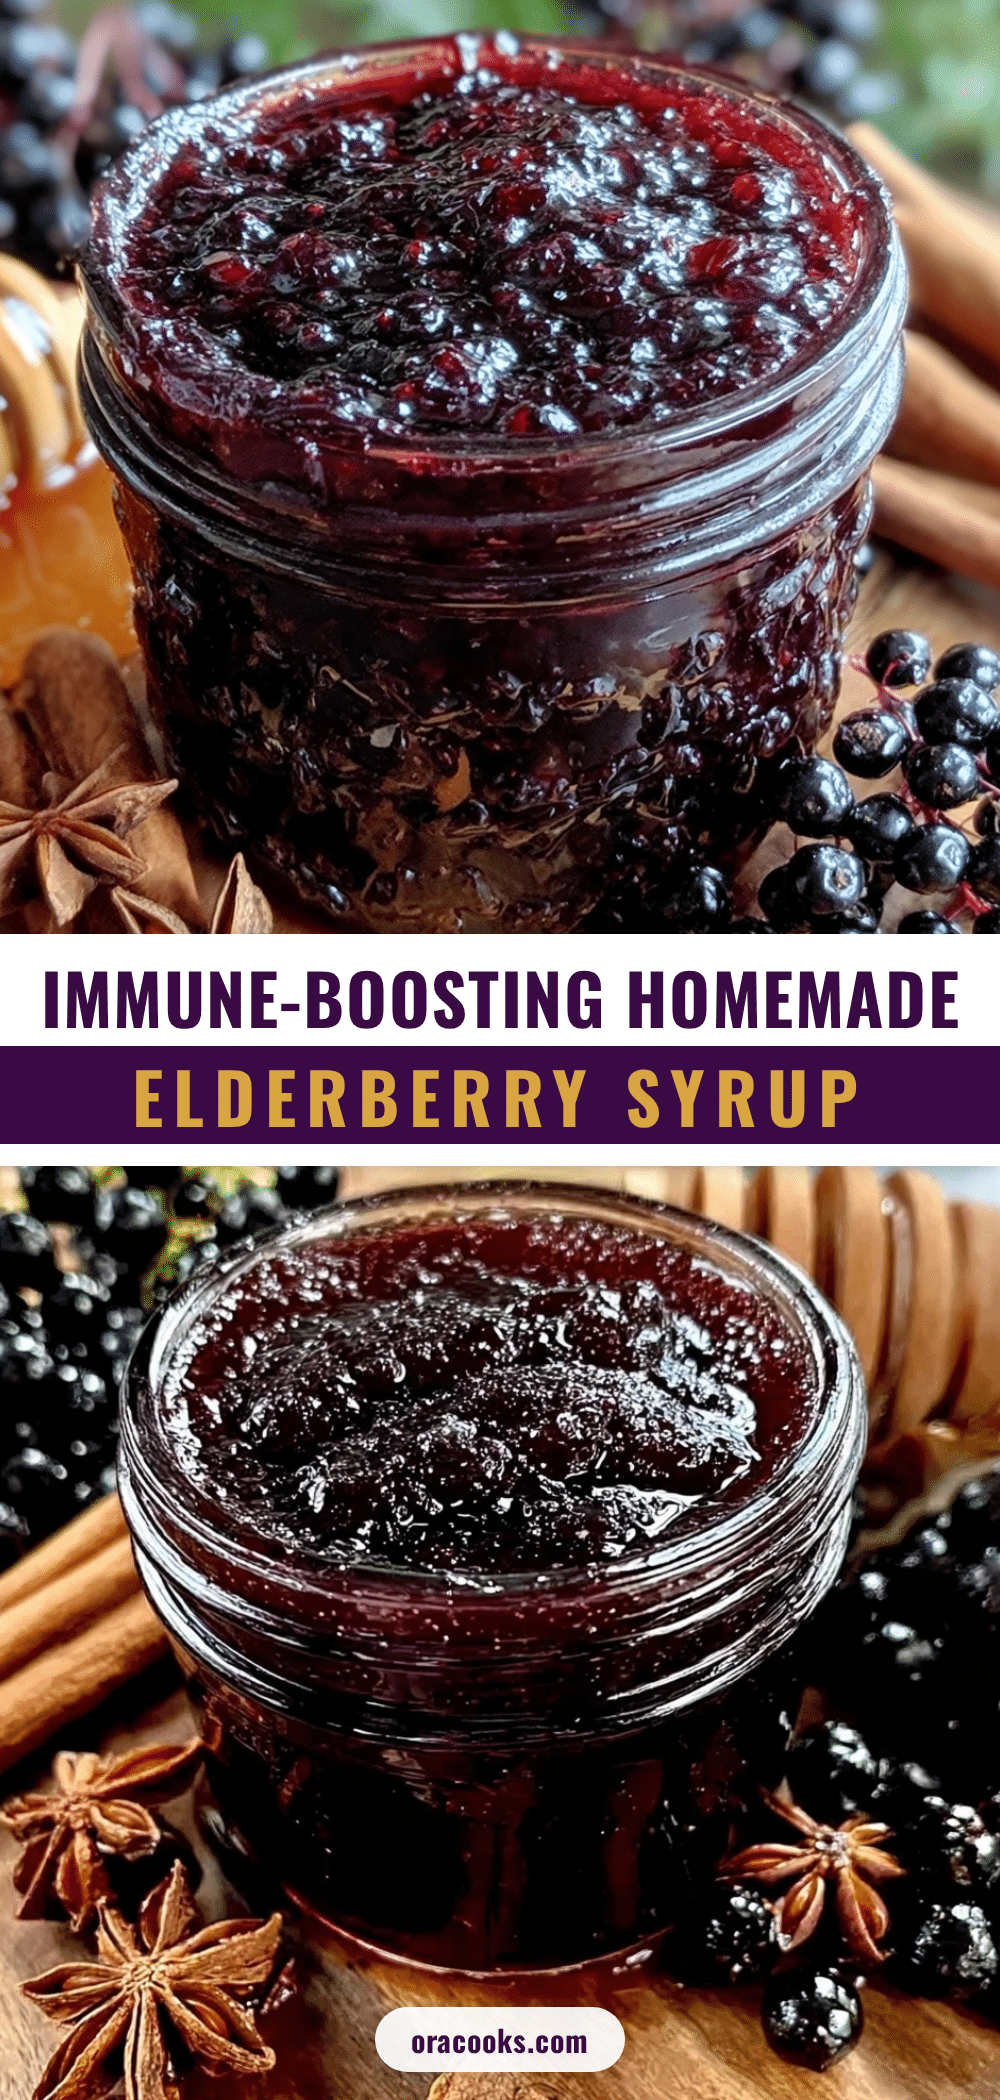
Immune-Boosting Elderberry Syrup Recipe with Warm Spices Easy and Effective
A simple and effective homemade elderberry syrup infused with warm spices like cinnamon, cloves, and ginger to boost immunity and soothe during cold seasons.
- Prep Time: 10 minutes
- Cook Time: 45 minutes
- Total Time: 55 minutes
- Yield: About 1 cup syrup (approximately 16 tablespoons) 1x
- Category: Health Remedy
- Cuisine: American
Ingredients
- 1 cup dried elderberries
- 4 cups water
- 1 large cinnamon stick
- 4–5 whole cloves
- 1-inch piece fresh ginger, sliced
- ½ to ¾ cup raw honey
- 2 tablespoons fresh lemon juice
Instructions
- Place dried elderberries, cinnamon stick, whole cloves, and sliced fresh ginger into a medium saucepan. Add 4 cups of water.
- Bring the mixture to a boil over medium-high heat, then reduce to a simmer. Let it simmer uncovered for about 45 minutes until the liquid reduces and turns deep purple.
- Remove from heat and let cool slightly for 5 minutes. Strain through a fine mesh sieve or cheesecloth into a heatproof bowl or jar, pressing gently to extract liquid without pushing through seeds or skin.
- While the liquid is still warm (not boiling), stir in ½ to ¾ cup raw honey and 2 tablespoons fresh lemon juice. Adjust honey to taste.
- Pour the syrup into clean glass jars or bottles. Let cool completely before sealing and refrigerating.
- Shake well before each use. Take 1 tablespoon daily as a preventive measure or up to 3 tablespoons during the first signs of a cold.
Notes
[‘Use dried elderberries instead of fresh for safety and concentration.’, ‘Simmer gently to preserve nutrients and avoid bitterness.’, ‘Add honey only after the syrup has cooled slightly to preserve beneficial enzymes.’, ‘Strain gently to avoid bitterness from seeds or skin.’, ‘Store syrup in the refrigerator for 2-3 weeks or freeze in ice cube trays for up to 3 months.’, ‘Shake well before each use.’, ‘For vegan option, substitute honey with maple syrup.’, ‘Avoid giving honey-based syrup to children under one year old.’]
Nutrition
- Serving Size: 1 tablespoon (15 ml)
- Calories: 45
- Carbohydrates: 12
Keywords: elderberry syrup, immune booster, homemade syrup, elderberries, warm spices, cinnamon, cloves, ginger, natural remedy, cold season


