Love this? Save it for later!
Share the inspiration with your friends
This was supposed to be a savory, spicy, “knock-your-socks-off” kind of snack. I had the cayenne pepper measured, the garlic powder ready to go, and a vision of smoky, salty pumpkin seeds that would make people reach for a glass of water. But somewhere between the pumpkin carving chaos and my third cup of coffee, I grabbed the wrong jar. Instead of cayenne, my hand closed around the cinnamon. Instead of garlic, I dumped in a generous heap of brown sugar. I didn’t even realize it until the first batch came out of the oven, and my kitchen smelled less like a sports bar and more like a bakery.
Honestly, I almost threw them away. I mean, cinnamon sugar pumpkin seeds? It sounded like something a preschooler would dream up. But I was tired, my counter was a mess of orange pulp, and I had a dozen hungry guests showing up in an hour. So I popped one in my mouth, ready to grimace. And then I popped another. And another. By the time my neighbor, Diane, knocked on the door asking what smelled so good, the entire tray was gone. I had to make a second batch—this time on purpose—just to have something to serve.
That happy little accident turned into my secret weapon for fall gatherings. It’s the dish people ask for by name, the one that disappears before the savory dips. Maybe you’ve been there—staring at a pile of pumpkin seeds, wondering if you should just toss them in the trash. Don’t. Grab the cinnamon. You might just stumble onto something better than you planned.
Why You’ll Love This Recipe
Let’s be real for a second. Roasted pumpkin seeds are usually an afterthought. You carve the pumpkin, you toss the guts, and maybe, if you’re feeling ambitious, you rinse off a few seeds and throw them in the oven with some salt. They’re fine. But they’re not this.
These cinnamon sugar roasted pumpkin seeds are a whole different beast. They’re crunchy, sweet, and just a little bit salty—the perfect combination that keeps your hand moving from bowl to mouth. Here’s why this recipe works so well for your next gathering:
- Quick & Easy: From start to finish, you’re looking at about 30 minutes. Most of that is hands-off oven time, so you can focus on getting the dip out or greeting your guests.
- Simple Ingredients: You probably have everything in your pantry right now. No fancy trips to a specialty store required. Butter, sugar, cinnamon, salt—done.
- Perfect for Hosting: This is the ultimate “set it and forget it” appetizer. You can prep them while the turkey rests or while you’re setting out the cheese board.
- Crowd-Pleaser: I’ve served these at Halloween parties, Friendsgiving dinners, and casual Sunday football gatherings. Kids love them. Adults love them. Even the picky eaters who “don’t like seeds” get hooked.
- Unbelievably Delicious: The secret is the butter. It coats the seeds in a way that oil just can’t, giving them a rich, toasty flavor that pairs perfectly with the warm cinnamon. It’s next-level comfort food in a tiny, crunchy package.
This isn’t just another pumpkin seed recipe. It’s the one that makes people close their eyes after the first bite and say, “Wait, what is this?” It’s the kind of snack that turns a simple gathering into something memorable, without adding stress to your prep list.
What Ingredients You Will Need
This recipe uses simple, wholesome ingredients to deliver that addictive sweet-and-salty crunch. Most of these are pantry staples, which makes this a great last-minute snack to throw together when guests are on their way.
- Fresh pumpkin seeds (1 ½ cups, about 180g) – Straight from the pumpkin is best, but you can use store-bought raw, hulled seeds (pepitas) in a pinch. If using fresh, don’t skip the rinsing step—you want to get rid of the stringy pumpkin guts.
- Unsalted butter (3 tablespoons, melted) – This is my non-negotiable ingredient. Butter gives the seeds a richness that oil just can’t match. I use Kerrygold for its creamy flavor, but any good unsalted butter works. If you’re dairy-free, you can substitute with melted coconut oil, but the flavor will be slightly different.
- Granulated sugar (2 tablespoons) – This is what gives the seeds that satisfying crunch of crystallized sweetness. Don’t substitute with a liquid sweetener like honey or maple syrup, as it will make the seeds soggy instead of crispy.
- Light brown sugar (1 tablespoon, packed) – Adds a touch of molasses depth that rounds out the cinnamon. If you’re out of brown sugar, you can use all granulated sugar, but you’ll miss that subtle complexity.
- Ground cinnamon (1 teaspoon) – The star of the show. Use a fresh jar if yours has been sitting in the back of the cabinet for two years. Trust me on this—stale cinnamon is a sad thing.
- Salt (½ teaspoon, plus more for boiling) – I use fine sea salt for the coating and a generous pinch of kosher salt in the boiling water. The salt is crucial—it balances the sweetness and keeps these from being cloying.
- Water (4 cups, for boiling) – This is a step you might not expect, but it’s the secret to perfectly crunchy seeds. Boiling them first softens the outer shell just enough so they roast evenly without burning.
Ingredient Selection Tip: When picking pumpkins for carving, look for the “sugar pie” or “cheese” pumpkins if you can. They have smaller, more tender seeds than the giant jack-o-lantern varieties. But honestly, any pumpkin will do—I’ve used seeds from a 20-pound carving pumpkin and they turned out just fine.
Equipment Needed
You don’t need a fancy kitchen to pull this off. Here’s what you’ll need:
- Large pot (4-quart or larger) – For boiling the seeds. Any pot you use for pasta will work.
- Colander or fine-mesh strainer – For rinsing and draining the seeds after boiling.
- Baking sheet (13×18 inch half-sheet pan) – A rimmed baking sheet is ideal. The rim keeps the seeds from sliding off, and the dark metal helps with even browning. If you only have a glass baking dish, increase the oven temperature by 25°F.
- Parchment paper or silicone baking mat – Not strictly necessary, but it makes cleanup a breeze. The sugar can stick to the pan if you don’t use anything.
- Mixing bowl (medium) – For tossing the seeds with the butter and sugar mixture.
- Paper towels or clean kitchen towel – For drying the seeds after boiling. Don’t skip this step—wet seeds won’t get crispy.
- Spatula or wooden spoon – For stirring the seeds halfway through roasting.
Budget-Friendly Tip: If you don’t have parchment paper, you can grease the baking sheet lightly with butter or cooking spray. Just keep an eye on the seeds toward the end of cooking—they might stick a little more.
Preparation Method
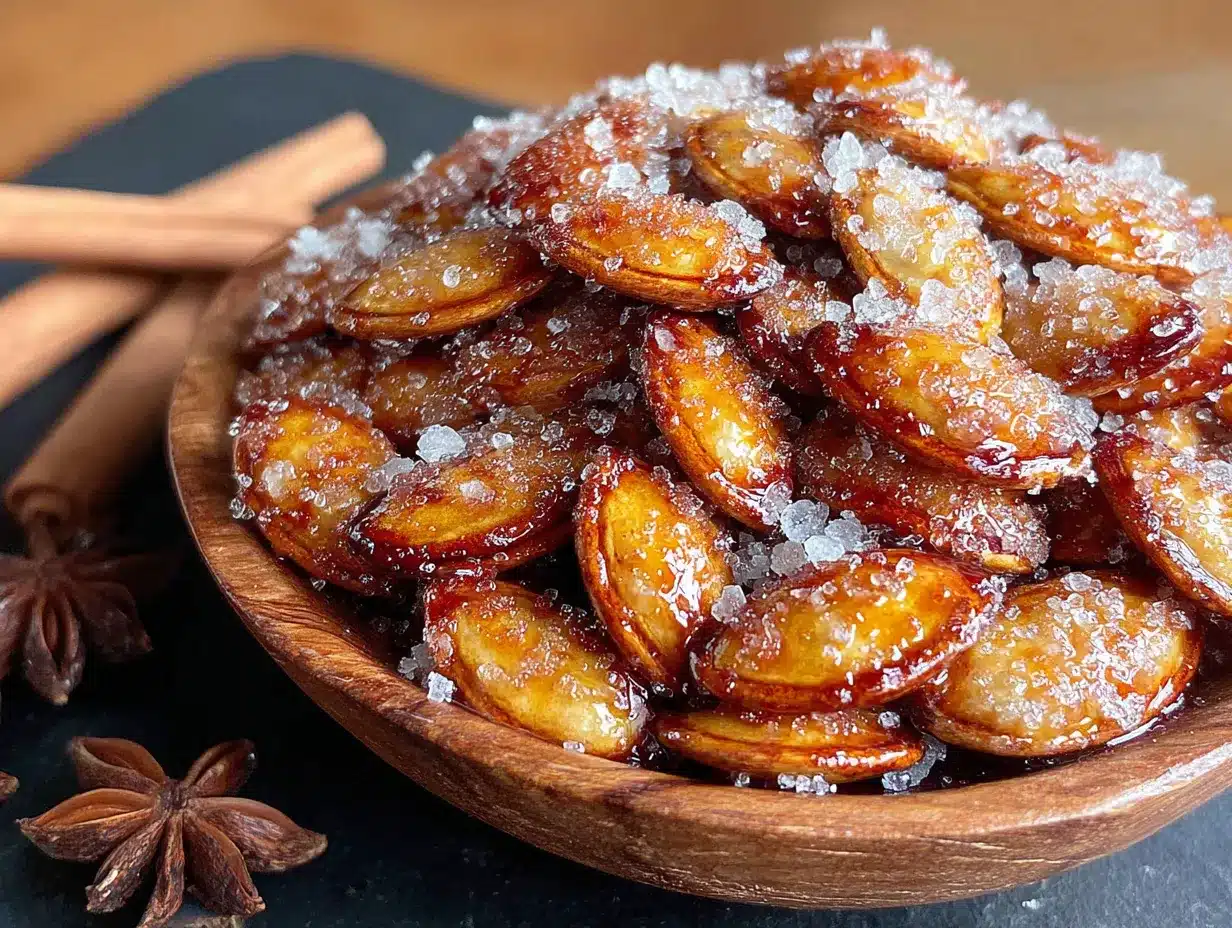
Alright, let’s get into the nitty-gritty. Follow these steps, and you’ll have a bowl of cinnamon sugar roasted pumpkin seeds that will make you the hero of your own party.
-
Preheat your oven to 350°F (175°C). While it’s heating up, line your baking sheet with parchment paper. This is a good time to clear off your counter—trust me, pumpkin seeds have a way of migrating everywhere.
-
Rinse the pumpkin seeds thoroughly. Place them in a colander and run cold water over them, using your fingers to break up any clumps of pumpkin guts. You want the seeds to feel clean and slightly rough, not slimy. This usually takes about 2-3 minutes of vigorous rubbing.
-
Boil the seeds. Bring 4 cups of water to a rolling boil in your large pot. Add 1 teaspoon of salt (this helps the seasoning penetrate the shell). Drop in the rinsed seeds and let them boil for exactly 10 minutes. Set a timer—don’t guess. This step is non-negotiable for that perfect crunch.
-
Drain and dry. Pour the seeds into your colander and let them cool for a minute or two. Then, spread them out on a clean kitchen towel or a stack of paper towels. Pat them as dry as you can. You want them to look matte, not shiny with water. If they’re still damp, they’ll steam instead of roast, and you’ll end up with chewy seeds. Not good.
-
Mix the coating. In your medium mixing bowl, whisk together the melted butter, granulated sugar, brown sugar, cinnamon, and ½ teaspoon of salt. It should look like a thick, gritty paste. Don’t worry if the sugar hasn’t fully dissolved—it will melt and caramelize in the oven.
-
Toss the seeds. Add the dried seeds to the bowl with the butter mixture. Use a spatula to stir everything together until every single seed is coated. I like to use my hands for this step—it’s messy, but you get a better coating. Just make sure the butter isn’t too hot.
-
Spread them out. Pour the coated seeds onto your prepared baking sheet. Use the spatula to spread them into a single, even layer. Don’t let them pile up on top of each other, or they’ll steam instead of roast. A little space between seeds is your friend.
-
Roast for 15 minutes. Pop the sheet into the preheated oven. Set a timer for 15 minutes. At the 10-minute mark, pull the sheet out and give the seeds a good stir with your spatula. This ensures even browning and prevents the sugar from burning in one spot.
-
Check for doneness. After 15 minutes, the seeds should be golden brown and smell incredibly fragrant. The sugar should be bubbly and caramelized. If they look pale, give them another 2-3 minutes. But watch closely—sugar can go from golden to burnt in about 30 seconds.
-
Cool completely. Remove the baking sheet from the oven and let the seeds cool right on the pan. Don’t try to move them or break them apart while they’re hot—the sugar is molten and will stick to everything. As they cool, the coating will harden into that signature crunchy shell. This takes about 20 minutes.
-
Break them apart. Once completely cool, use your hands to gently break apart any clusters. Some clumps are inevitable (and honestly, those are the best bites), so don’t stress about getting every single seed separate.
Cooking Tips & Techniques
I’ve made this recipe more times than I can count, and I’ve learned a few things the hard way. Here are my best tips to save you from my mistakes.
Don’t skip the boil. I know it feels like an extra step, but boiling the seeds does two things: it softens the outer shell so the seasoning can penetrate, and it helps the seeds roast evenly. The first time I made these, I skipped the boil to save time. The seeds came out chewy and bland. Never again.
Dry them really, really well. This is the step where most people mess up. Wet seeds = steamed seeds = sad, soft seeds. After boiling, I spread mine on a towel and let them sit for a full 10 minutes before patting them dry. The drier they are, the crispier they’ll get.
Watch the oven like a hawk. Sugar burns fast. I once got distracted by a phone call and left the seeds in for two extra minutes. They came out blackened and smoking. The entire kitchen smelled like burnt caramel for days. Set a timer, check early, and trust your nose.
Use room temperature butter. If your butter is too hot when you mix it with the sugar, the sugar will start to dissolve and melt, creating a syrupy mess instead of a gritty coating. Let the melted butter cool for a minute or two before adding the dry ingredients.
Scale up easily. Hosting a big crowd? This recipe doubles beautifully. Just use two baking sheets and rotate them halfway through cooking. Don’t overcrowd a single sheet—the seeds need their space.
Variations & Adaptations
One of the best things about this recipe is how easy it is to tweak. Here are a few variations I’ve tried and loved.
Spicy-Sweet Version: Add ¼ teaspoon of cayenne pepper along with the cinnamon. The heat hits you right at the end, after the sweetness fades. It’s dangerously addictive. I made this for a game-day party and the bowl was empty before halftime.
Pumpkin Pie Spice Version: Replace the cinnamon with 1 teaspoon of pumpkin pie spice (a blend of cinnamon, nutmeg, ginger, and cloves). This gives the seeds a warm, holiday flavor that’s perfect for Thanksgiving or Christmas gatherings.
Maple-Cinnamon Version: Replace the granulated sugar with 2 tablespoons of maple syrup. Keep the brown sugar. The maple flavor is subtle but distinct. Note: the seeds will be slightly less crunchy because of the liquid sugar, but the flavor is worth the trade-off.
Vegan Version: Substitute the butter with melted coconut oil or a vegan butter stick. I’ve used Earth Balance and it worked perfectly. The flavor is slightly different—more coconut-forward—but still delicious.
Air Fryer Adaptation: If you’re short on time, you can make these in an air fryer. Cook at 300°F (150°C) for 10-12 minutes, shaking the basket halfway through. Keep a close eye on them—air fryers run hot and sugar burns fast.
Serving & Storage Suggestions
These seeds are best served at room temperature, right after they’ve cooled. The sugar coating is at its crunchiest state, and the flavor is most vibrant. I like to pile them into a large wooden bowl or a ceramic dish and set them out on the coffee table or appetizer bar.
What to serve alongside: These pair beautifully with a cheese board—think sharp cheddar, creamy brie, or tangy goat cheese. They also work well alongside a bowl of spicy chili or butternut squash soup. For drinks, try them with a cold hard cider or a warm mug of spiced apple cider.
Storage Instructions: Store leftover seeds in an airtight container at room temperature. They’ll stay fresh and crunchy for up to 5 days. Do not refrigerate them—the moisture in the fridge will make them soft. If they do lose their crunch, you can re-crisp them in a 300°F oven for 5 minutes.
Freezer Instructions: These freeze surprisingly well. Place the cooled seeds in a freezer-safe bag or container and freeze for up to 3 months. Thaw at room temperature for about 30 minutes before serving. They might lose a tiny bit of crunch, but they’ll still be delicious.
Flavor Development: Interestingly, the cinnamon flavor deepens after a day or two. I actually prefer these on day two—the spice has mellowed and blended with the sugar more evenly. So don’t be afraid to make them a day ahead of your party.
Nutritional Information & Benefits
Let’s be honest—these aren’t health food. But they’re not junk food either. Pumpkin seeds are packed with good stuff, and the sugar coating is moderate enough that you don’t feel guilty grabbing a handful.
Per serving (about ¼ cup, 30g):
- Calories: 180
- Fat: 12g (mostly from the seeds and butter)
- Carbohydrates: 14g
- Fiber: 2g
- Sugar: 9g
- Protein: 6g
- Sodium: 180mg
Health Highlights: Pumpkin seeds are a great source of magnesium, zinc, and healthy fats. Magnesium supports muscle function and sleep quality (perfect for a post-party wind-down). Zinc is great for your immune system—especially important during the fall and winter months when everyone’s passing around colds.
Dietary Considerations: This recipe is naturally gluten-free. It contains dairy from the butter, but can easily be made vegan with a substitute. It’s not low-carb, but the portion size is small enough that it can fit into a balanced diet.
Allergen Note: Pumpkin seeds are seeds, not nuts, so they’re generally safe for people with tree nut allergies. However, cross-contamination is possible if they’re processed in a facility that handles nuts. Always check the label if you’re serving someone with severe allergies.
Conclusion
Here’s the thing about these cinnamon sugar roasted pumpkin seeds: they’re proof that the best recipes often come from the biggest mistakes. That afternoon I grabbed the wrong jar could have been a disaster. Instead, it became my most-requested snack recipe.
I love this recipe because it’s forgiving. You can tweak the spices, adjust the sweetness, or scale it up for a crowd without worrying about ruining it. It’s the kind of recipe that makes you look like a genius without requiring any actual genius on your part.
So go ahead—carve that pumpkin, save those seeds, and give this a try. And if you come up with your own variation (maybe a pinch of nutmeg? a dash of cardamom?), I’d love to hear about it. Drop a comment below, share your photos, and let me know how it went. Your next great party snack is just one happy accident away.
Frequently Asked Questions
Can I use store-bought pumpkin seeds instead of fresh?
Absolutely. If you’re not carving a pumpkin, you can use raw, hulled pumpkin seeds (often called pepitas) from the store. Just skip the rinsing and boiling steps, and toss them directly with the butter mixture. Roast for 12-15 minutes at 350°F, keeping a close eye on them since they’re smaller and cook faster.
Why did my seeds turn out chewy instead of crunchy?
The most common culprit is moisture. Either you didn’t dry the seeds thoroughly after boiling, or you didn’t spread them in a single layer on the baking sheet. Make sure to pat them completely dry and give them plenty of space on the pan. If they’re piled on top of each other, they’ll steam instead of roast.
Can I make these ahead of time for a party?
Yes! These are actually better when made a day ahead. The cinnamon flavor deepens overnight, and the crunch holds up beautifully. Store them in an airtight container at room temperature for up to 5 days. Just don’t refrigerate them—the moisture will soften the coating.
My sugar burned in the oven. What went wrong?
Sugar burns quickly, especially at high temperatures. Make sure your oven is at exactly 350°F (not higher), and check the seeds at the 10-minute mark. If your oven runs hot, you might need to reduce the temperature to 325°F. Also, stirring the seeds halfway through cooking helps distribute the heat evenly and prevents burning.
Can I use this recipe for other types of seeds?
Definitely! This cinnamon sugar coating works beautifully on sunflower seeds, sesame seeds, or even a mix of seeds. Just adjust the roasting time based on the size of the seed. Smaller seeds like sesame will cook in about 8-10 minutes, while larger sunflower seeds might need the full 15 minutes.
Pin This Recipe!
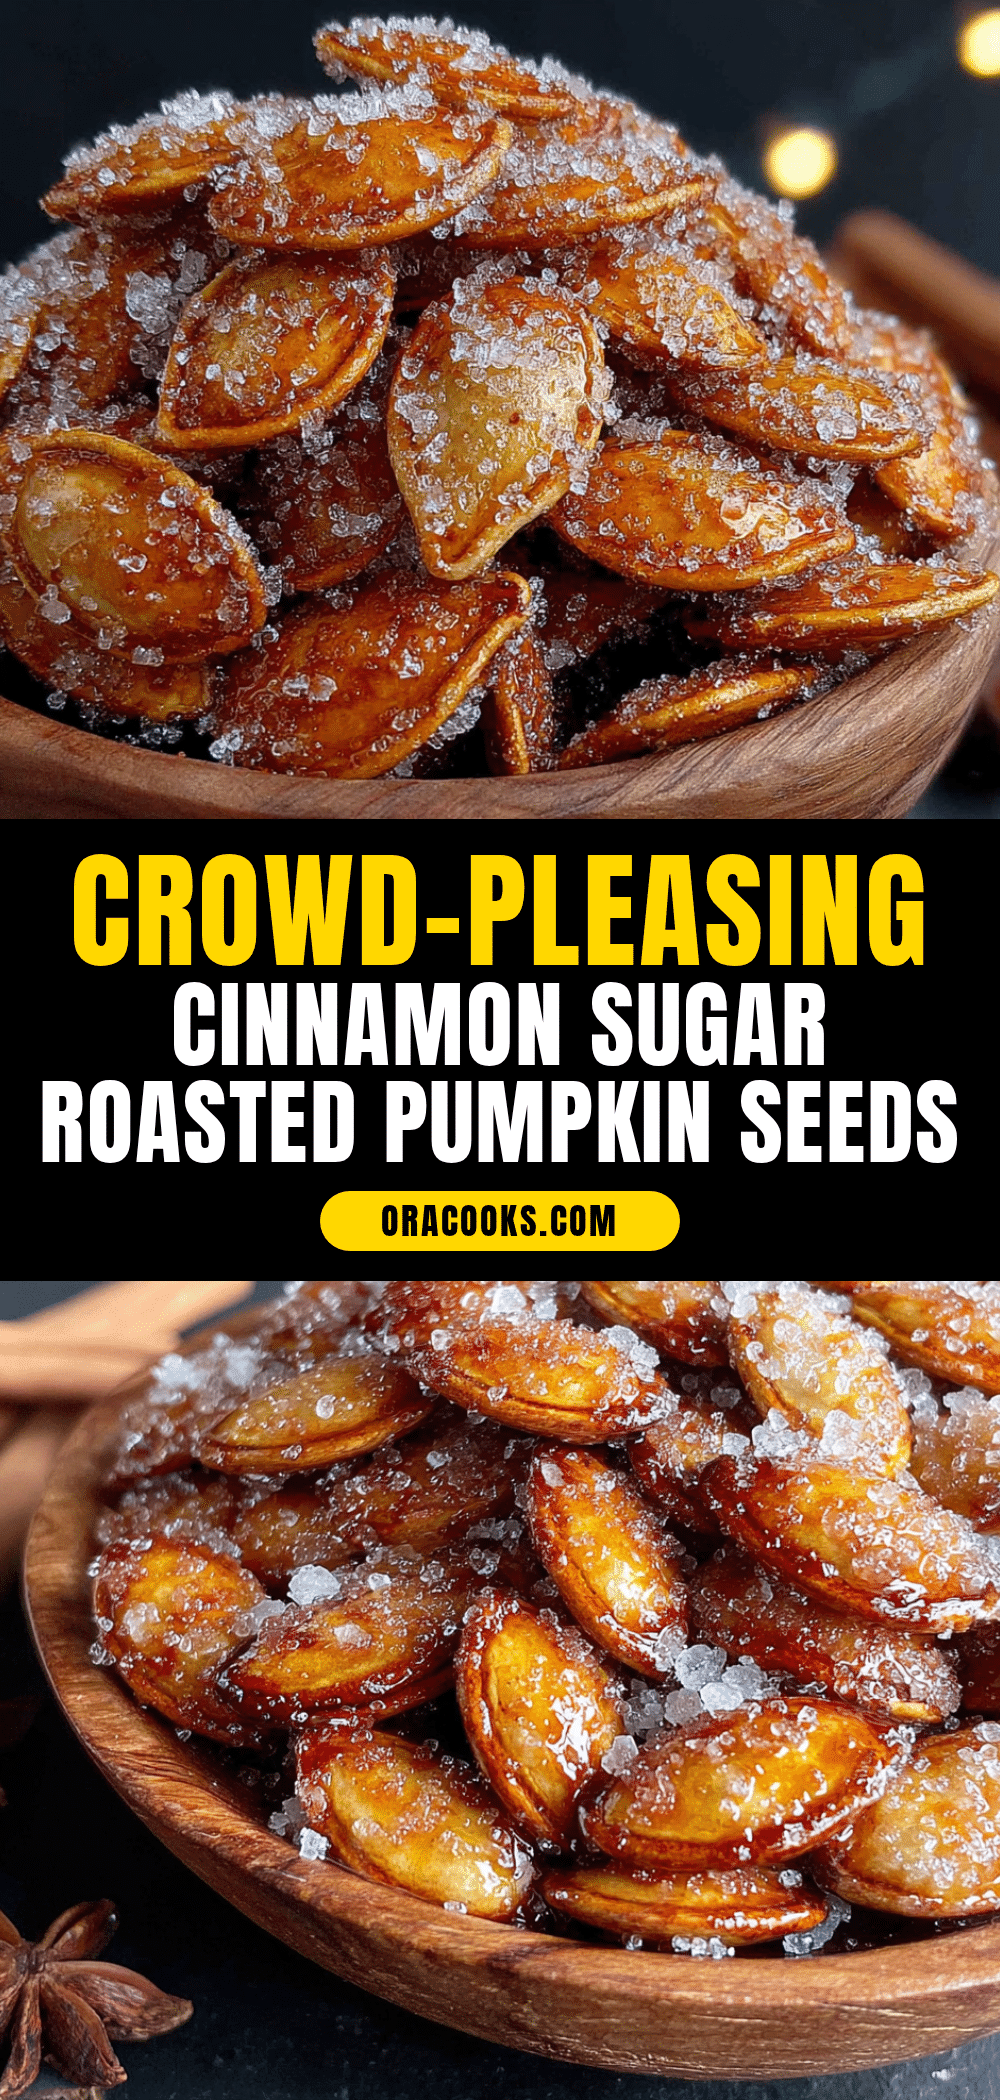
Quick & Easy Cinnamon Sugar Roasted Pumpkin Seeds
A happy accident turned into a secret weapon for fall gatherings—crunchy, sweet, and slightly salty cinnamon sugar roasted pumpkin seeds that disappear before the savory dips.
- Prep Time: 15 minutes
- Cook Time: 15 minutes
- Total Time: 30 minutes
- Yield: 4 servings 1x
- Category: Appetizer
- Cuisine: American
Ingredients
- 1 ½ cups fresh pumpkin seeds (about 180g)
- 3 tablespoons unsalted butter, melted
- 2 tablespoons granulated sugar
- 1 tablespoon light brown sugar, packed
- 1 teaspoon ground cinnamon
- ½ teaspoon fine sea salt, plus more for boiling
- 4 cups water (for boiling)
Instructions
- Preheat your oven to 350°F (175°C). Line a baking sheet with parchment paper.
- Rinse the pumpkin seeds thoroughly in a colander under cold water, removing any pumpkin guts.
- Bring 4 cups of water to a rolling boil in a large pot. Add 1 teaspoon of salt. Add the rinsed seeds and boil for exactly 10 minutes.
- Drain the seeds in a colander and let cool for a minute. Spread them on a clean kitchen towel or paper towels and pat dry completely.
- In a medium mixing bowl, whisk together the melted butter, granulated sugar, brown sugar, cinnamon, and ½ teaspoon of salt until it forms a thick paste.
- Add the dried seeds to the bowl and toss until every seed is coated.
- Spread the coated seeds in a single, even layer on the prepared baking sheet.
- Roast for 15 minutes, stirring at the 10-minute mark. Check for doneness—seeds should be golden brown and fragrant.
- Remove from the oven and let cool completely on the pan (about 20 minutes).
- Once cool, gently break apart any clusters with your hands.
Notes
Don’t skip the boiling step—it ensures perfectly crunchy seeds. Dry the seeds thoroughly after boiling to avoid steaming. Watch the oven closely as sugar burns quickly. For best results, use fresh cinnamon and unsalted butter. Seeds can be made a day ahead; store in an airtight container at room temperature for up to 5 days.
Nutrition
- Serving Size: ¼ cup (30g)
- Calories: 180
- Sugar: 9
- Sodium: 180
- Fat: 12
- Saturated Fat: 4
- Carbohydrates: 14
- Fiber: 2
- Protein: 6
Keywords: cinnamon sugar pumpkin seeds, roasted pumpkin seeds, fall snack, easy appetizer, pumpkin seeds recipe


